Geometric nail art uses lines, blocks, curves and clear space to give a manicure its character. You can choose a bold checkerboard or keep things quiet with one dot and a fine stripe. The key is to decide which shape should lead, then give it enough room to be seen.
These fourteen nail art ideas explore different patterns rather than repeating one flower design in new colours. Every image is an original AI-generated design illustration created for Haya Glam. They show visual concepts to discuss with your nail artist; the final manicure will depend on your nail shape and their technique.
Use the colour palettes as starting points. You may prefer shorter nails, a smaller accent or a shade that matches your everyday wardrobe. Keep the main pattern recognisable, then adjust its scale so the finished set feels comfortable and personal.
1. Pink Micro Checkerboard
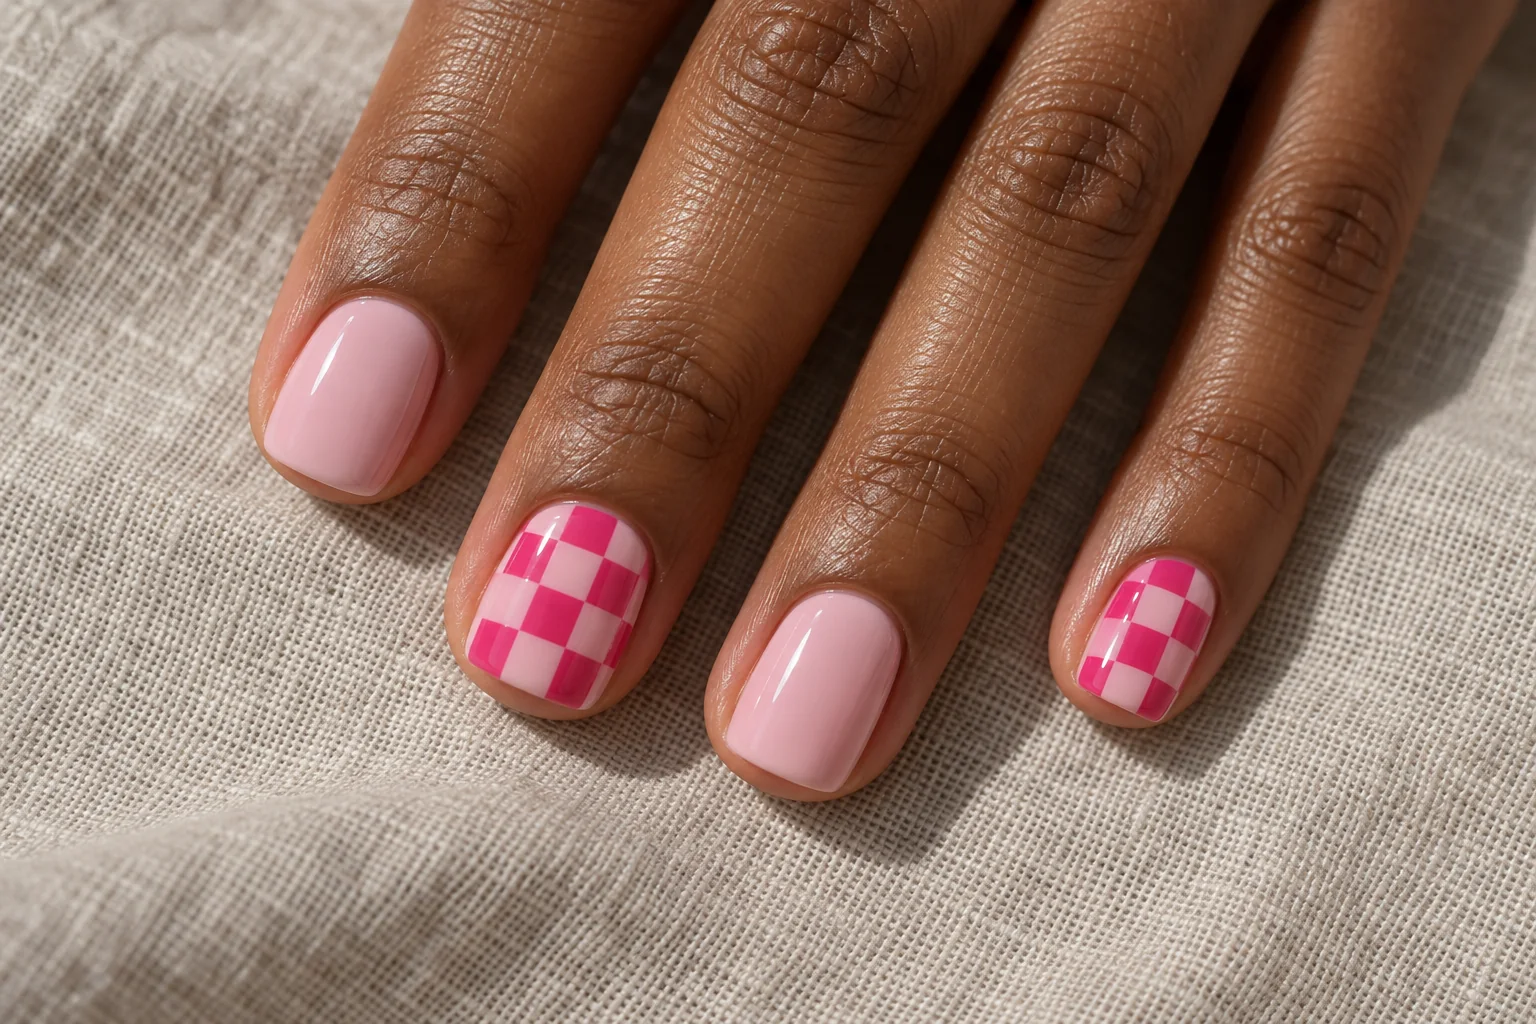
A tiny checkerboard turns pink polish into a graphic pattern. The mix of hot pink and pale pink gives the squares enough contrast without making the manicure feel heavy. Keep the checks on two accent nails, with plain pink beside them, so the pattern has a clear place to stand out.
Small Checks, Strong Colour
Short square nails suit this idea because the straight tip echoes the grid. Ask for small, evenly spaced squares rather than an oversized board covering every finger. A sheer base around the checks can soften the finish and keep the design from looking like a printed sticker.
2. Terracotta Colour Blocks
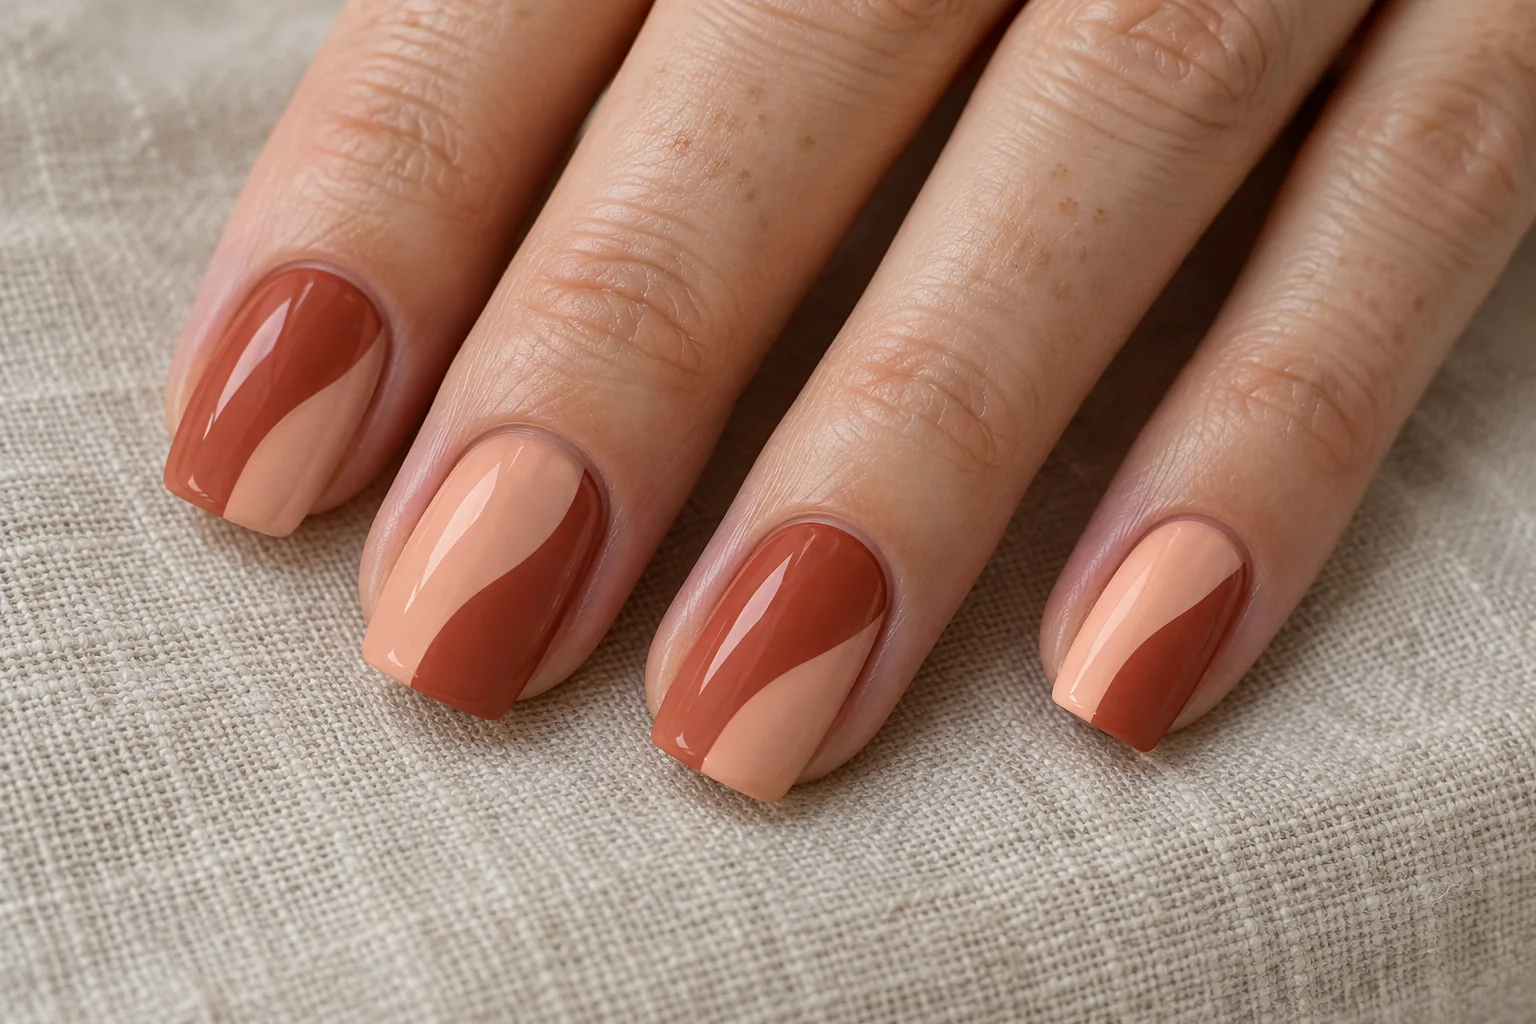
Terracotta, cream and dusty peach create an earthy colour-block manicure. The interest comes from the boundaries: a wide cream section on one nail, a smaller terracotta corner on the next. The colours belong together, while the shapes prevent the set from feeling repetitive.
Warm Blocks With Uneven Borders
Squoval nails offer enough space for the blocks without requiring much length. Choose two or three shades and keep the edges deliberate. If every nail contains too many tiny sections, the simple graphic effect can disappear. A clear glossy finish helps the different colours feel like one coordinated set.
3. Navy Diagonal French Tips
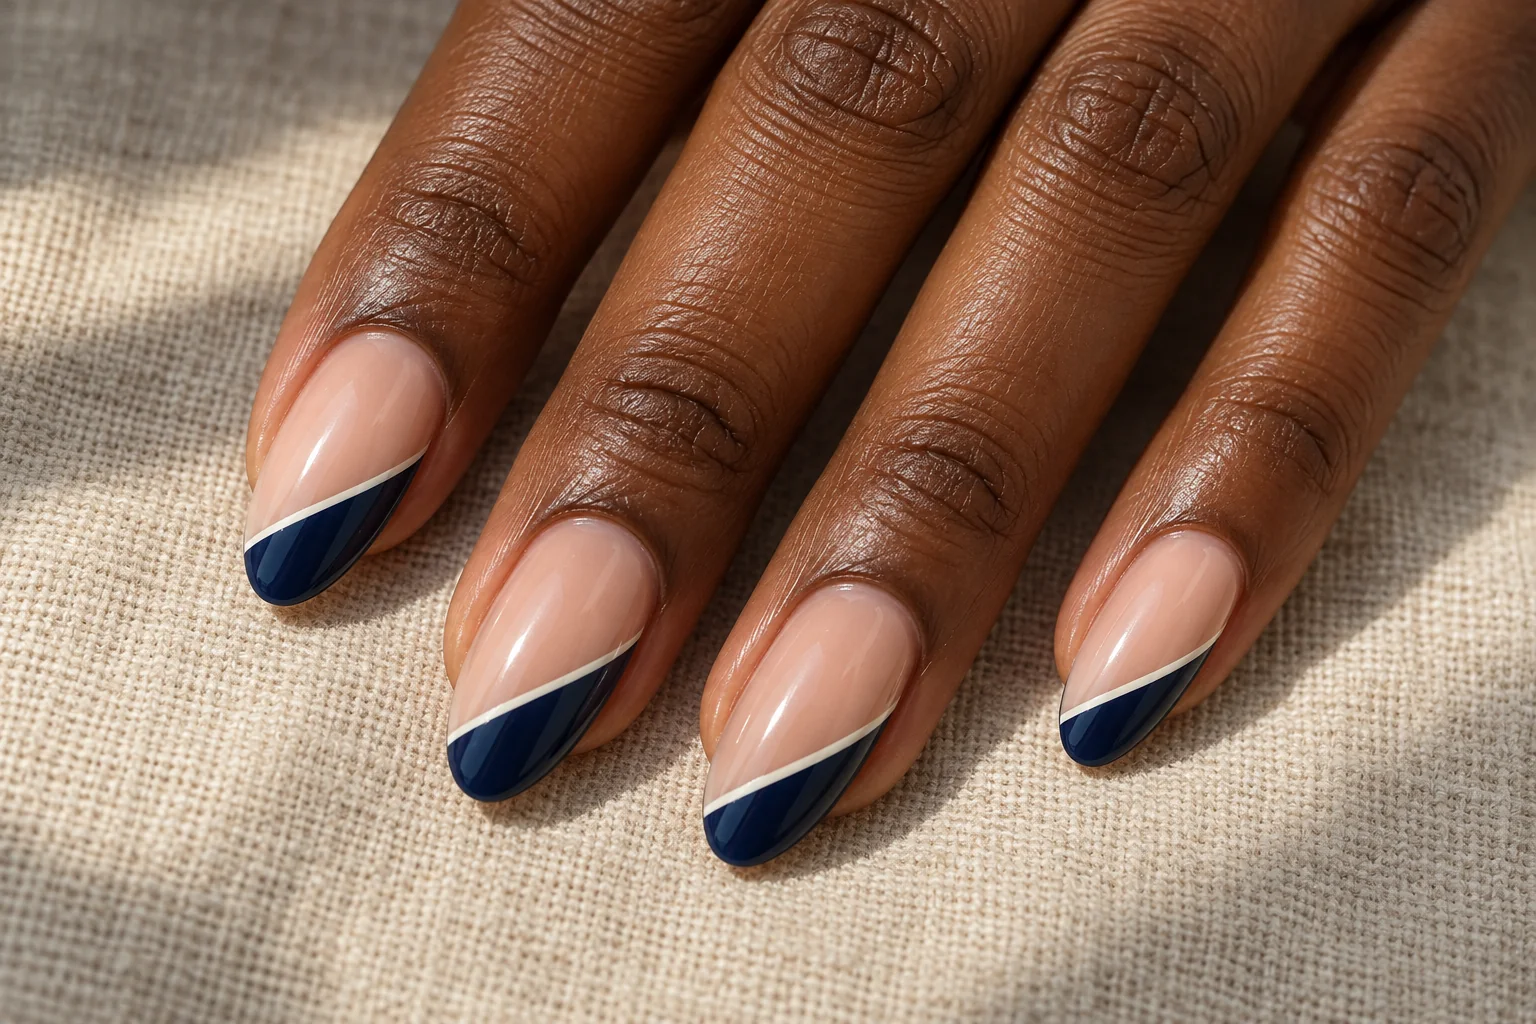
A diagonal navy tip changes the familiar French manicure by moving its border away from a soft curve. The nude base leaves the slanted shape clearly visible. A narrow ivory line alongside the navy adds definition without becoming another competing pattern.
A Sharper Take on French Tips
Medium almond nails make the diagonal feel elegant, although the idea can work on a shorter shape with a smaller painted tip. Keep the slope similar across the set. The line should follow the navy border cleanly, rather than wandering into the bare centre of the nail.
4. Sage Half-Moon Nails
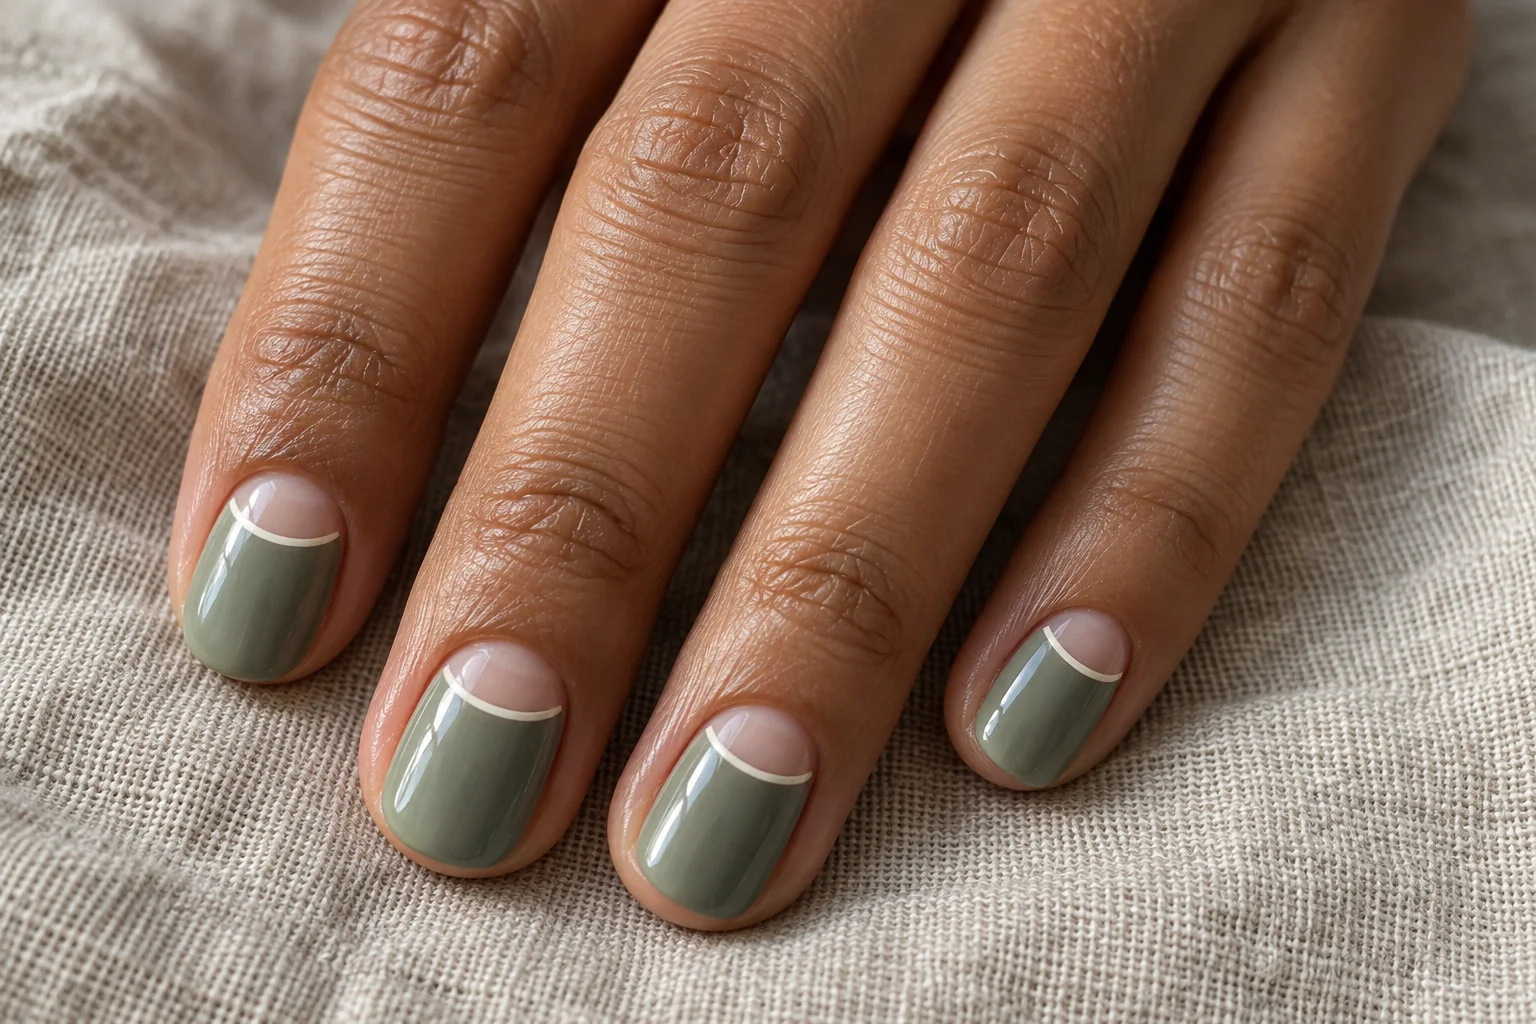
Sage half-moon nails leave a nude semicircle near the cuticle and colour the rest of the nail green. A fine ivory outline makes the curve feel intentional. Unlike a French tip, the focal point sits at the base, giving the manicure a different visual balance.
Show the Natural Crescent
Short rounded nails complement the curved detail. Ask for a consistent crescent size across the fingers, adjusted slightly for nail width. Leave enough nude space to recognise the half-moon. A tiny cuticle gap alone will not create the same effect, especially with a soft sage shade.
5. Fine Black Grid
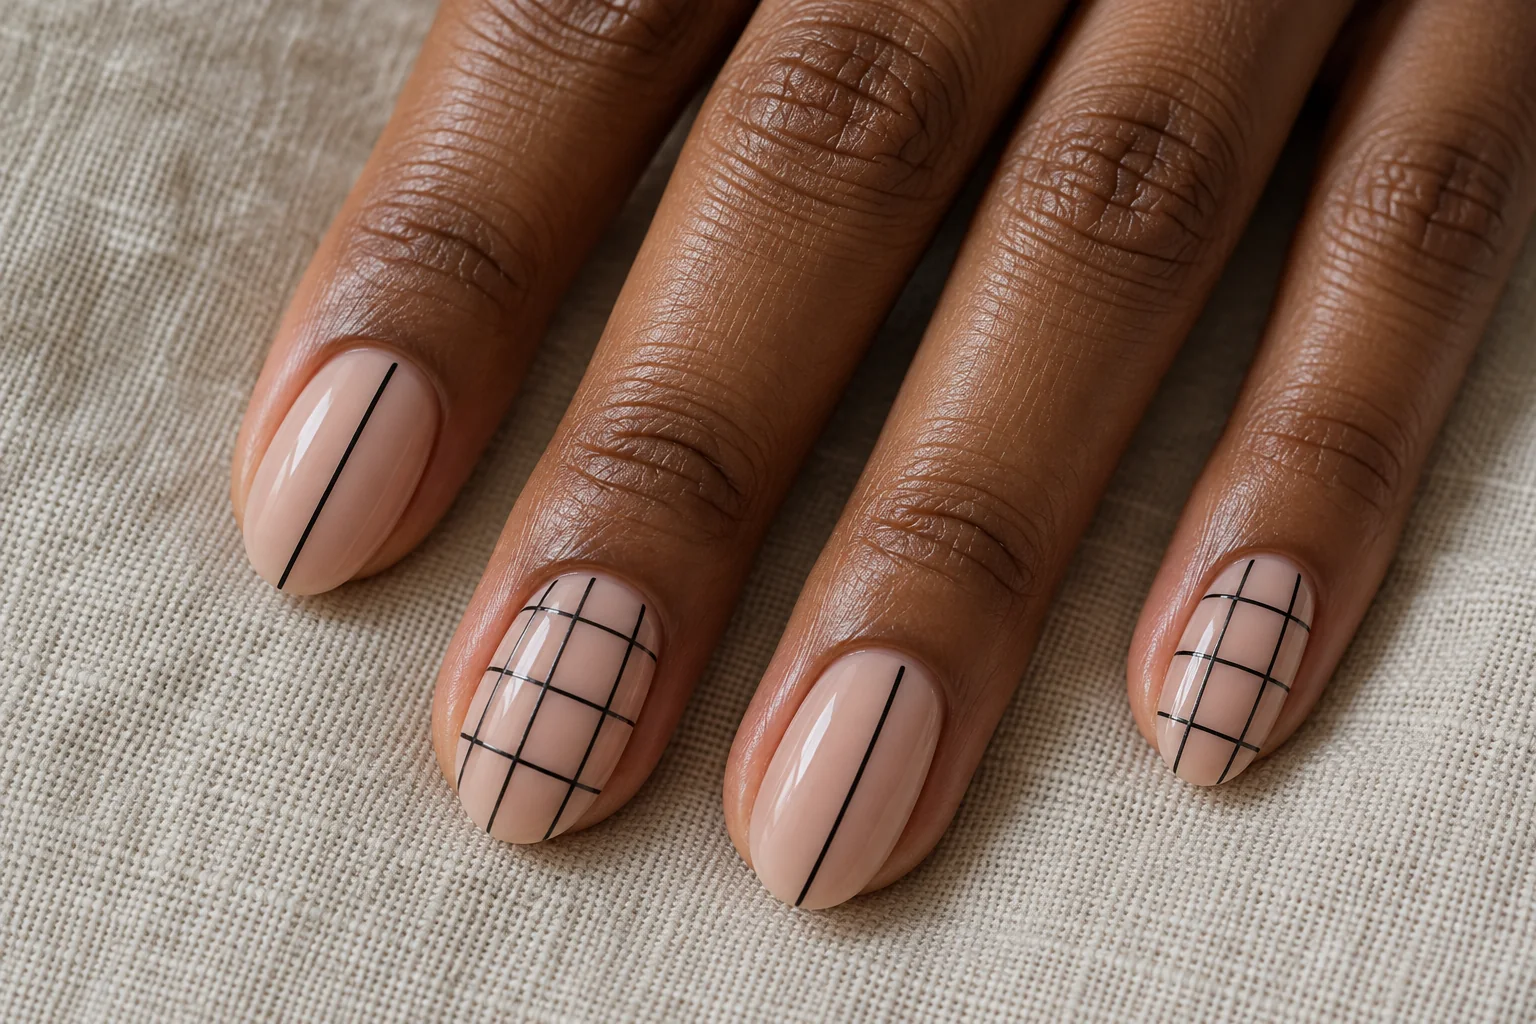
Black grid lines on sheer nude polish make a graphic accent without covering the nail in solid colour. Two patterned nails are enough to establish the idea. A single black stripe on the remaining nails repeats the colour while keeping the overall set open.
Let a Fine Grid Stay Light
The spacing matters as much as the line thickness. Wider rectangles feel calmer; tightly packed squares look busier. Choose a fine line that is still visible at normal viewing distance. Avoid adding extra dots or glitter inside every cell, since the grid already provides the main decoration.
6. Cobalt Dot and Line
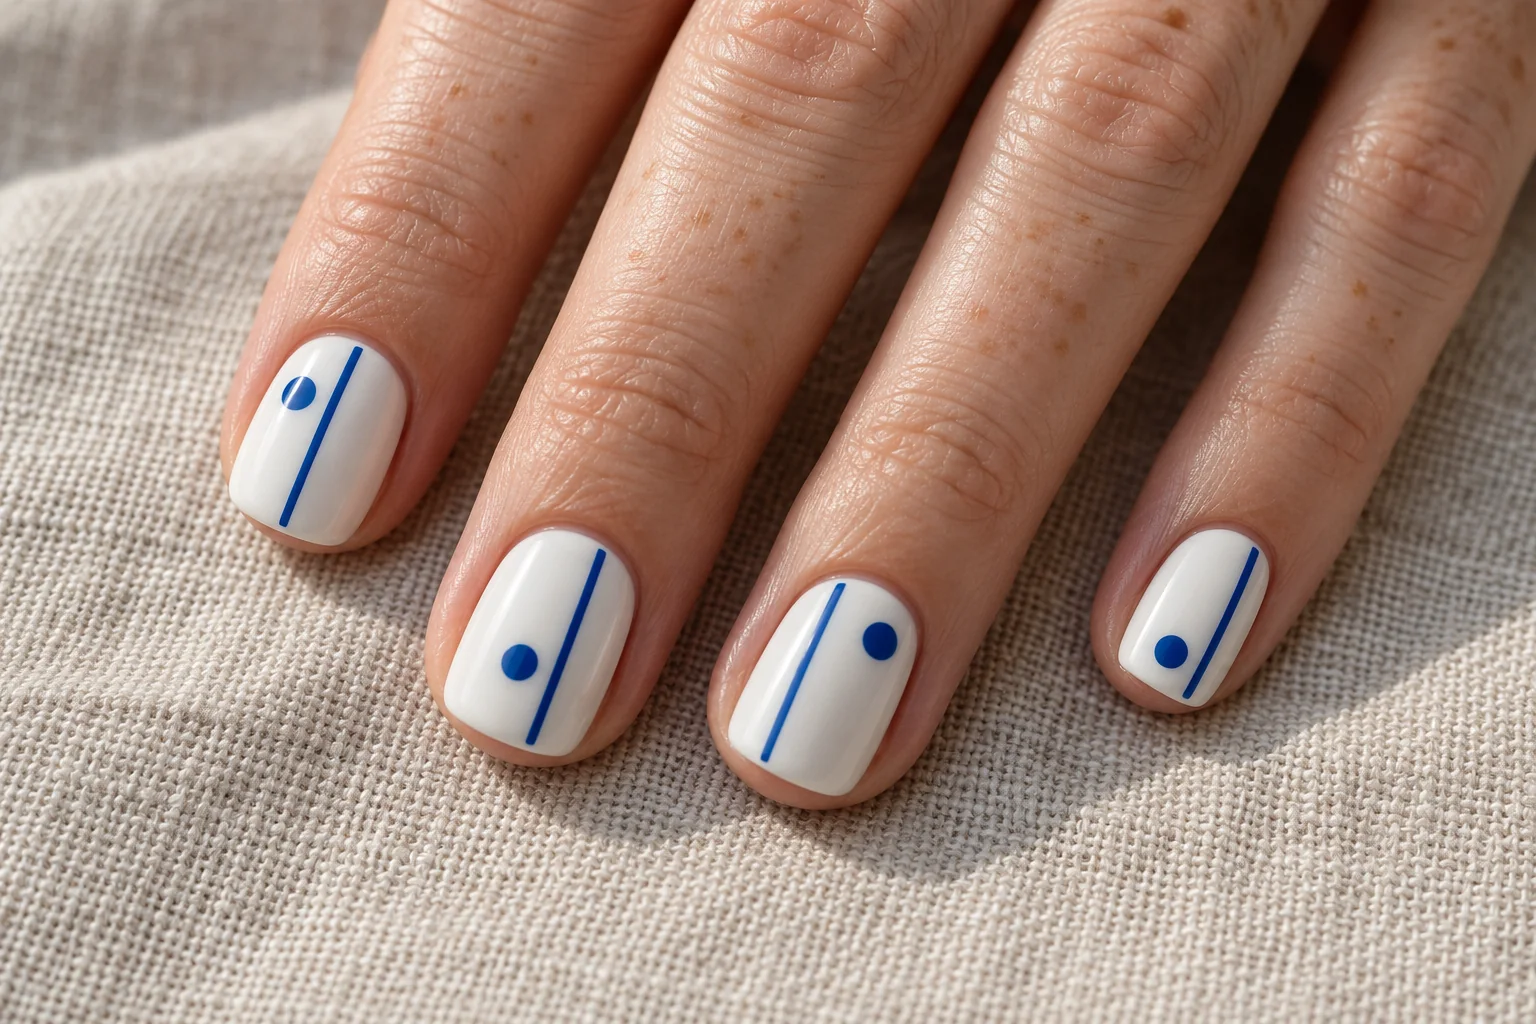
Cobalt blue looks fresh against a clean white base. A single dot and one slim line create a compact design with a clear focal point. Moving the dot slightly from nail to nail gives the set variety while preserving the same simple visual language.
One Dot, One Line
Short squoval nails make this pattern easy to read. Keep the dot separate from the line instead of joining them into an accidental symbol. The blue does not need to cover much surface to make an impression. Its strong contrast with white supplies the impact.
7. Lilac Chevron Tips
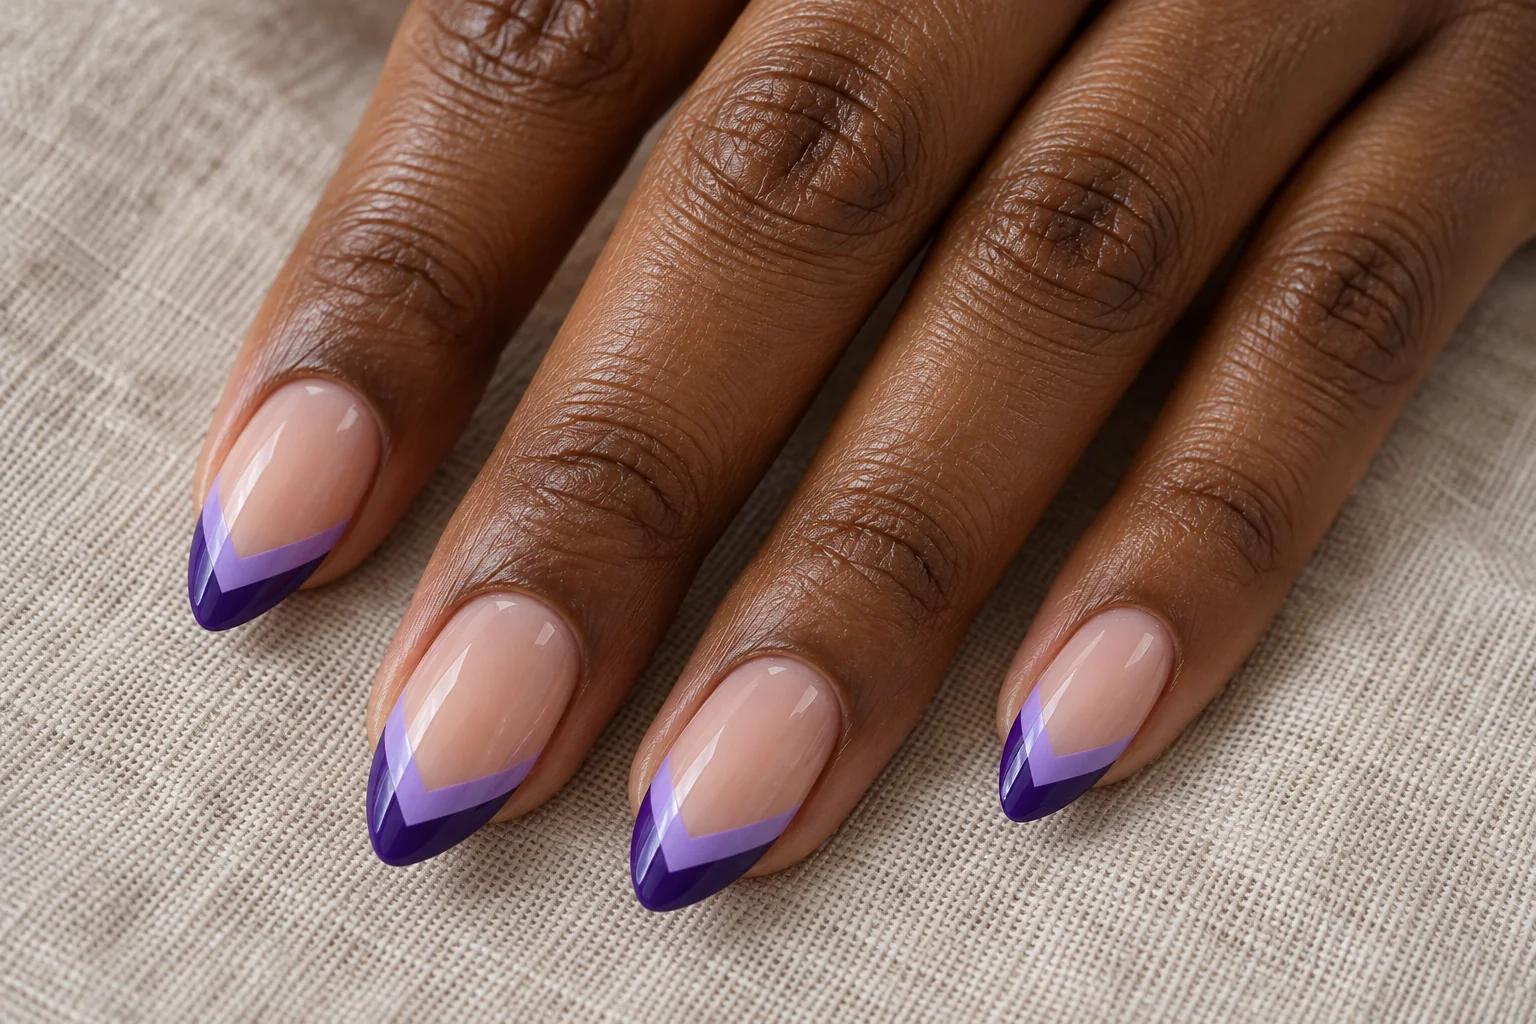
Lilac chevron tips replace the rounded French border with a pointed V. A second purple edge gives the tip more depth without adding raised decoration. The nude base keeps the shapes crisp and makes the two shades easier to distinguish.
Use Two V-Shaped Edges
Almond nails naturally support the pointed design, but the chevrons should not extend too far toward the cuticle. Leave a generous clear centre. Ask for the V to meet neatly near the middle of each tip, with similar line widths on both sides for a balanced finish.
8. Olive Abstract Arches
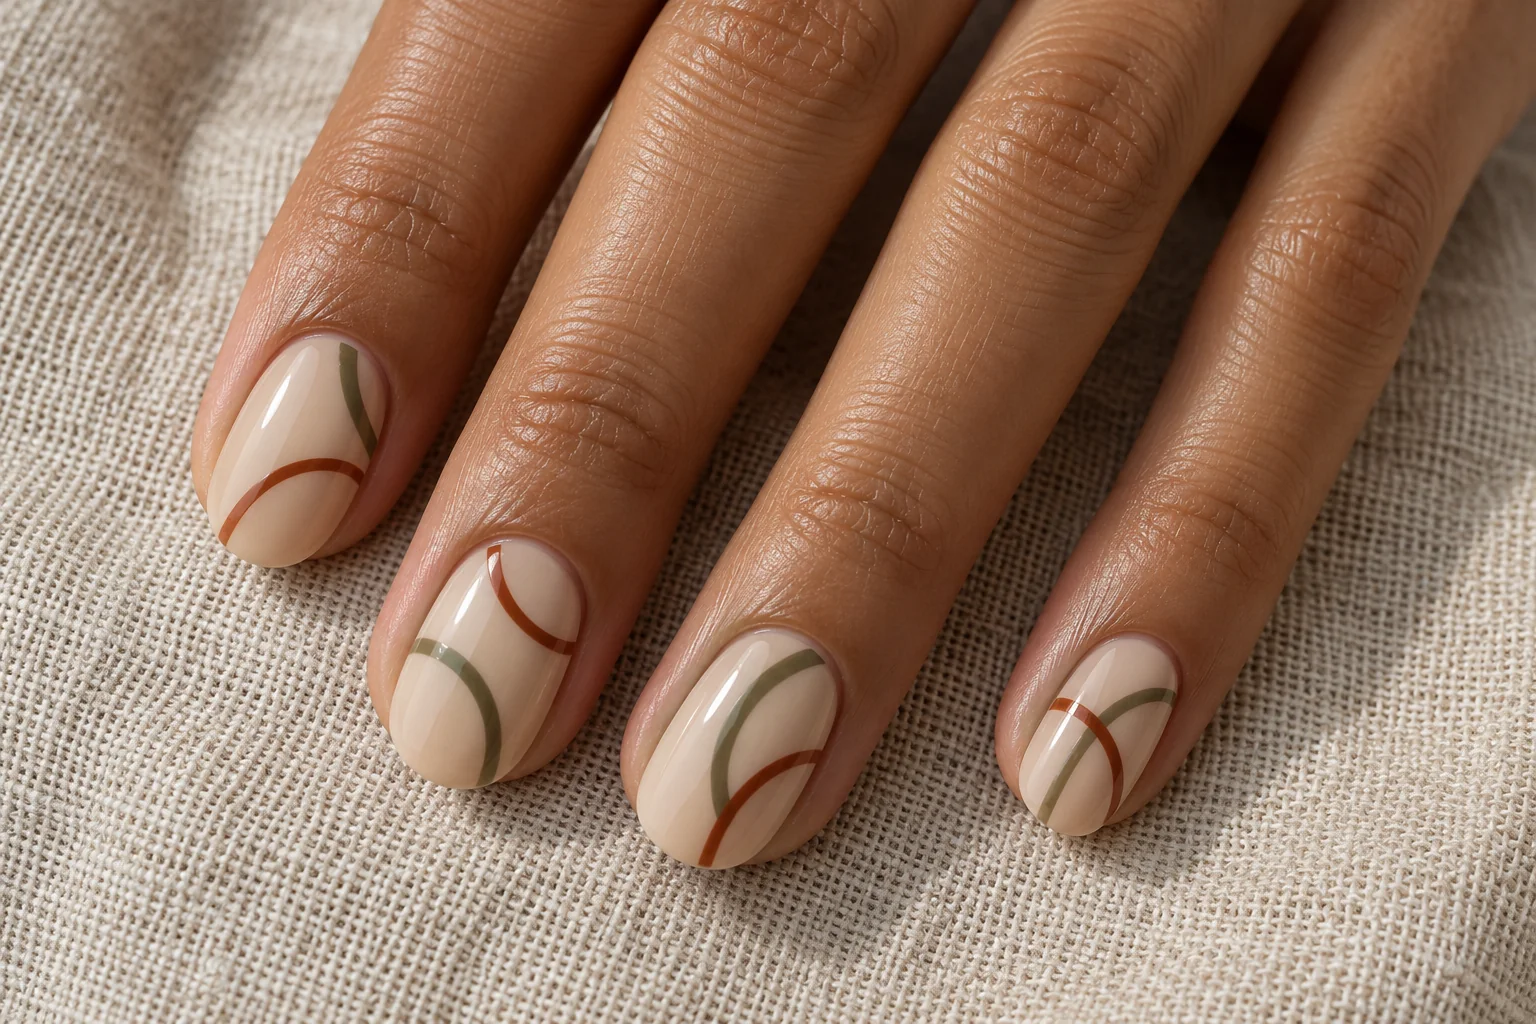
Olive and rust arches bring a softer geometry to a beige manicure. Their curved lines can overlap or sit at different heights, creating movement without using floral motifs. The warm background connects the colours and leaves room for the arches to stay visible.
Curves That Move Across the Set
Rounded nails suit this relaxed pattern. Keep the lines thin and let some curves continue beyond the nail edge rather than squeezing every arch into a complete shape. Different placements work well here, provided the colour palette and brush thickness remain consistent across the manicure.
9. Silver Triangle Accent
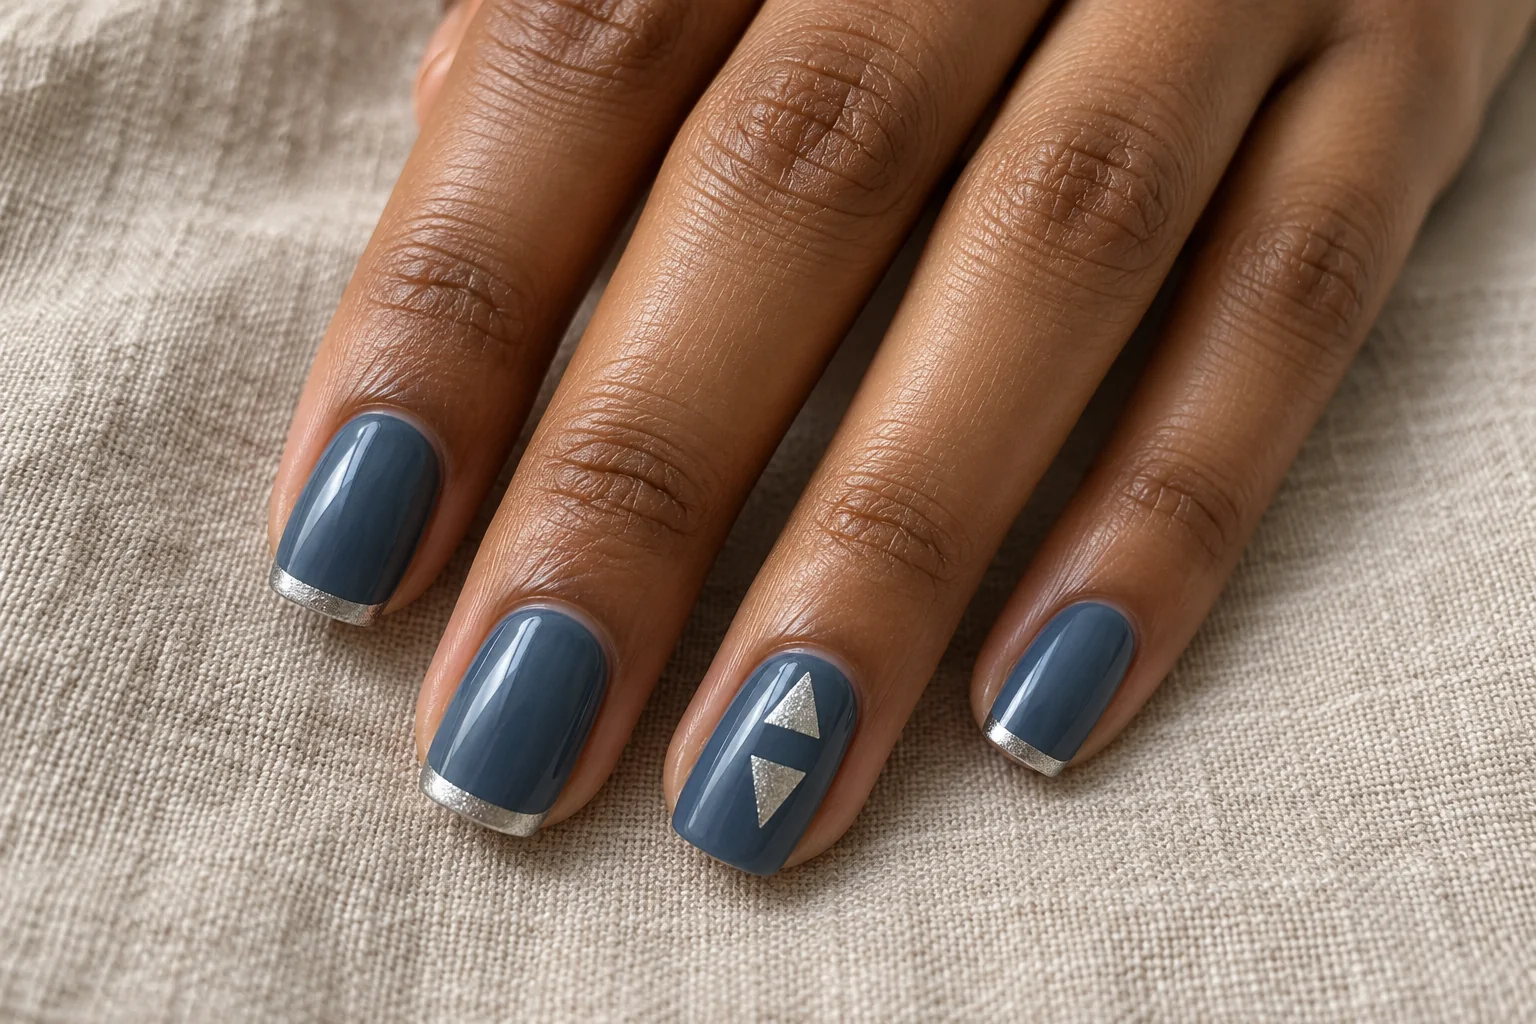
Silver triangles add a focused metallic detail to slate-blue nails. Their straight sides contrast with the softer nail outline. Place the triangles on one accent nail and use a narrow silver tip elsewhere, rather than covering every finger with a repeated metallic badge.
A Small Metallic Shape
The triangles should have enough space around them to read as separate shapes. Two small pieces can be more effective than one large panel. A squoval shape provides a useful background for the angular detail. Keep the silver restrained so it complements the blue instead of hiding it.
10. Red Split-Tone Nails
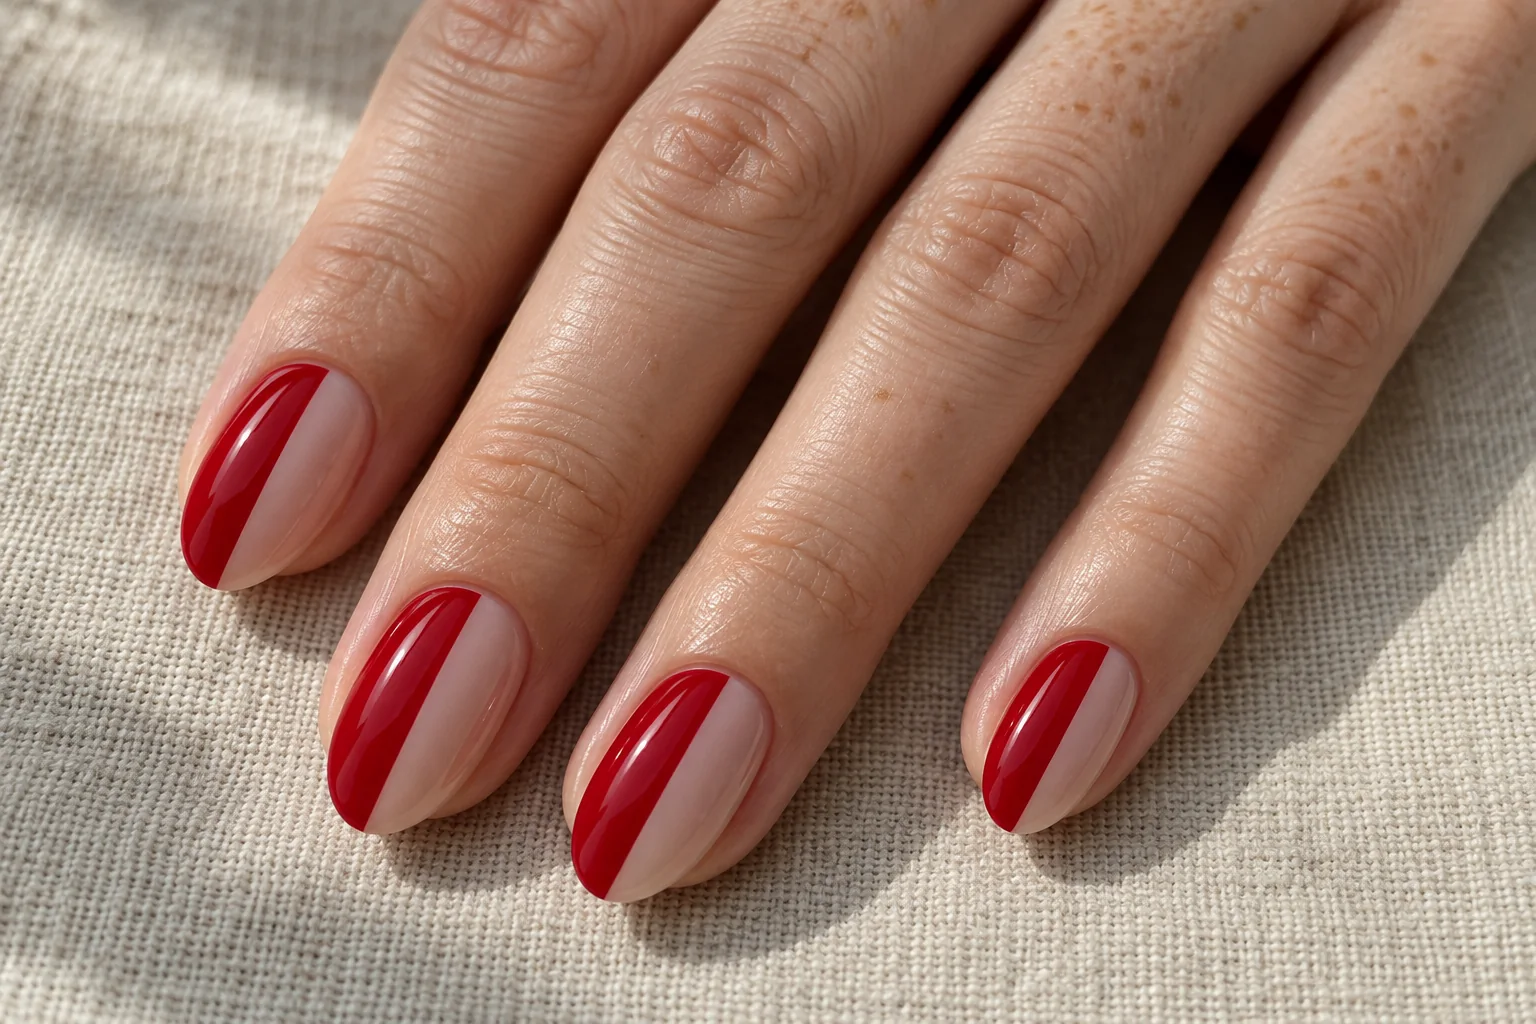
A cherry-red section beside sheer nude polish creates a bold split-tone manicure. The straight lengthwise boundary becomes the design, so there is no need for flowers, gems or extra outlines. Red supplies the colour; the clear portion supplies the breathing room.
Divide the Nail Into Two Stories
Oval nails soften the strong division. You can place the red on the same side of every nail or alternate sides for a more playful arrangement. Keep the boundary clean and the nude portion wide enough to remain visible. A very narrow clear strip changes the effect into a stripe.
11. Peach Concentric Circles
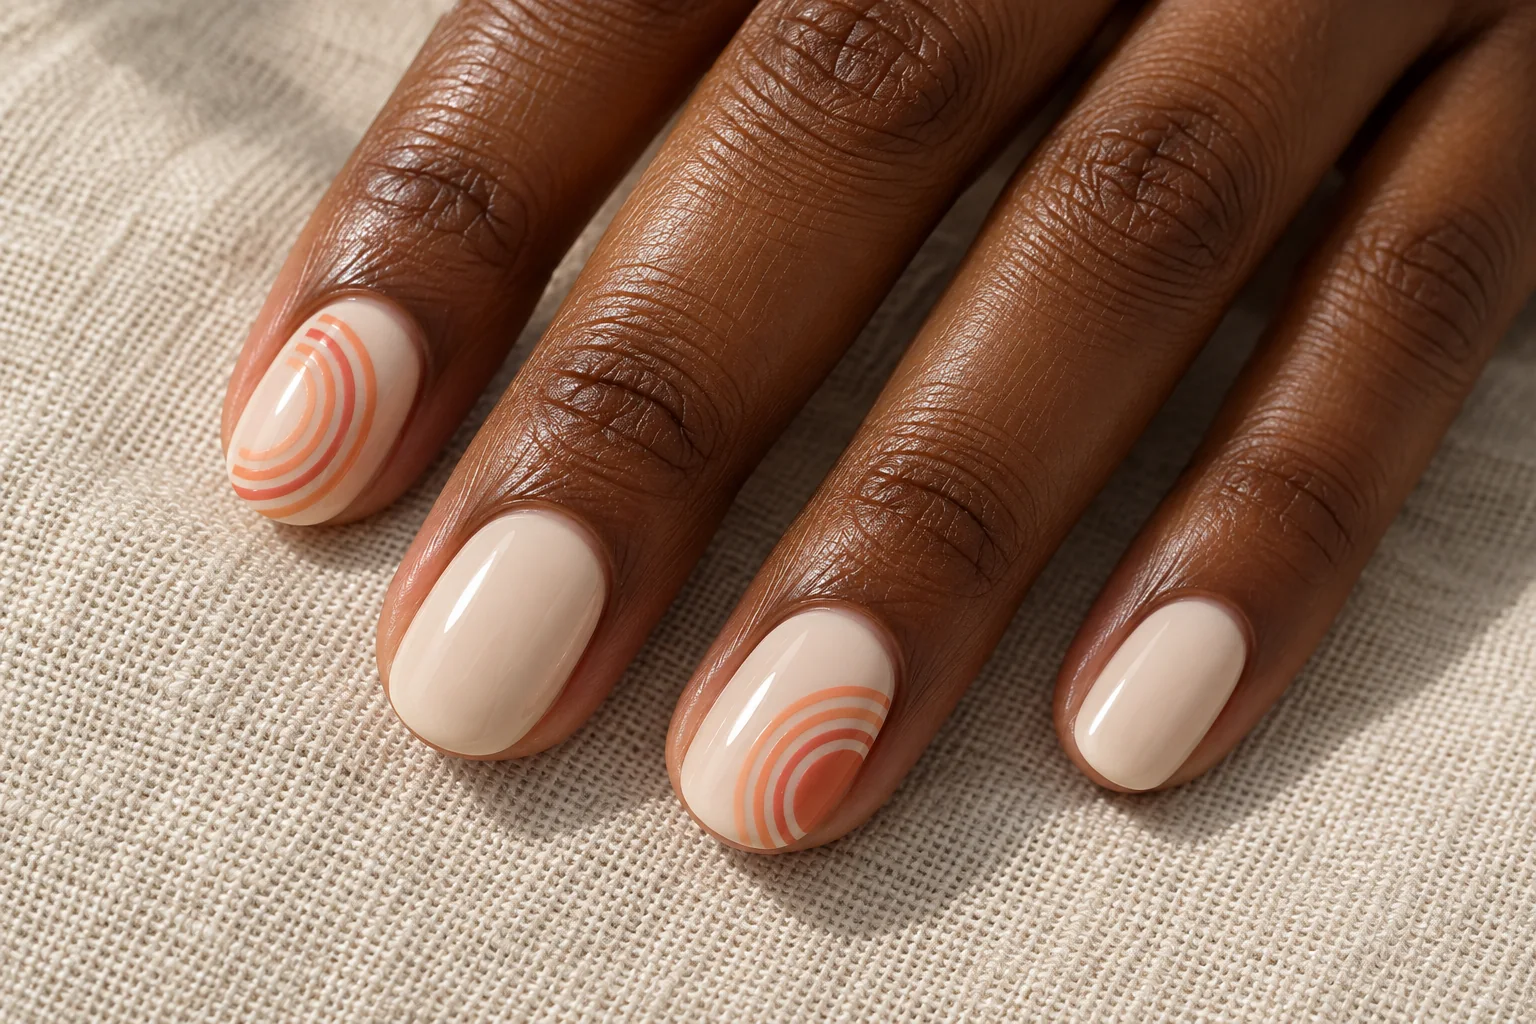
Peach and coral rings on cream polish create a gentler graphic design. Concentric circles give the accent nail a clear centre without filling it with a solid spot. The warm tones remain subtle, but the repeated outline makes the pattern recognisable.
Circular Details With Room Around Them
Short oval nails work well with these rounded shapes. Keep the circles on selected nails and use plain cream beside them. The rings need visible space between their edges. If they are painted too close together, they can merge into a thick patch rather than a light circular pattern.
12. Teal Zigzag Edge
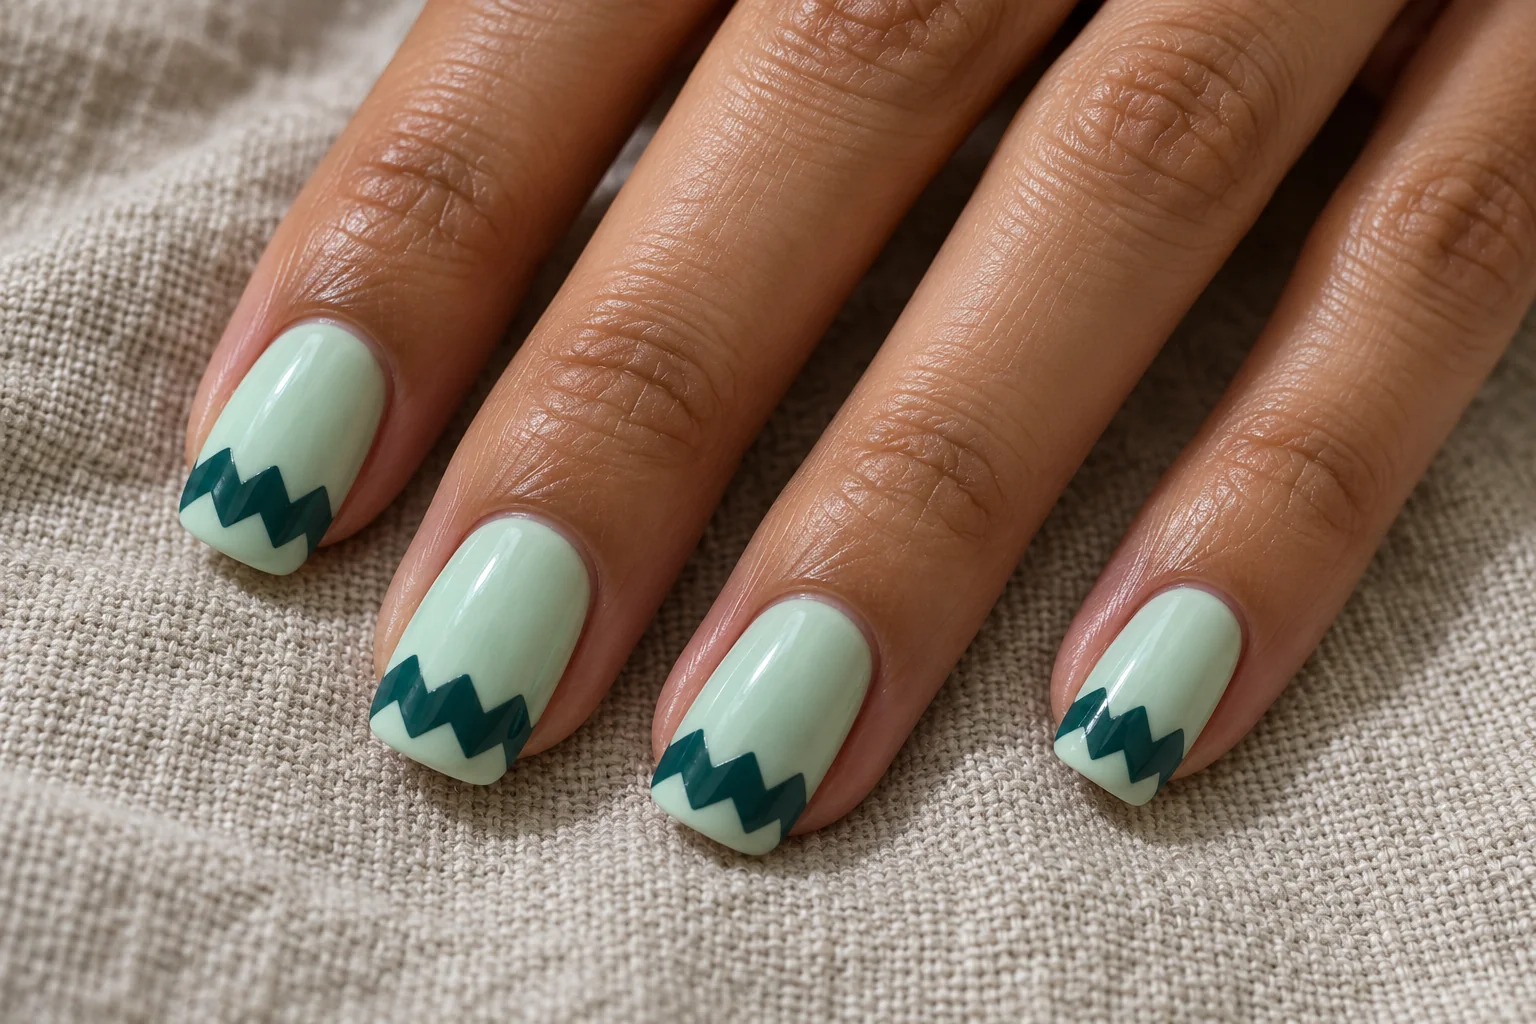
A dark teal zigzag band brings a sharper edge to pale mint nails. The pattern sits near the tip, leaving the rest of the nail simple. Its repeated peaks create movement while the limited palette keeps the manicure coordinated.
A Zigzag Instead of a Straight Tip
Square nails give the zigzag a clear horizontal setting. Ask for similar peak heights and a narrow band rather than a large sawtooth shape covering half the nail. Keep other decoration minimal. The contrast between mint and teal already makes the edges visible without extra metallic outlines.
13. Chocolate Uneven Stripes
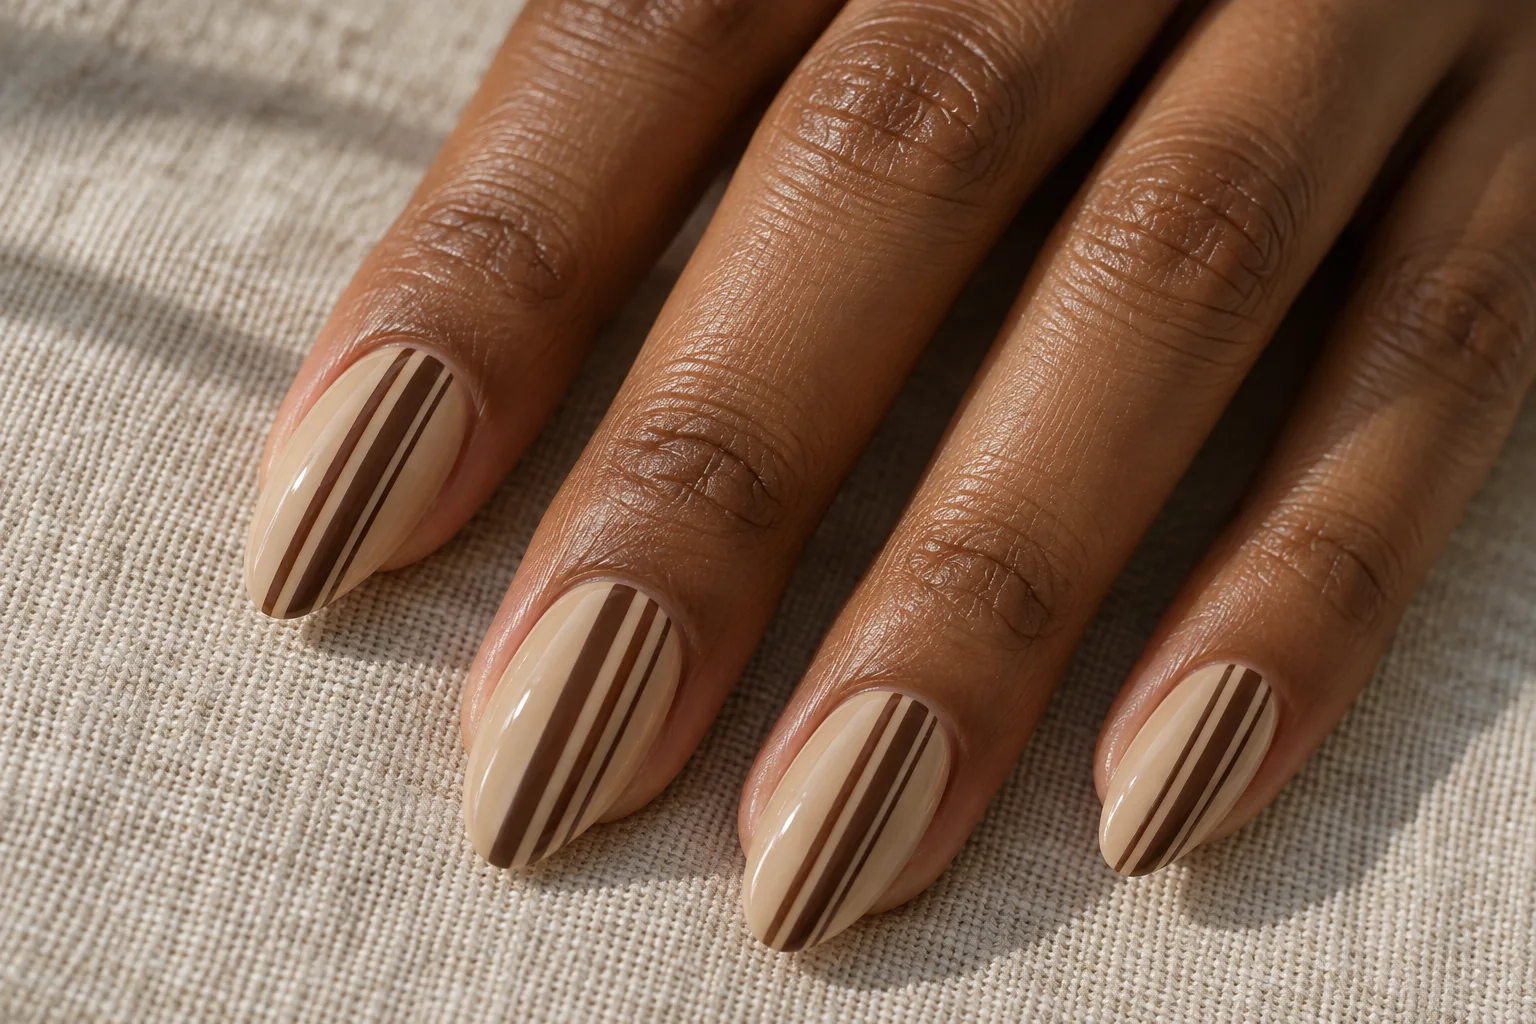
Chocolate stripes on beige polish create a warm, understated graphic set. The lines run lengthwise, but their different widths prevent them from looking like a rigid uniform. Offset placement gives each nail a little individuality while keeping the overall direction consistent.
Vary the Width, Keep the Direction
Almond nails complement the longer lines. Leave plenty of beige between the stripes so the background remains part of the design. A mix of one slightly wider stripe and two fine ones can feel more considered than several identical bands. Keep the brown clear and rich rather than muddy.
14. Mustard Diamond Tiles
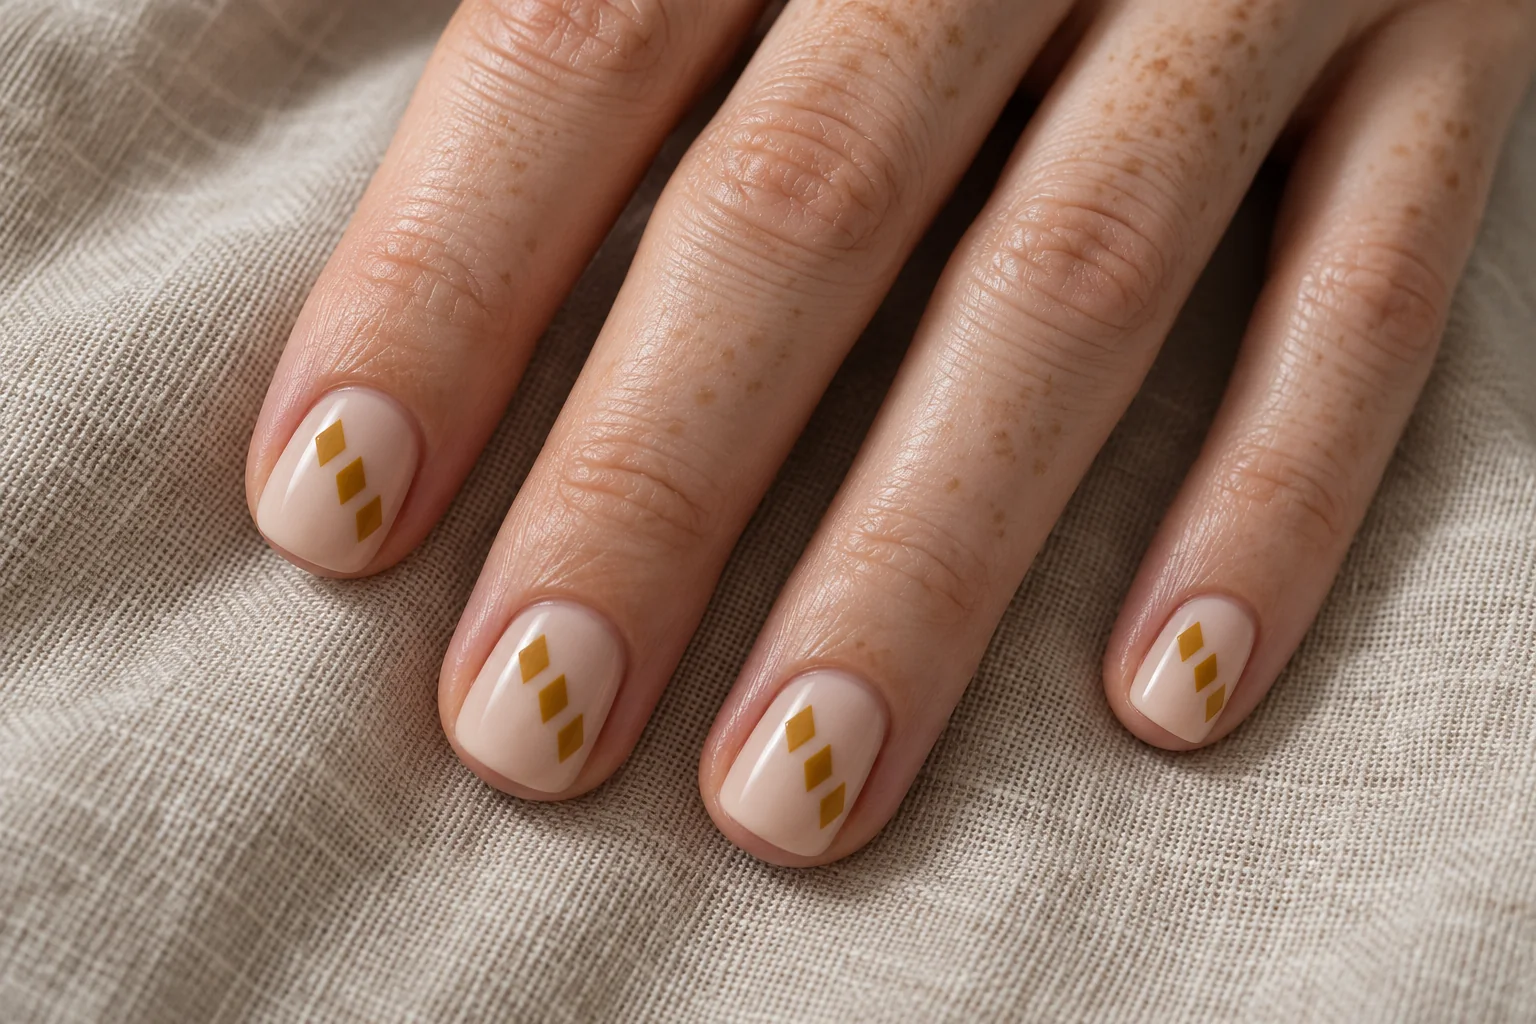
Mustard and ochre diamonds create a tile-like detail on creamy nude nails. A staggered row adds movement without using a full checkerboard. The shapes should remain separate, with a little background visible around each one, so the design stays light.
Turn Small Diamonds Into a Rhythm
Short squoval nails suit this compact pattern. Choose small diamonds that fit comfortably inside the nail outline rather than cutting large shapes awkwardly at the sides. Repeating the same warm palette connects the fingers. The arrangement can vary slightly while the number and scale of the diamonds stay similar.
How to Choose Your Geometric Nail Art Pattern
Start with the amount of detail you want to see across the whole hand. Checkerboards and diamond tiles create a repeated rhythm, while a split-tone nail relies on one strong boundary. If you prefer a quieter look, choose dots, fine grids or metallic triangles on a small number of accent nails.
Think about the nail outline as well. Square and squoval tips give straight patterns a natural setting. Almond and oval nails can soften angular shapes or support curves. These are design suggestions rather than fixed rules: a good nail artist can change the scale and placement to suit the surface available.
Make the Colours Work With Your Wardrobe
A manicure can connect with clothes you already enjoy. Warm terracotta and chocolate shades pair easily with our cardigan and jeans outfit ideas. If you prefer richer colours, explore our burgundy outfit inspiration and use a small matching detail rather than copying the entire outfit palette.
For a softer finish, choose a pale base and keep the pattern to one or two colours. A natural makeup look can complement a detailed manicure without competing with it. If you want raised texture for a future appointment, our 3D flower nail art collection offers a different direction.
Save the designs that appeal to you, then compare their shapes as well as their colours. Ask your artist to explain how the spacing and line thickness will change on your own nails. A simple pattern with clear placement often has more impact than adding every detail at once.