Category: Nails

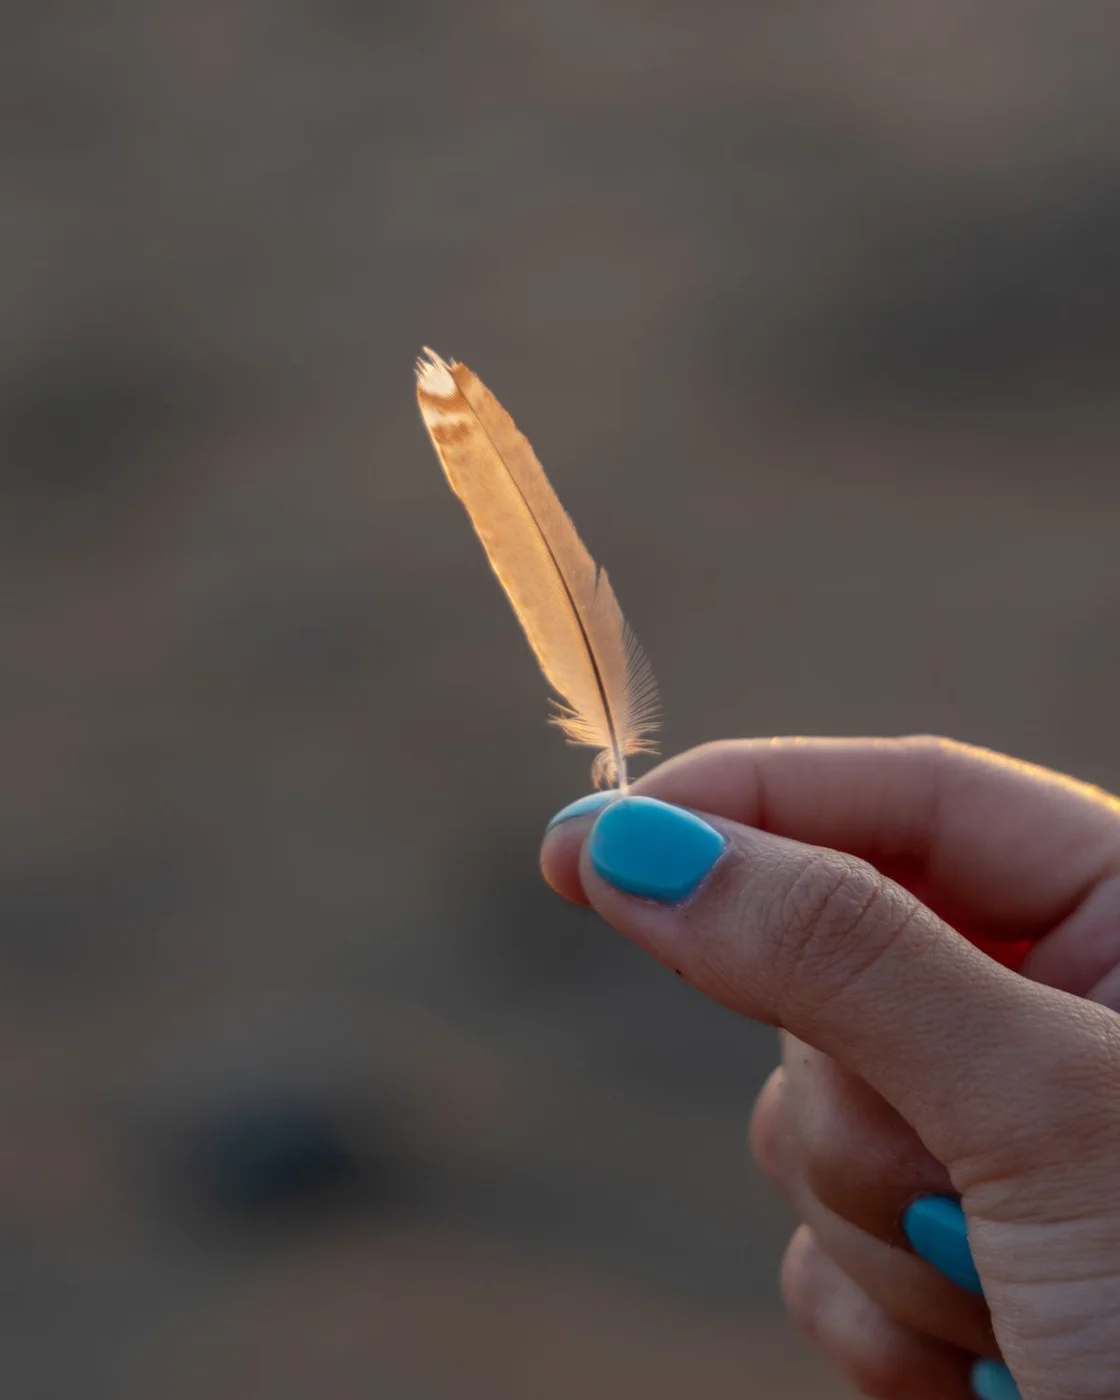
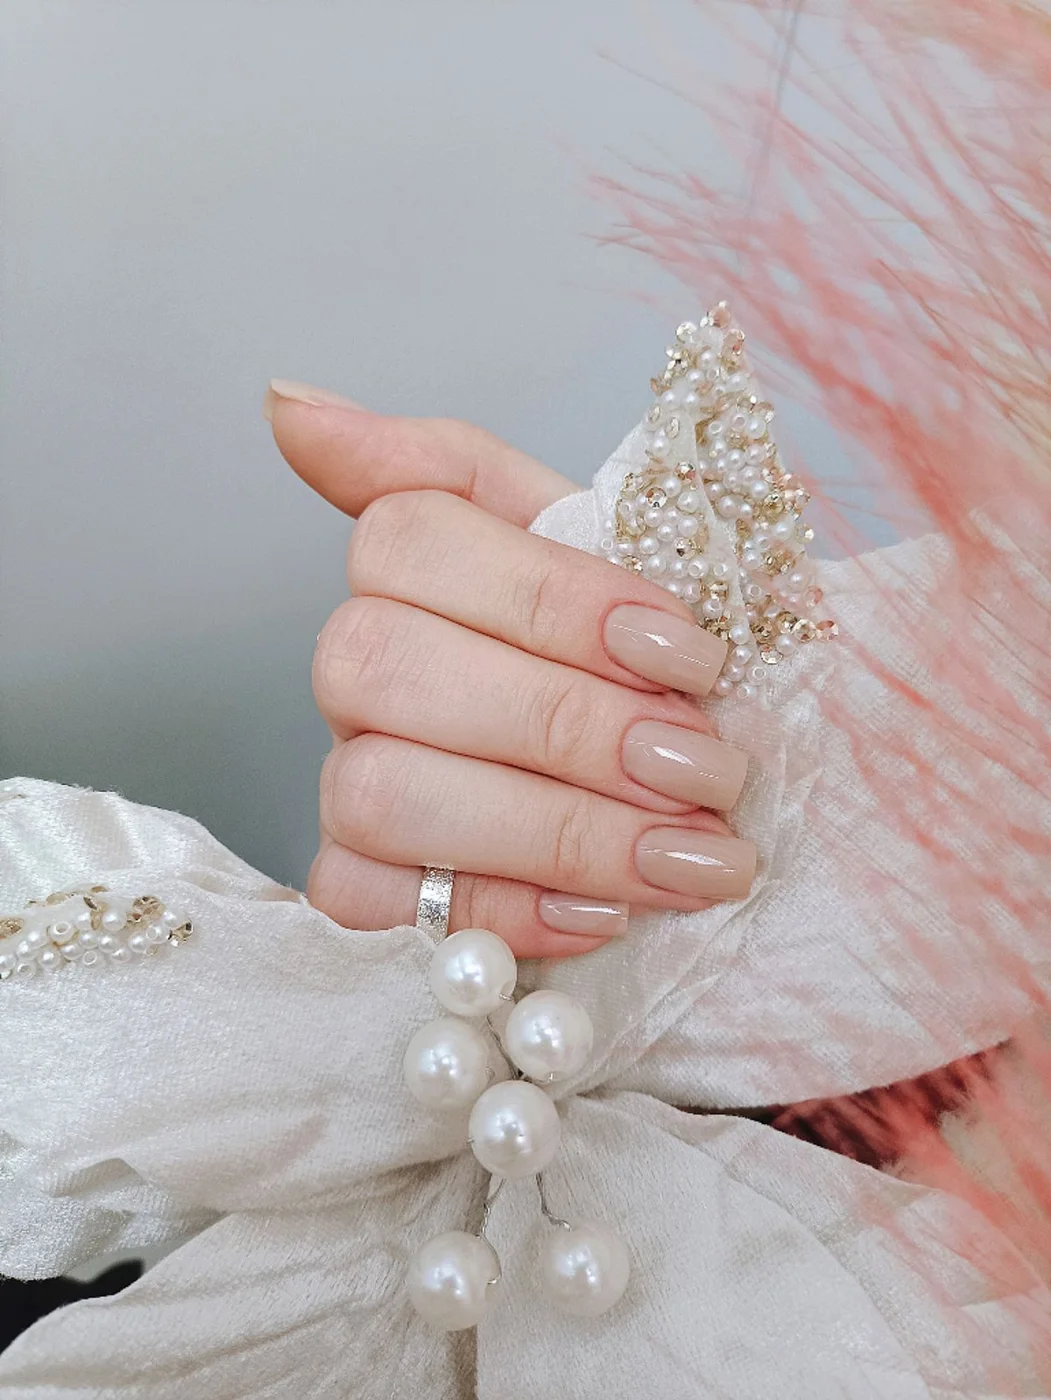
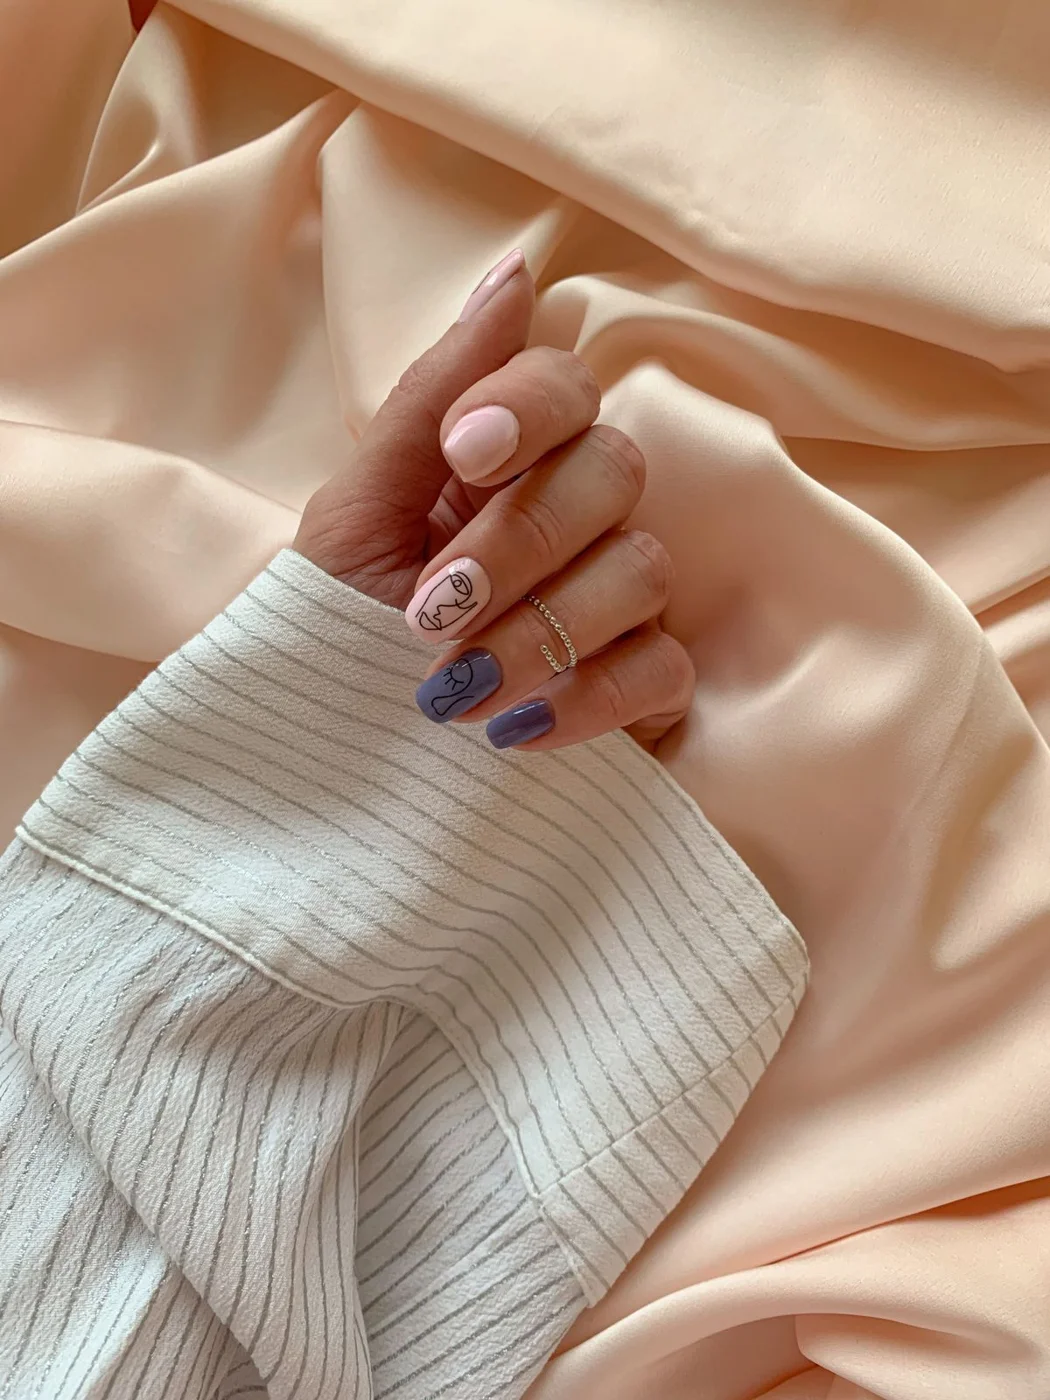
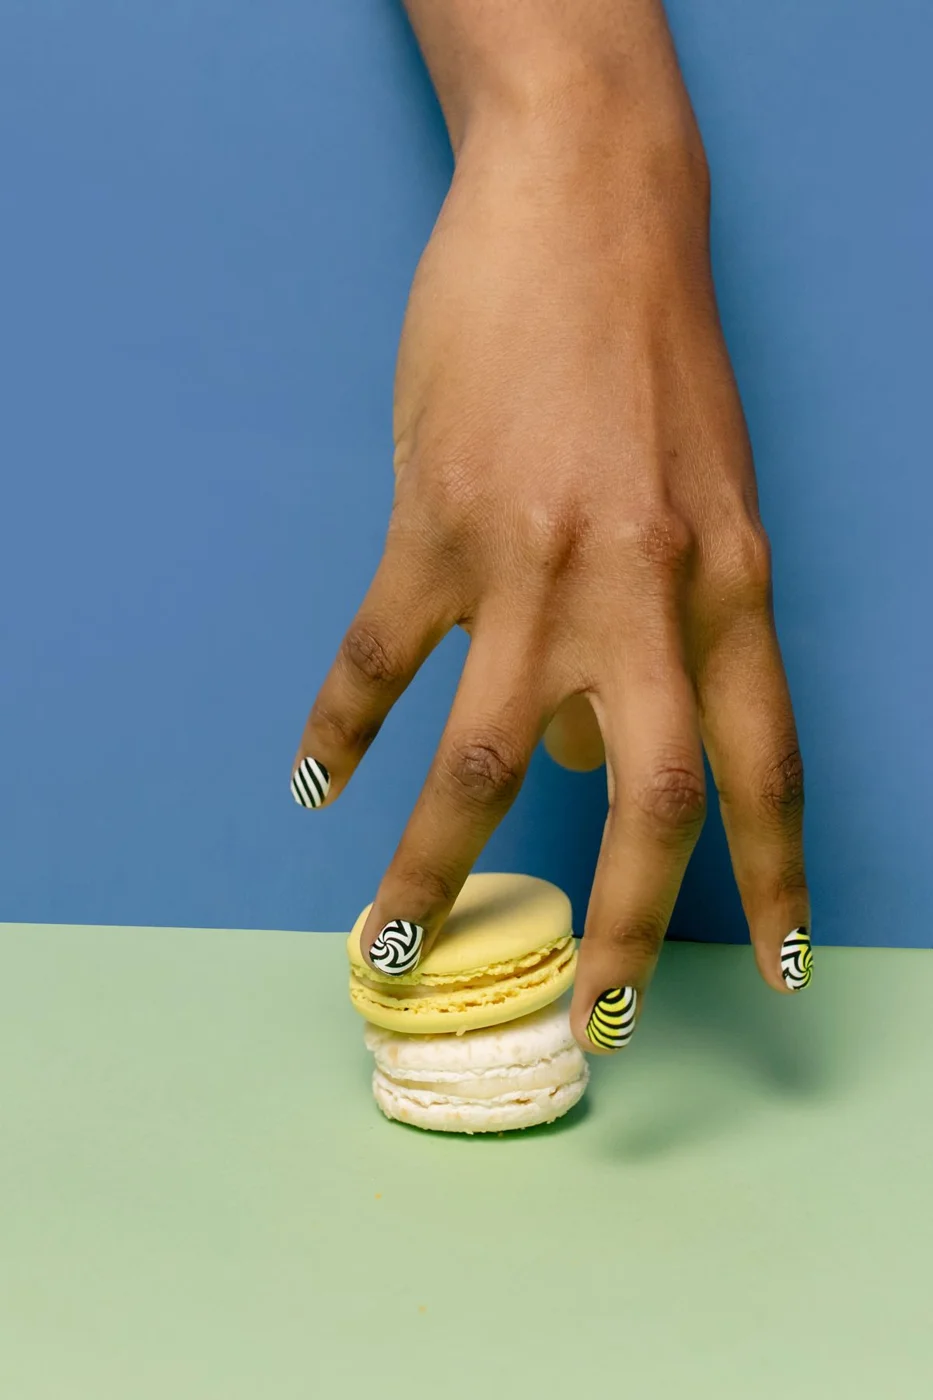
Explore nail art designs, manicure colour palettes and pattern inspiration. From sculpted flowers to crisp geometric details, discover ideas to discuss with your nail artist.

  • Best Cute Nail Ideas: 10 Pretty Manicures to Try

    Best Cute Nail Ideas: 10 Pretty Manicures to Try

    The best cute nail ideas do not need an elaborate design on every finger. A soft colour, a neat tip or one playful detail can make a manicure feel personal. Start with a length that fits your routine, then choose the colour and finish you will enjoy looking at throughout the week.

    This guide brings together ten wearable directions, with two real photographs for each idea. The pairs show variations rather than identical salon sets. Use them to discuss colour, shape and detail with your nail artist. Photography, lighting and screens can change how polish looks, so compare an actual colour sample before choosing.

    1. Soft pastel nails
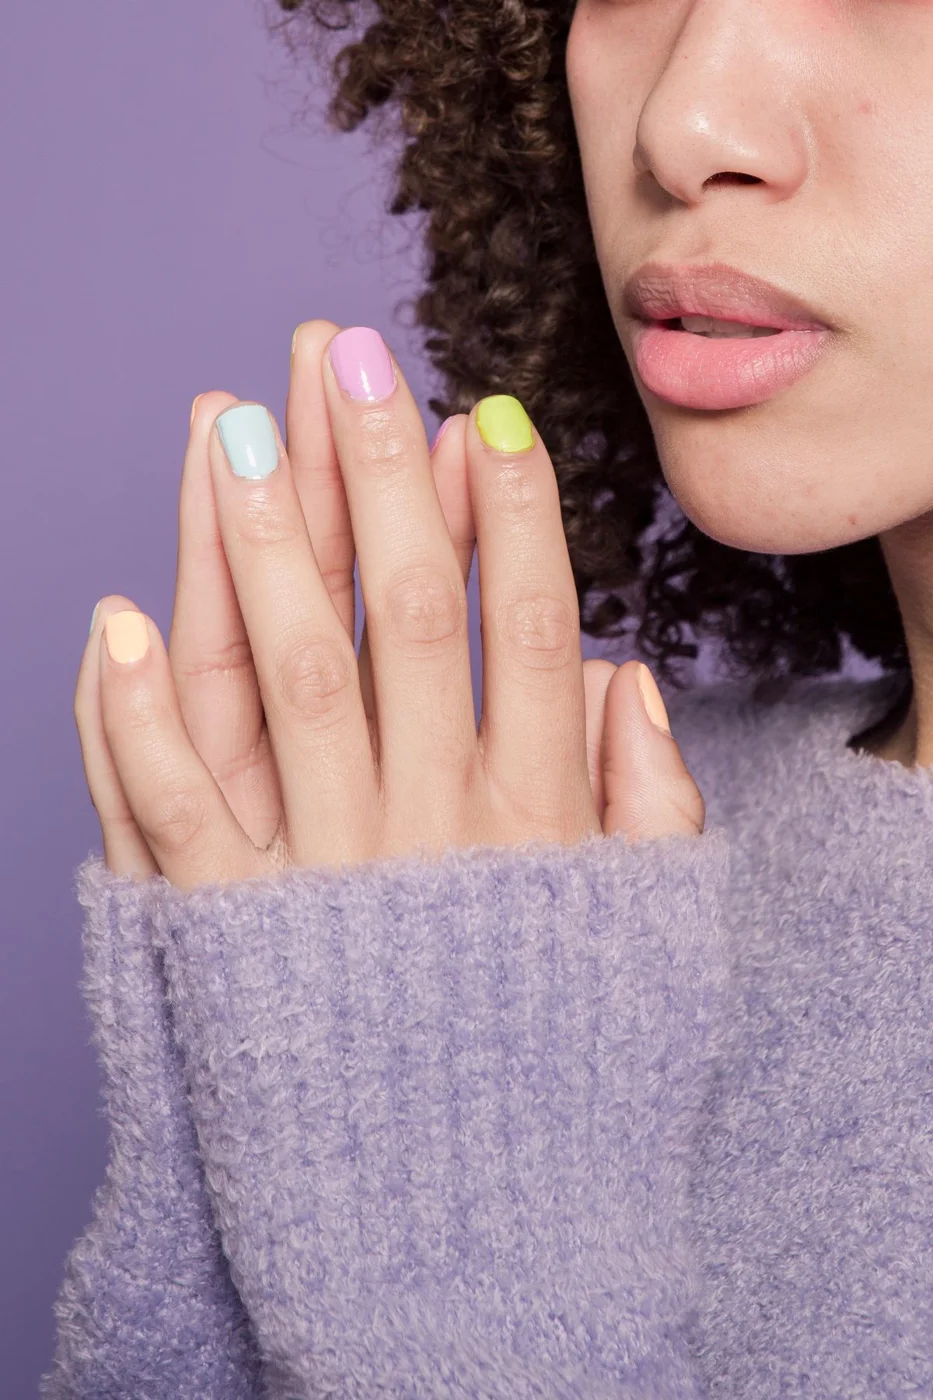
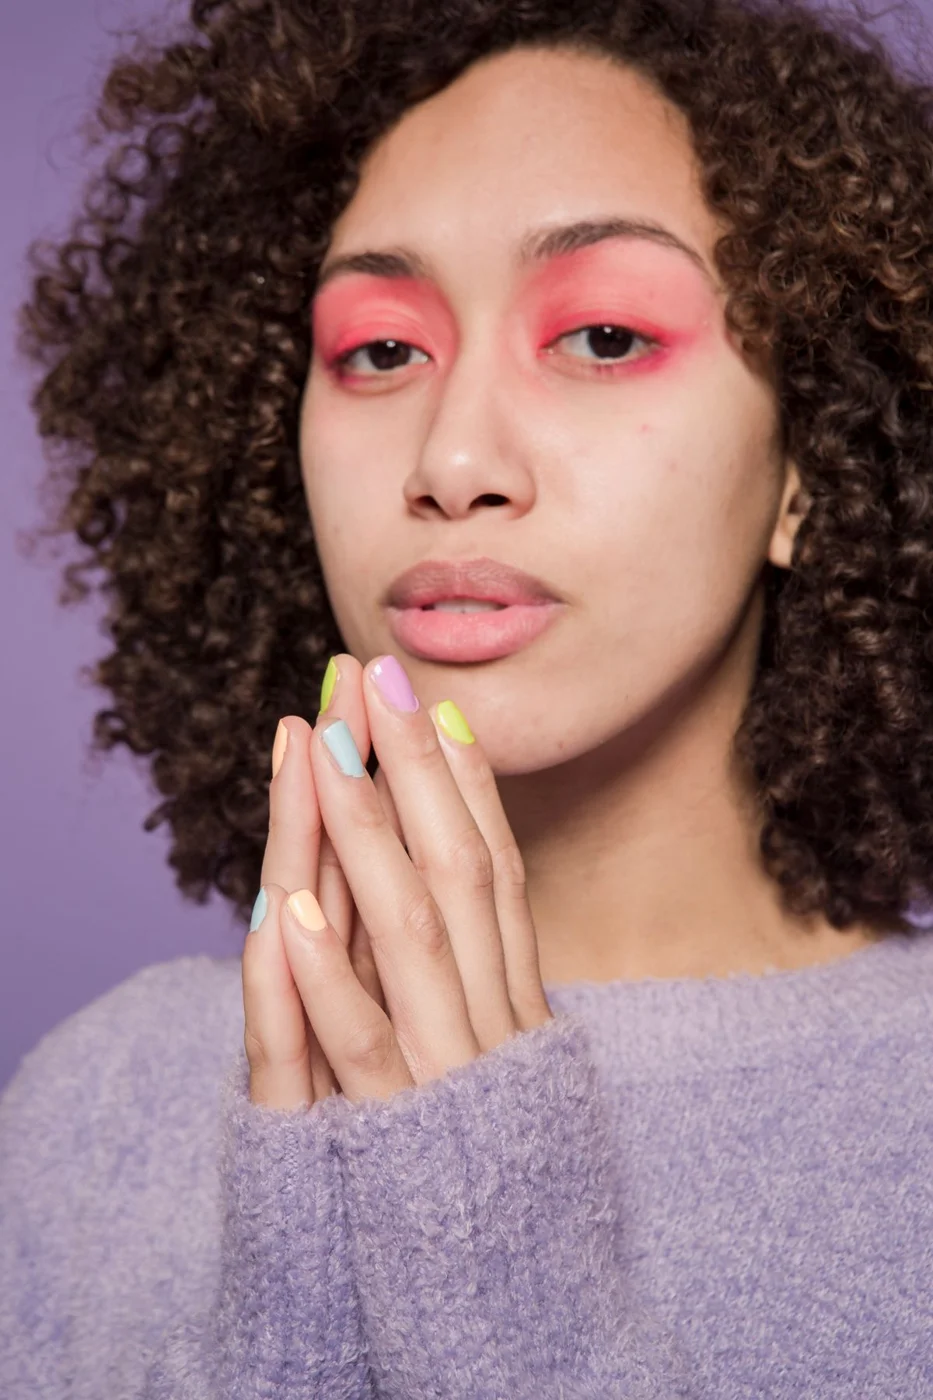
    Pastel nails feel cheerful without needing a complicated pattern. Try a small palette of lilac, pale pink and mint, letting each nail carry one colour. Keeping the finish consistent helps the shades look like a deliberate set rather than leftover polish. Rounded or softly squared tips keep the overall mood relaxed.

    For your own version, choose three colours that share a similar softness. If one shade is much brighter, use it on a single accent nail. A pastel manicure pairs easily with textured knitwear and simple jewellery. The two photographs show the palette from different poses, helping you see how the colours work together.

    2. Pink nails with a little sparkle
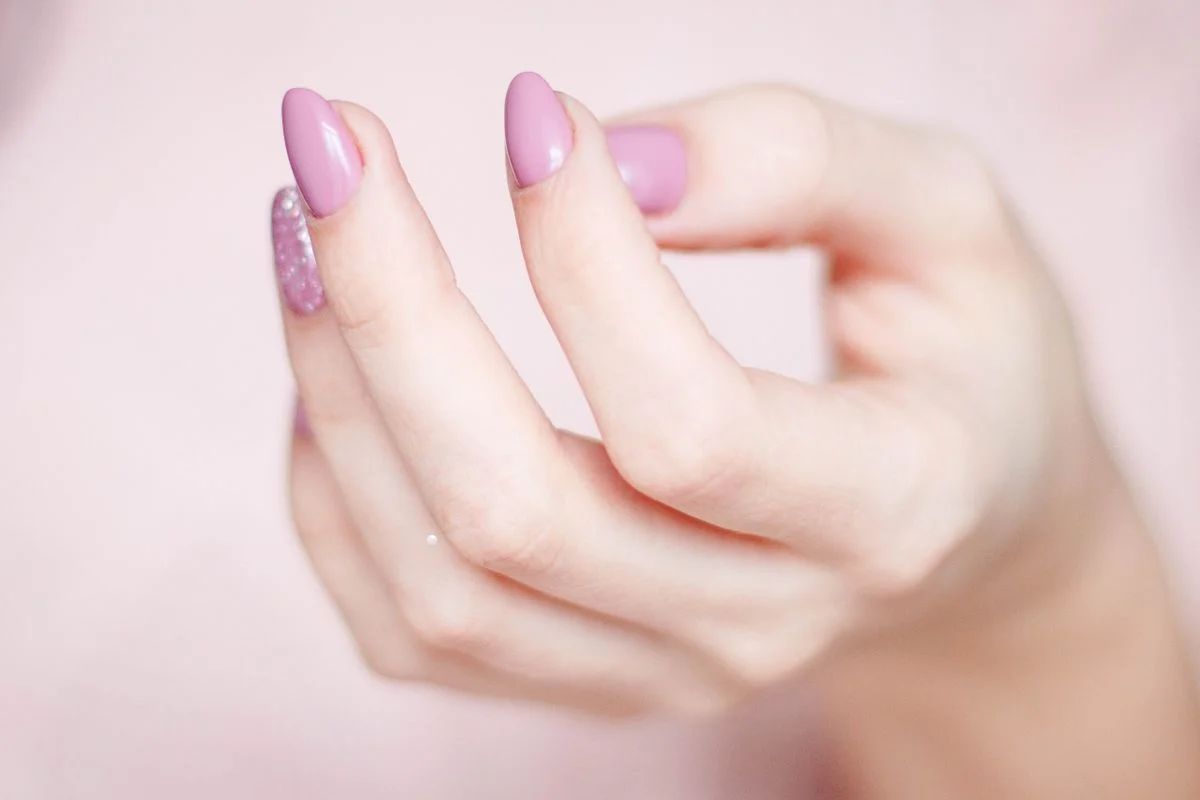
    A pink manicure becomes more playful when you introduce a small glitter accent. Keep most nails smooth and let one or two carry the sparkle. That contrast makes the detail easier to notice and avoids covering every nail with a busy finish. Fine shimmer creates a quieter effect than chunky particles.

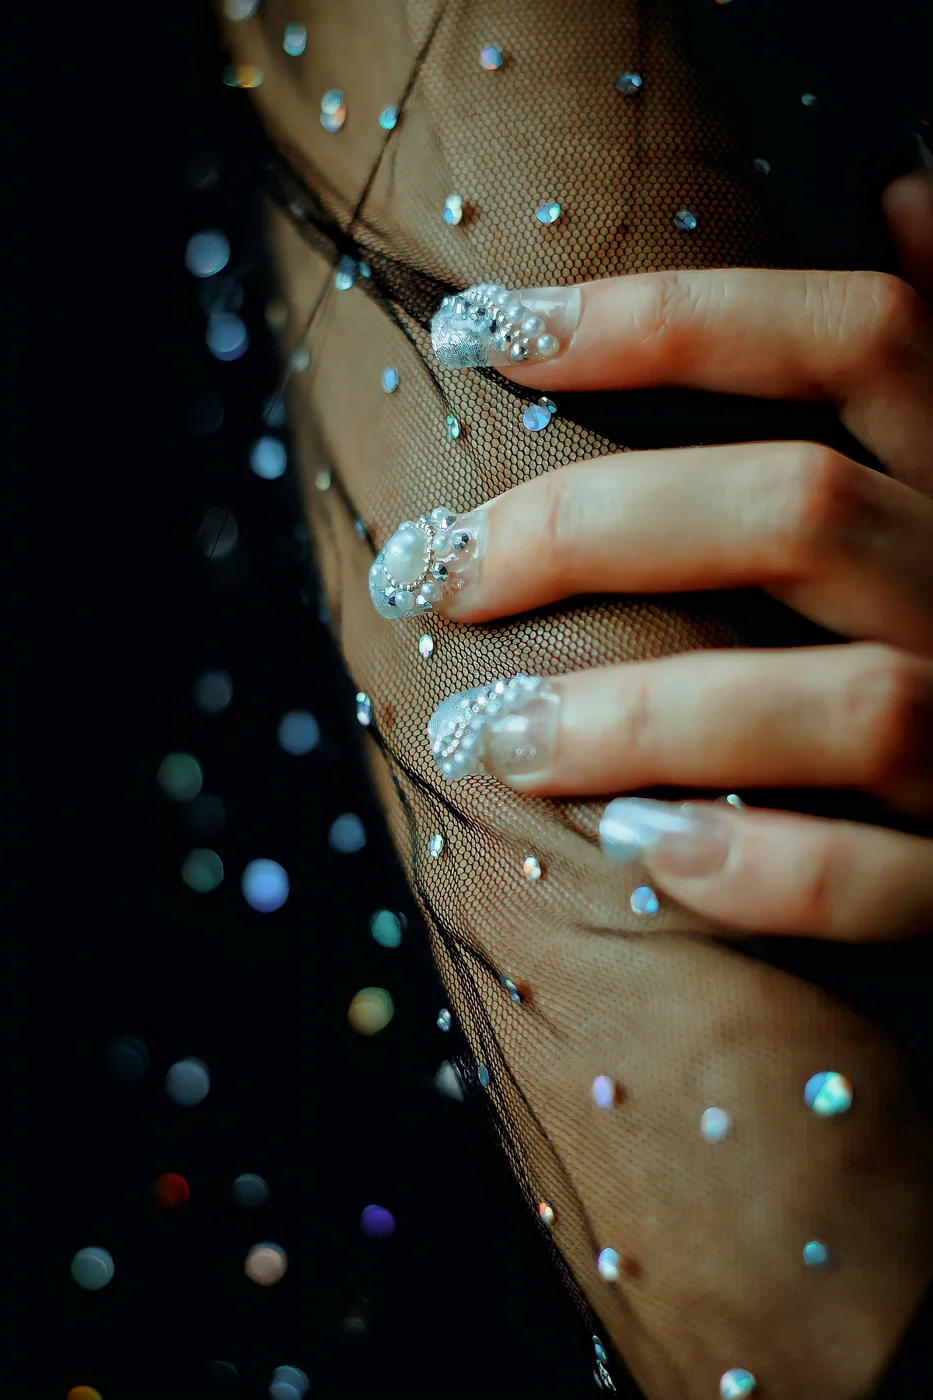
    The pink photograph offers a clear starting point, while the second image shows a more embellished finish for comparison. Borrow the balance rather than copying every decoration. Tell your nail artist whether you prefer subtle shine or obvious sparkle, and ask to see a sample. A photograph cannot reliably identify the polish product or application method.

    3. French tips with a colour twist
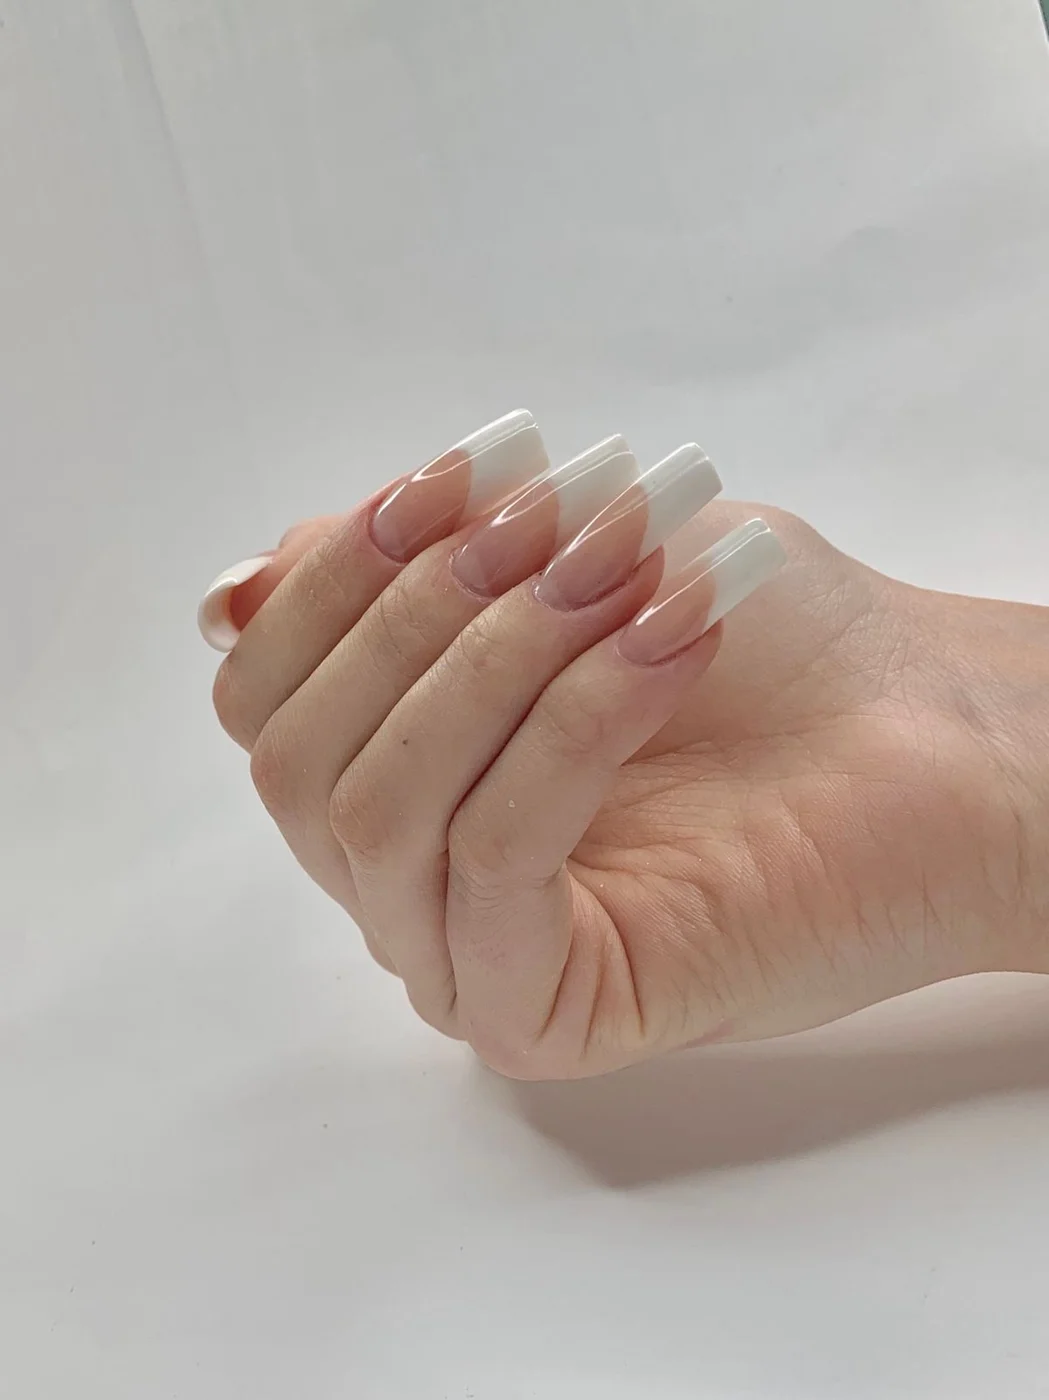
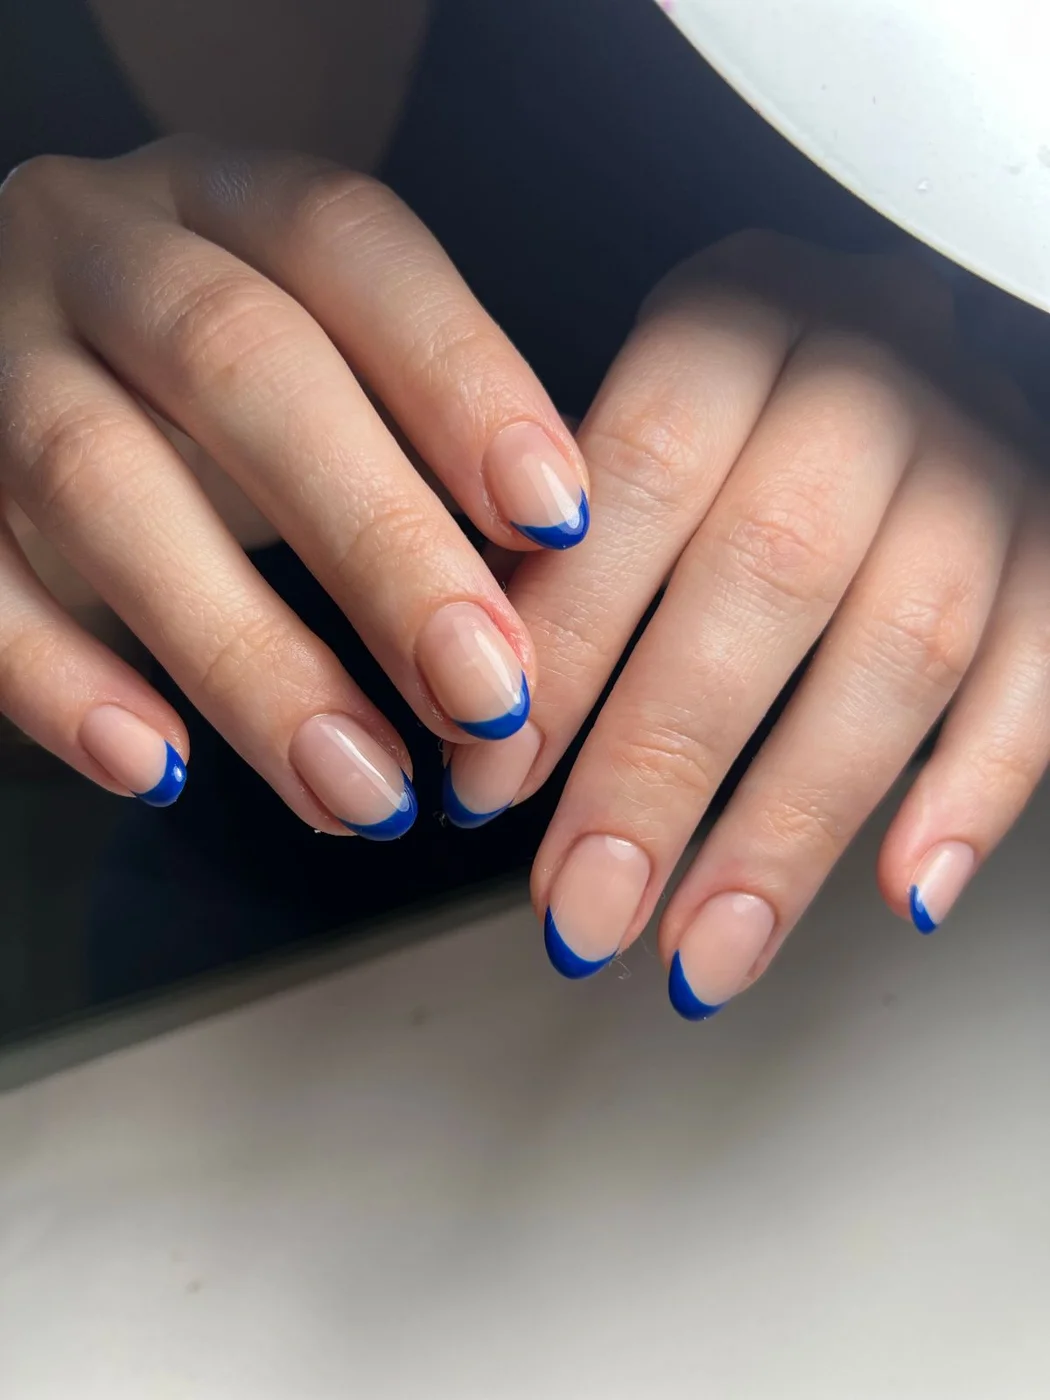
    French tips are useful when you want a defined detail and a softer-looking base. A narrow white edge feels classic, while a blue tip gives the same basic idea a brighter personality. These references show different approaches, so use them to decide whether you want the tip to whisper or stand out.

    Agree on the width of the edge before the manicure begins. On short nails, a very broad tip can take over the design. Keep the curve consistent and choose a base that looks good beside your skin rather than requesting a generic nude. Bring the photographs together if you want the artist to understand the contrast.

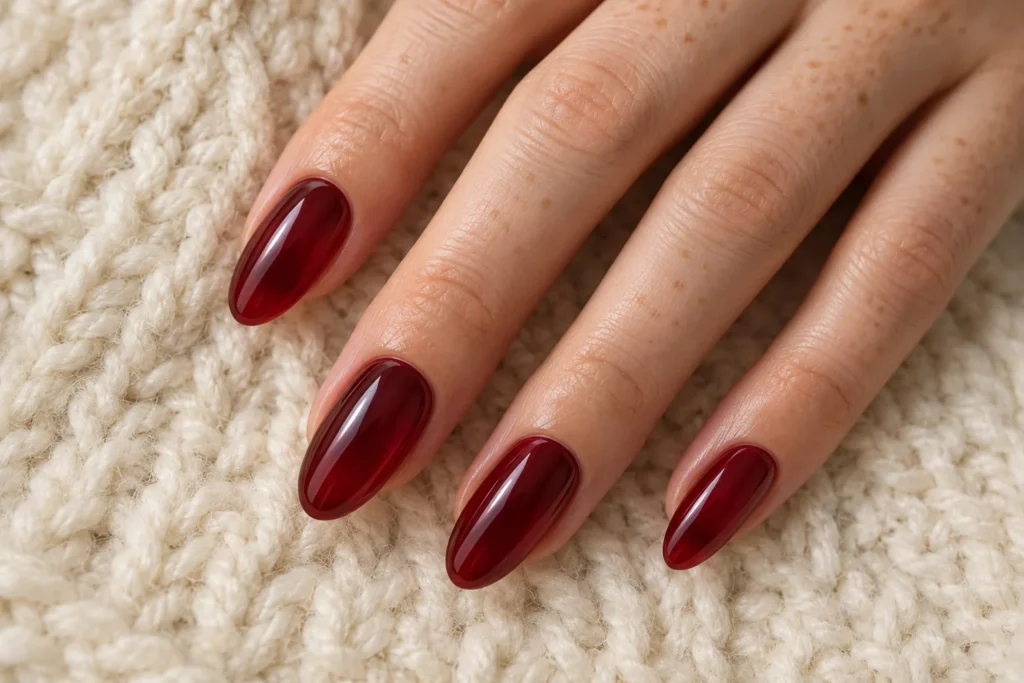
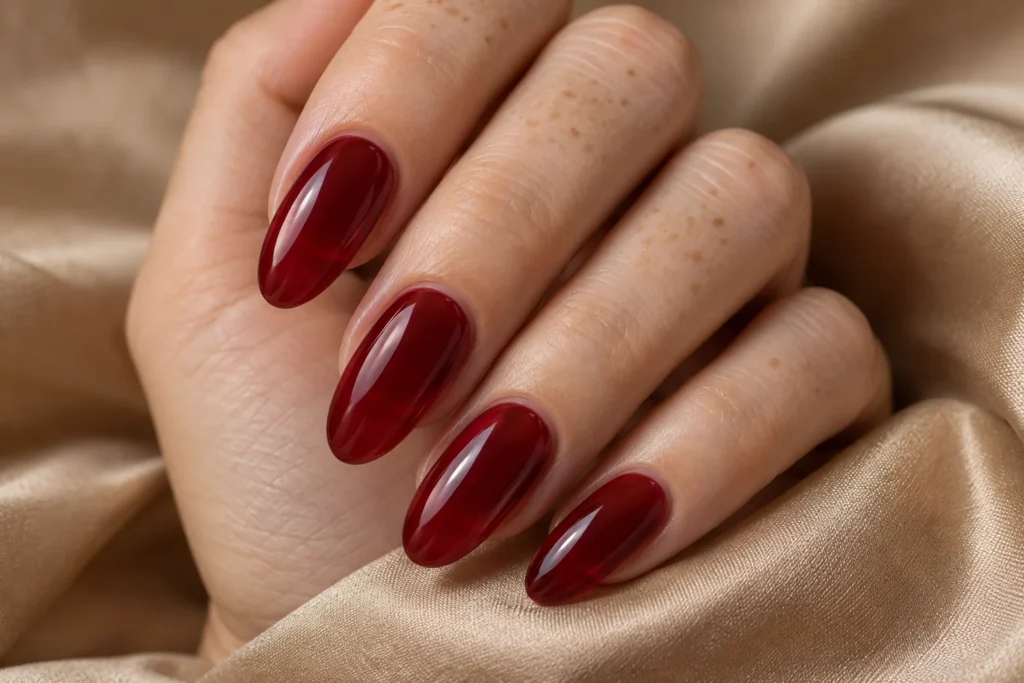
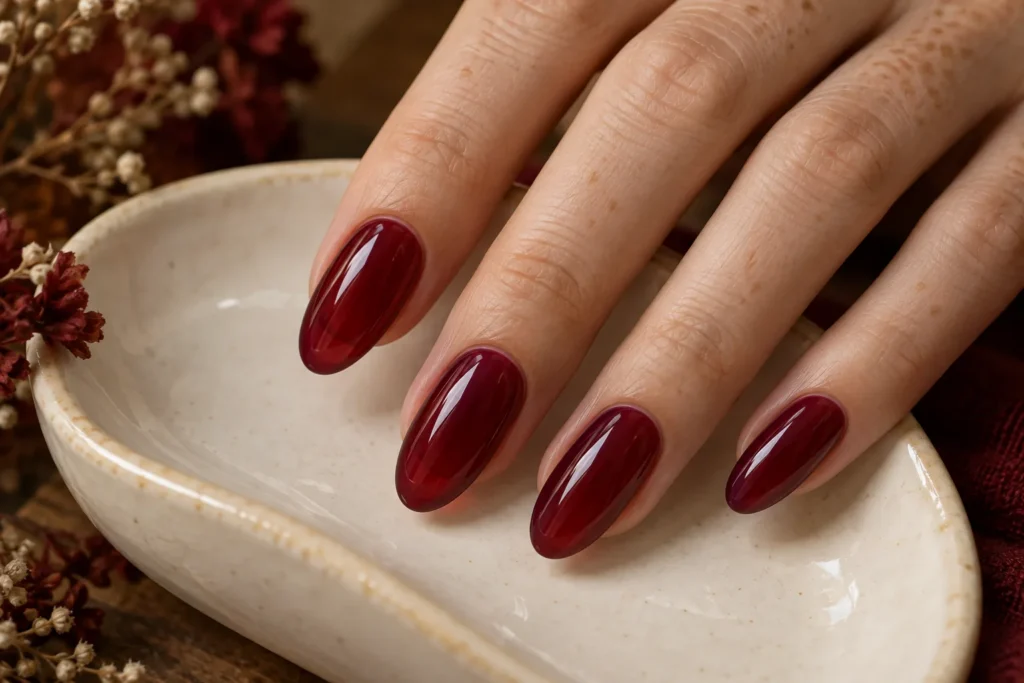
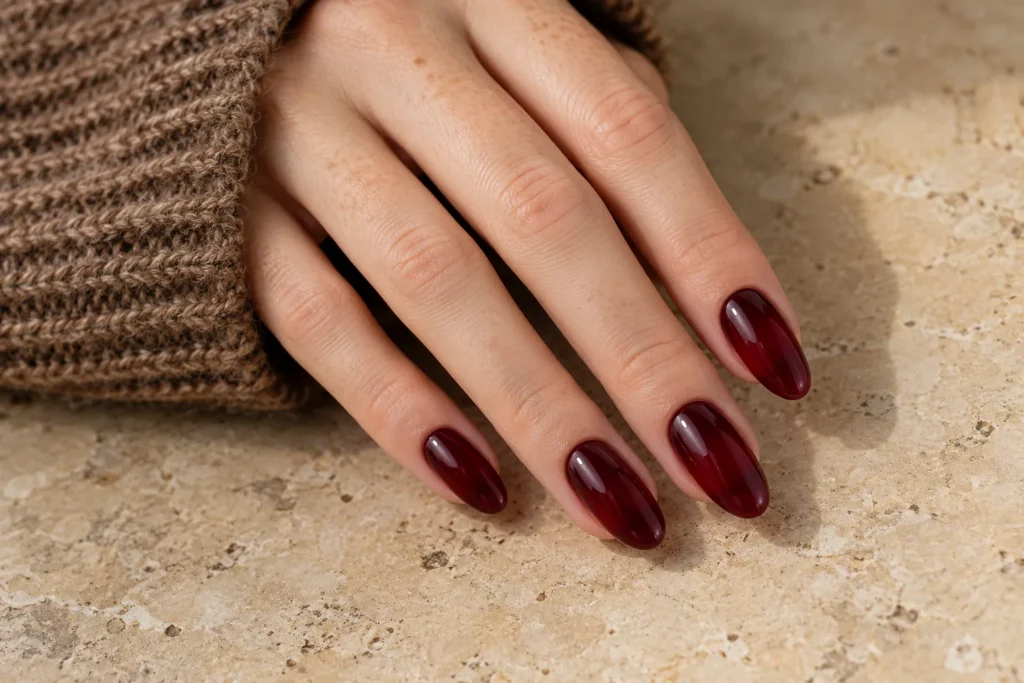
    4. Glossy red nails
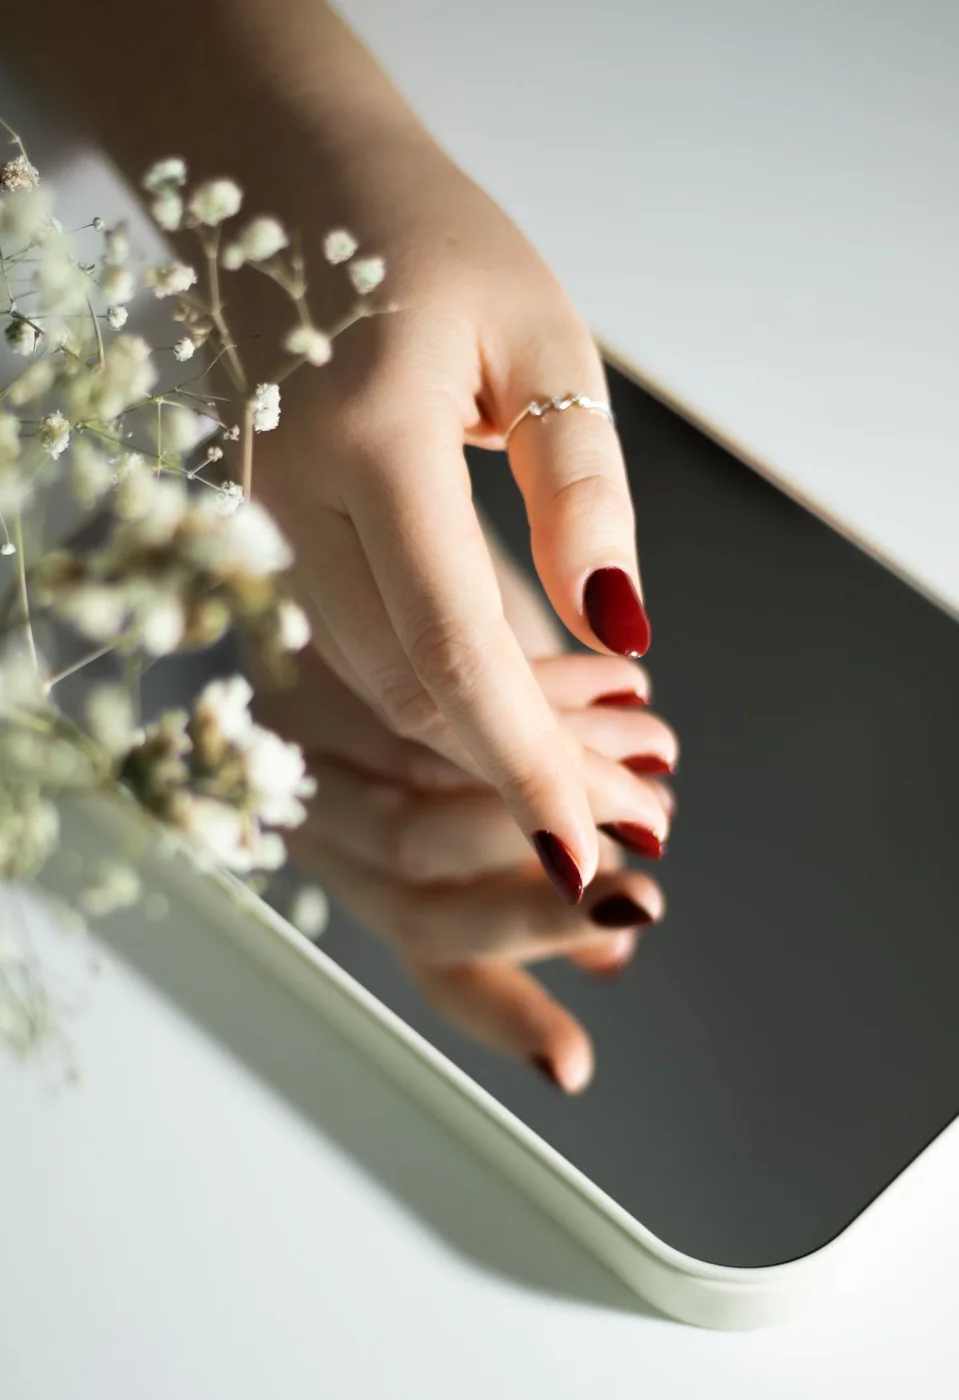
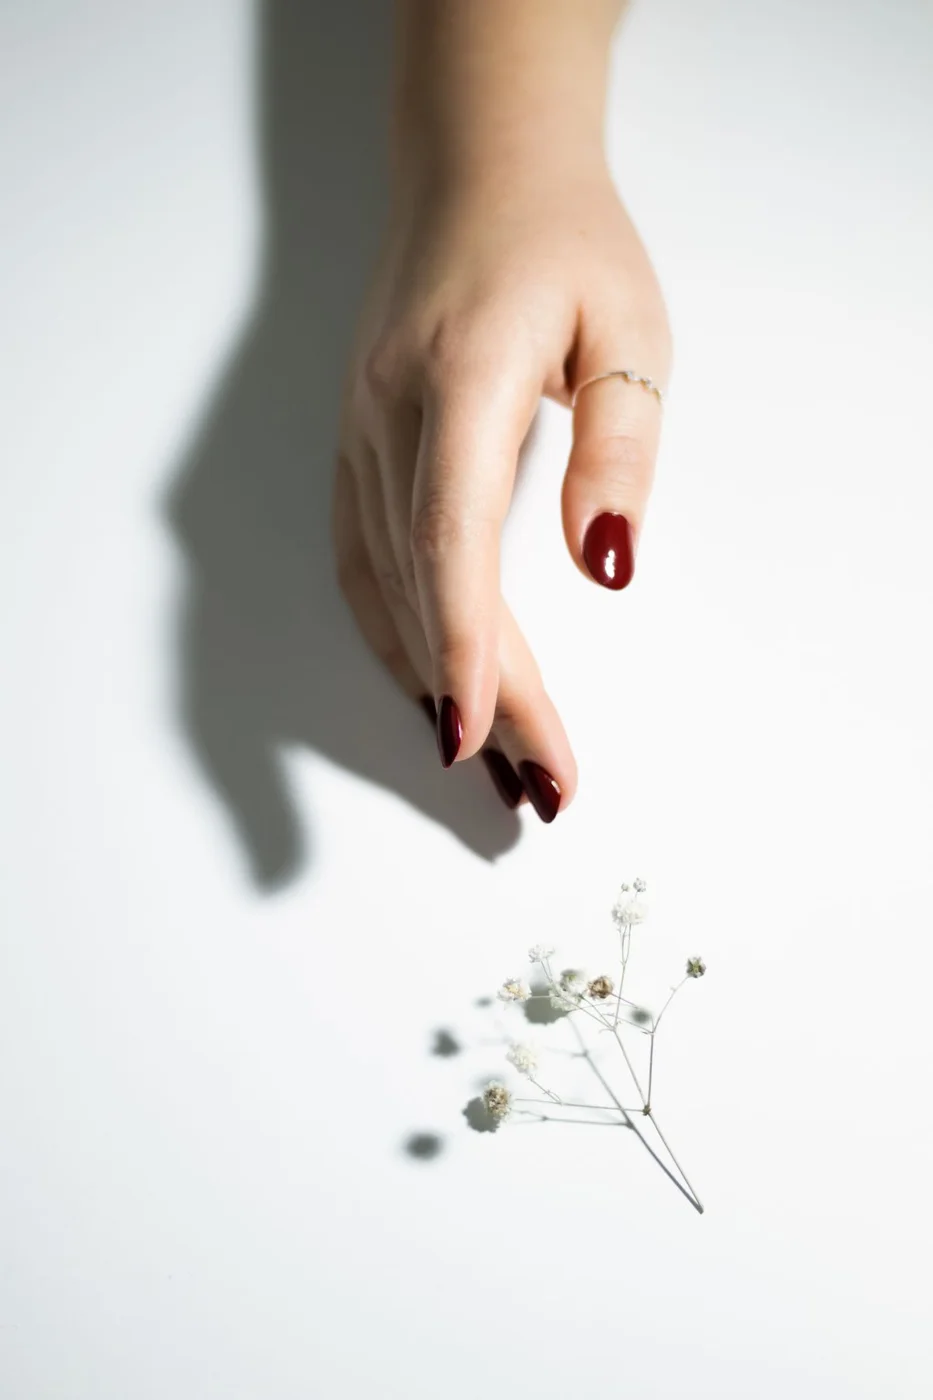
    Red can look cute through its simplicity: one colour, tidy edges and a shape you feel comfortable wearing. A short or medium length keeps the look straightforward. Instead of adding decoration immediately, compare a bright red with a deeper cherry shade. Small changes in undertone can noticeably change the mood.

    The mirrored and floral settings show how a plain red manicure becomes part of an outfit without requiring extra nail art. Keep rings simple if you want the colour to lead. When choosing polish, look at the sample in ordinary light as well as under salon lighting. The right red is the one you enjoy wearing.

    5. Blue nails for a fresh pop of colour
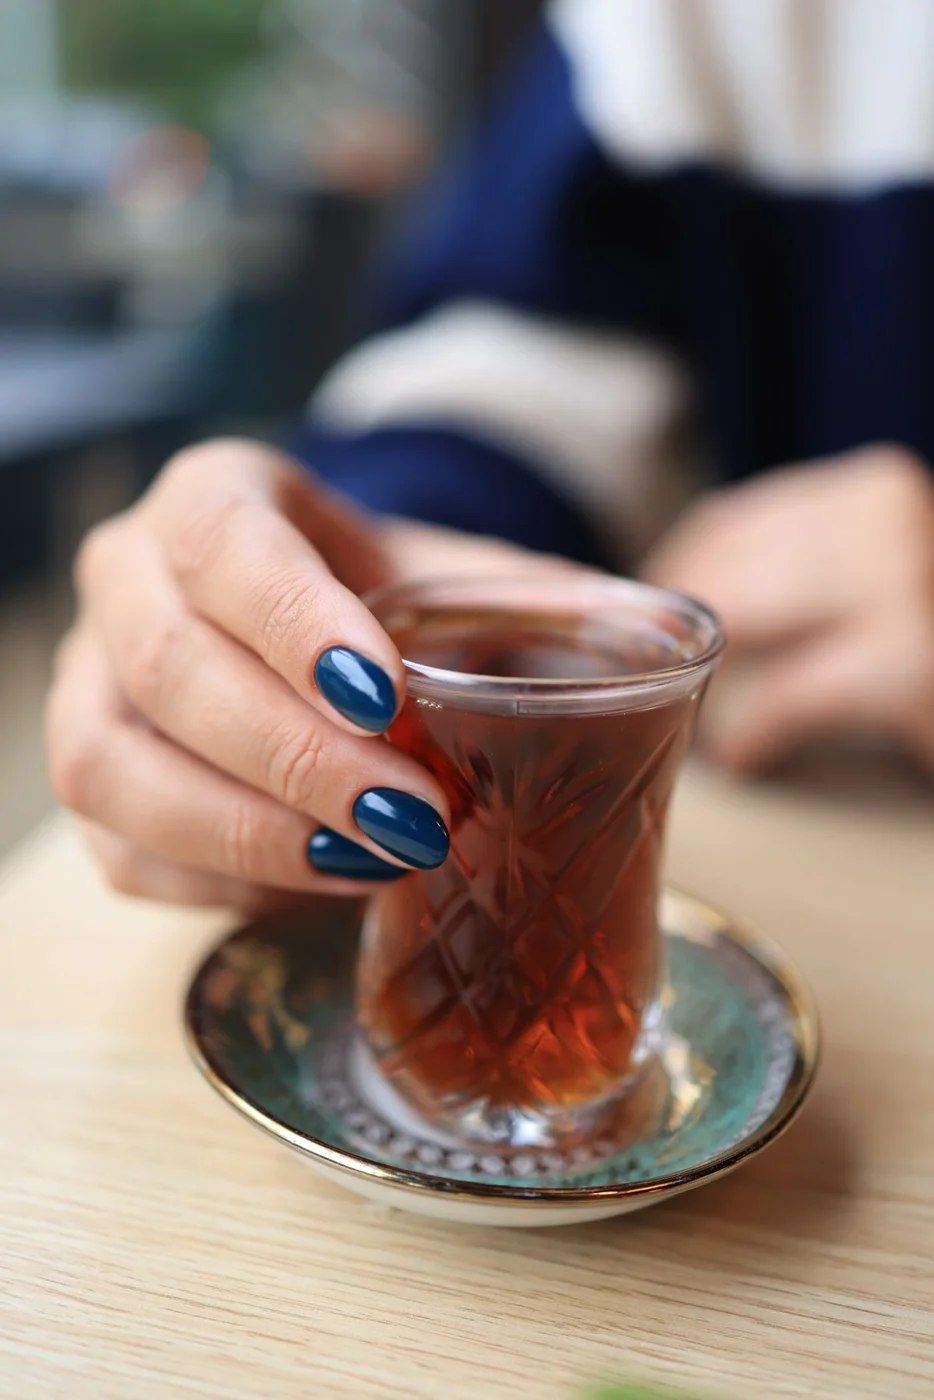
    Blue offers a change from pink while remaining easy to style. A pale shade feels soft, while a stronger blue makes the manicure more noticeable. Keep the surface plain if the colour is already doing enough. This is a good direction when you want something cheerful but do not want a tiny pattern.

    The photographs place blue nails in everyday settings, making it easier to imagine the colour beyond a salon close-up. Choose a length that lets you grip objects comfortably. If you want a gentler result, test the shade on one nail first. A colour that looks delicate online may appear much brighter on your hand.

    6. Soft neutral nails
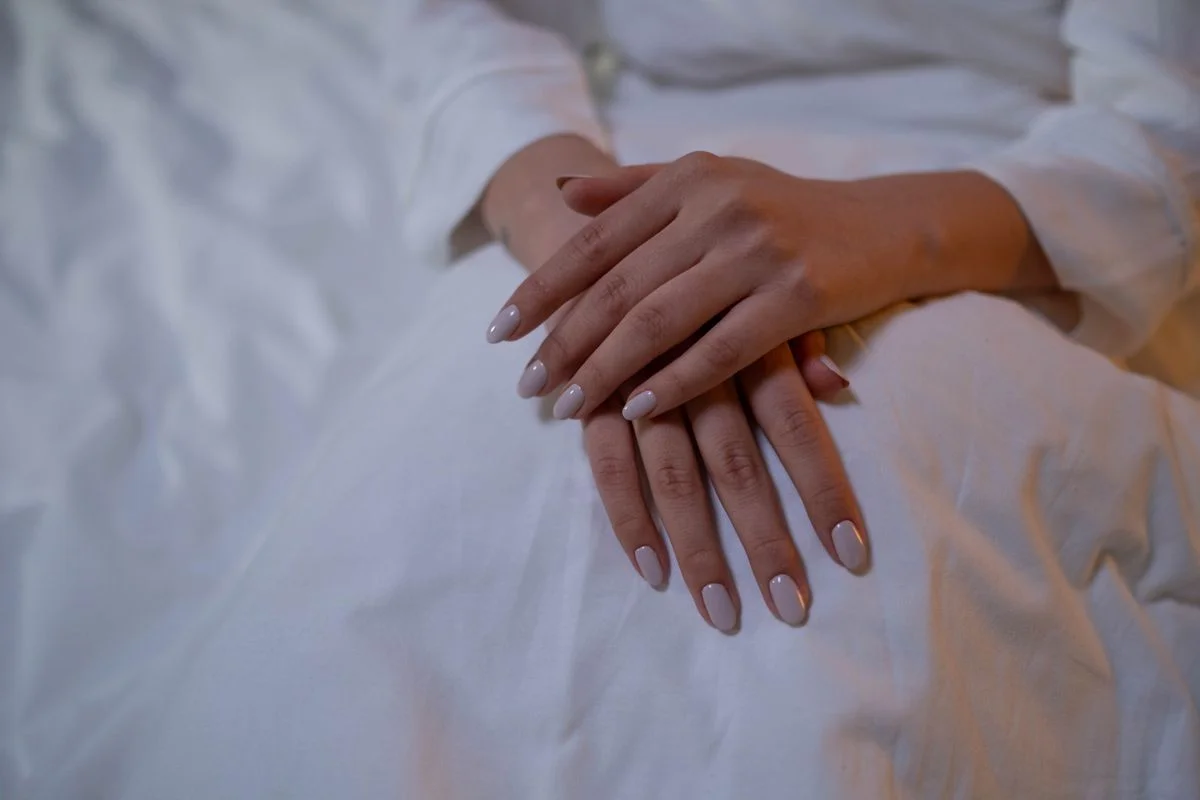
    Neutral nails make a useful pause between louder designs. Think translucent-looking pink, beige or a muted shade close to your preference, rather than a single universal nude. The aim is a finish that feels comfortable and understated. A simple silhouette lets the colour and neat application carry the look.

    These photographs show the manicure in relaxed hand poses, including a pearl accessory. Ask to compare two or three swatches before settling on a shade. If you prefer some detail, add one tiny contrasting dot rather than a whole pattern. Keep expectations realistic: polish changes appearance, but it does not replace attention to nail health.

    7. Mix-and-match colour nails
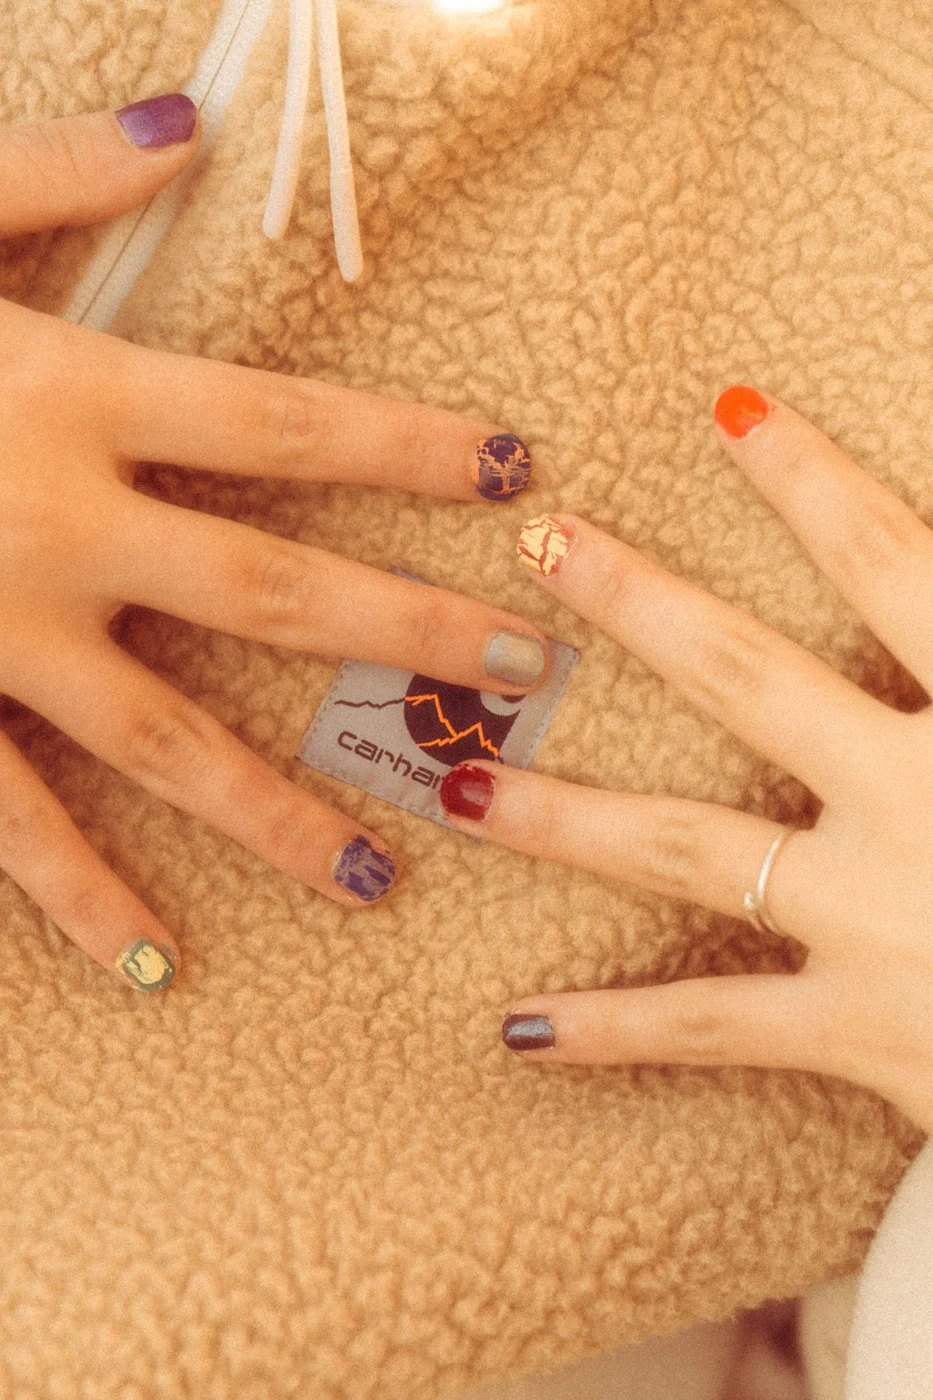
    A different colour on each nail can feel charming when the palette has a clear relationship. You might choose similarly bright shades or group softer tones together. Repeat one colour across both hands to give the set a point of connection. The design should feel playful, not like ten unrelated decisions.

    Use the photographs as permission to experiment with colour rather than a fixed template. Write down your chosen sequence before painting so the second hand feels intentional. If the combination looks too crowded, remove one shade instead of adding another. For sharper pattern inspiration, explore our geometric nail art guide and adapt one simple element.

    8. Speckled and patterned accent nails
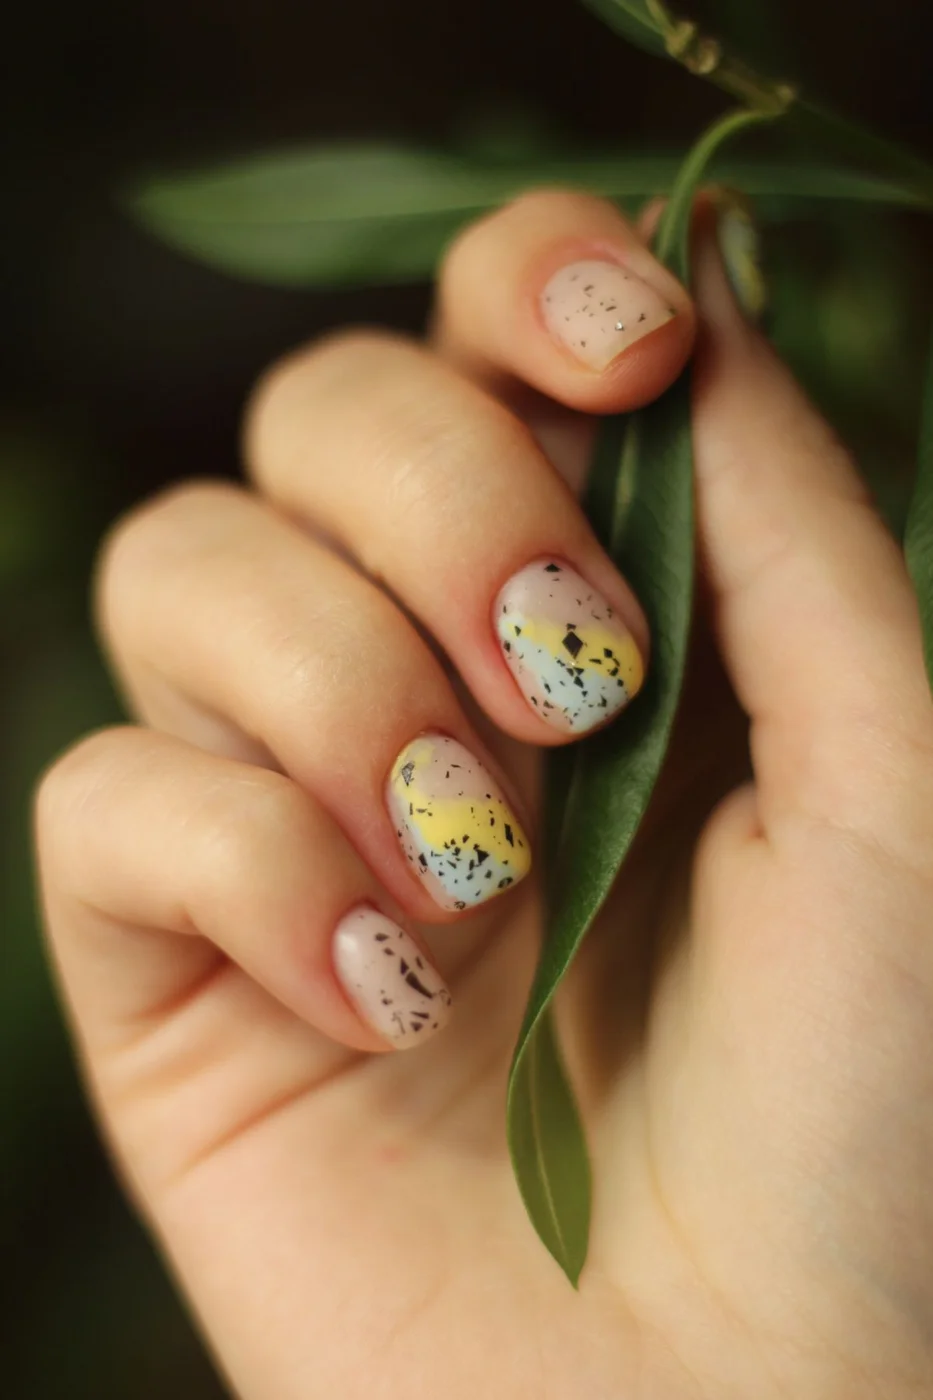
    Small scattered marks can add character without requiring a perfectly repeated motif. A speckled finish feels different from a small patterned detail, but both work well as accent details beside quieter nails. Keep enough open space around the marks so the design remains easy to read at normal viewing distance.

    The photographs illustrate two directions for this idea rather than the same pattern. Choose the feature you like most: scattered colour or a more decorative detail. Limit your version to a few shades and discuss placement with your artist. Avoid filling every available space just because the reference has a close-up view of the nail.

    9. Playful graphic patterns
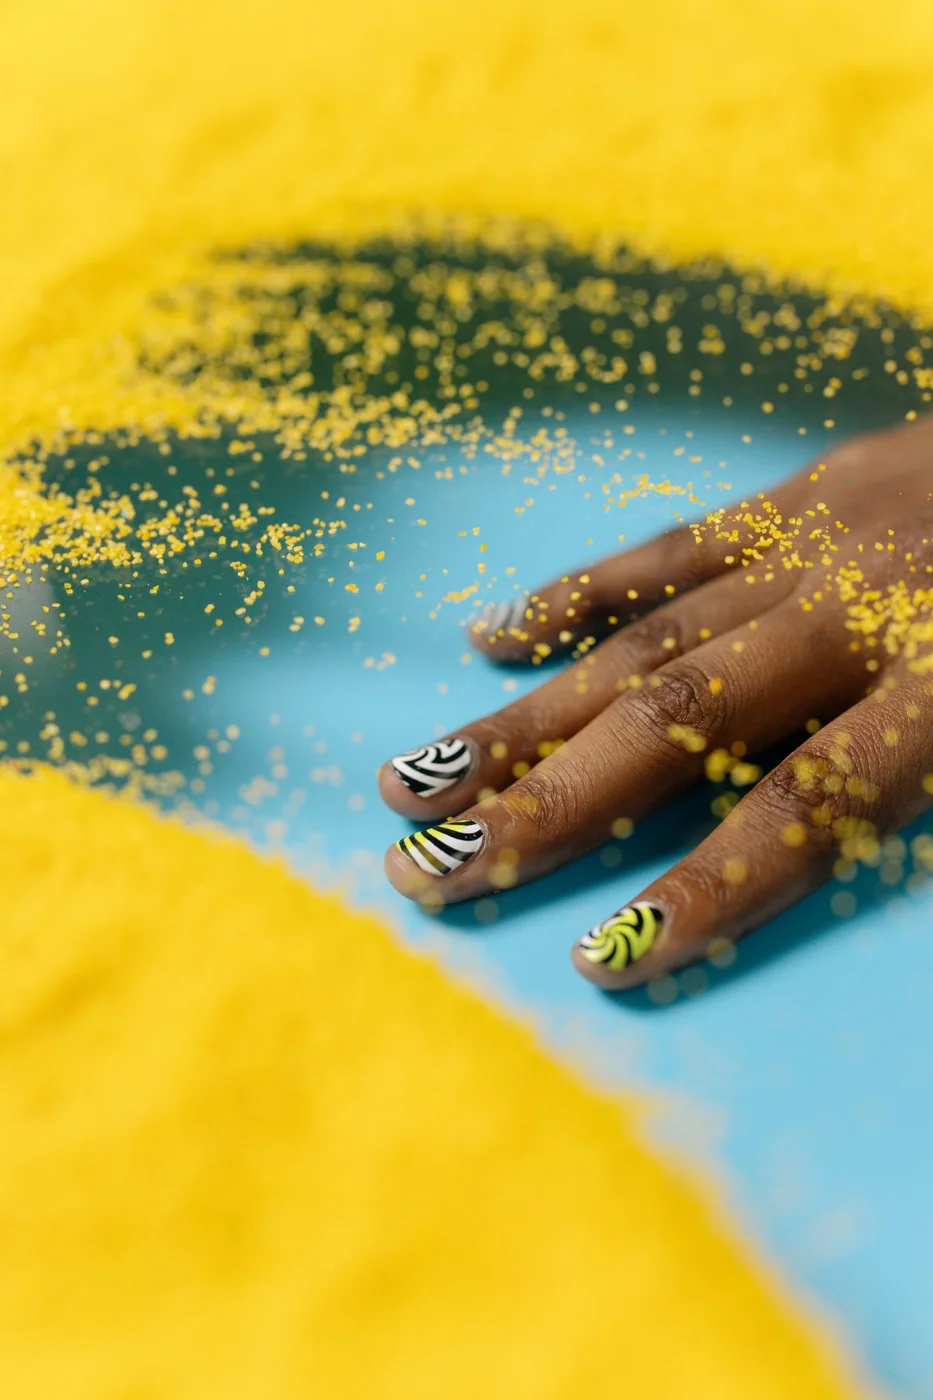
    Graphic nails bring a bolder kind of cute. Stripes, zebra-like marks and curved lines create movement, especially when paired with a plain colour. The two references show patterned manicures with different compositions. You can borrow the contrast while simplifying the pattern to suit shorter nails or a less dramatic style.

    Start with one patterned accent nail and repeat a colour elsewhere in the set. This gives the design a connection without demanding a full patterned manicure. If you prefer a softer theme, our 3D flower nail art guide offers another direction. Choose the detail because you like it, rather than feeling obliged to follow a trend.

    10. Green nails with a fresh finish
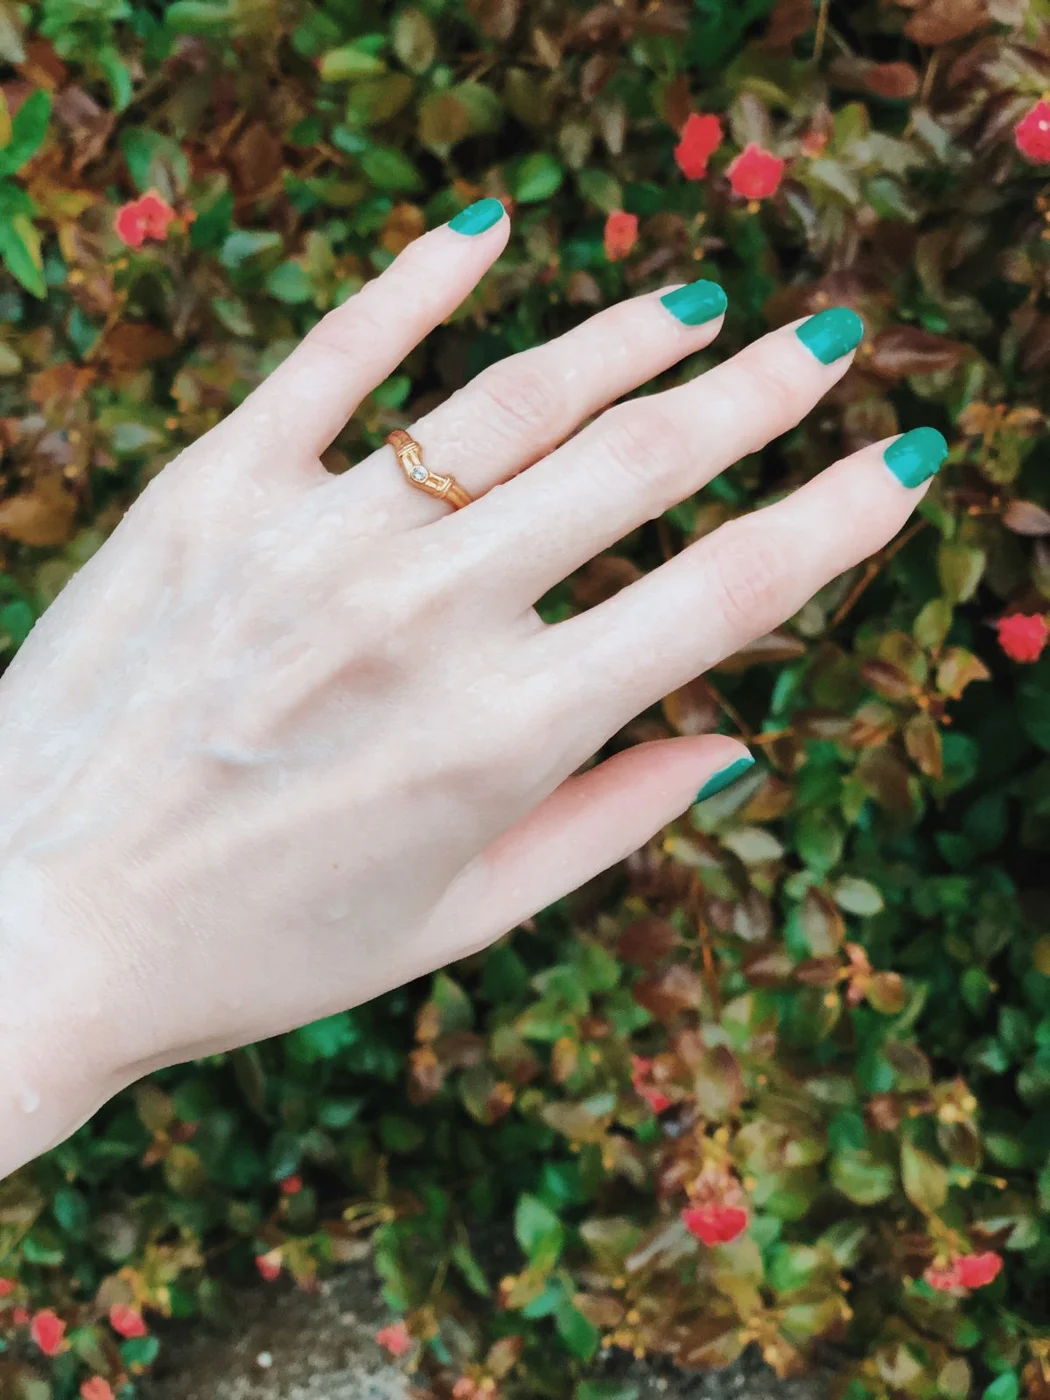
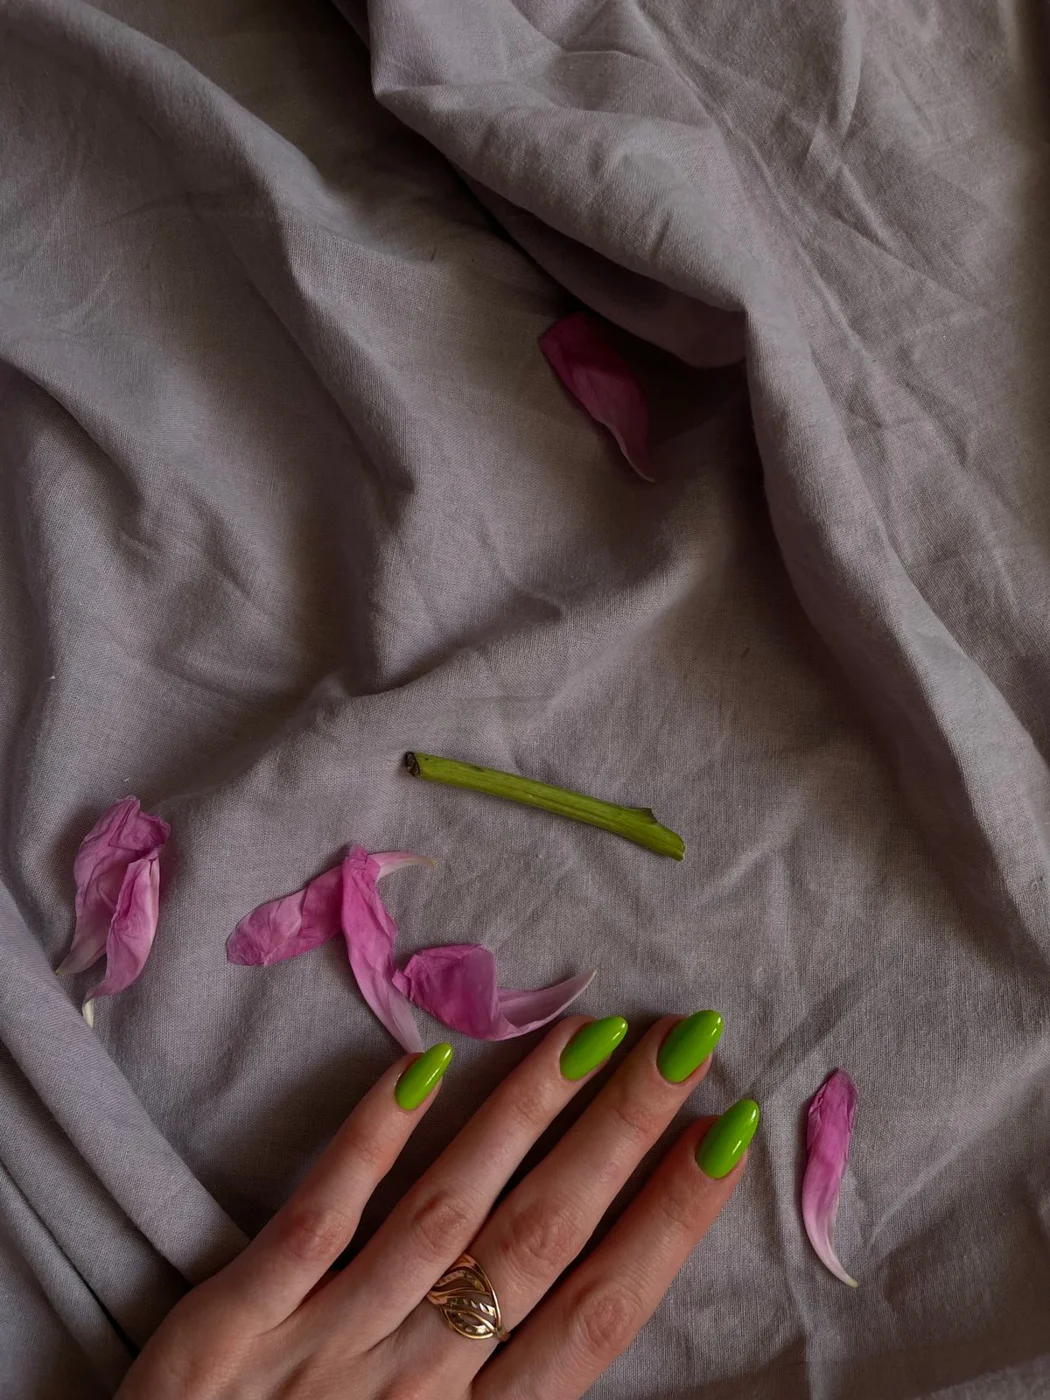
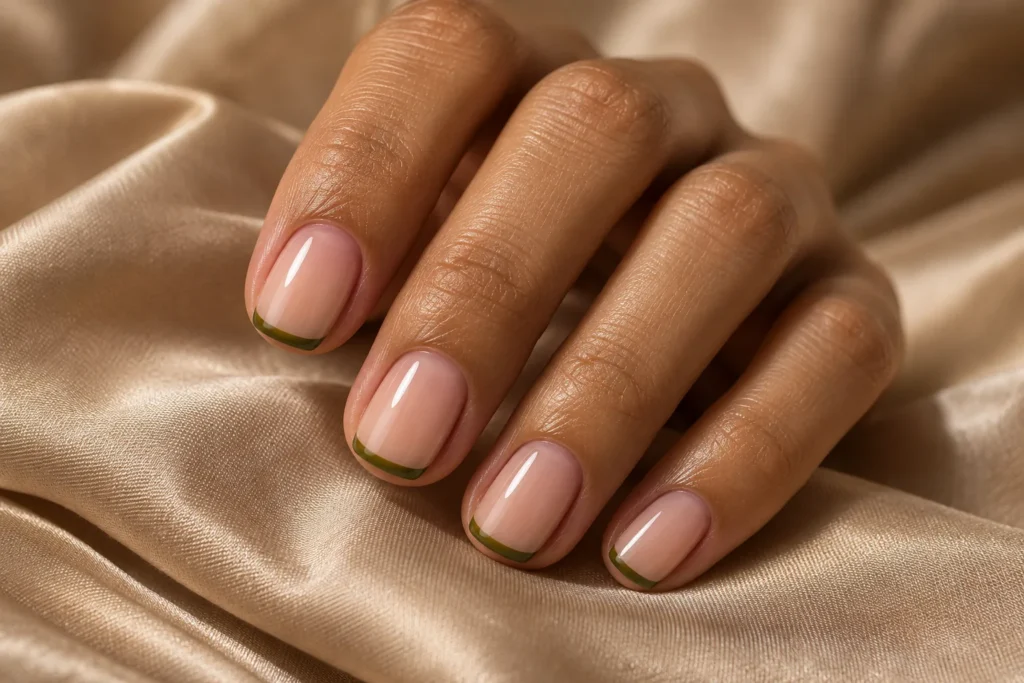
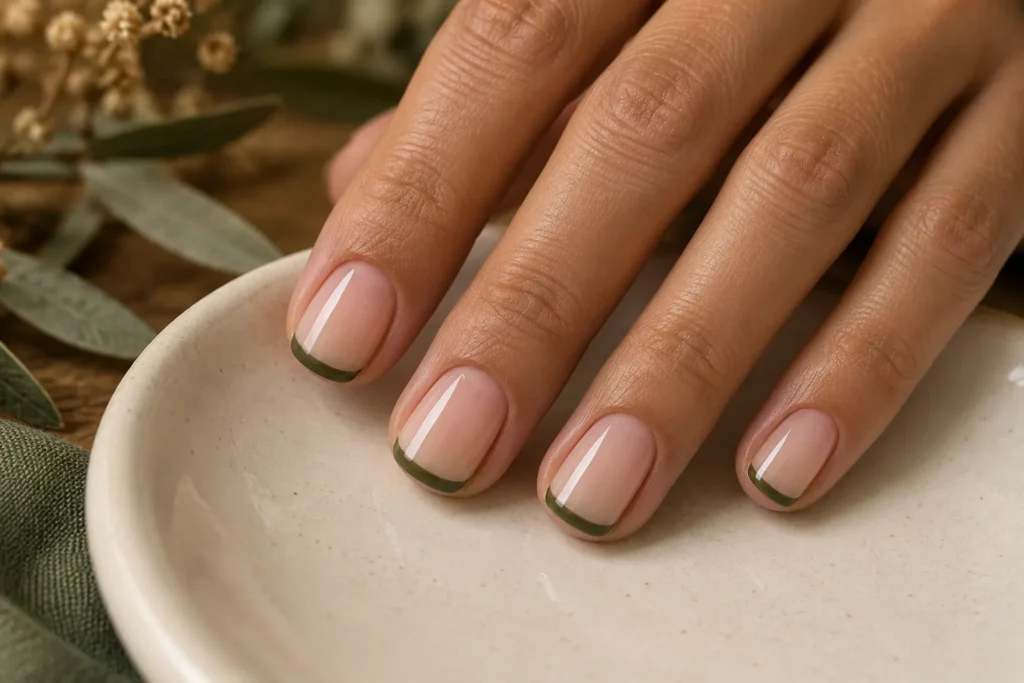
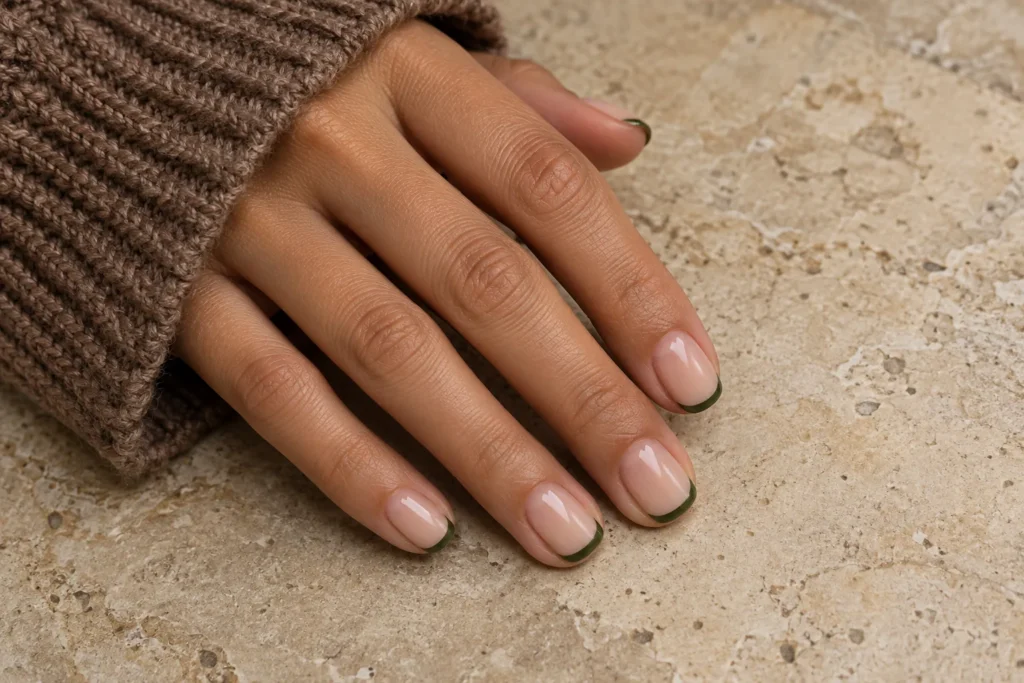
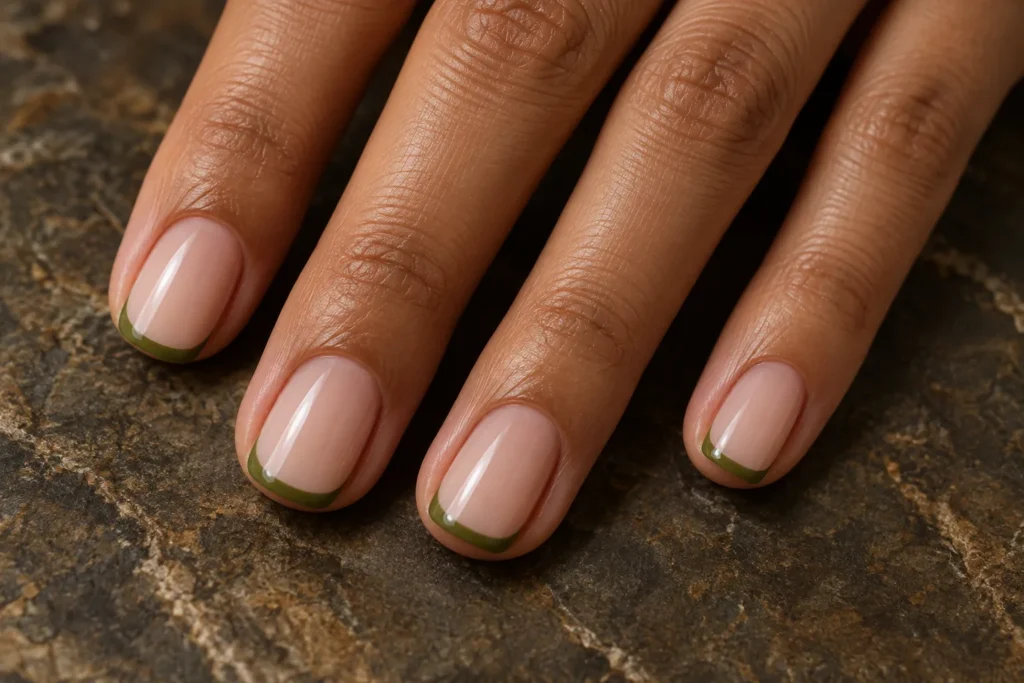
    Green creates a useful alternative to the usual pink and red choices. A lighter shade feels fresh beside pale clothing, while a brighter green has a playful mood. Keep the finish and shape simple when comparing the two. The colour itself provides enough interest for an everyday manicure.

    These photographs show different green-toned looks, so they can help you describe the mood you want without guessing a product name. Check a swatch against your favourite rings and clothing. For a seasonal version, our autumn fall nails guide includes warmer combinations. You can borrow the palette while keeping this manicure uncomplicated.

    Choose a manicure that fits your routine

    Before booking, decide on your maximum comfortable length, preferred shape and amount of decoration. Tell the artist about tasks that matter to you, such as typing or handling small objects. Ask what the quoted service includes and how the chosen finish should be removed. Do not assume a photograph tells you whether a set uses regular polish, gel or extensions.

    For care, the American Academy of Dermatology’s manicure safety guidance recommends moisturising nails after polish removal and avoiding cutting or forcefully pushing back cuticles. Look for a clean salon and properly disinfected equipment. If your nails or surrounding skin are painful, inflamed or otherwise concerning, seek advice from a qualified clinician before another cosmetic service.

    The best cute nail ideas are the ones you can comfortably make your own. Save two references, explain what you like about each and choose a manageable version. A clear colour choice and one thoughtful detail, chosen carefully for your own everyday style, can be enough; you do not need every trend on the same set.
  • Trendy Autumn Fall Nails: 20 Designs for a Cosy Manicure

    Trendy Autumn Fall Nails: 20 Designs for a Cosy Manicure

    Trendy autumn fall nails can be subtle, colourful or full of texture. A seasonal manicure does not need every autumn shade at once: one warm colour, a clear pattern and a nail shape you enjoy can be enough. These twenty ideas explore different finishes, from cinnamon tips to forest-green foil.

    Use the designs as inspiration for your next appointment rather than as fixed instructions. Nail width, preferred length and daily activities can change how much detail feels comfortable. The accompanying images are generated design illustrations; your nail artist can adapt their colours and placement to your hands.

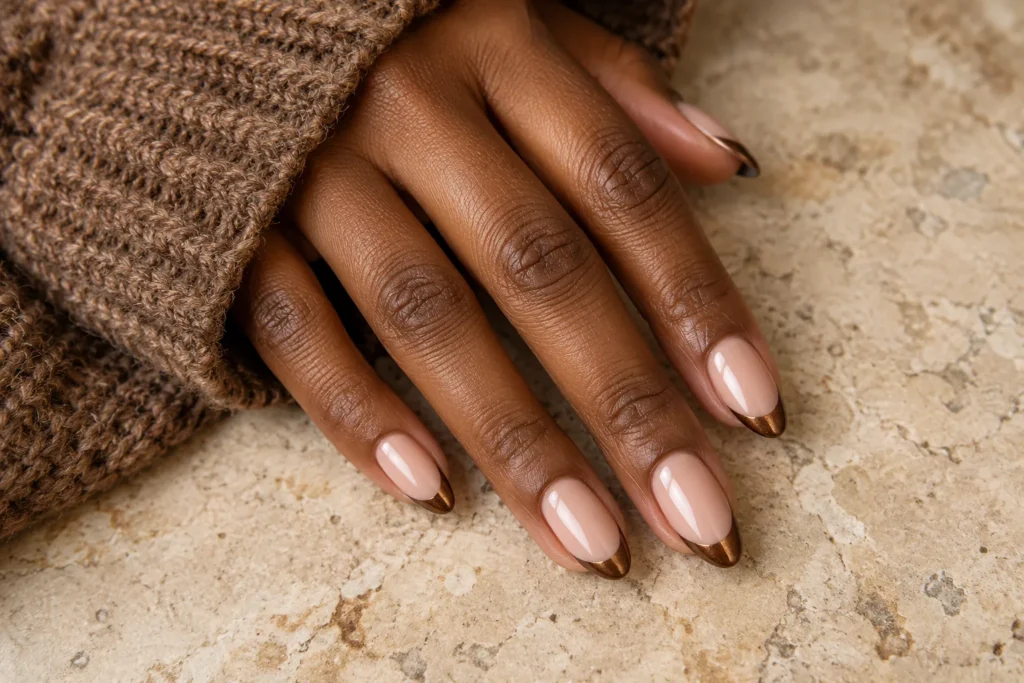
    1. Cinnamon French Tips

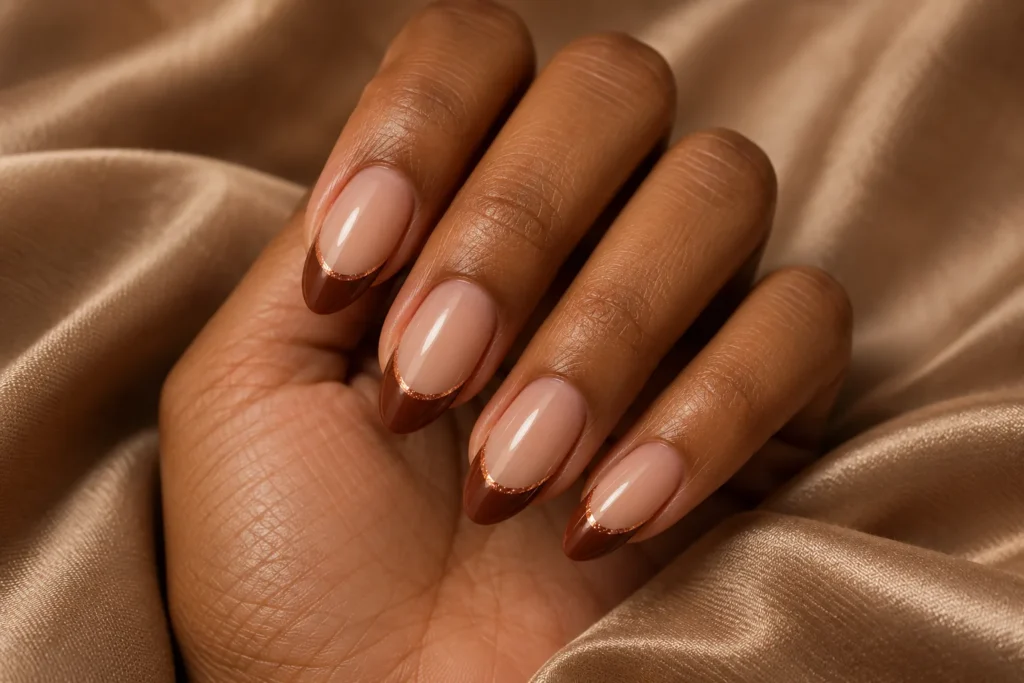
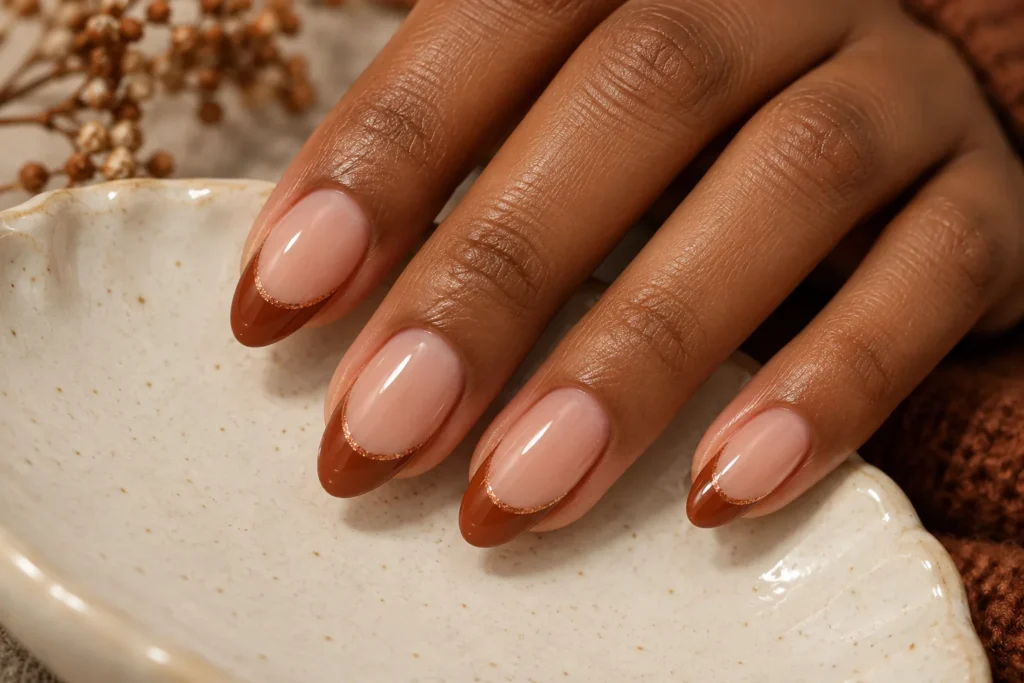
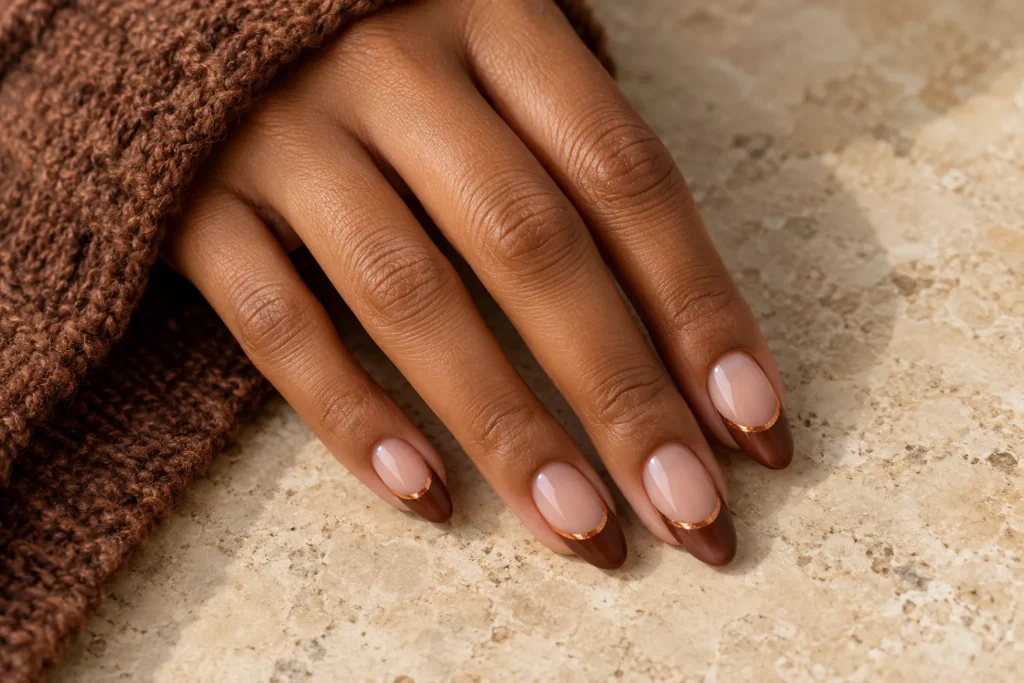
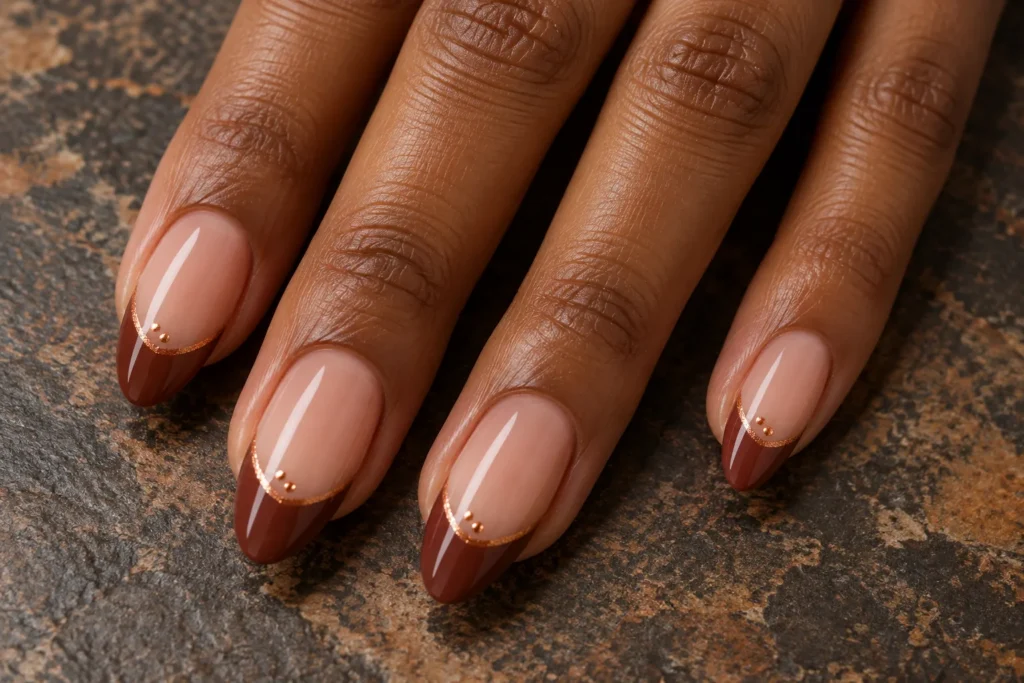
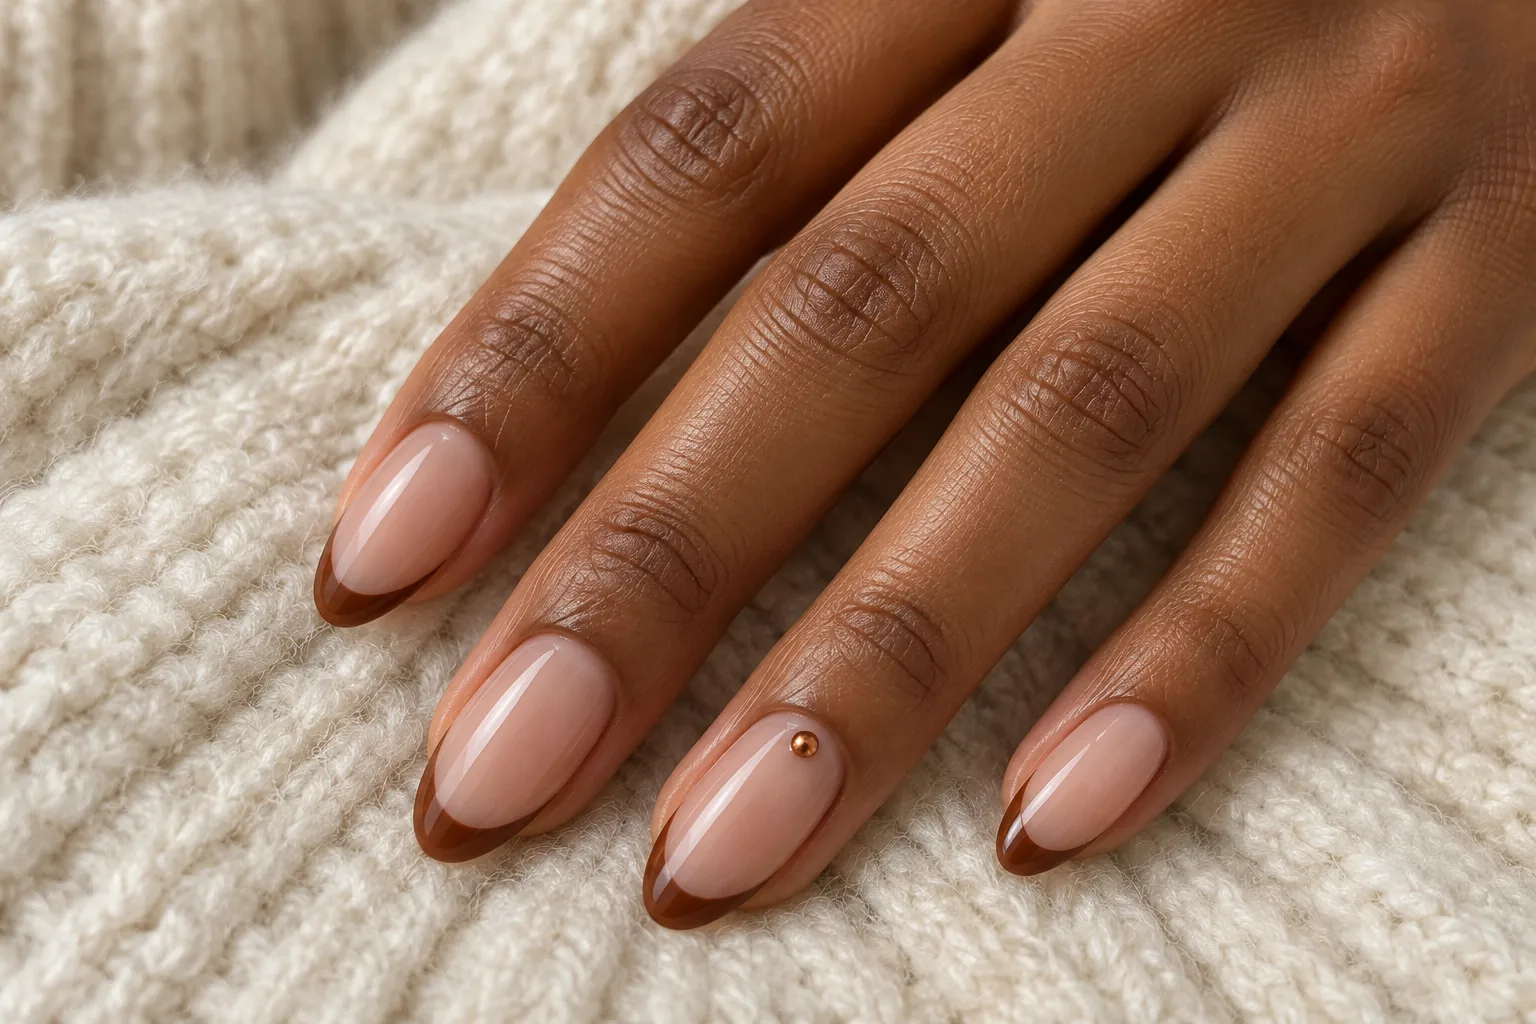
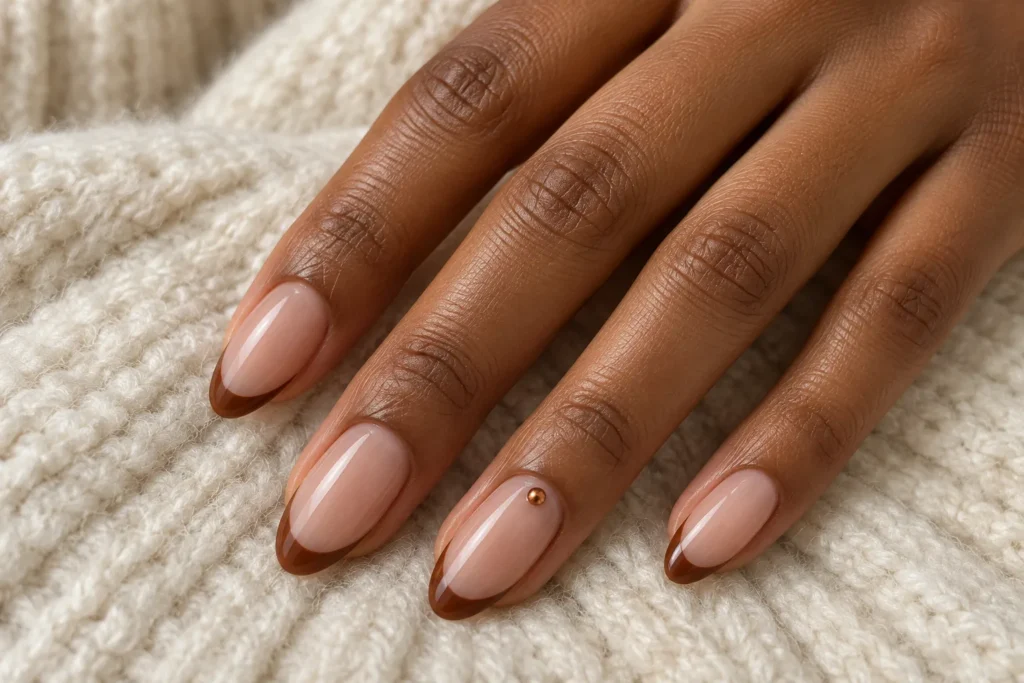
    A nude base with cinnamon French tips creates an understated autumn manicure. The narrow brown edge keeps the design light, while a tiny copper accent adds warmth. Choose almond nails for a softer outline, or reduce the tip width on shorter nails so the nude base stays visible.

    2. Burgundy Velvet Cat Eye

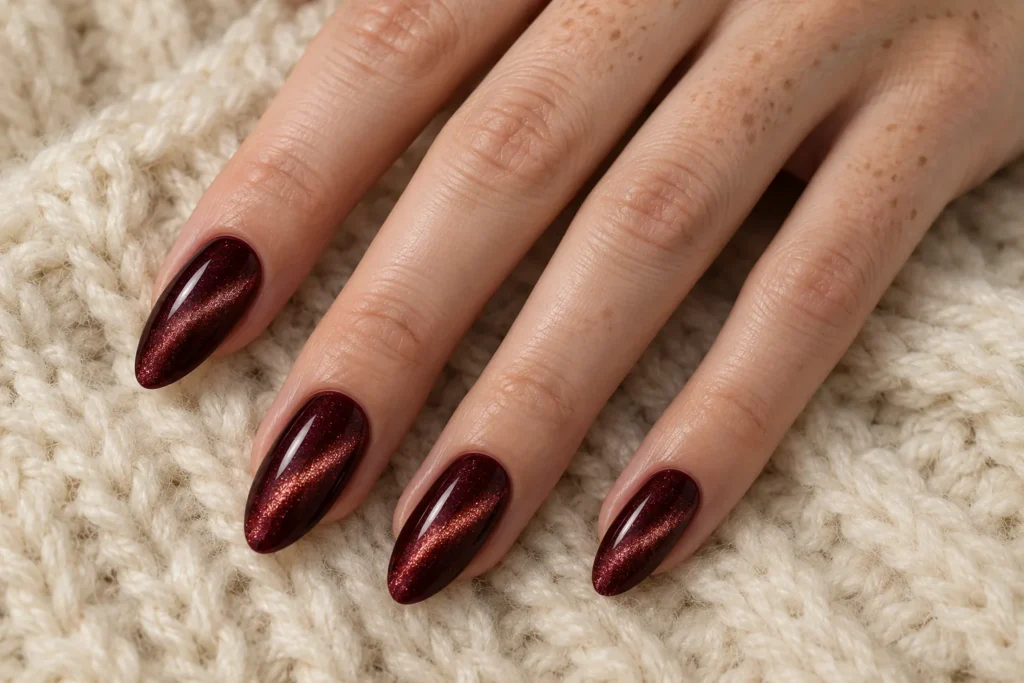
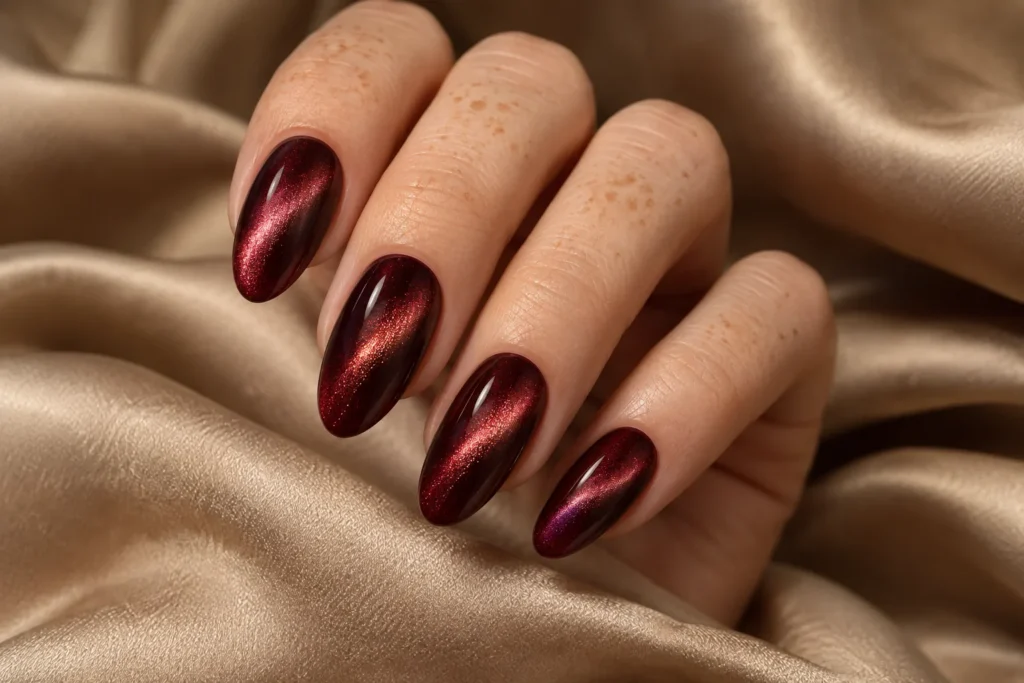
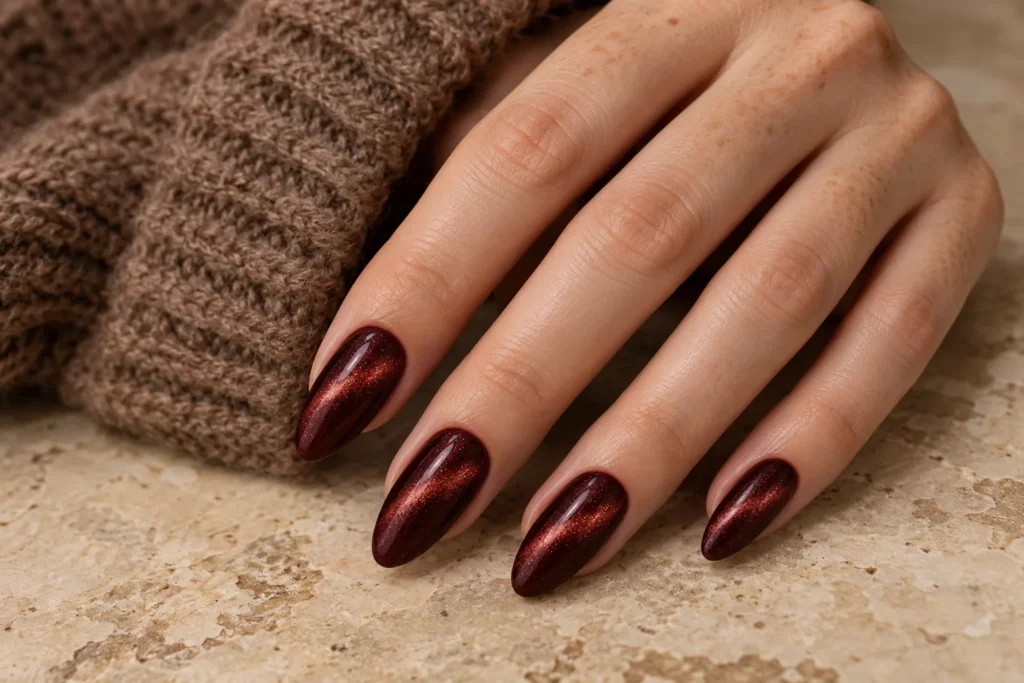
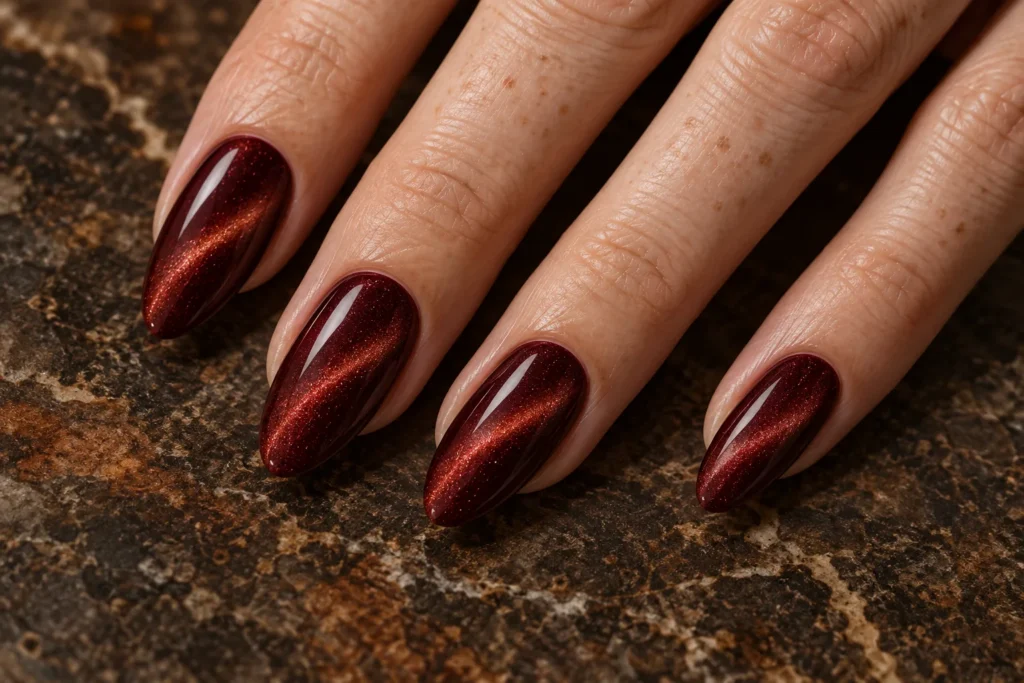
    Burgundy velvet nails use a magnetic-looking sheen to give one rich colour depth. The highlight should move across the surface rather than resemble a hard glitter stripe. Long almond nails show the effect clearly, but a shorter oval version can feel equally polished with less dramatic length.

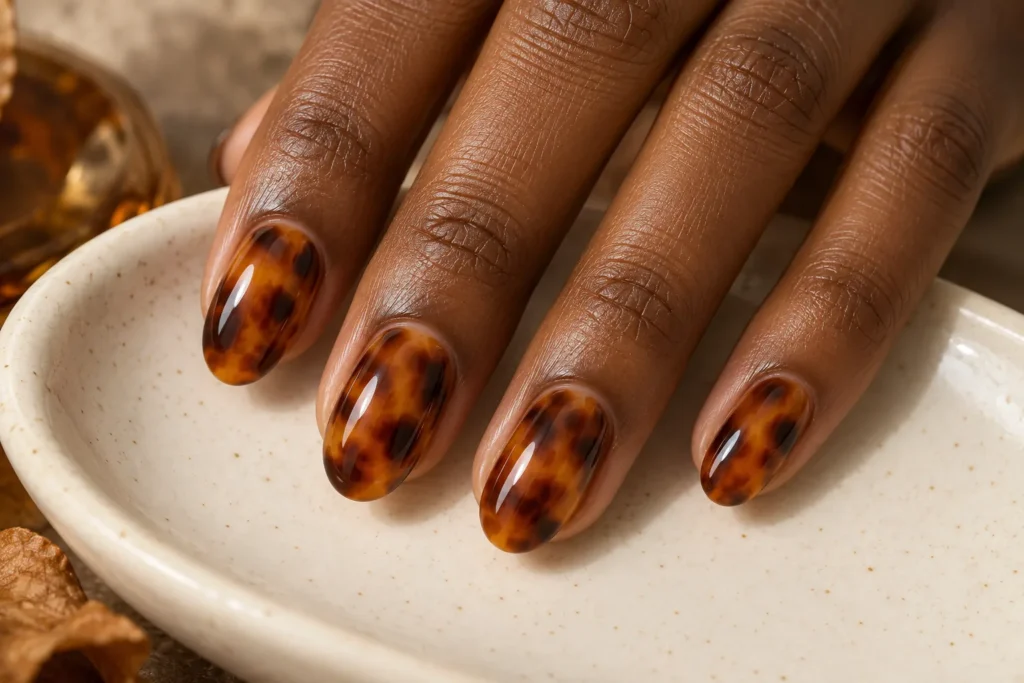
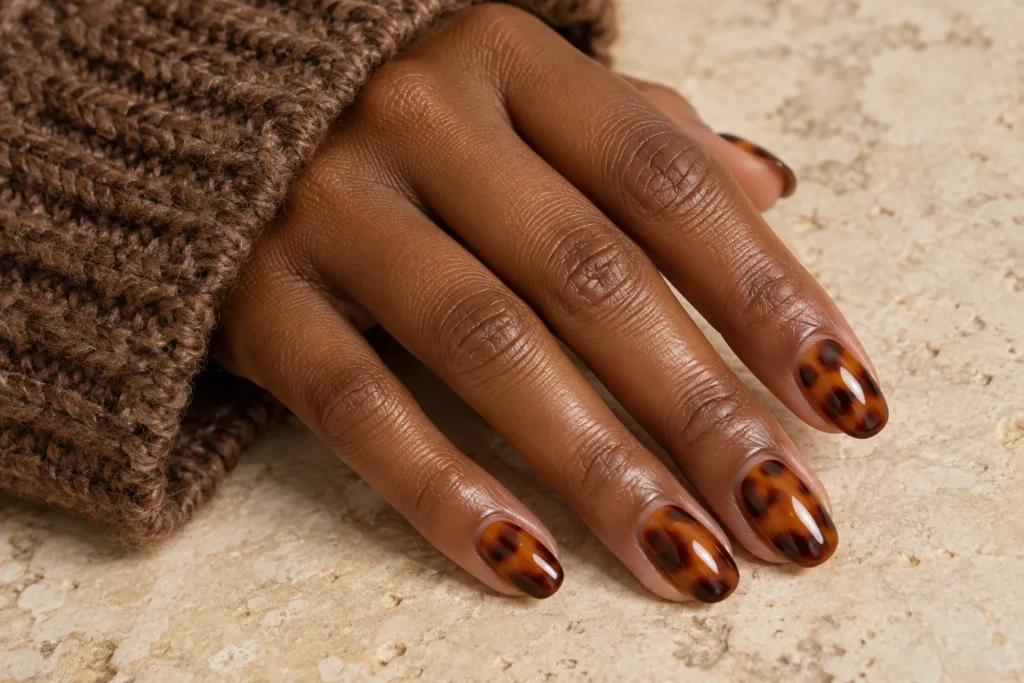
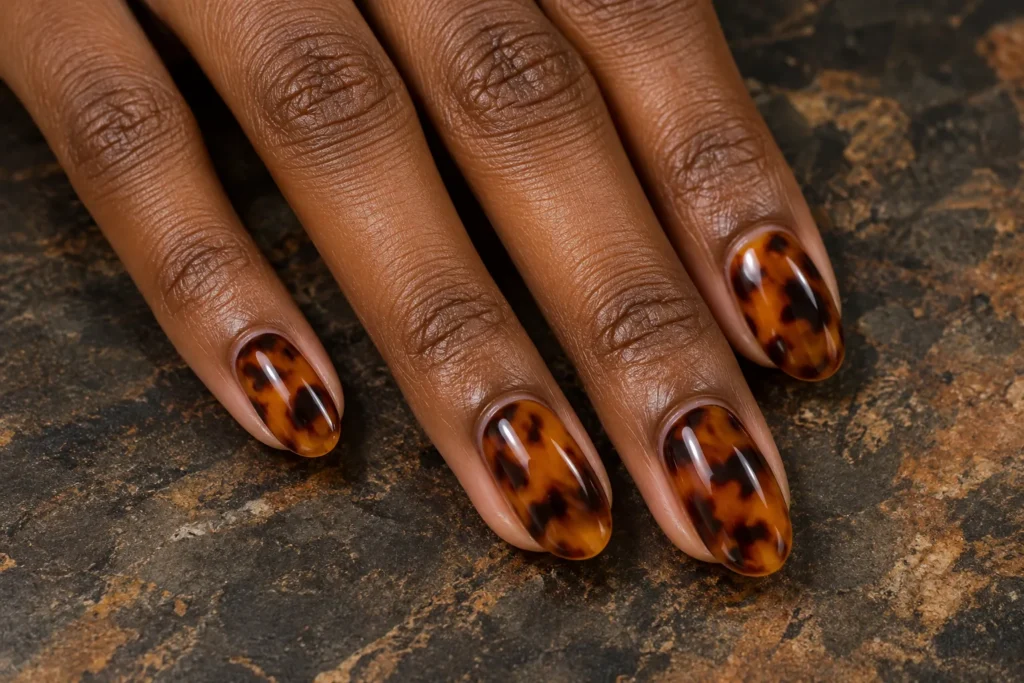
    3. Tortoiseshell Amber Nails

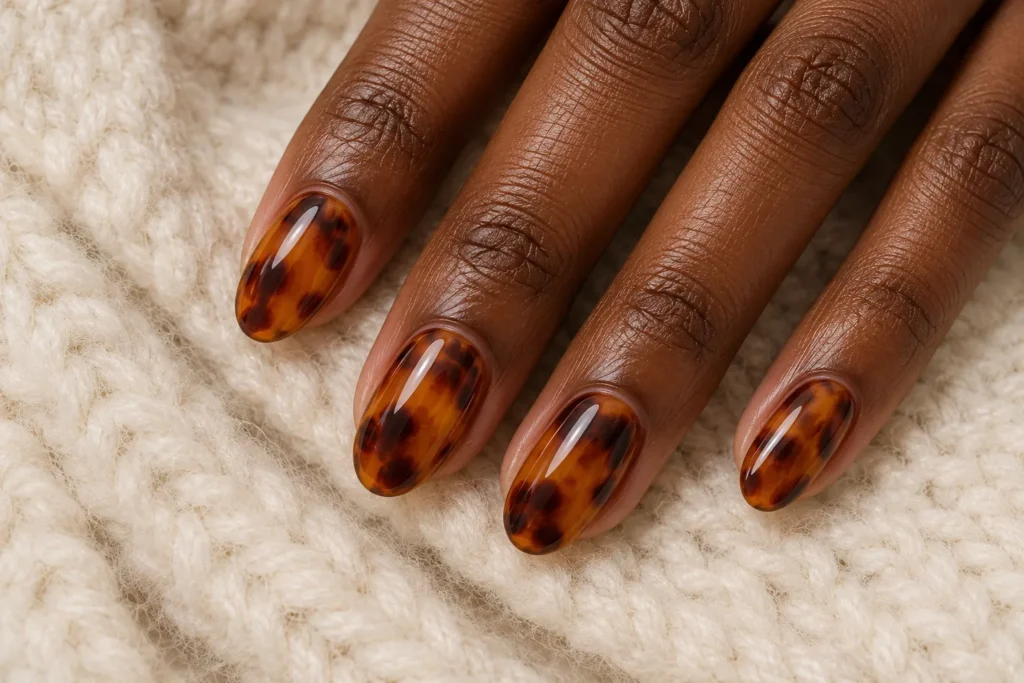
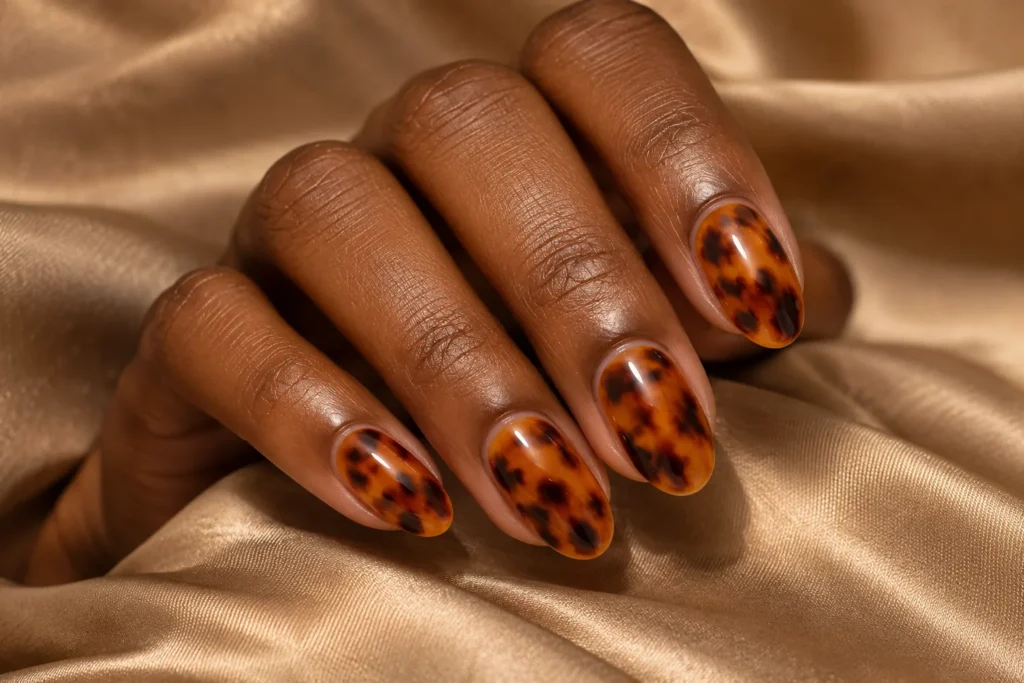
    Amber and dark brown mottling give tortoiseshell nails their distinctive appearance. Keep the patches irregular and allow the golden base to show through. One or two patterned accents can sit beside plain chocolate nails, making this detailed look easier to wear with everyday autumn outfits.

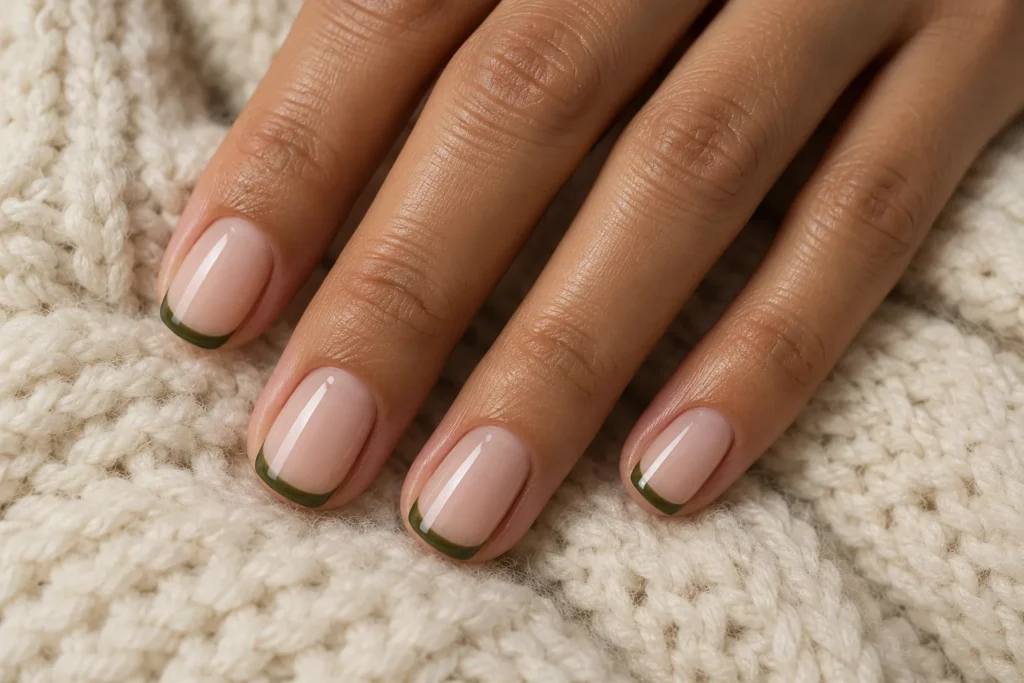
    4. Olive Micro French

    Olive micro French tips bring a muted green into a simple manicure. A sheer nude centre keeps the narrow edge easy to see. This is a useful choice for short squoval nails when you want a seasonal colour without filling the whole nail with decoration or heavy detail.

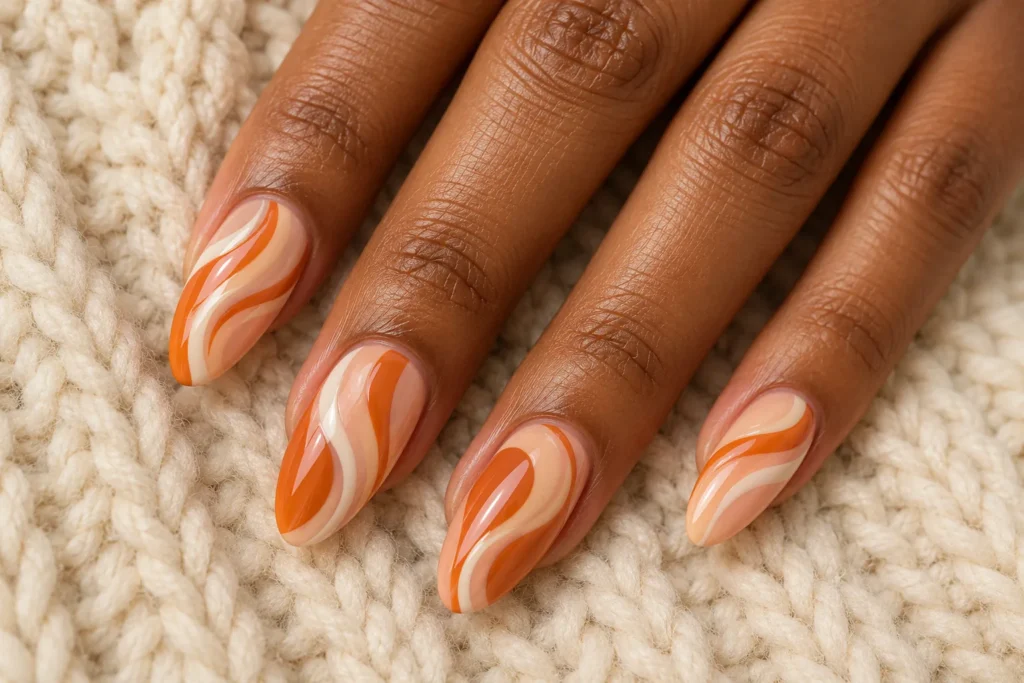
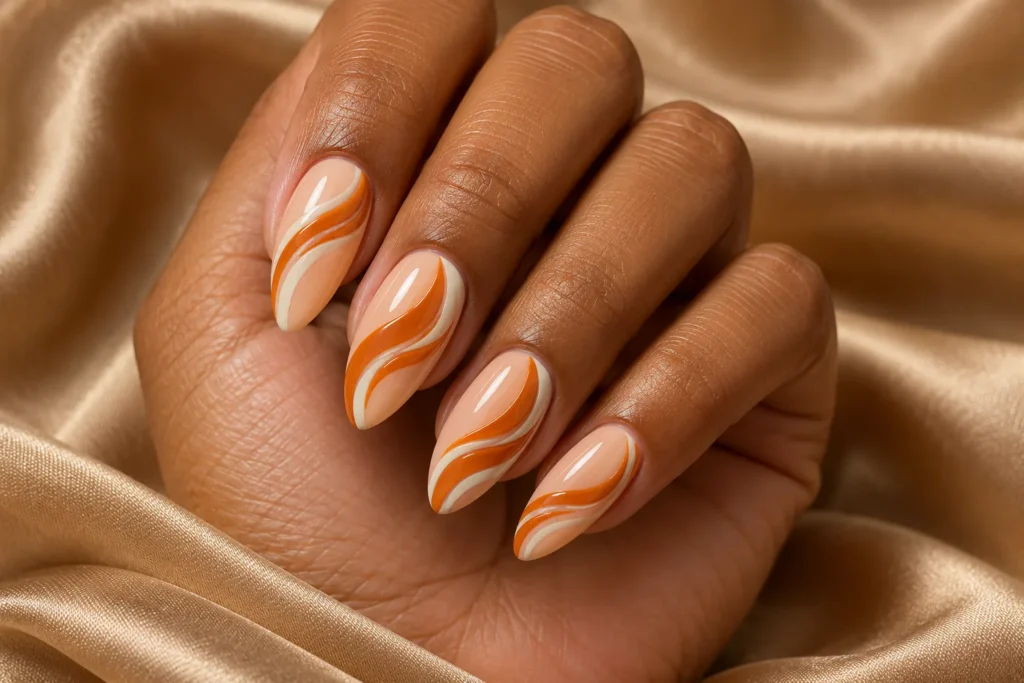
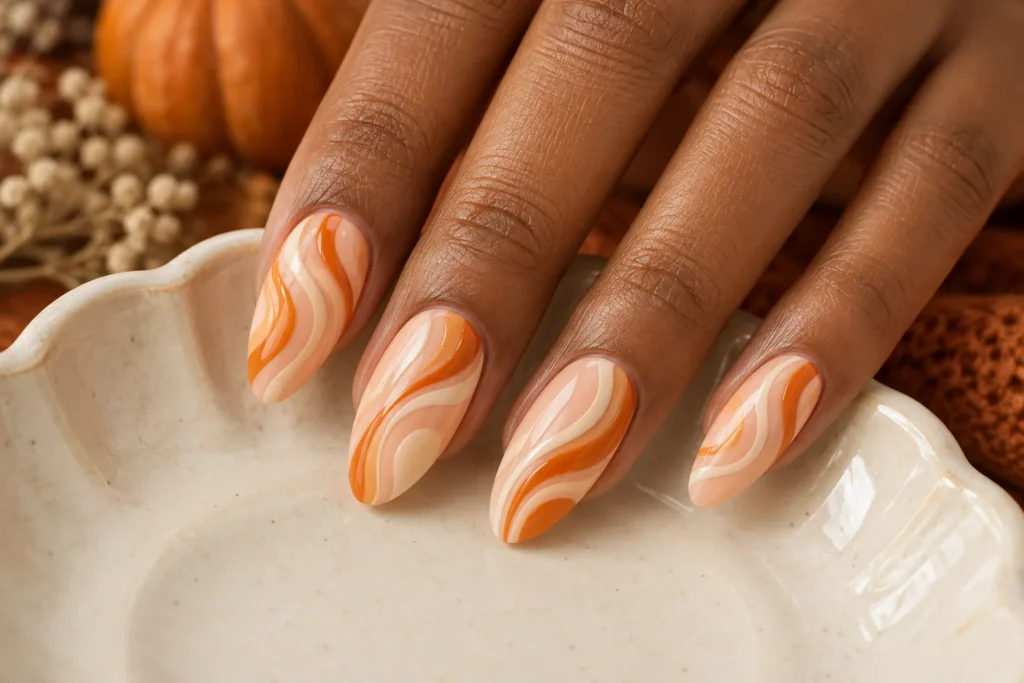
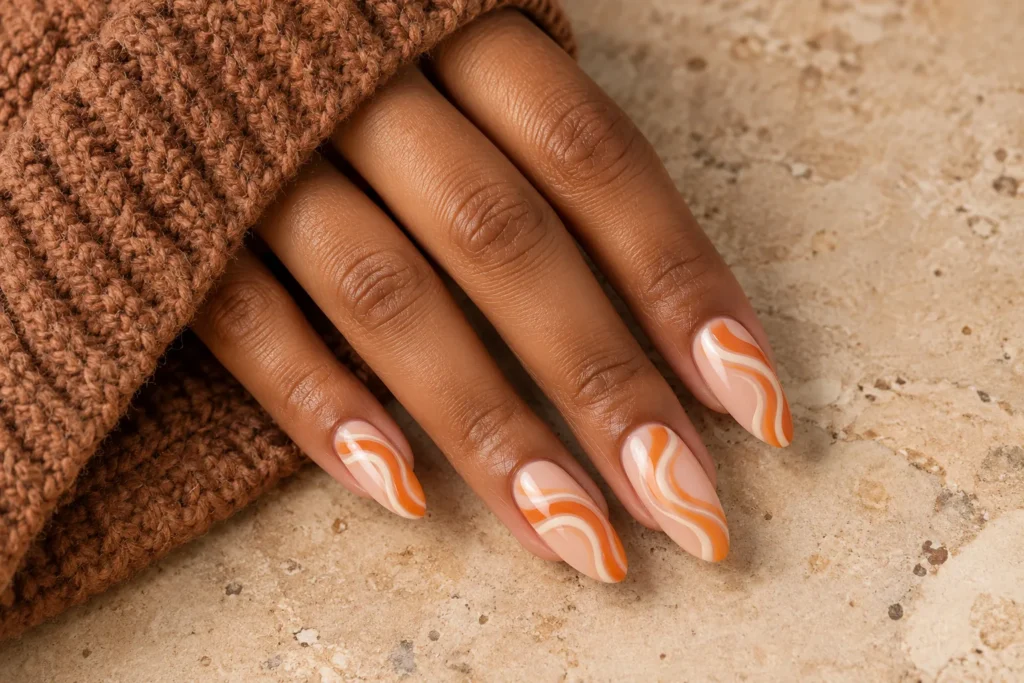
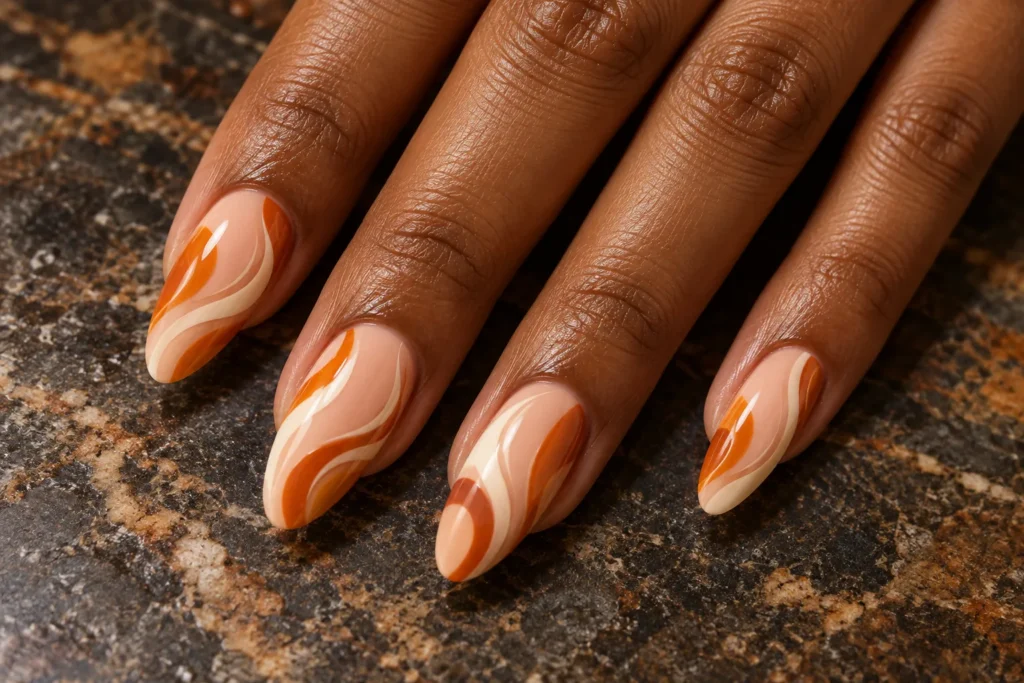
    5. Pumpkin Swirl Nails

    Pumpkin and ivory swirls add movement to a pale peach base. Let the curves vary slightly across the fingers instead of repeating an identical wave. Long almond nails provide room for the pattern, while a smaller swirl on two accent nails gives shorter sets a similar warm mood.

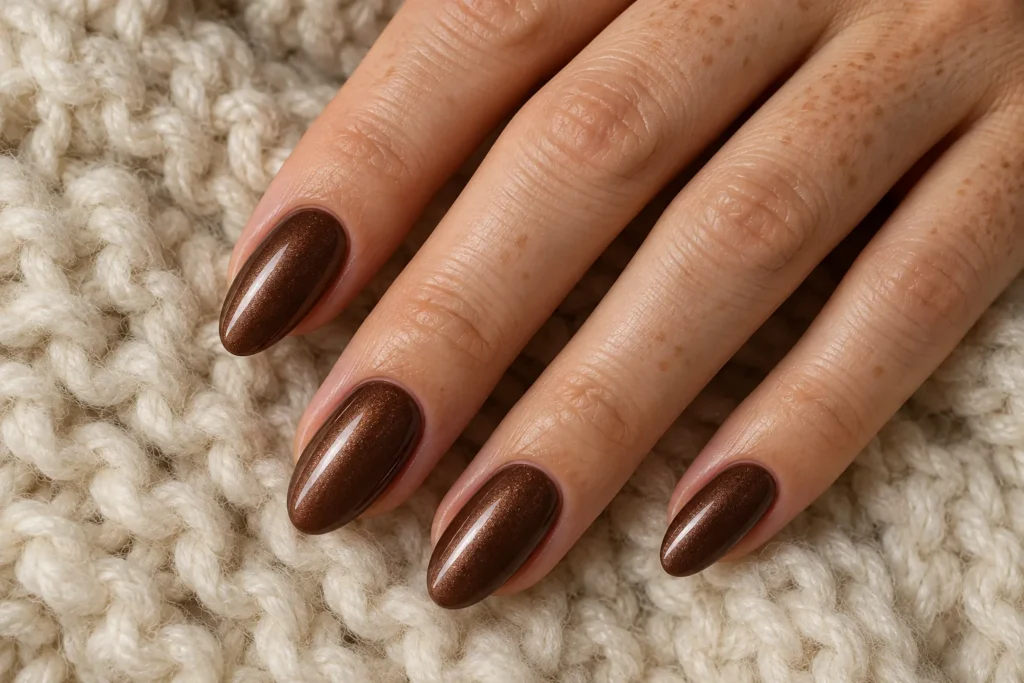
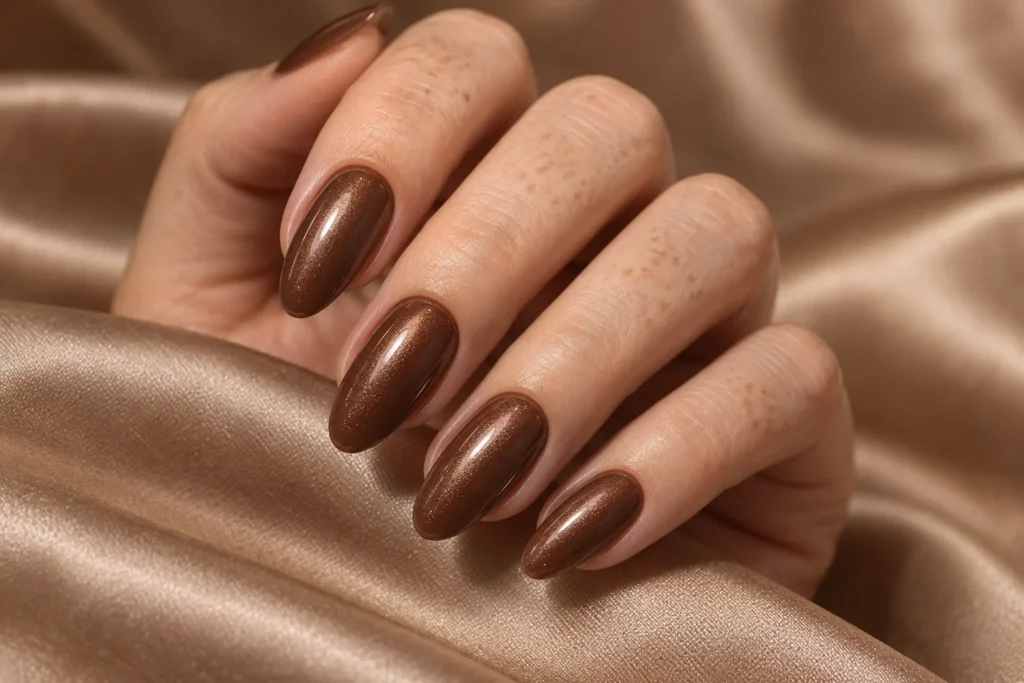
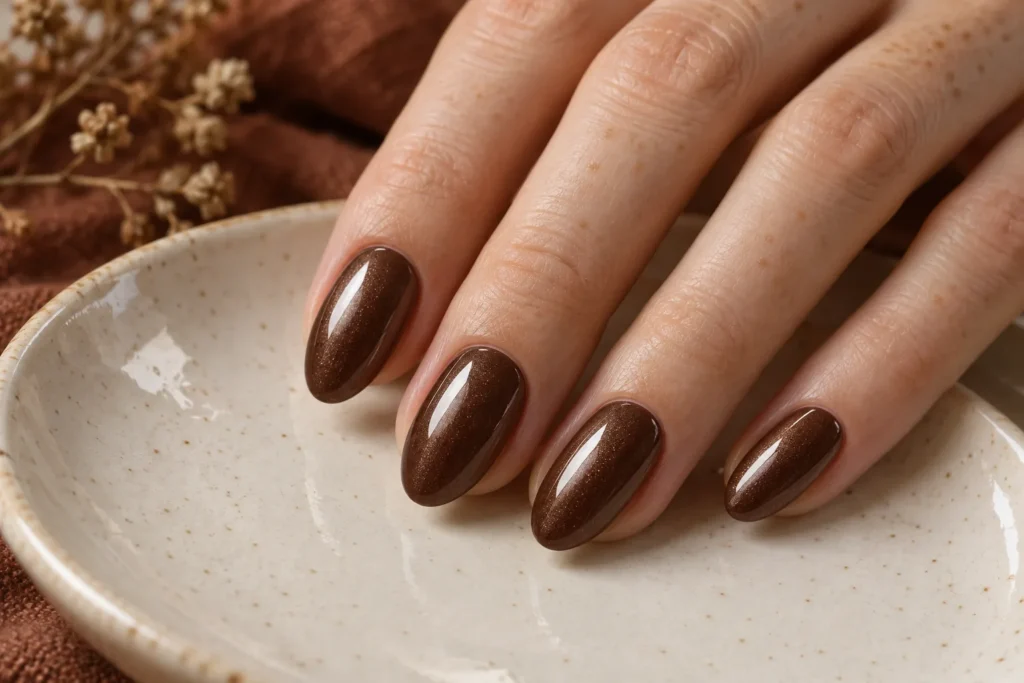
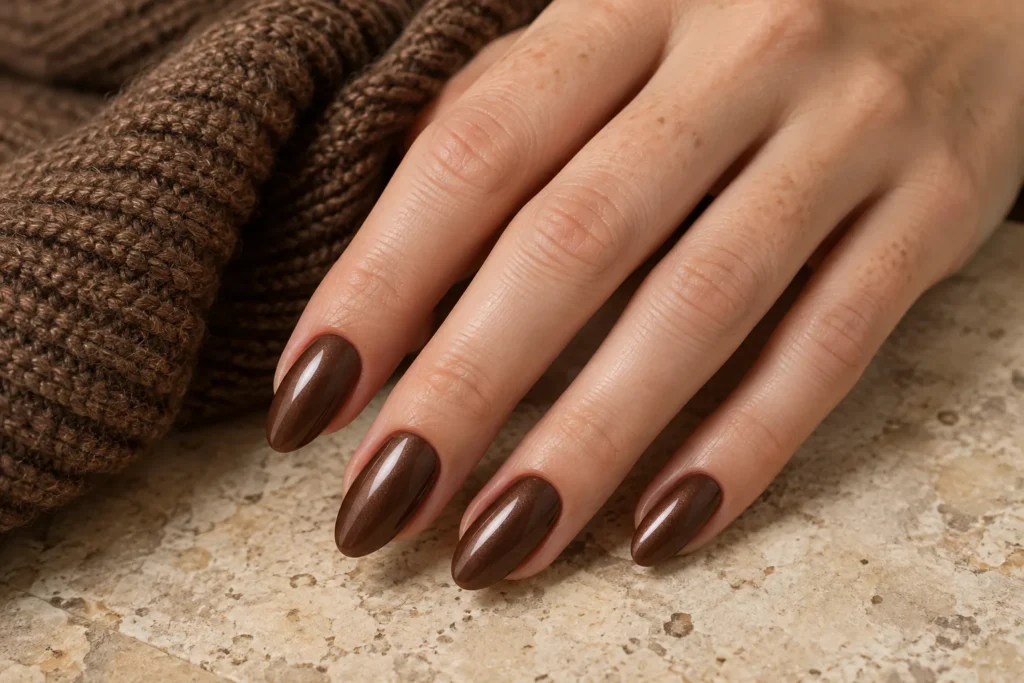
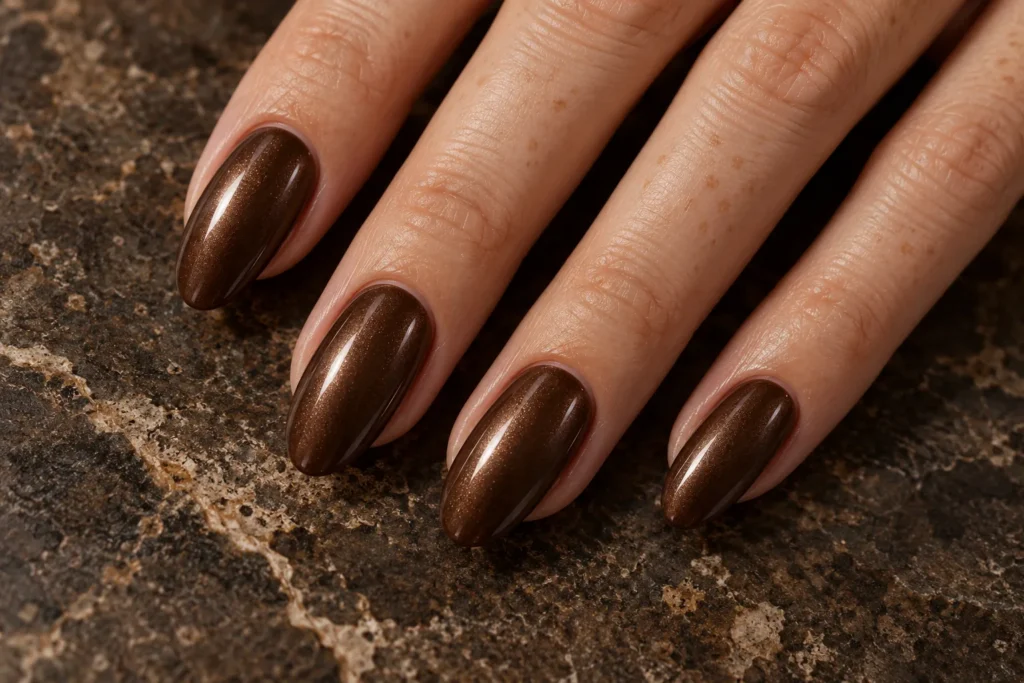
    6. Chocolate Glazed Nails

    Chocolate glazed nails combine a deep brown base with a gentle pearlescent finish. The shine should enhance the colour rather than conceal it beneath silver. Keep the set mostly plain so the finish becomes the feature, and pair it with cream knitwear for a soft seasonal contrast.

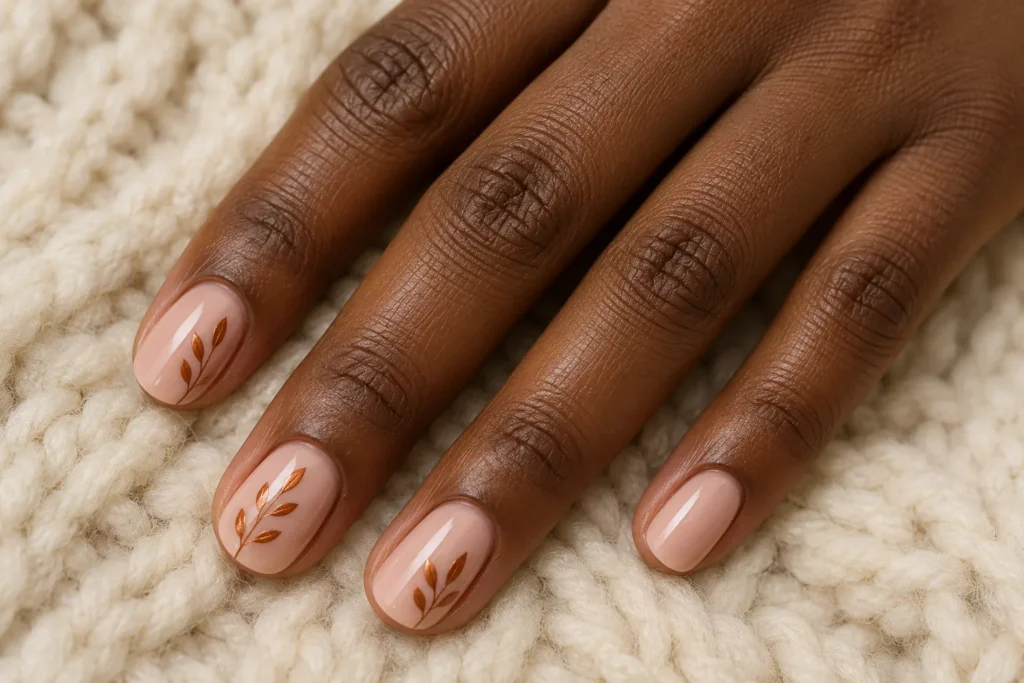
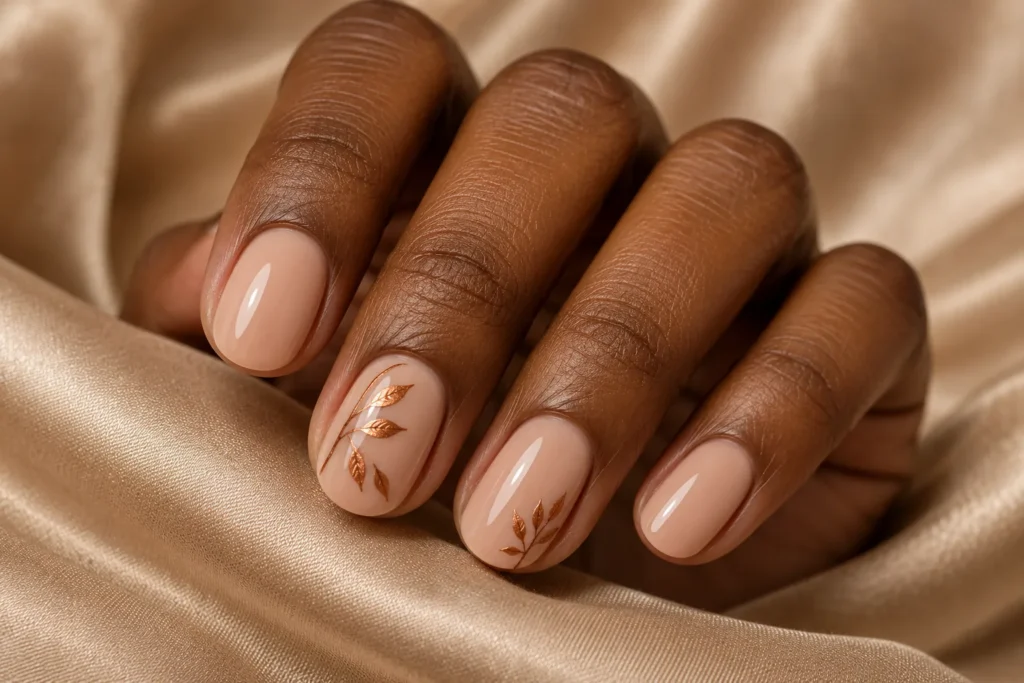
    7. Copper Leaf Accents

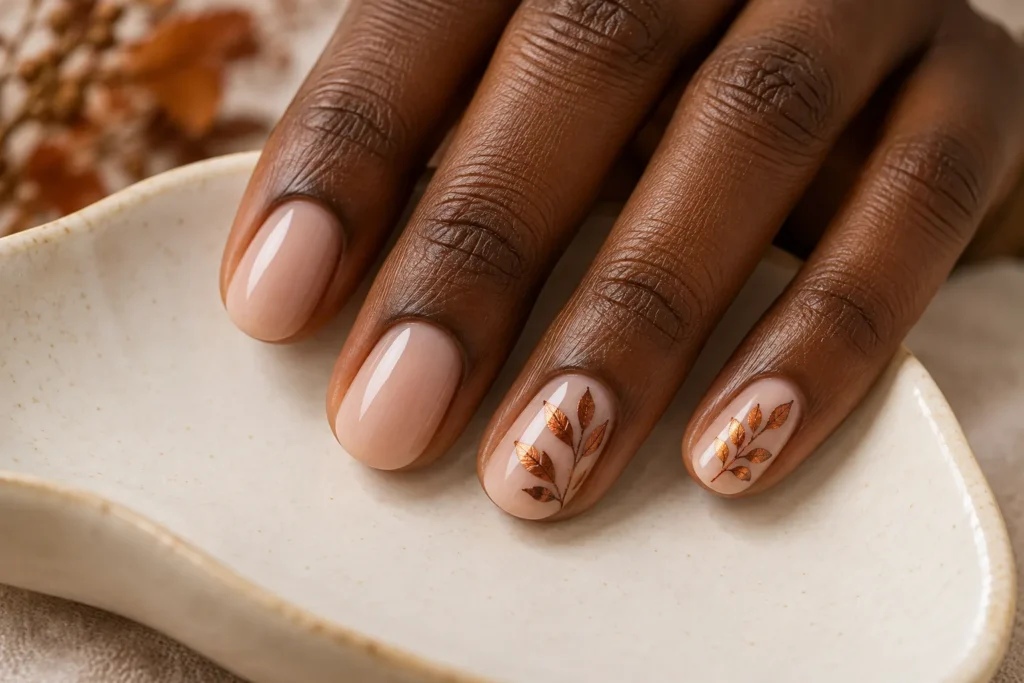
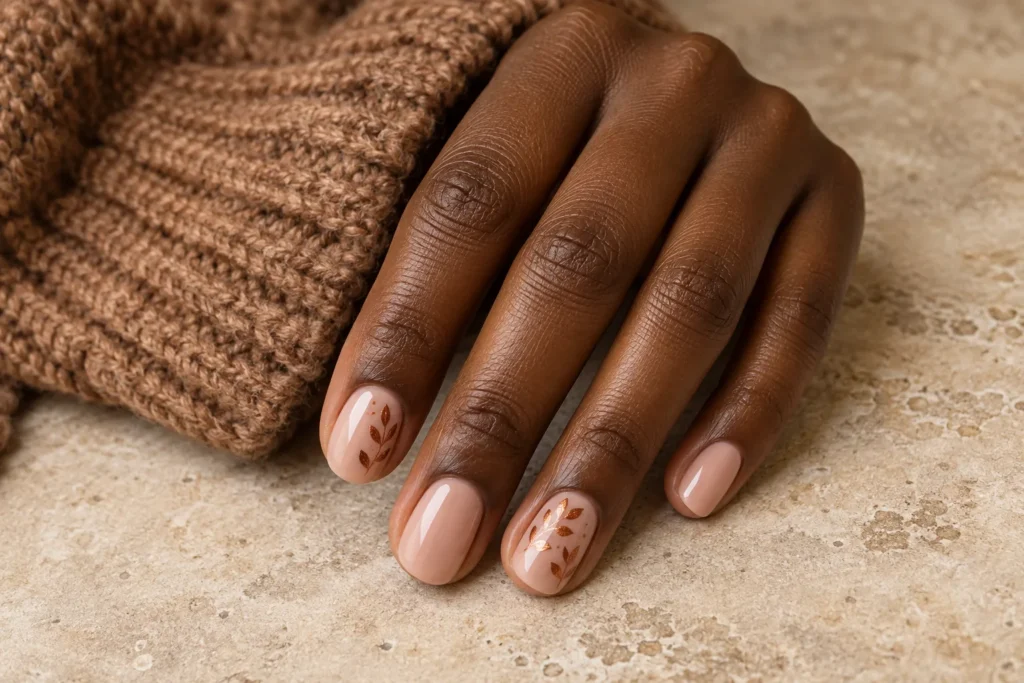
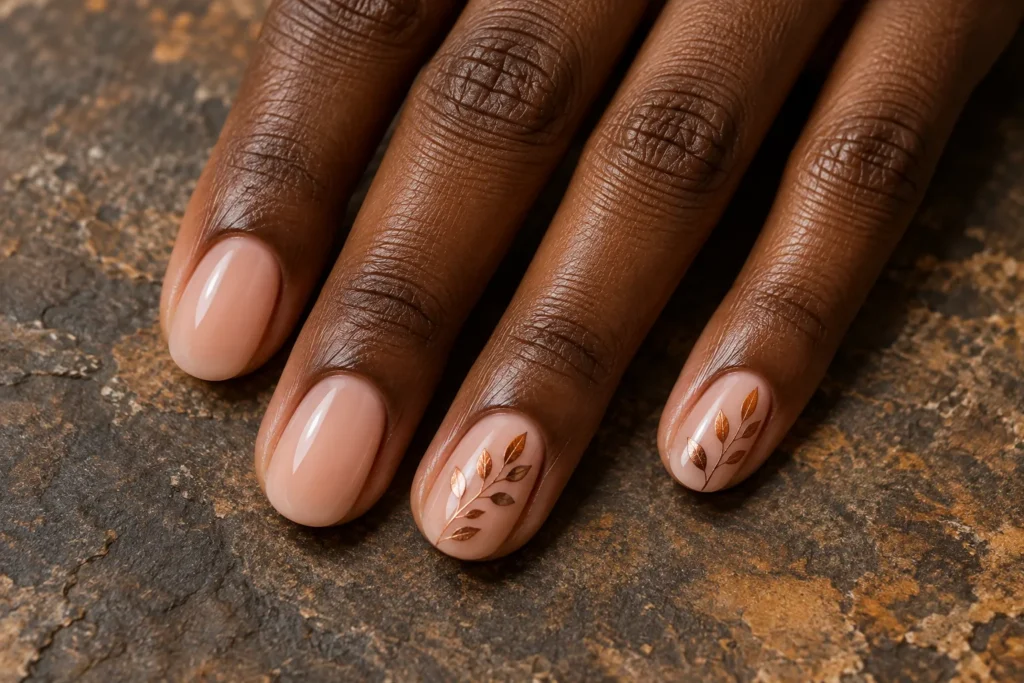
    Copper leaf accents offer a small botanical detail without covering every nail. Fine painted leaves on a nude base look airy beside plain nails. Place the artwork away from the cuticle and leave clear space around it, so the shape remains readable instead of becoming a metallic patch.

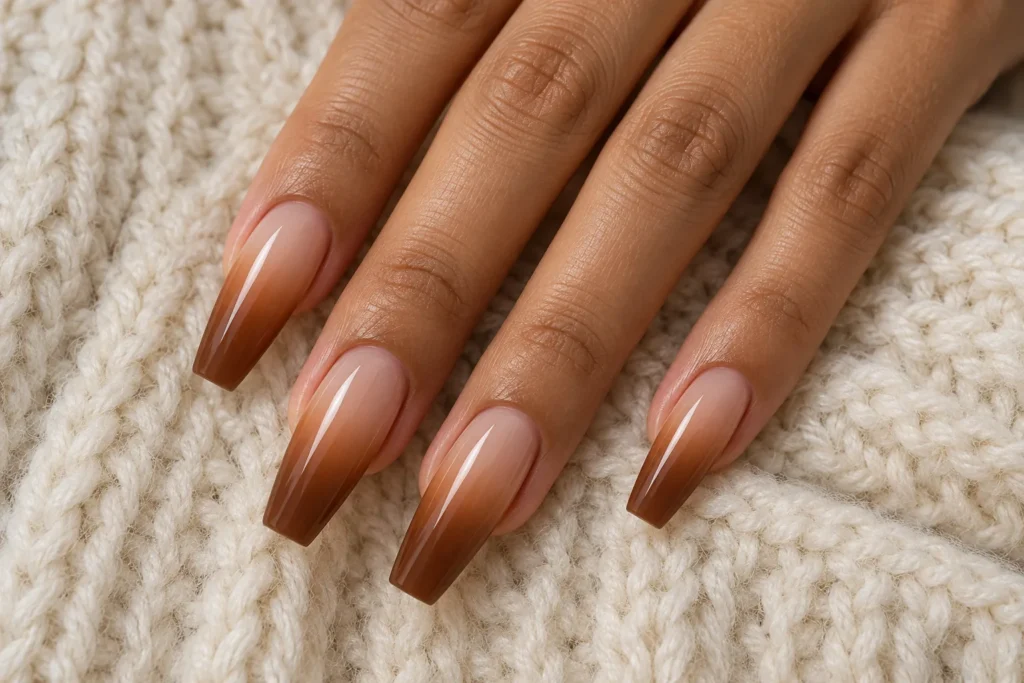
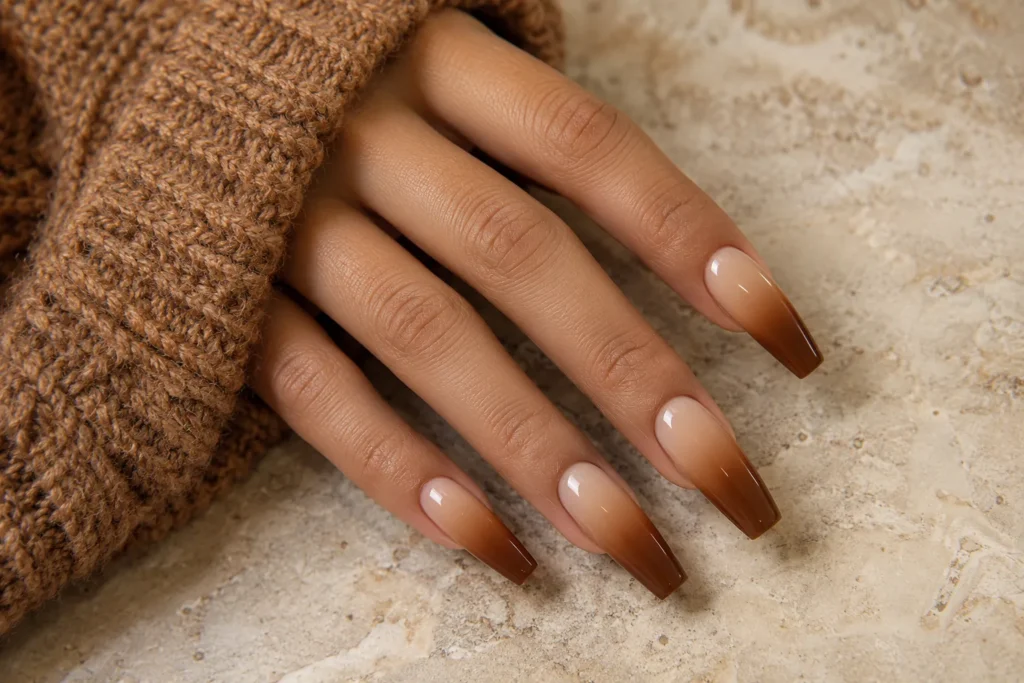
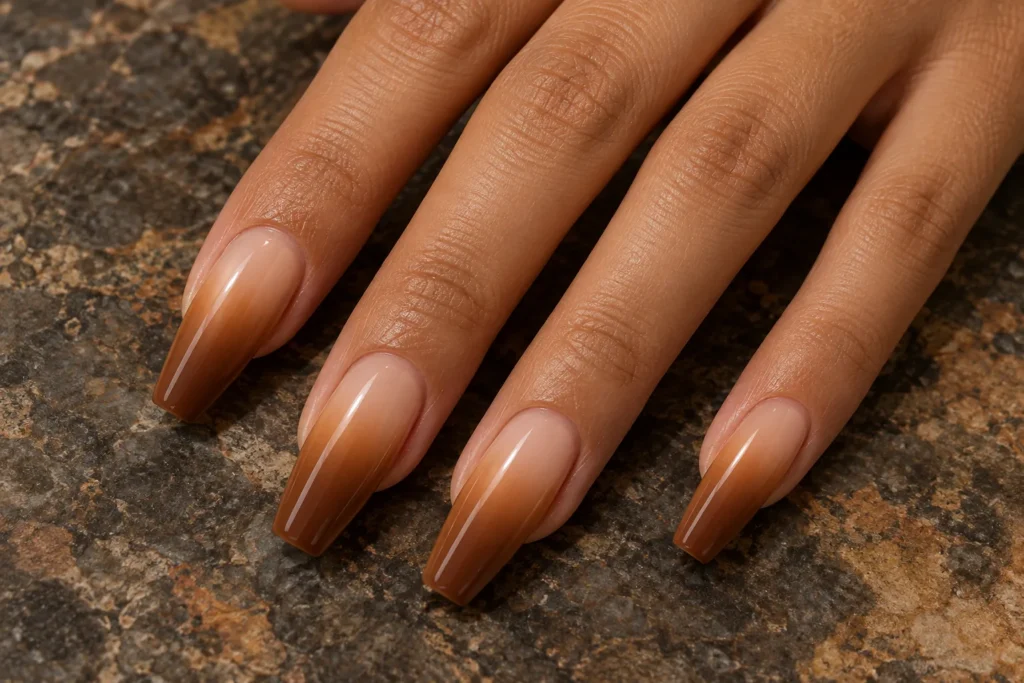
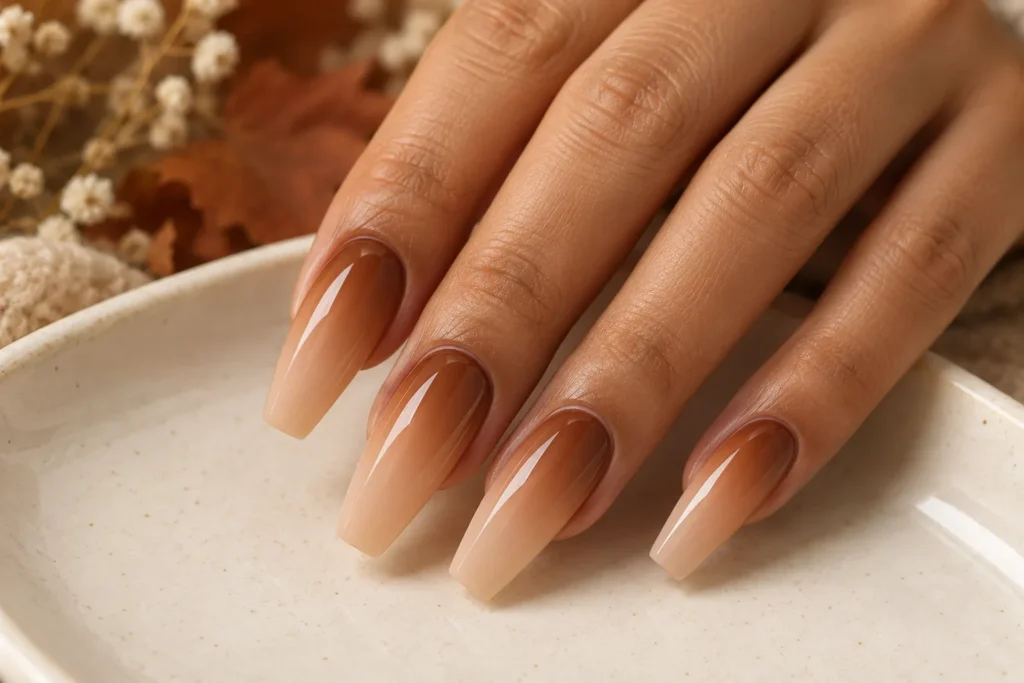
    8. Caramel Ombre Nails

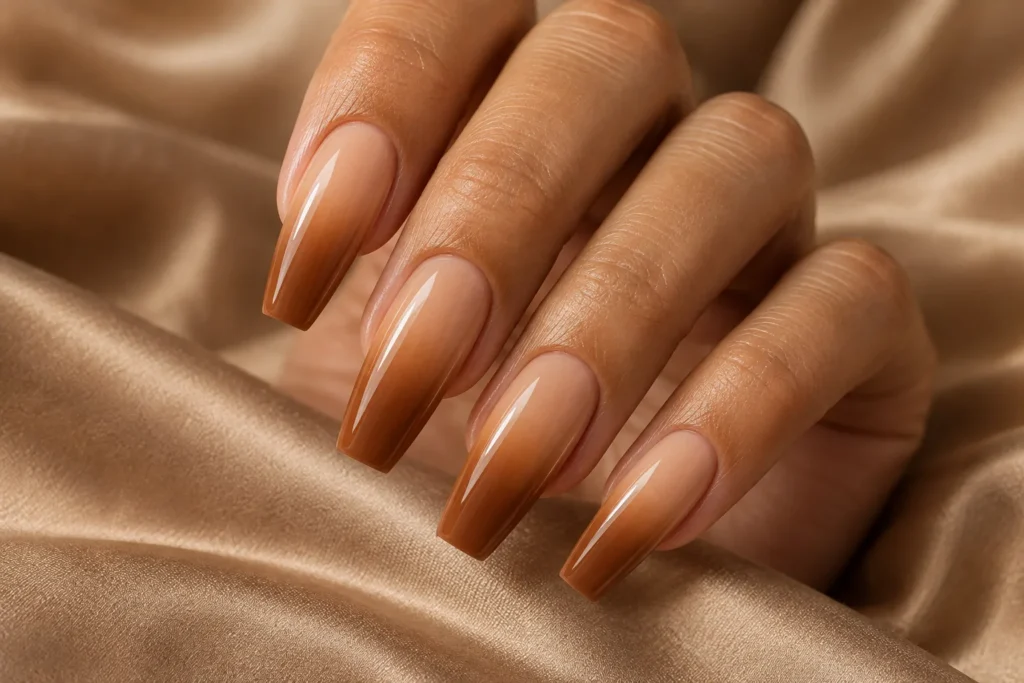
    A caramel-to-nude ombre softens the transition between autumn colour and a natural-looking base. Long coffin nails show more of the fade, but the gradient can be shortened to suit your preferred length. Keep the colour blend smooth and avoid adding several competing patterns over it.

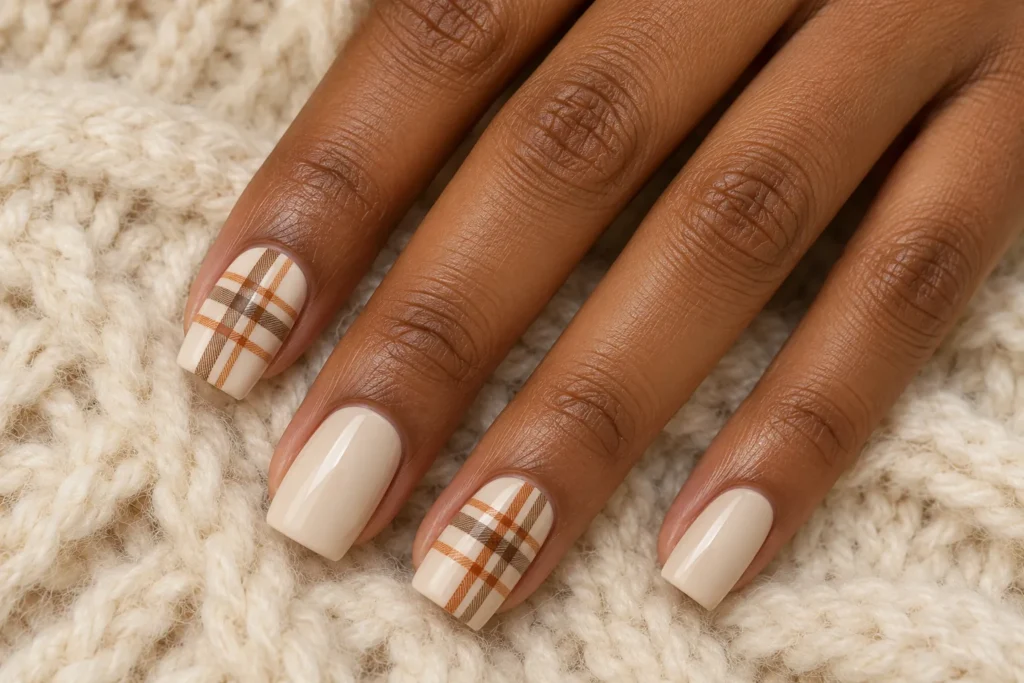
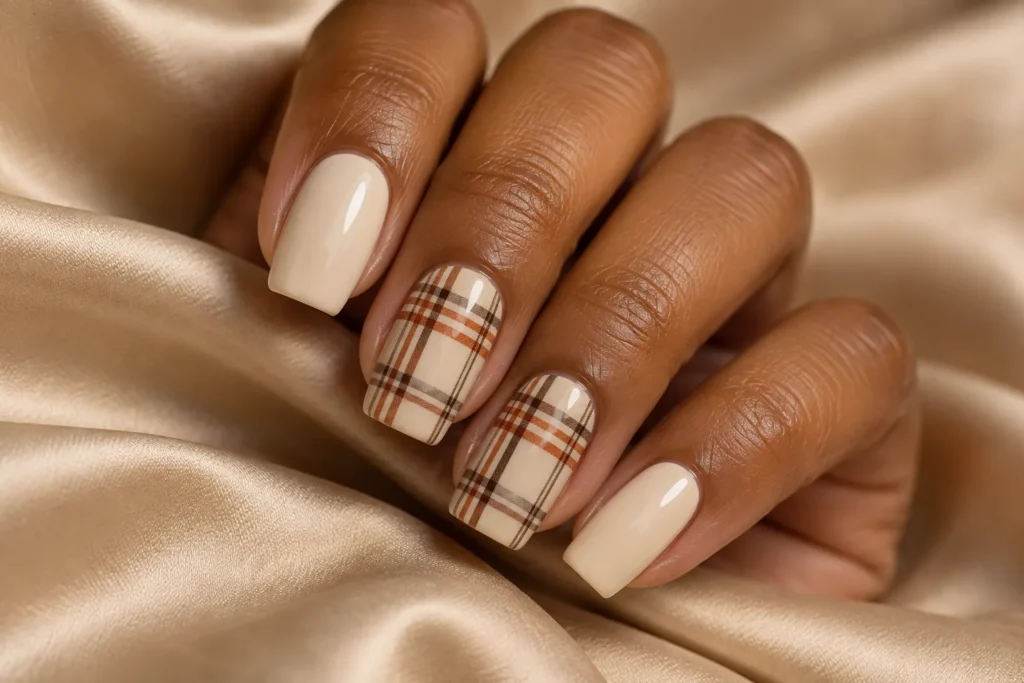
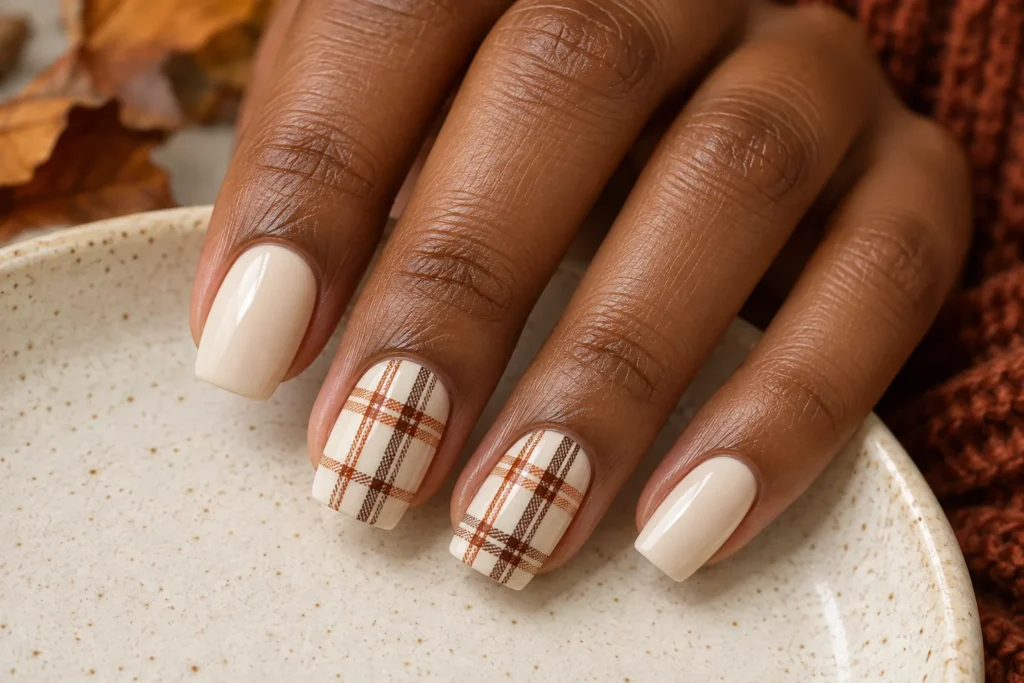
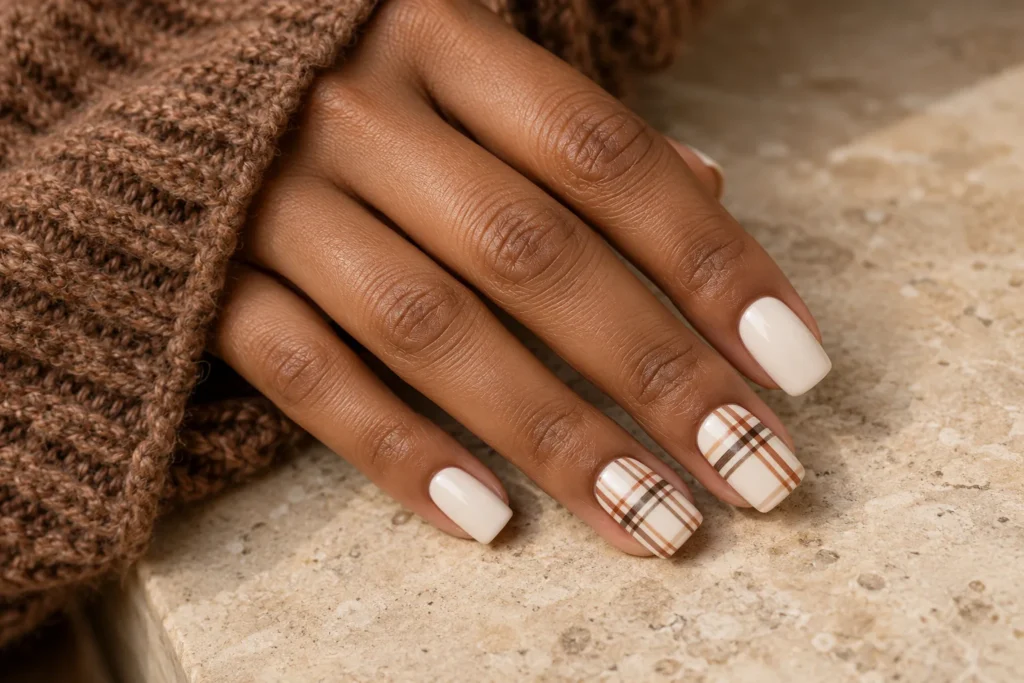
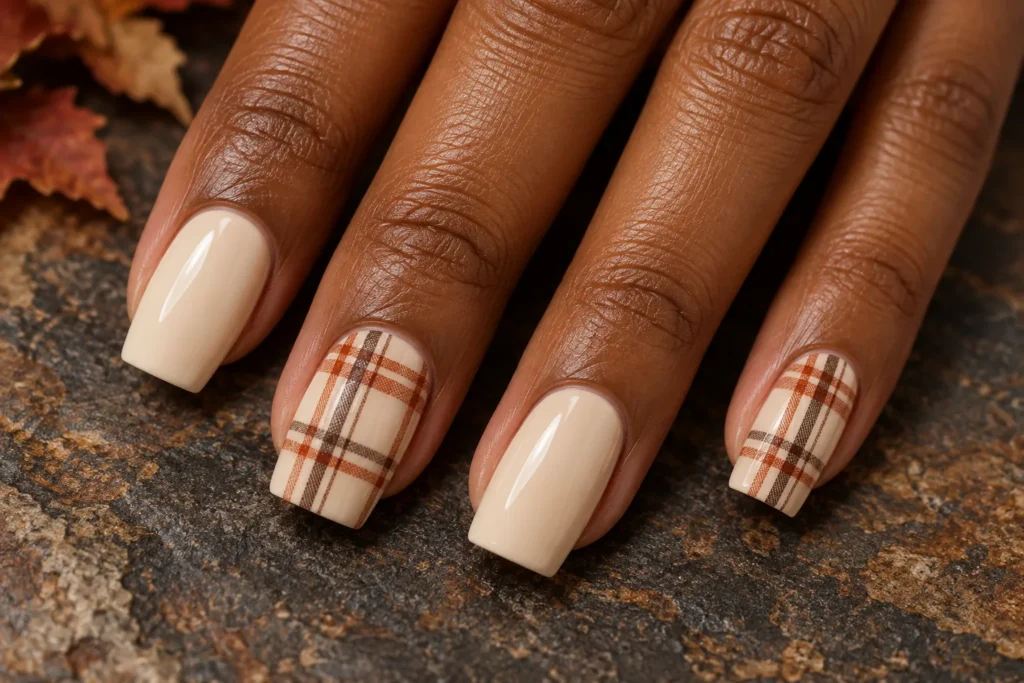
    9. Autumn Plaid Nails

    Rust, brown and cream plaid creates a cosy patterned accent. Use fine crossing lines and reserve the busiest detail for selected nails. Medium square tips suit the structured pattern. Plain cream or rust nails beside the plaid help the whole manicure feel coordinated without looking crowded.

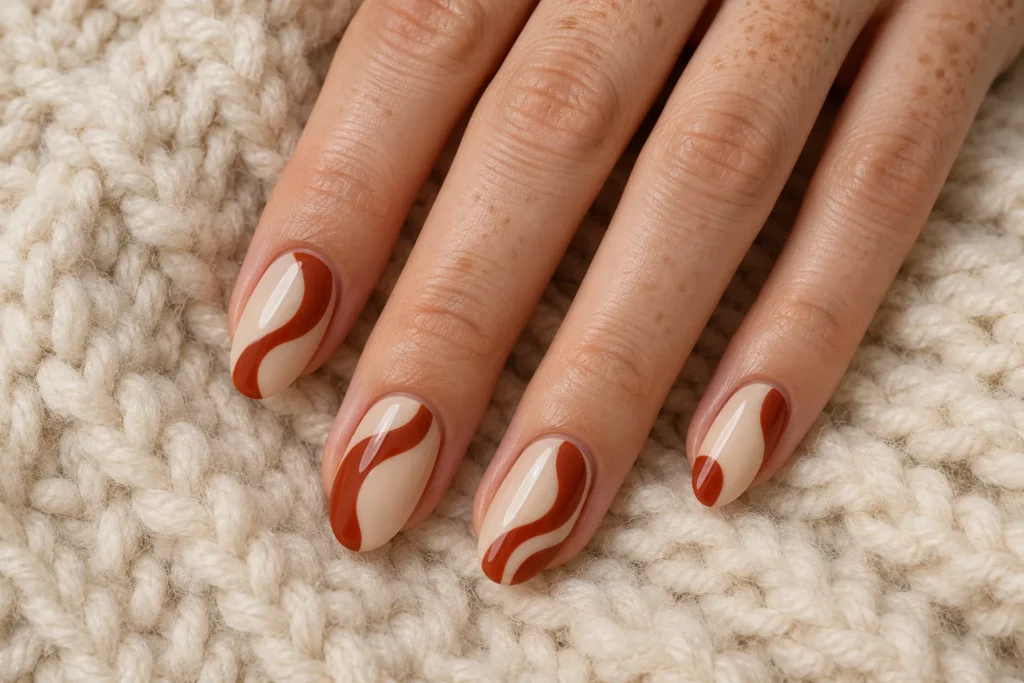
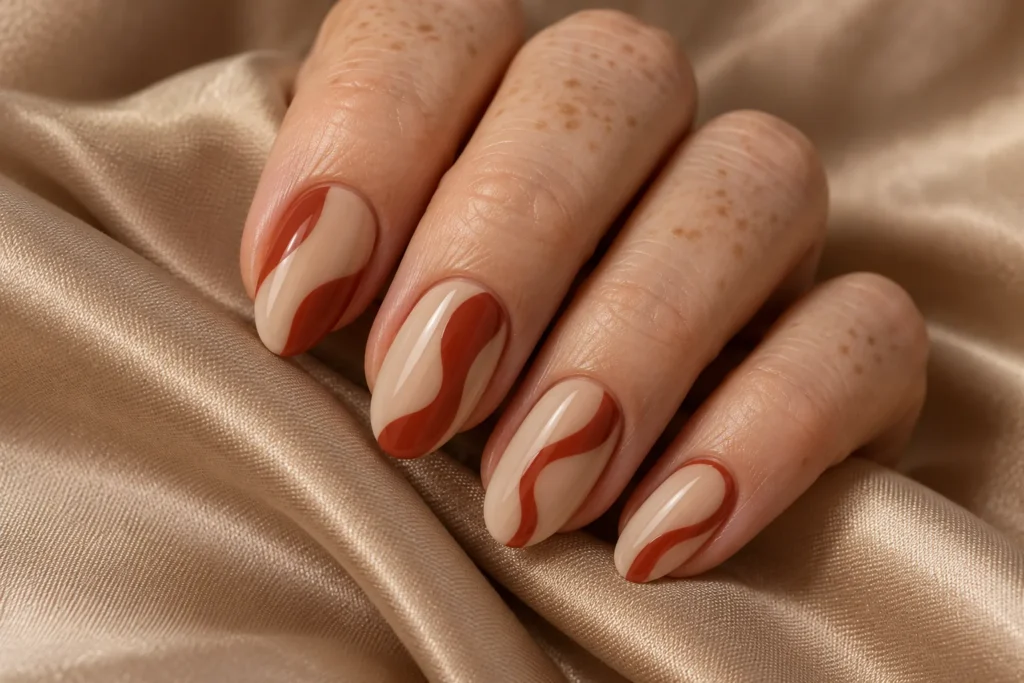
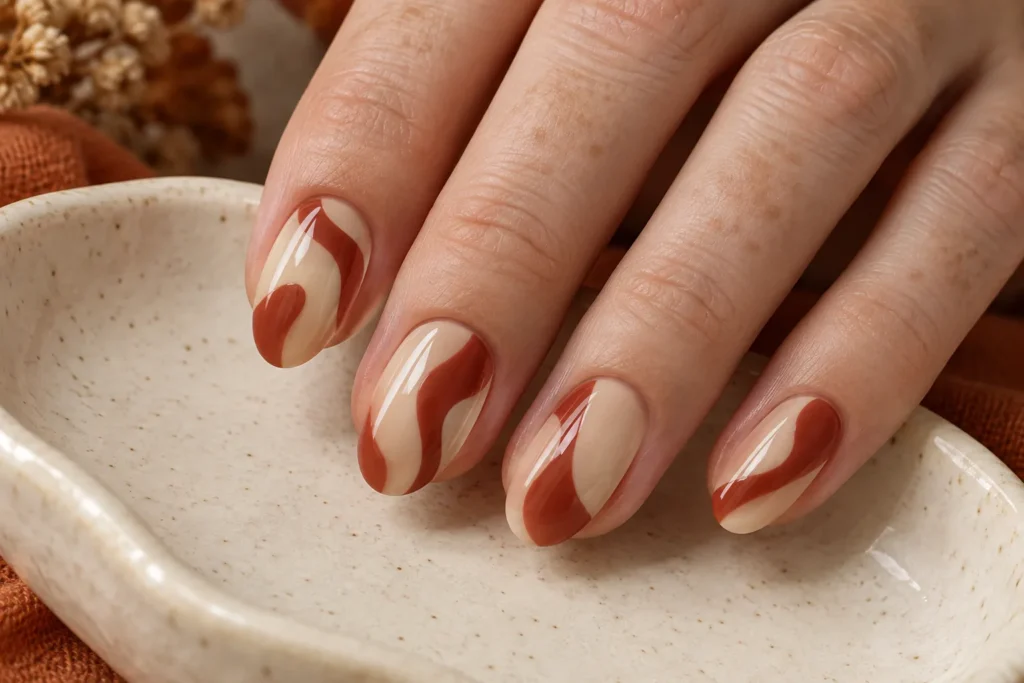
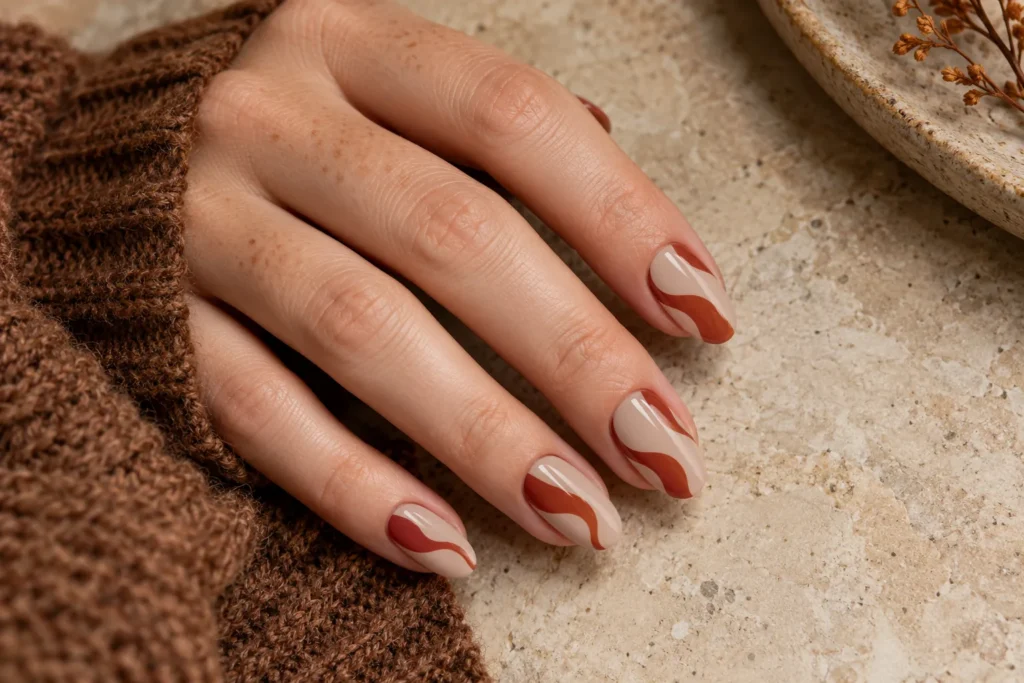
    10. Rust Abstract Waves

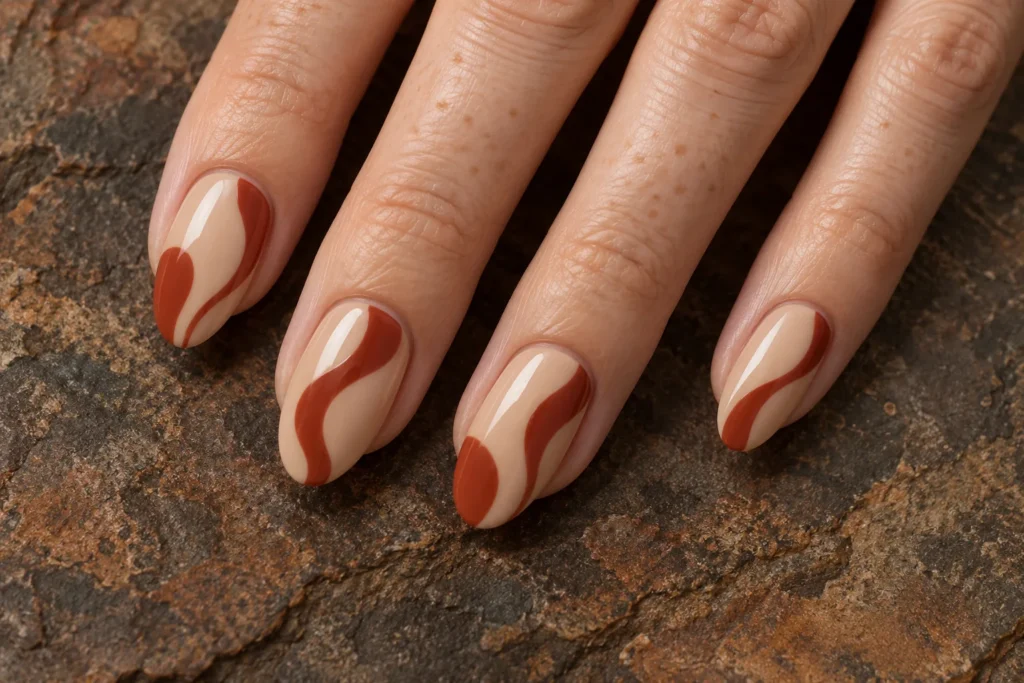
    Rust abstract waves give beige polish a graphic seasonal twist. The curves can move across the nail at different heights while sharing the same colour. Leave a generous amount of beige visible; it is the clear background that makes each wave stand out, especially on a shorter oval shape.

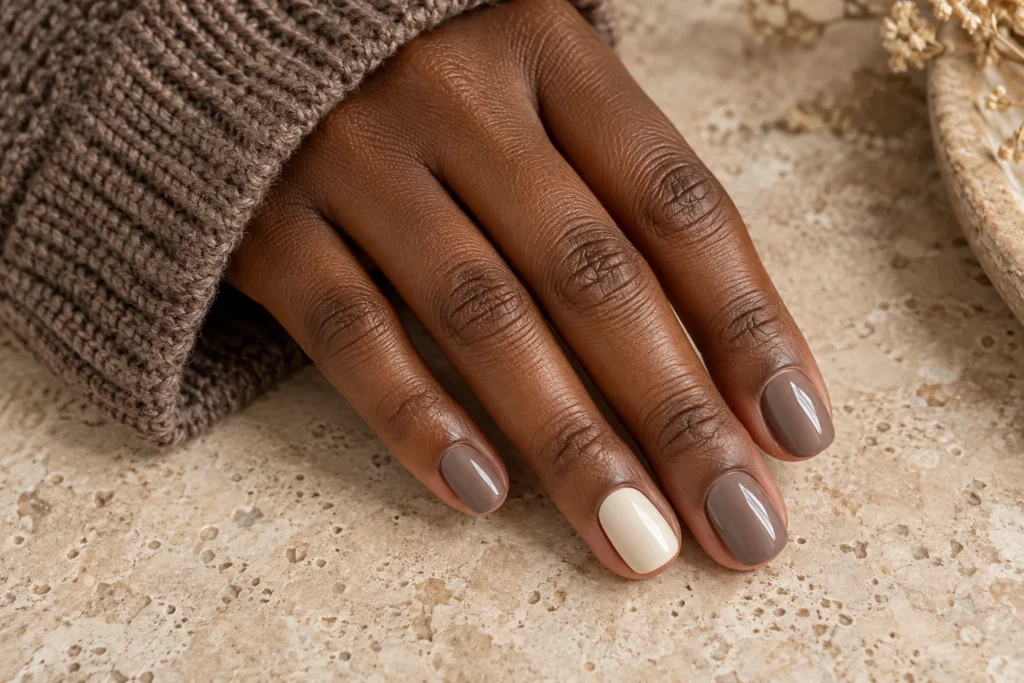
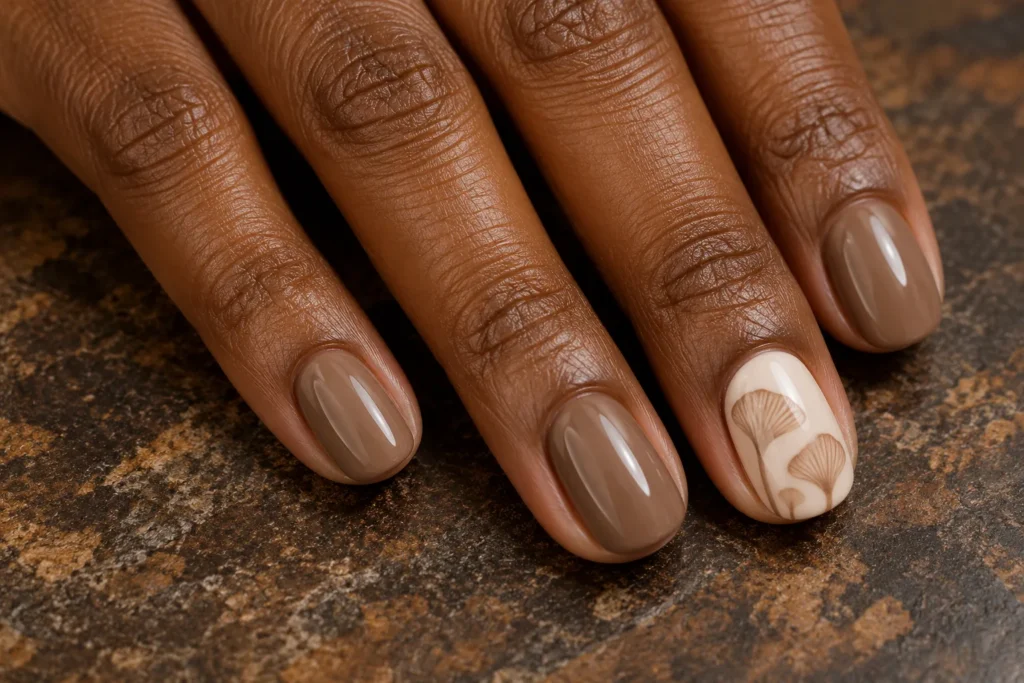
    11. Mushroom Taupe Nails

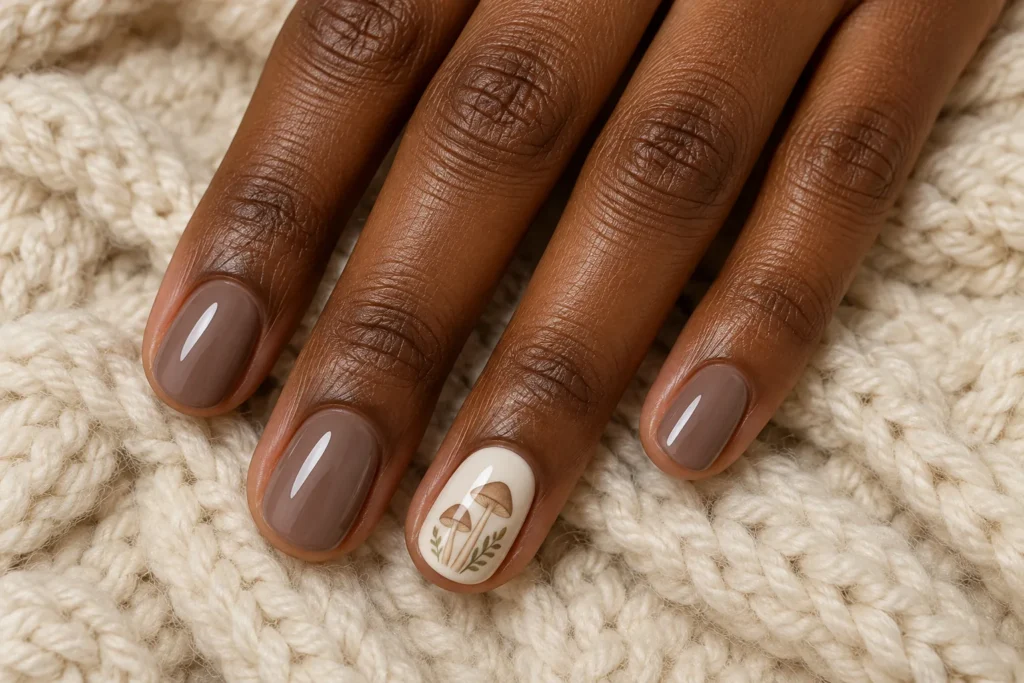
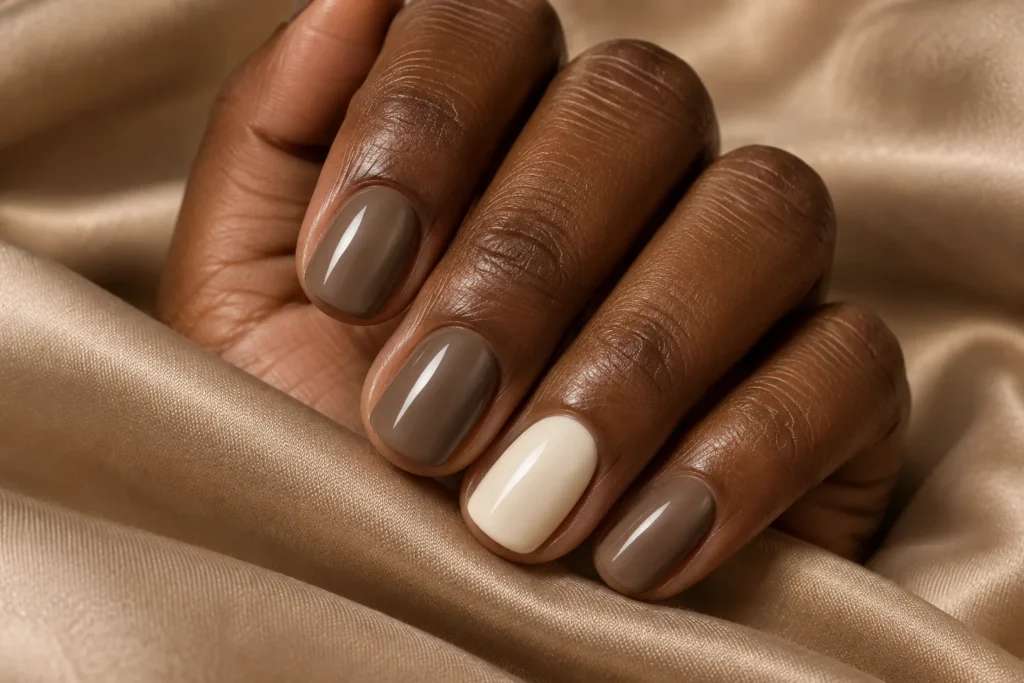
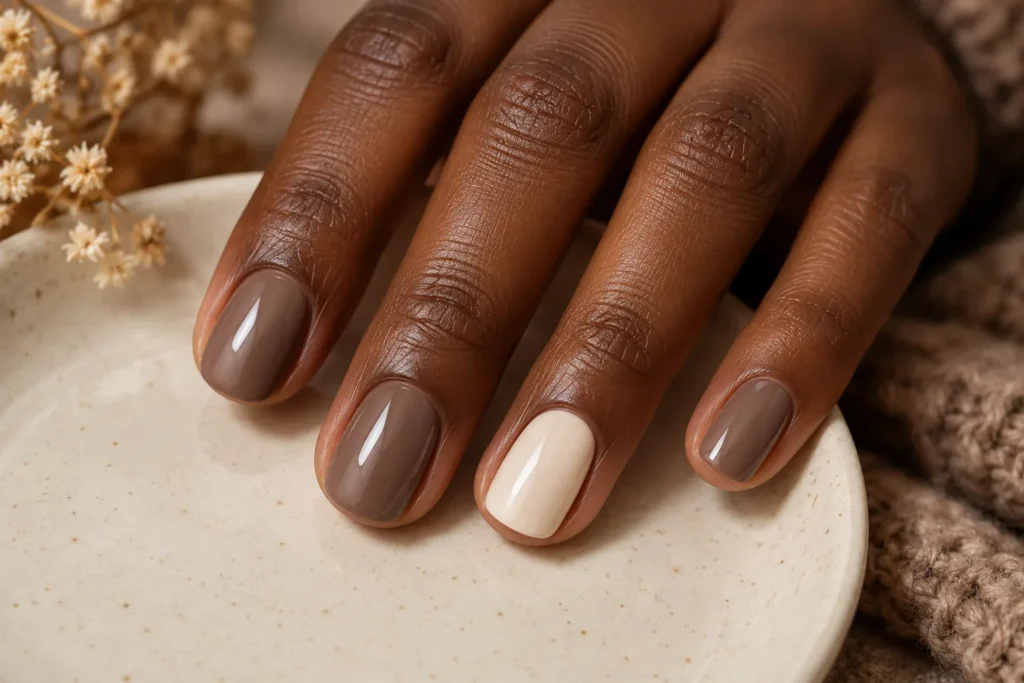
    Mushroom taupe offers a quiet alternative to orange and burgundy. Its soft neutral tone works well on short rounded nails, with one ivory accent for a little variation. This design relies on a neat outline and glossy finish, making it a straightforward choice for an understated everyday set.

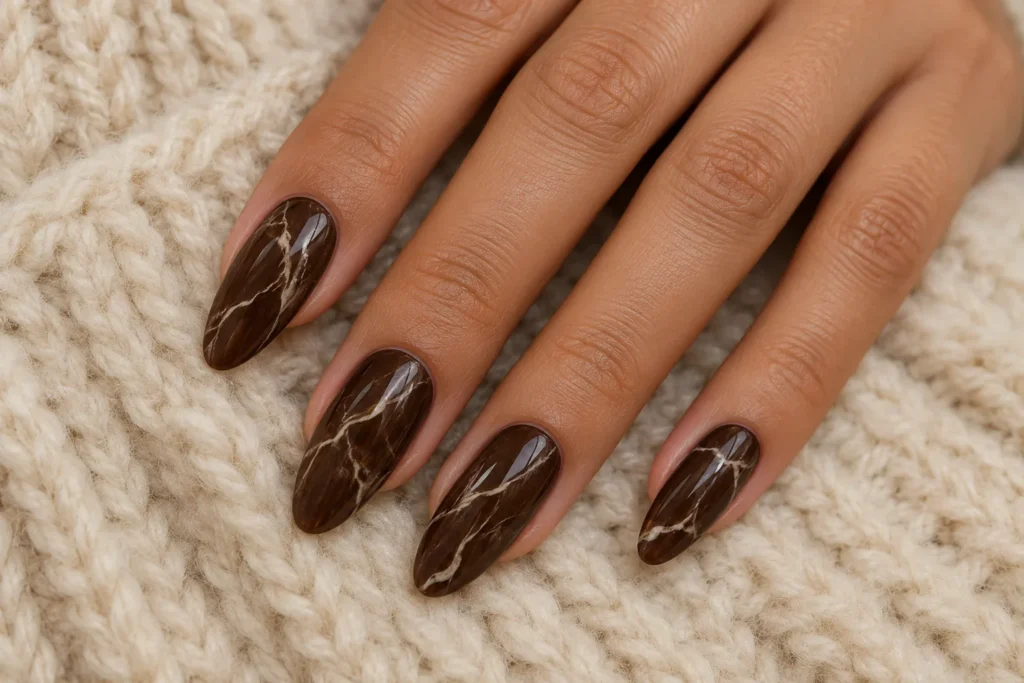
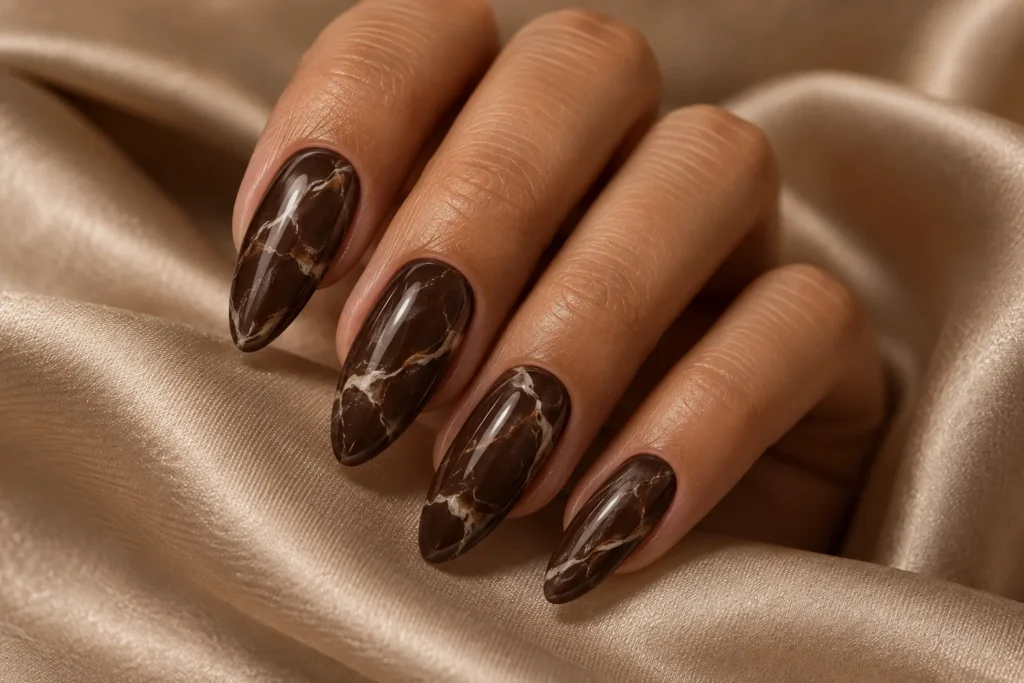
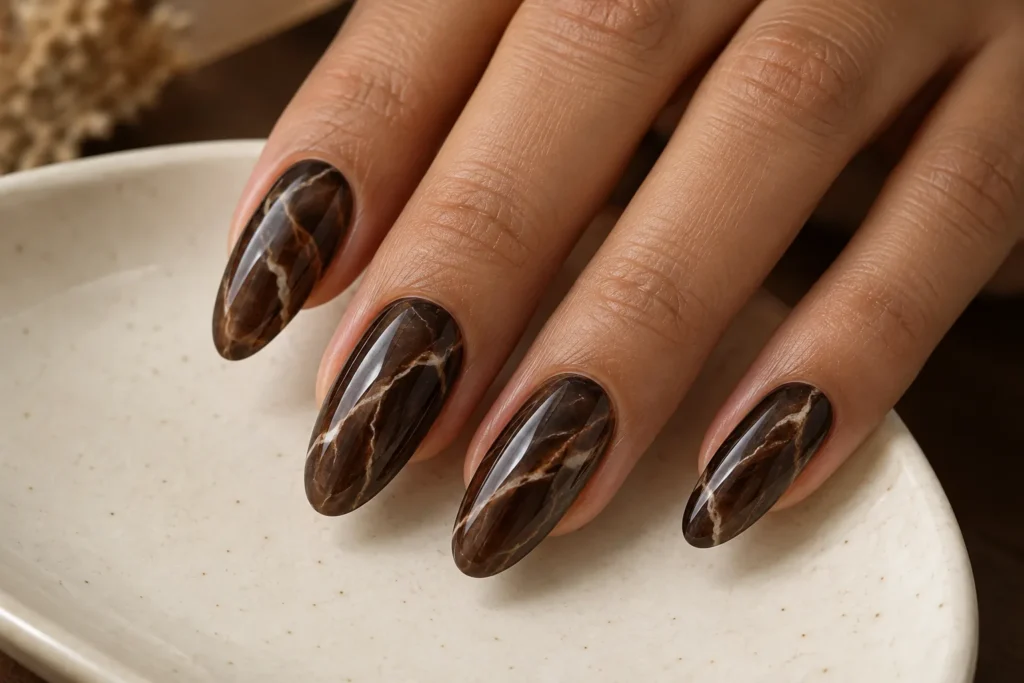
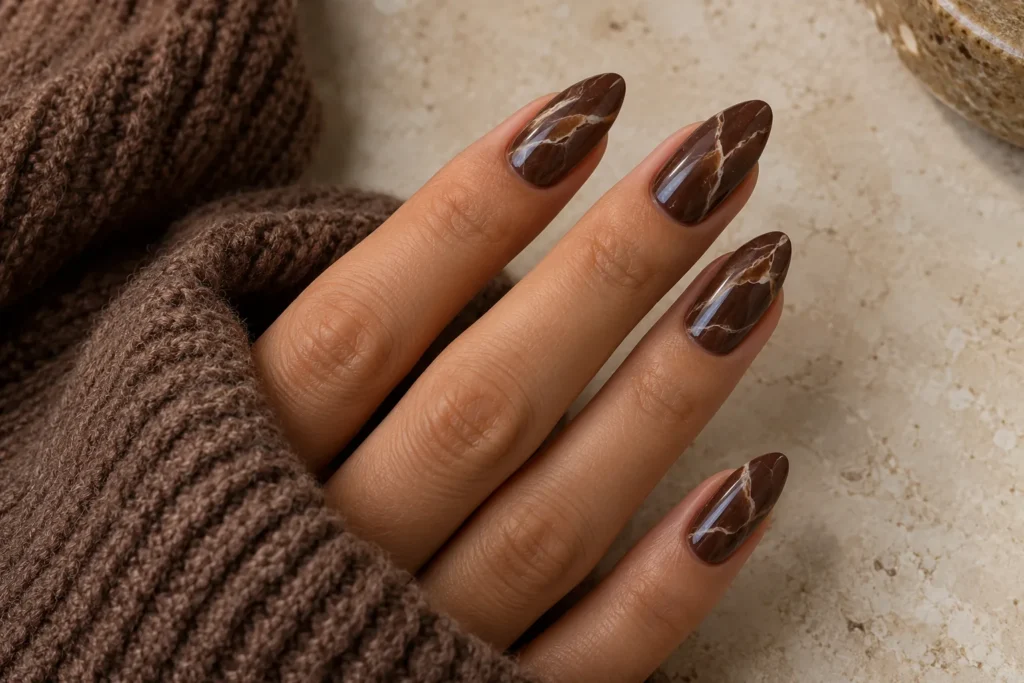
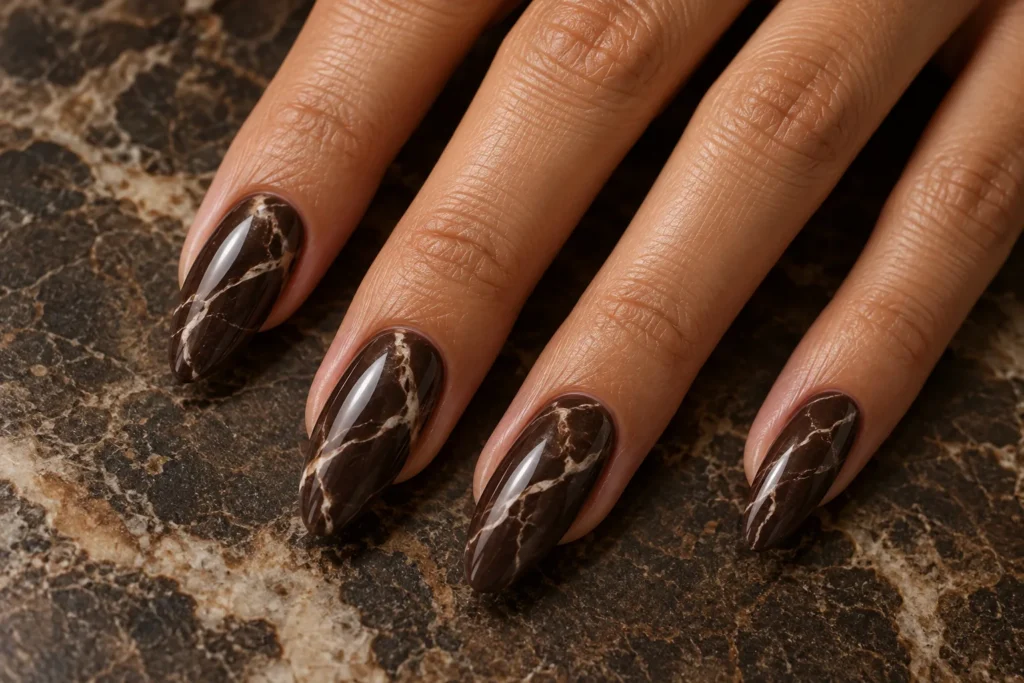
    12. Espresso Marble Nails

    Espresso marble uses fine cream veins to break up a deep brown base. Keep the lines irregular and sparse rather than creating an identical web on every nail. Long almond tips give the pattern room, although two marble accents beside plain espresso nails can create a calmer overall result.

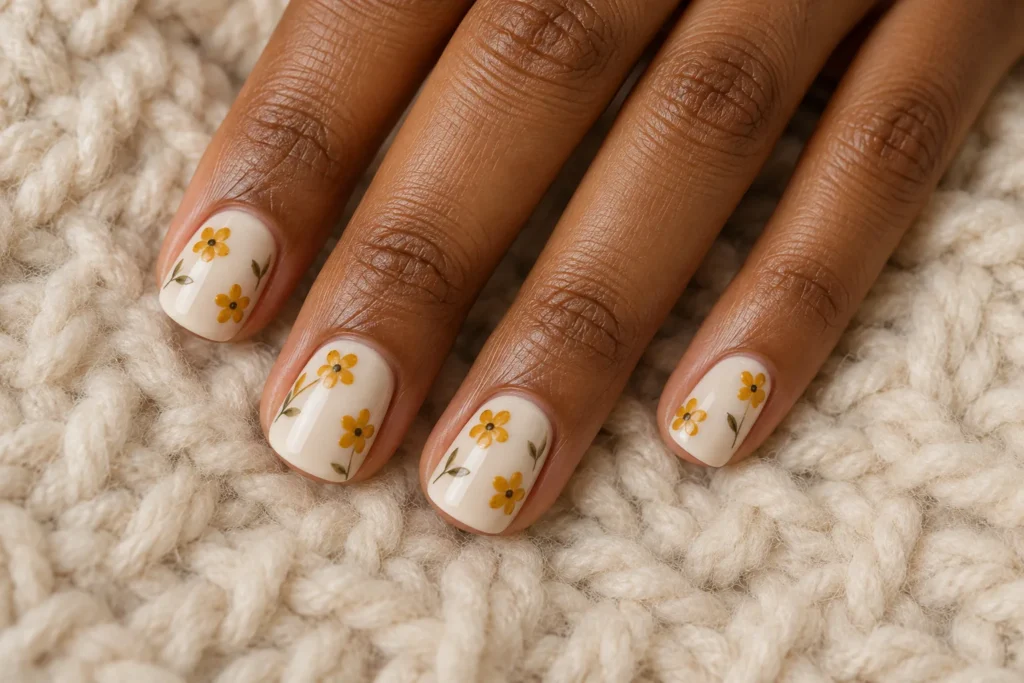
    13. Mustard Floral Details

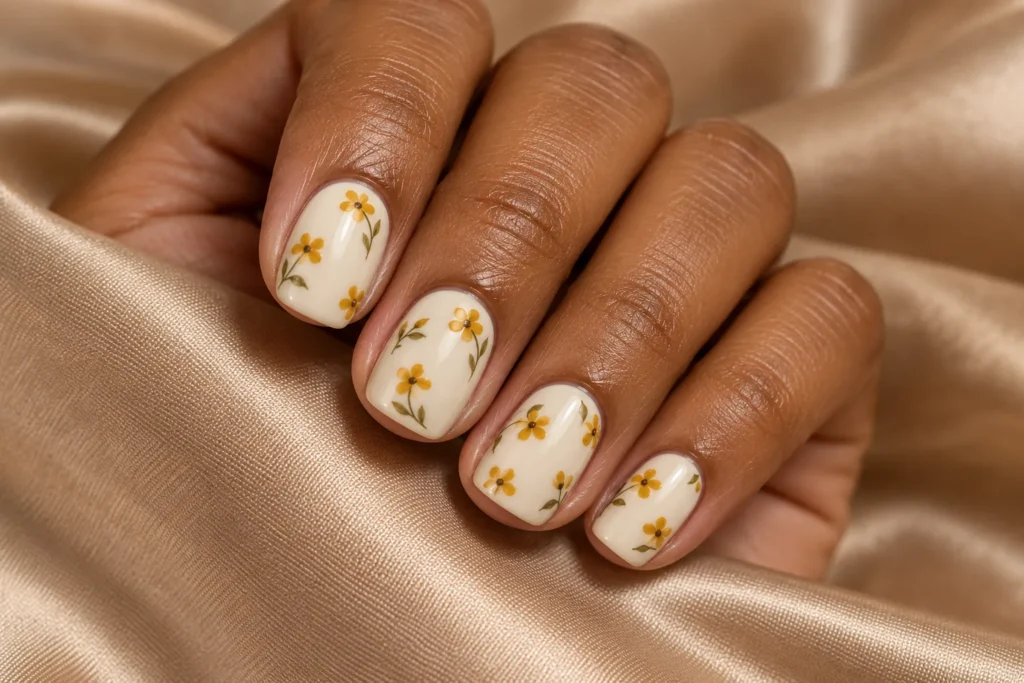
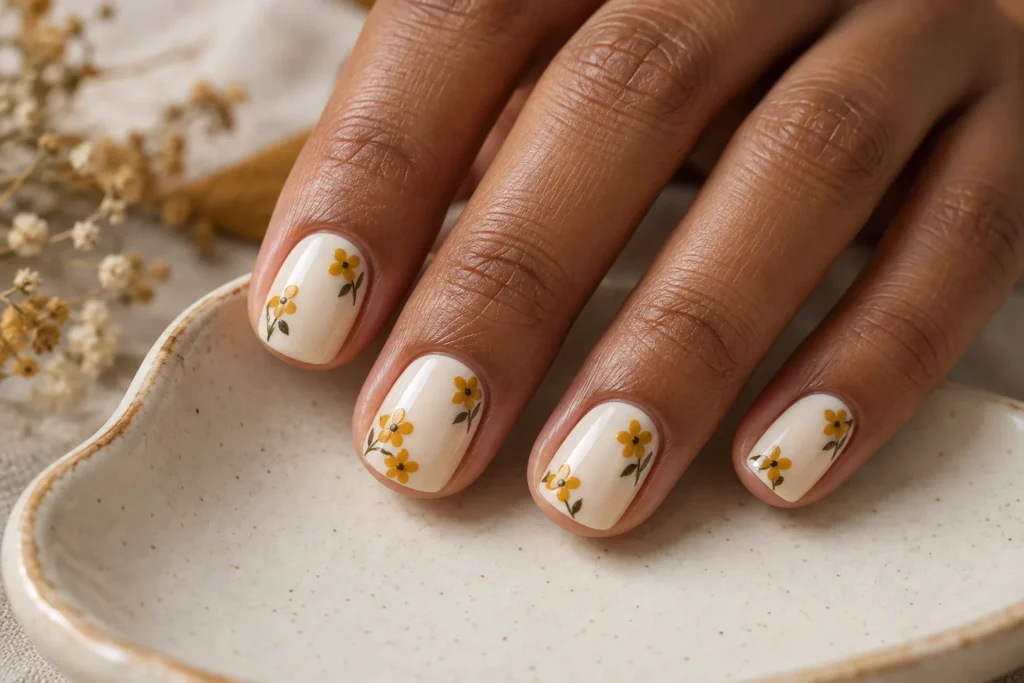
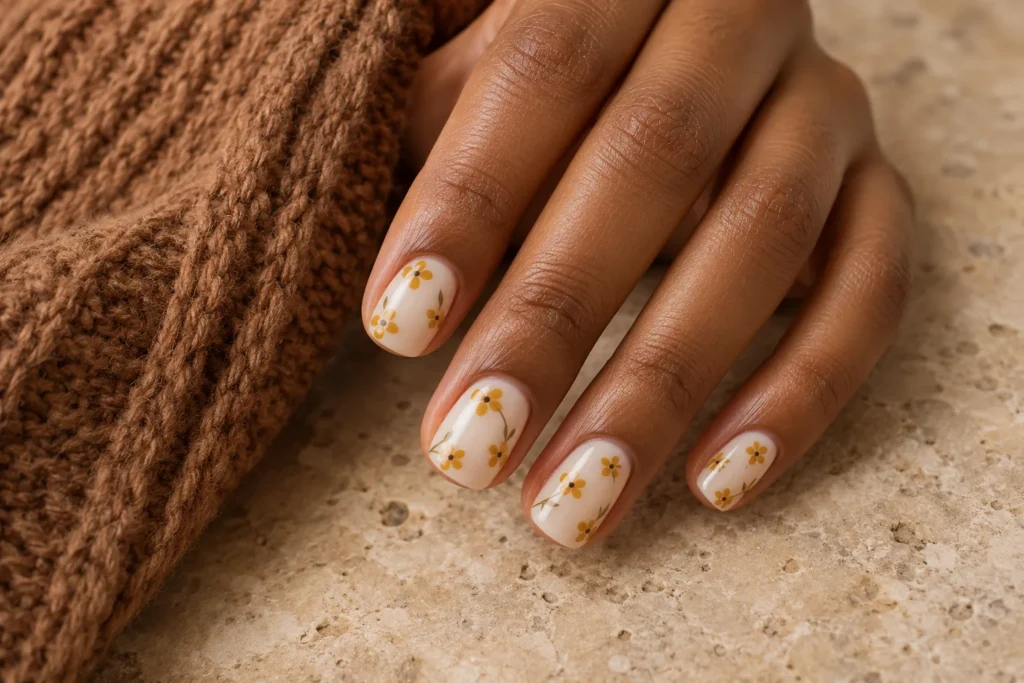
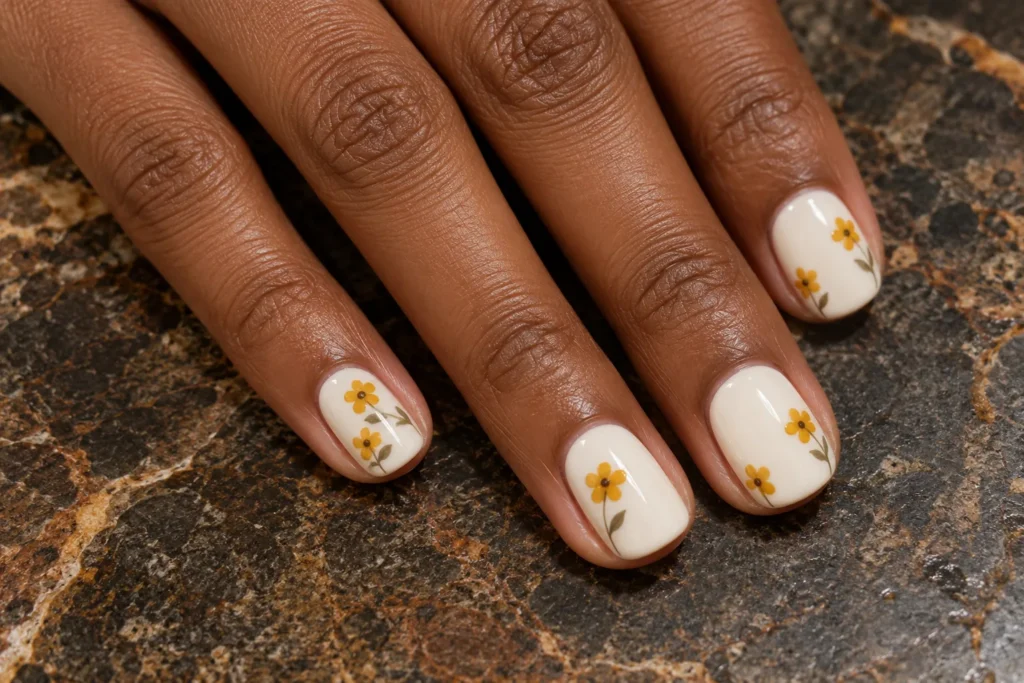
    Tiny mustard flowers on cream polish offer cute fall designs for nails without relying on a full floral background. Small painted petals feel lighter than raised blooms. Leave space between the flowers and keep neighbouring nails plain, allowing the warm yellow detail to become the main seasonal accent.

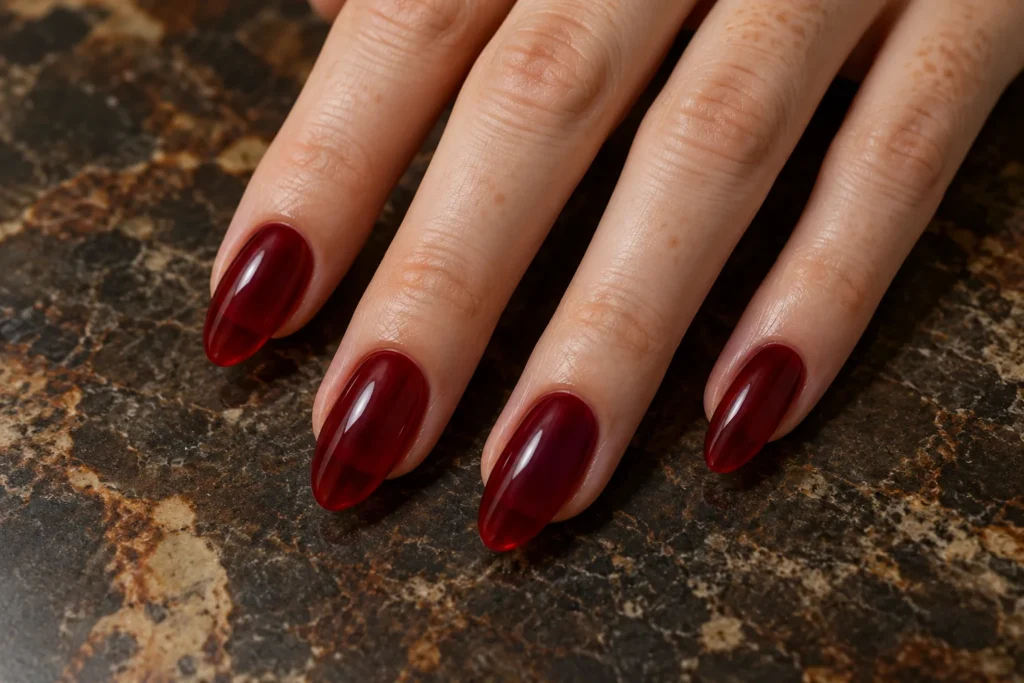
    14. Wine Red Jelly Nails

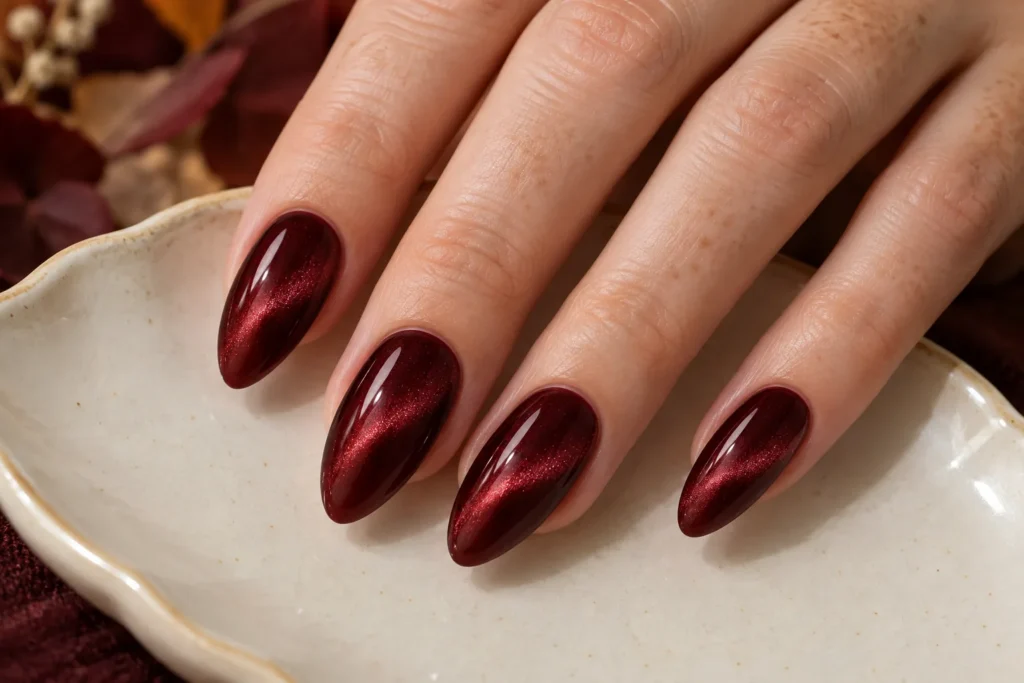
    Wine-red jelly nails have a translucent finish that gives the colour a lighter appearance. An even application and clean nail shape matter more than extra embellishments here. Longer oval nails show the see-through effect clearly, while a shorter version can make this rich autumn shade feel less dramatic.

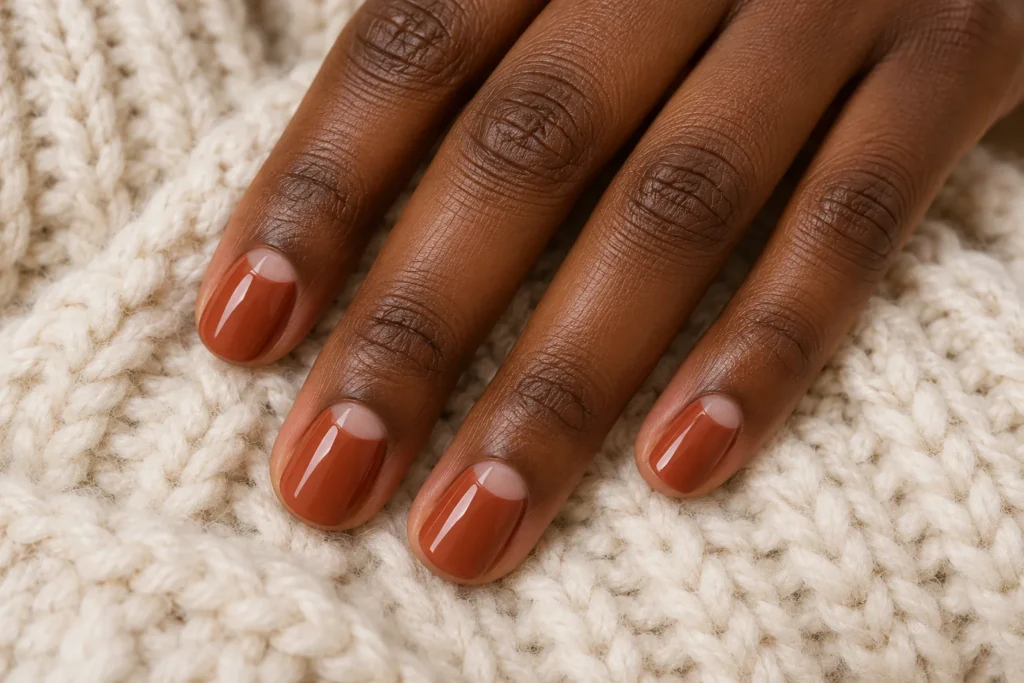
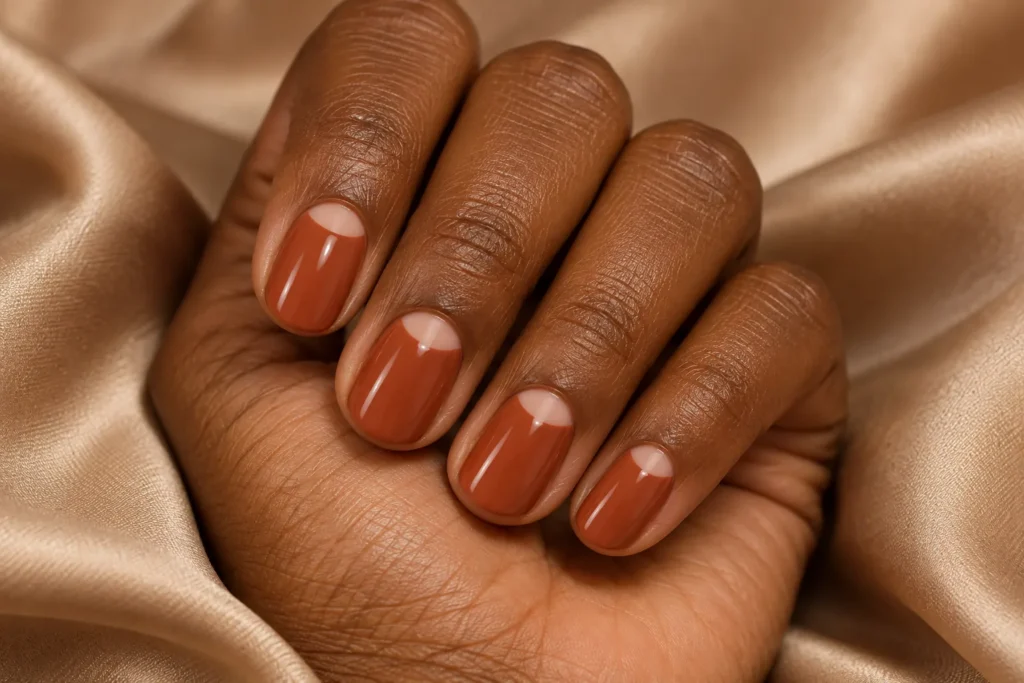
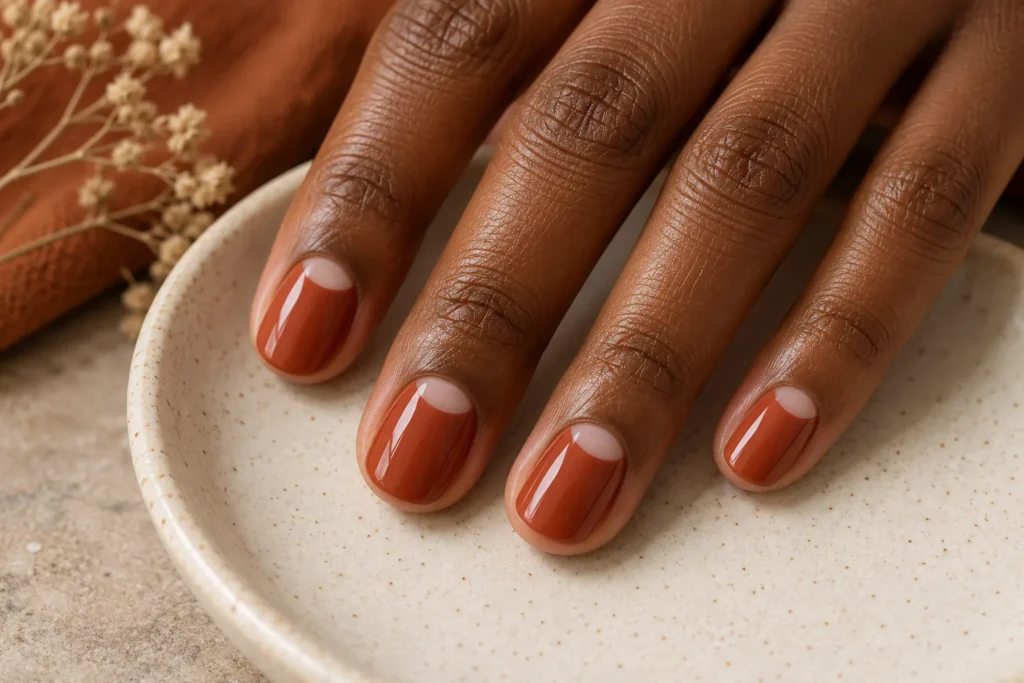
    15. Terracotta Half Moons

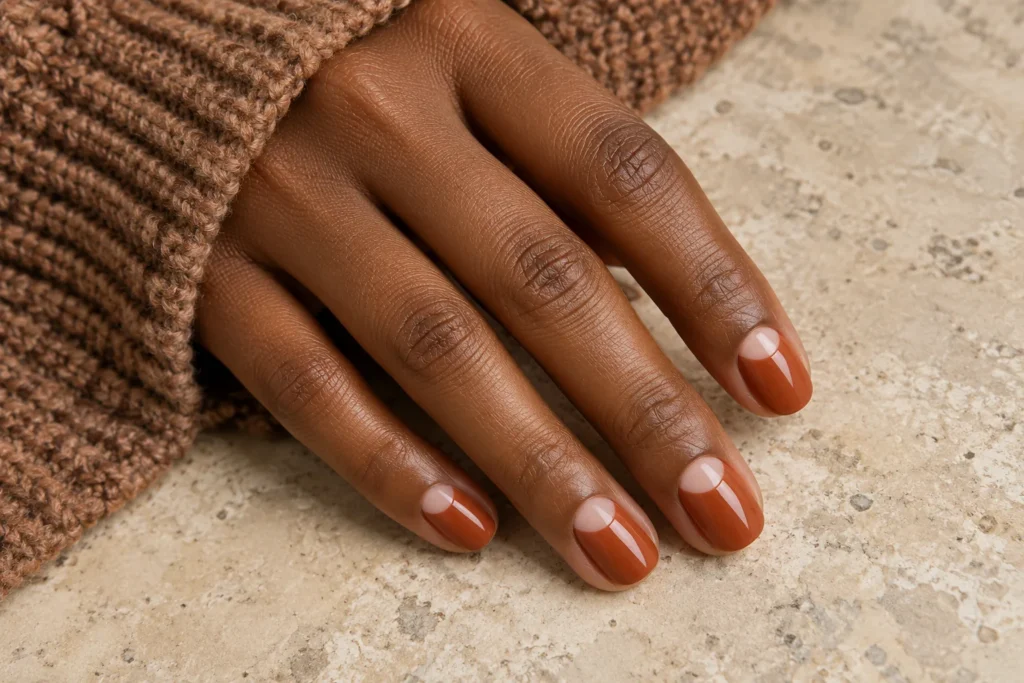
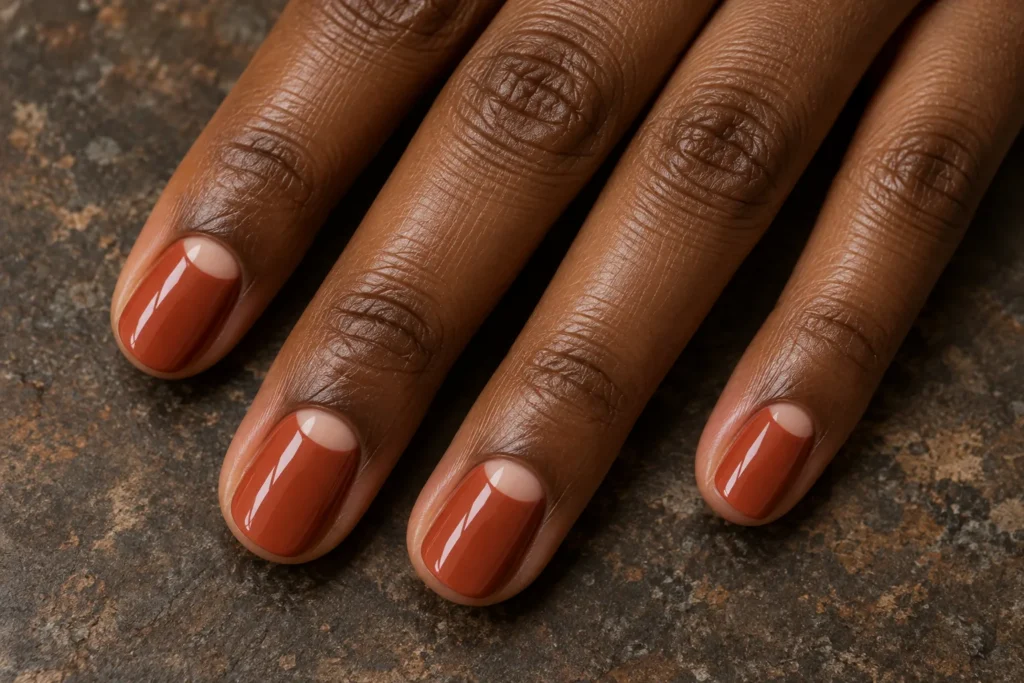
    Terracotta half-moons move the design focus toward the cuticle. A small nude crescent contrasts with the warm painted surface, giving short nails a clear decorative detail. Keep the curve proportionate to each nail width rather than making every crescent exactly the same size across the hand.

    16. Forest Green Gold Flecks

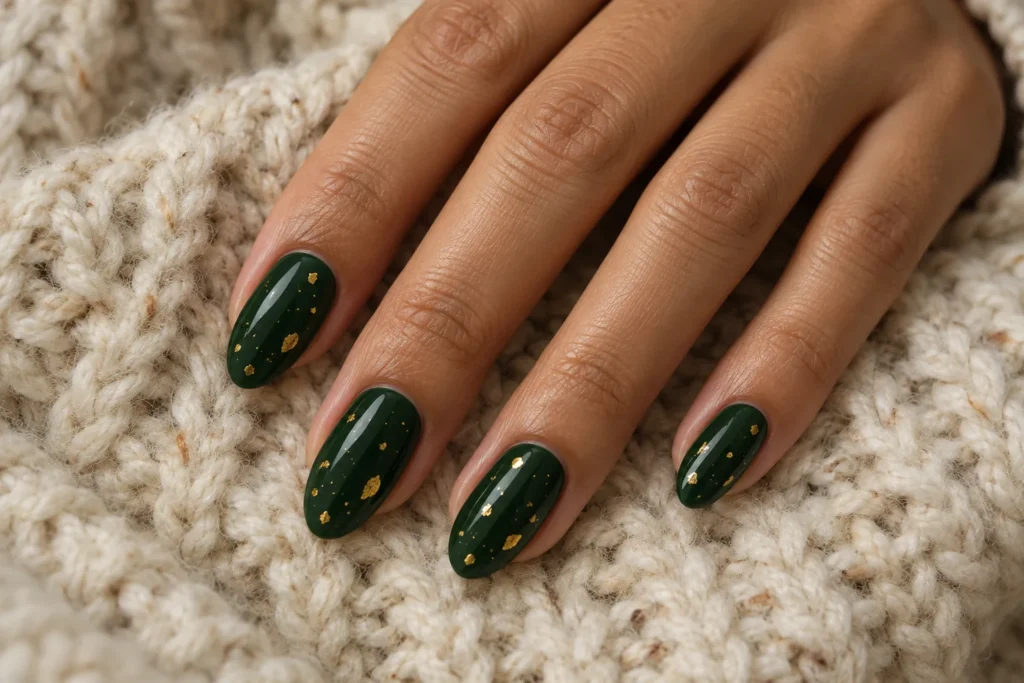
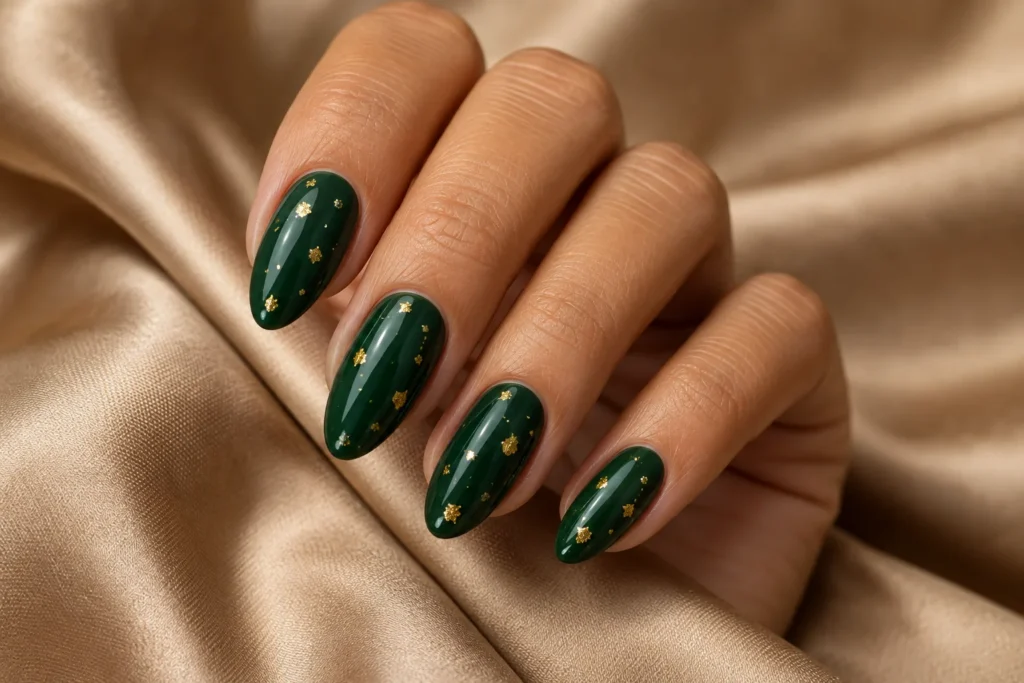
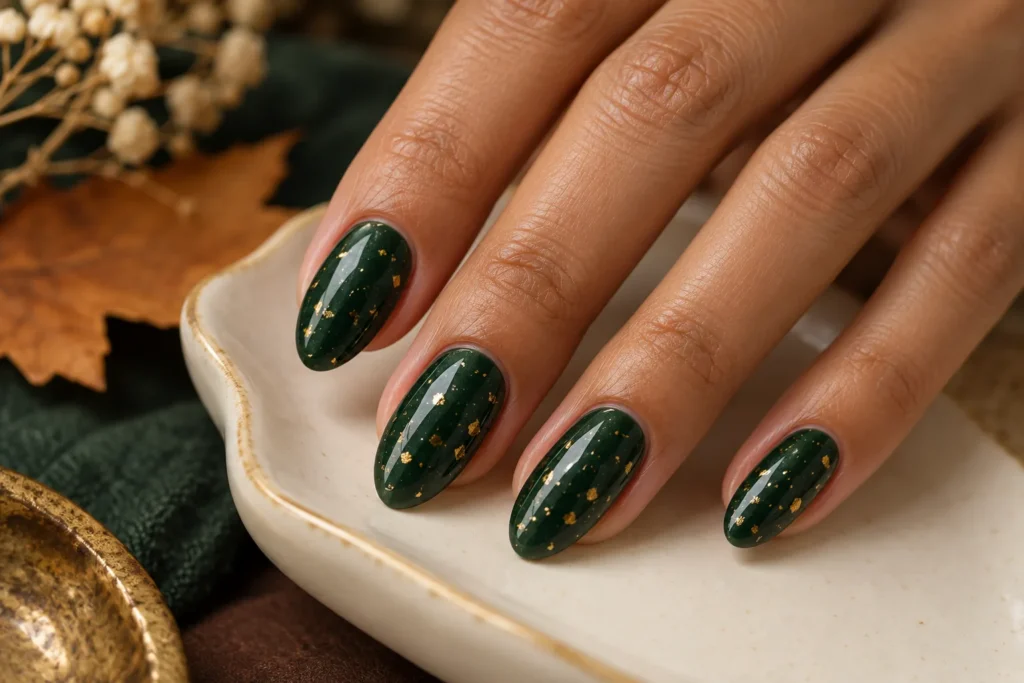
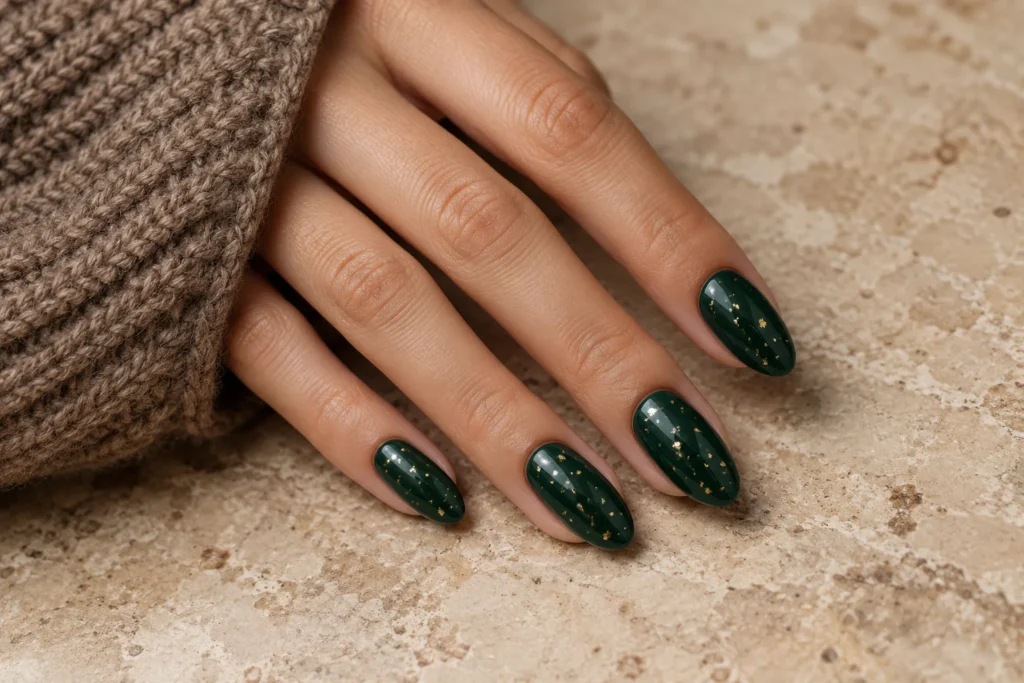
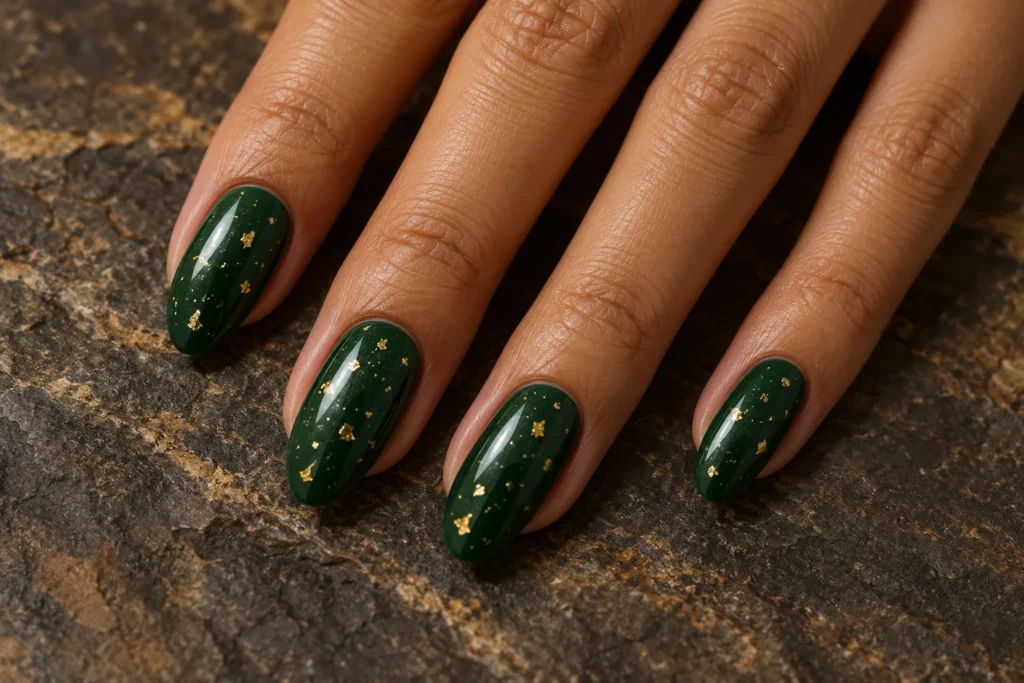
    Forest green and scattered gold flecks create a deeper autumn palette. Use the metallic pieces sparingly so the green remains dominant. Medium almond nails soften the dark colour, while a glossy finish connects the plain and decorated surfaces. More foil is not necessary to make the set feel special.

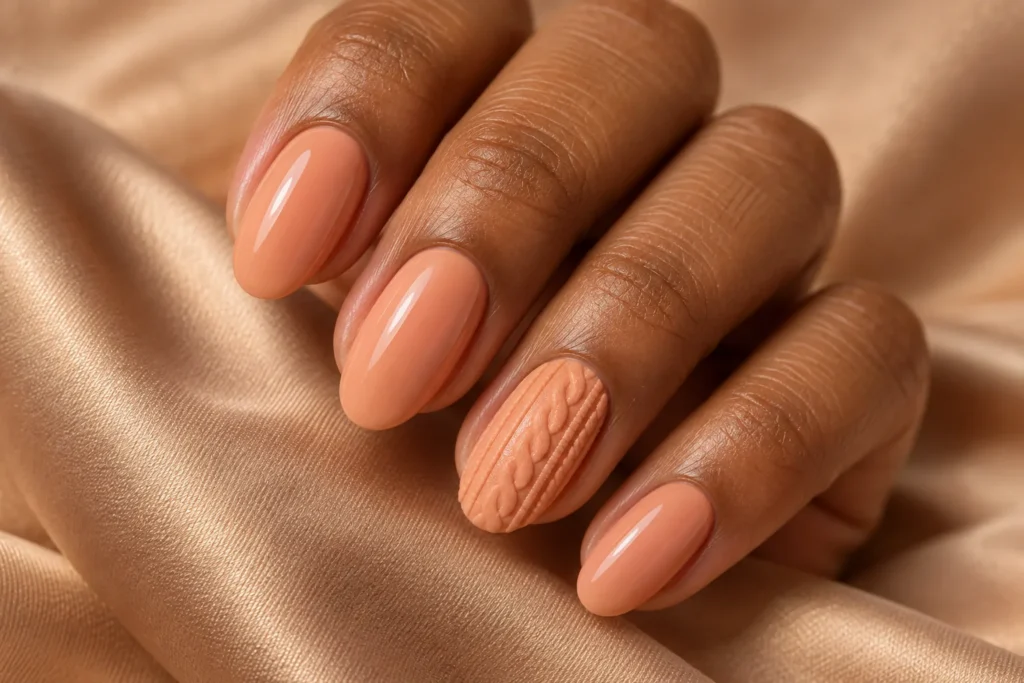
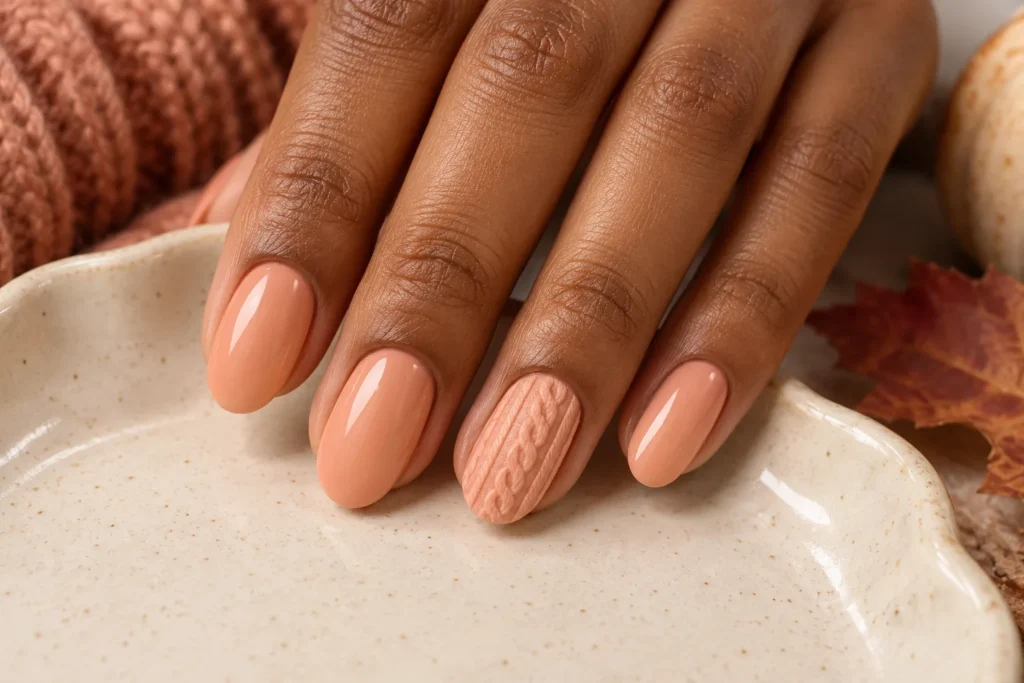
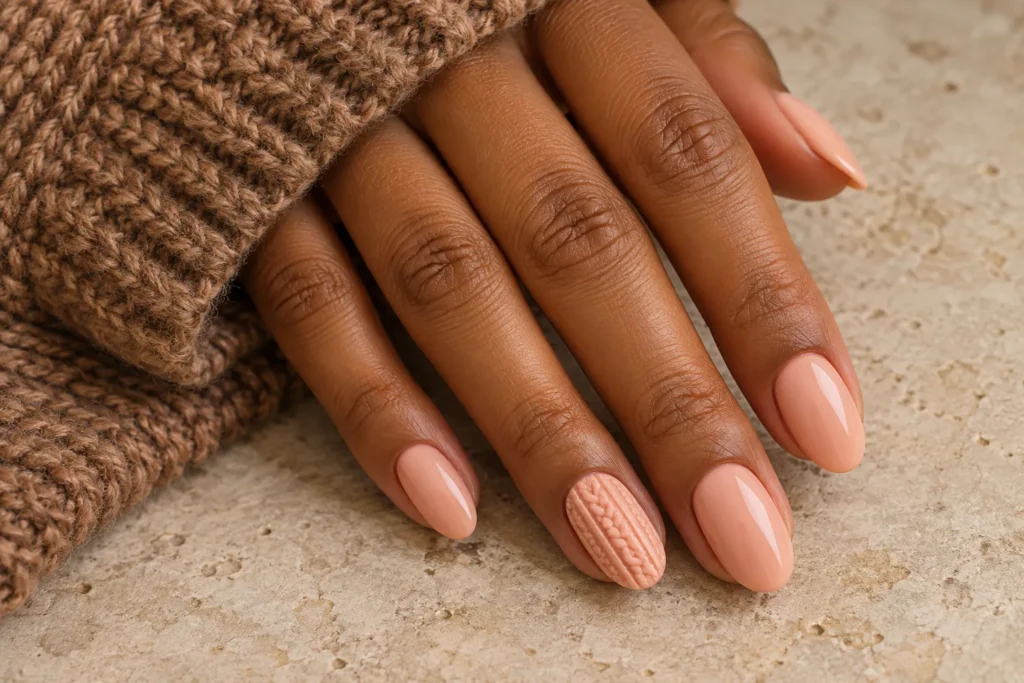
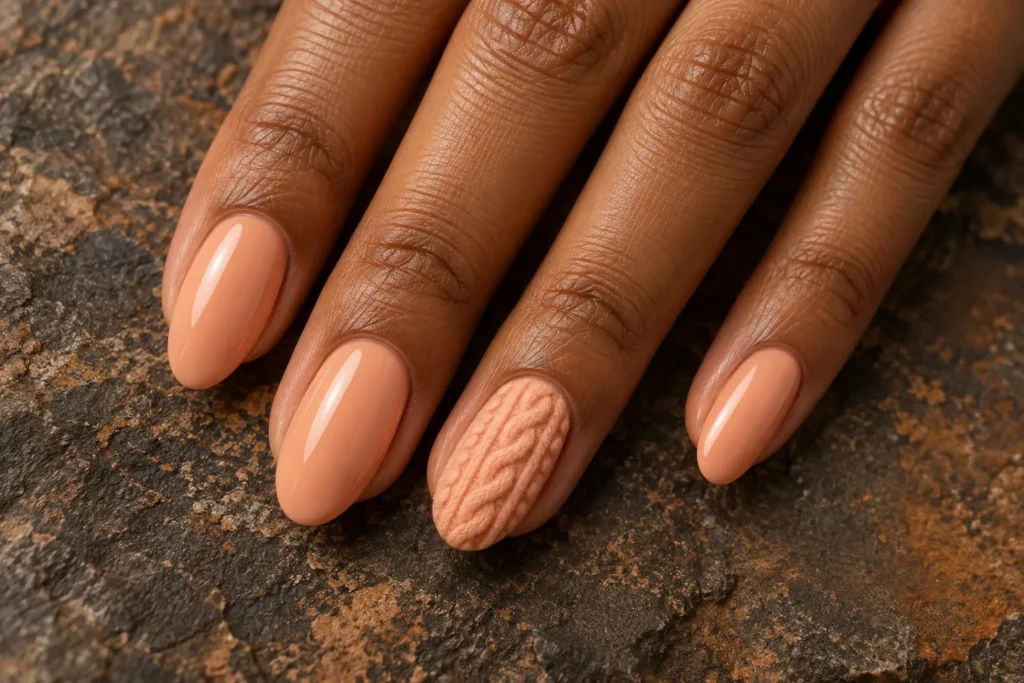
    17. Peach Sweater Texture

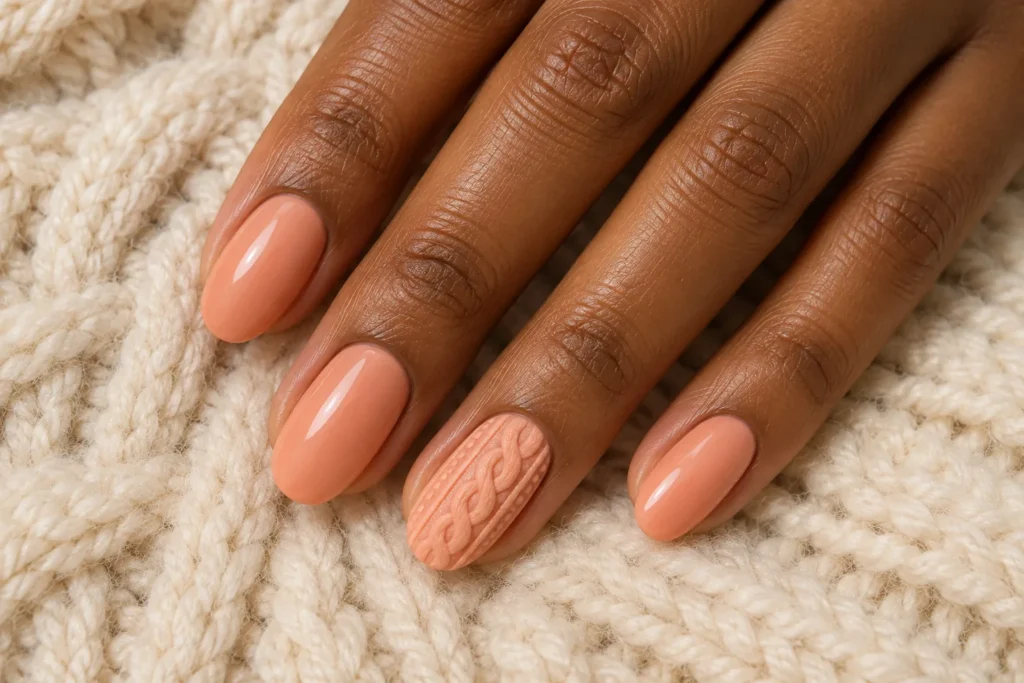
    A peach sweater accent introduces texture beside smooth plain nails. Fine cable-like lines work best on one selected nail, with the remaining nails repeating the same soft colour. Discuss the height of the raised detail with your nail artist so the finished design feels comfortable for your routine.

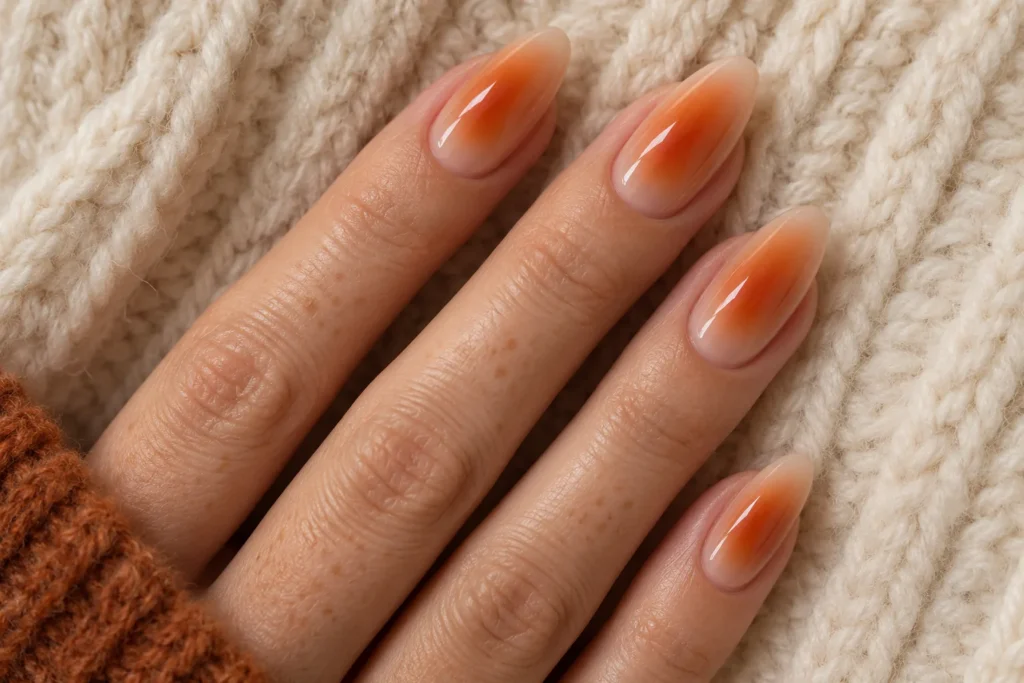
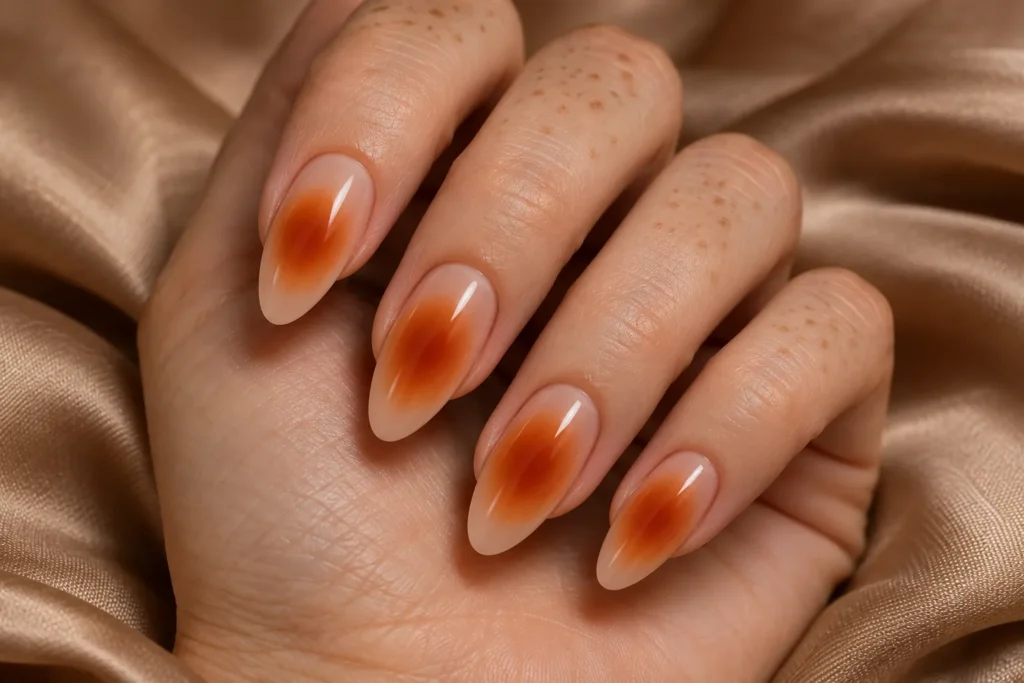
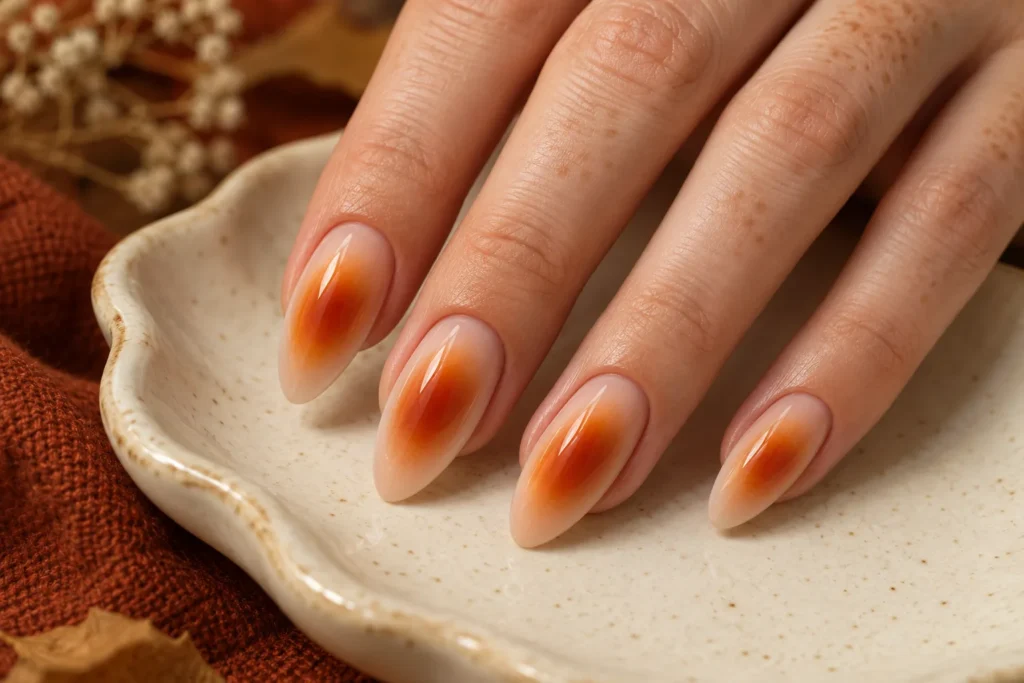
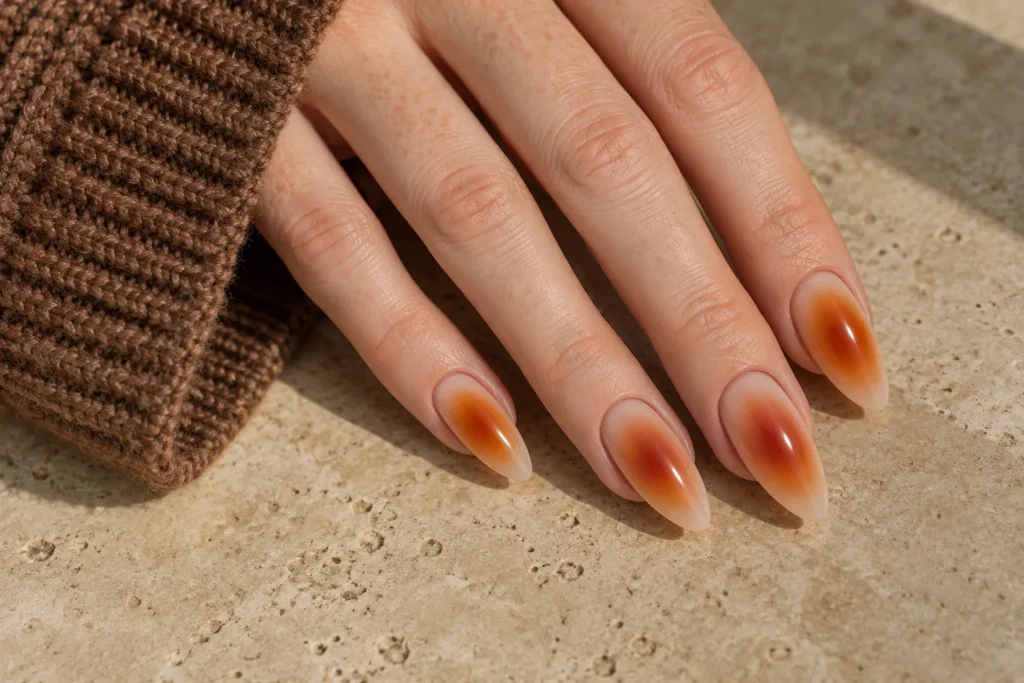
    18. Burnt Orange Aura Nails

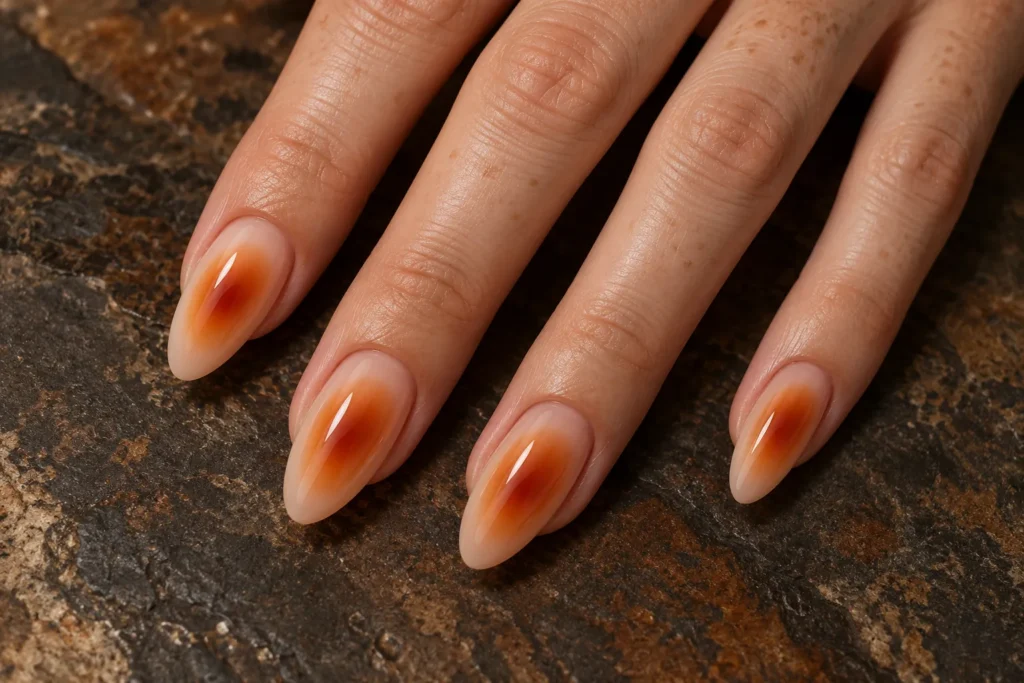
    Burnt-orange aura nails place a soft warm glow inside a nude background. The colour should fade gradually at the edges instead of forming a hard circle. Longer almond nails leave room for the gradient, but a smaller centred glow can adapt the same idea to a shorter manicure.

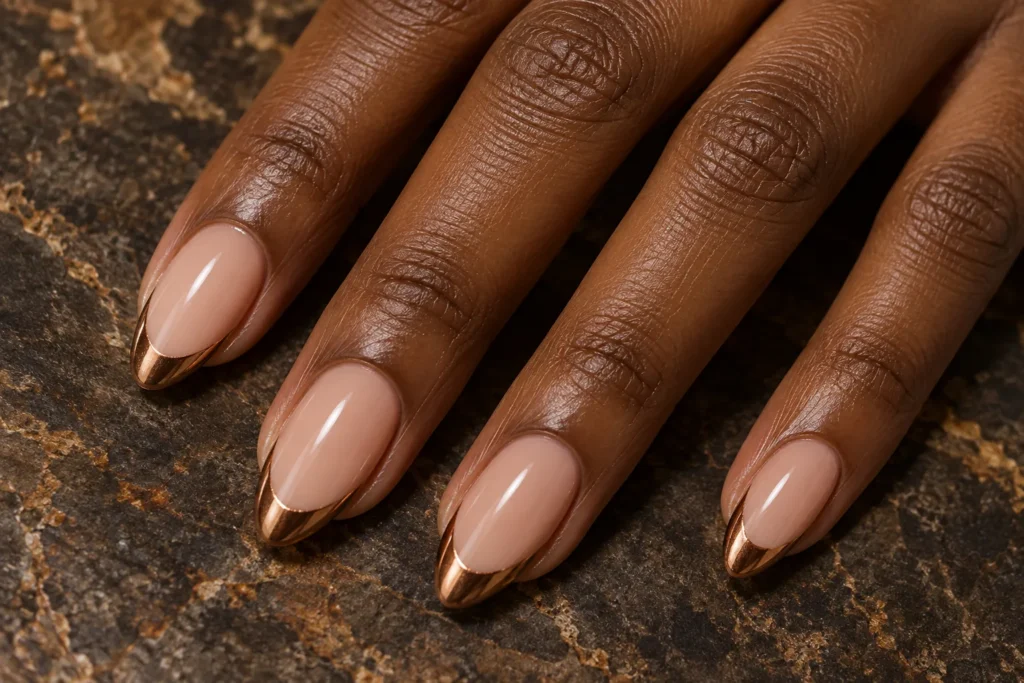
    19. Bronze Chrome Tips

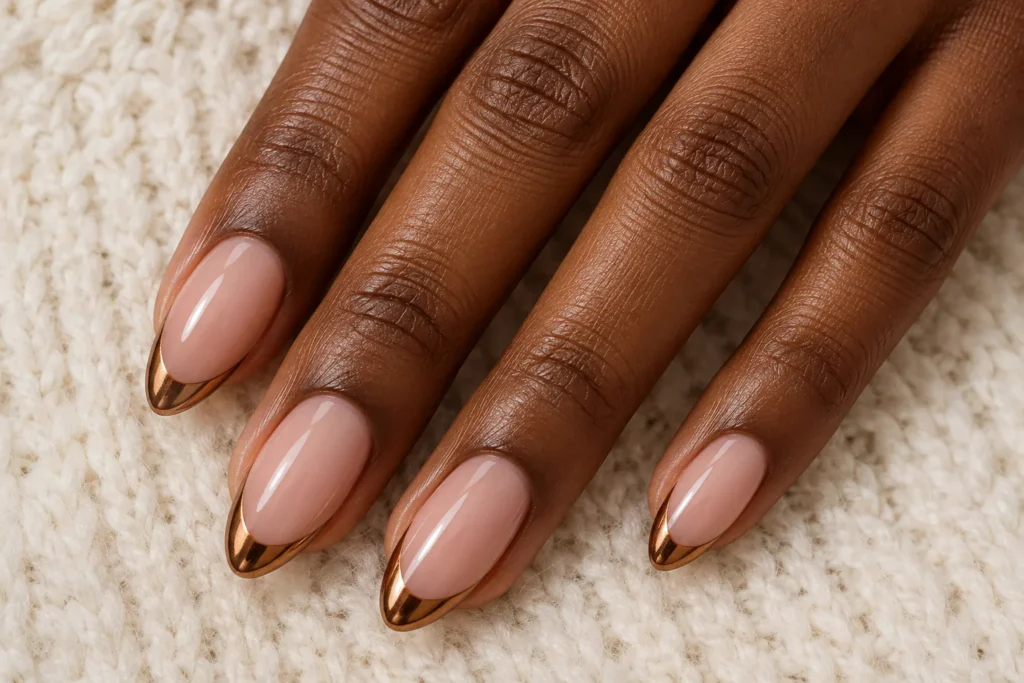
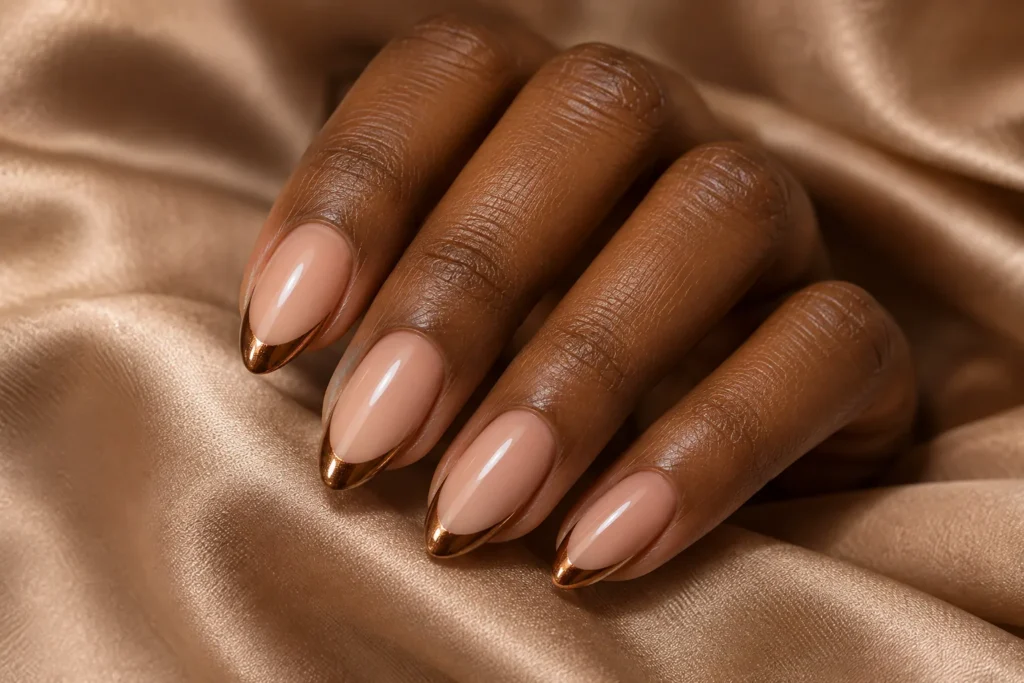
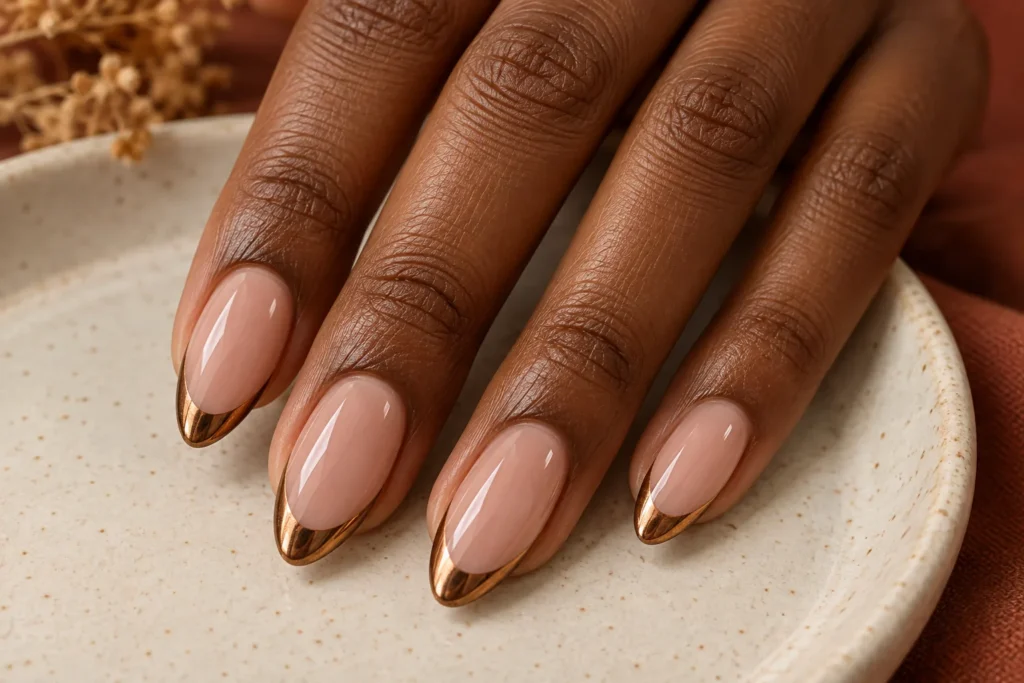
    Bronze chrome tips add metallic shine while leaving most of the nail neutral. A narrow edge feels restrained; a wider tip makes the look more expressive. Keep the bronze consistent across the set and avoid adding large gems, since the reflective finish already provides a clear focal point.

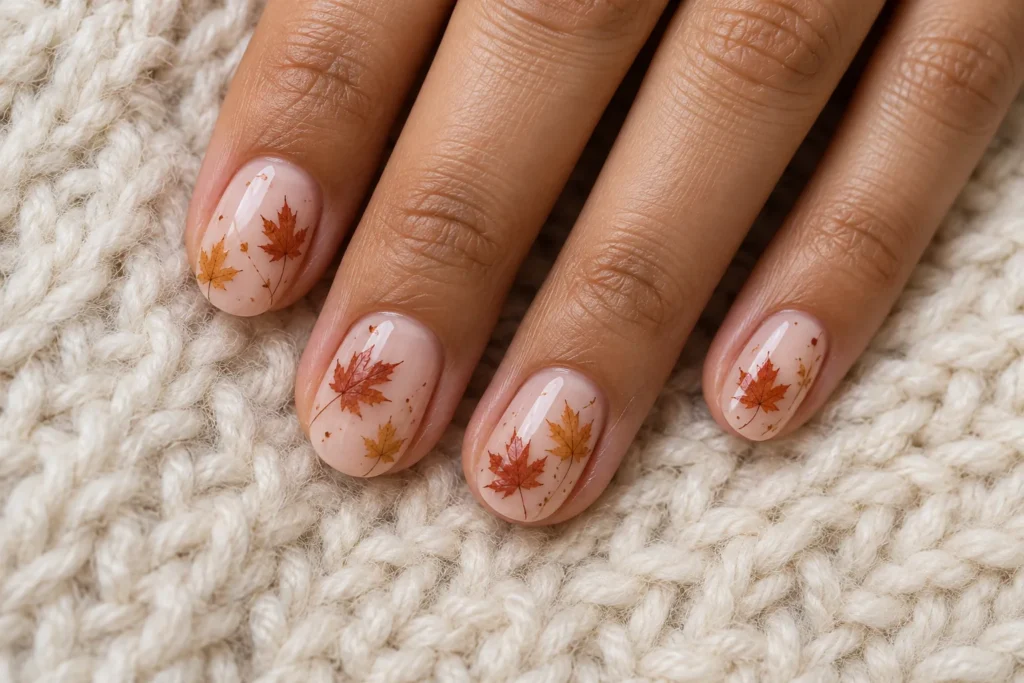
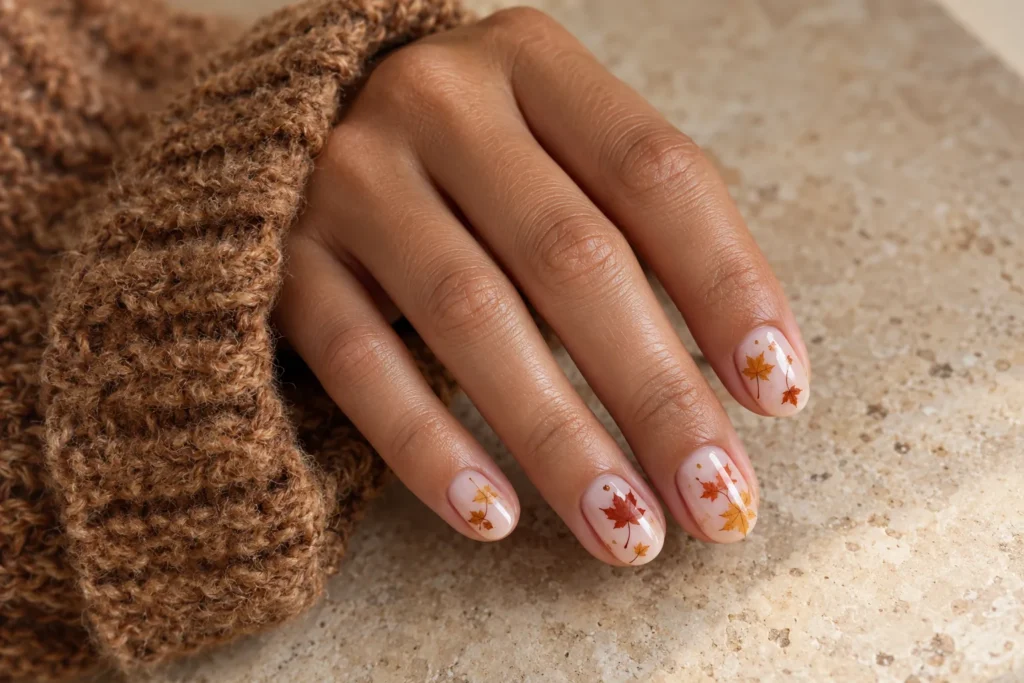
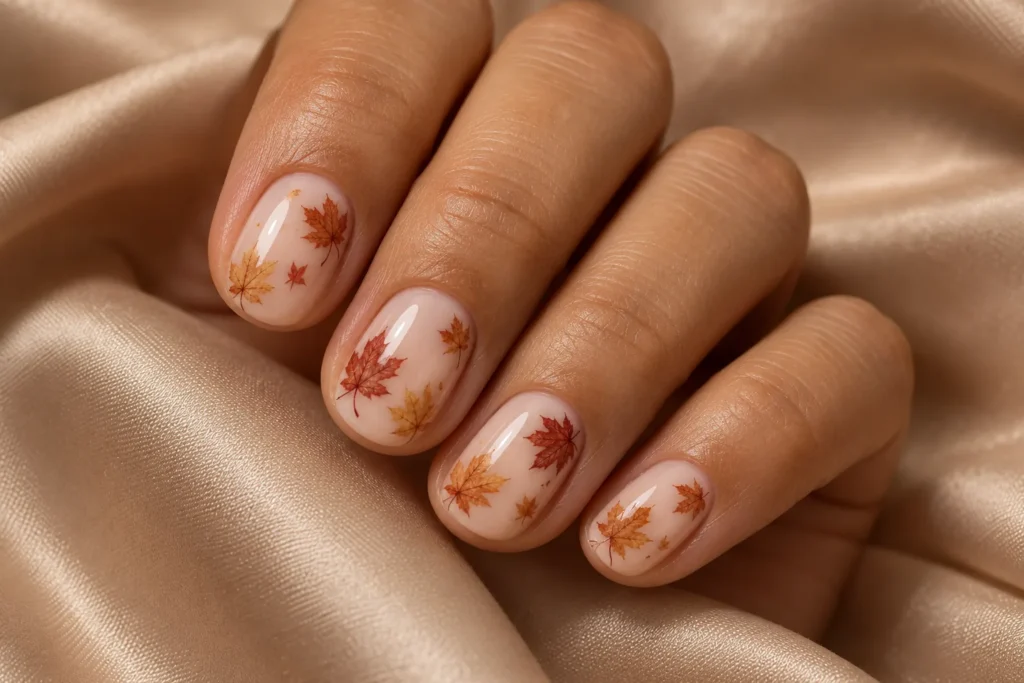
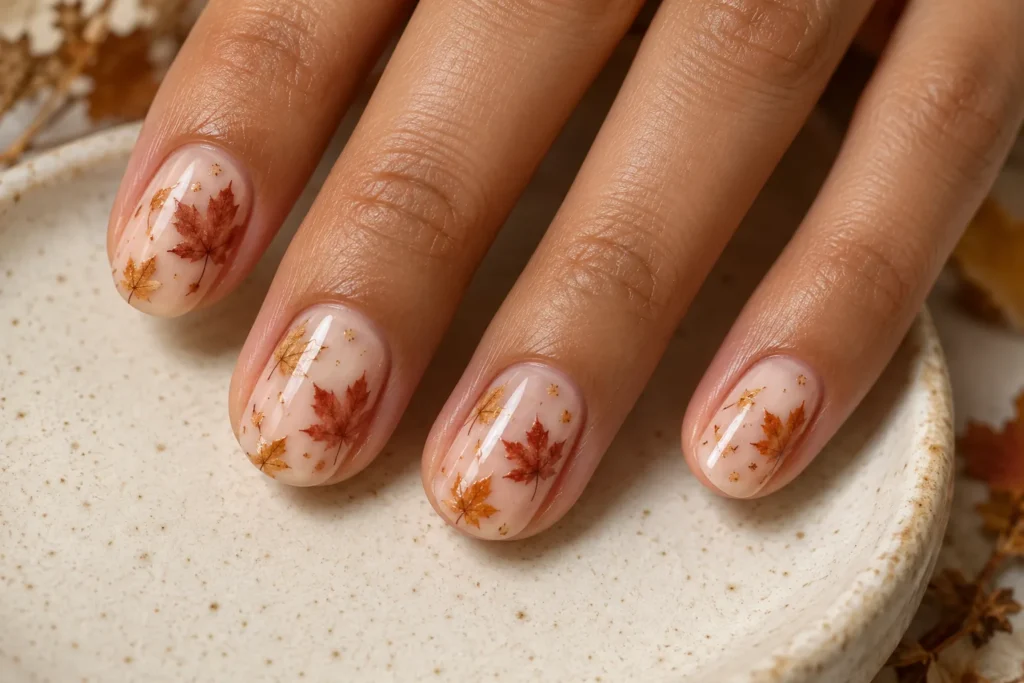
    20. Maple Leaf Nude Nails

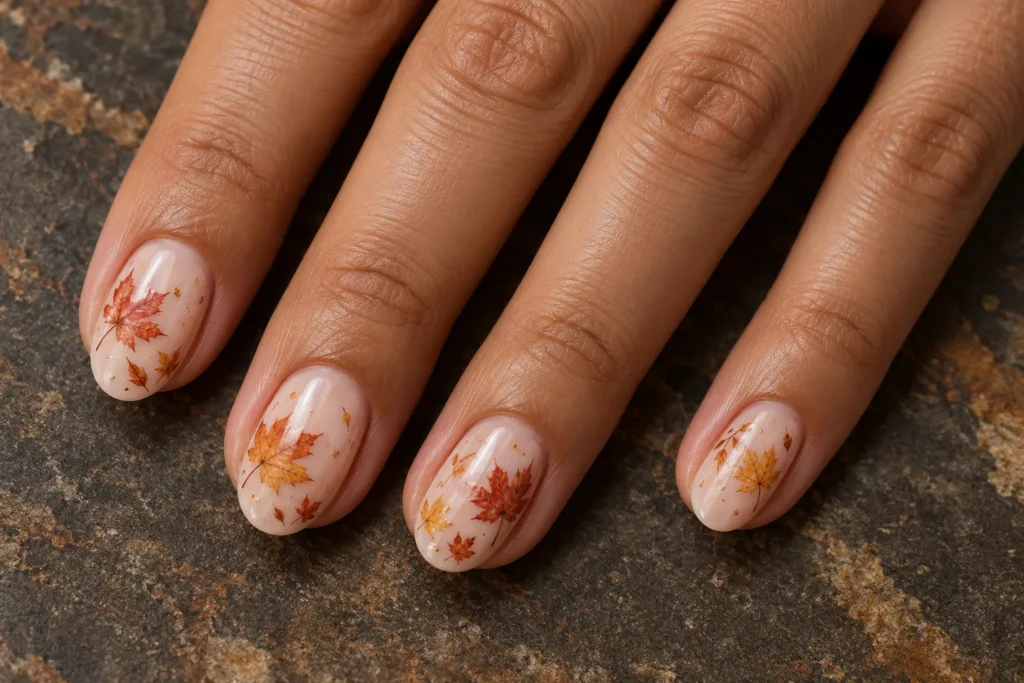
    Fine maple leaves in rust and ochre make a nude manicure feel seasonal. Use a small number of leaves with visible space around them rather than filling every nail. Short oval nails suit this delicate approach, and the warm colours can connect naturally with brown, camel and cream clothing.

    Simple Nails: Fall Colours With Less Detail

    If you prefer a quieter manicure, begin with olive micro tips, mushroom taupe or chocolate glaze. Keep one feature as the focal point and leave the rest considered. A plain seasonal shade can look just as intentional as an intricate pattern when the shape and finish are neat.

    Choosing Long Fall Nails or a Shorter Shape

    Long fall nails leave room for ombre, swirls and fine marble veins, but extra length is a personal preference. Shorter nails can support plaid accents, tiny leaves and half-moons when the artwork is scaled down. Choose the outline first, then adjust the design instead of forcing too much detail into a small surface.

    What to Discuss Before Choosing Gel Fall Nails

    Show your nail artist the finish you want, whether it is jelly, chrome or a velvet effect. Ask how they would adapt the design and maintain it between appointments. Gel fall nails describe a product choice, not one particular pattern; discuss suitable application and removal with a qualified professional.

    Build a Coordinated Autumn Look

    Warm brown and copper nails pair easily with cardigan and jeans outfits, while wine-red shades complement burgundy styling. Save a few favourite designs, compare their patterns and choose the details that feel most like your personal style.

    Your Manicure Checklist

    • Choose a nail length that suits your daily routine.
    • Keep intricate artwork on selected accent nails.
    • Compare colours beside the clothes you wear most.
    • Take your favourite reference images to your appointment.

    For more pattern inspiration, explore our geometric nail art and 3D flower nail art guides.

  • Geometric Nail Art: 14 Fresh Patterns to Try

    Geometric Nail Art: 14 Fresh Patterns to Try

    Geometric nail art uses lines, blocks, curves and clear space to give a manicure its character. You can choose a bold checkerboard or keep things quiet with one dot and a fine stripe. The key is to decide which shape should lead, then give it enough room to be seen.

    These fourteen nail art ideas explore different patterns rather than repeating one flower design in new colours. Every image is an original AI-generated design illustration created for Haya Glam. They show visual concepts to discuss with your nail artist; the final manicure will depend on your nail shape and their technique.

    Use the colour palettes as starting points. You may prefer shorter nails, a smaller accent or a shade that matches your everyday wardrobe. Keep the main pattern recognisable, then adjust its scale so the finished set feels comfortable and personal.

    1. Pink Micro Checkerboard

    Pink Micro Checkerboard geometric nail art design

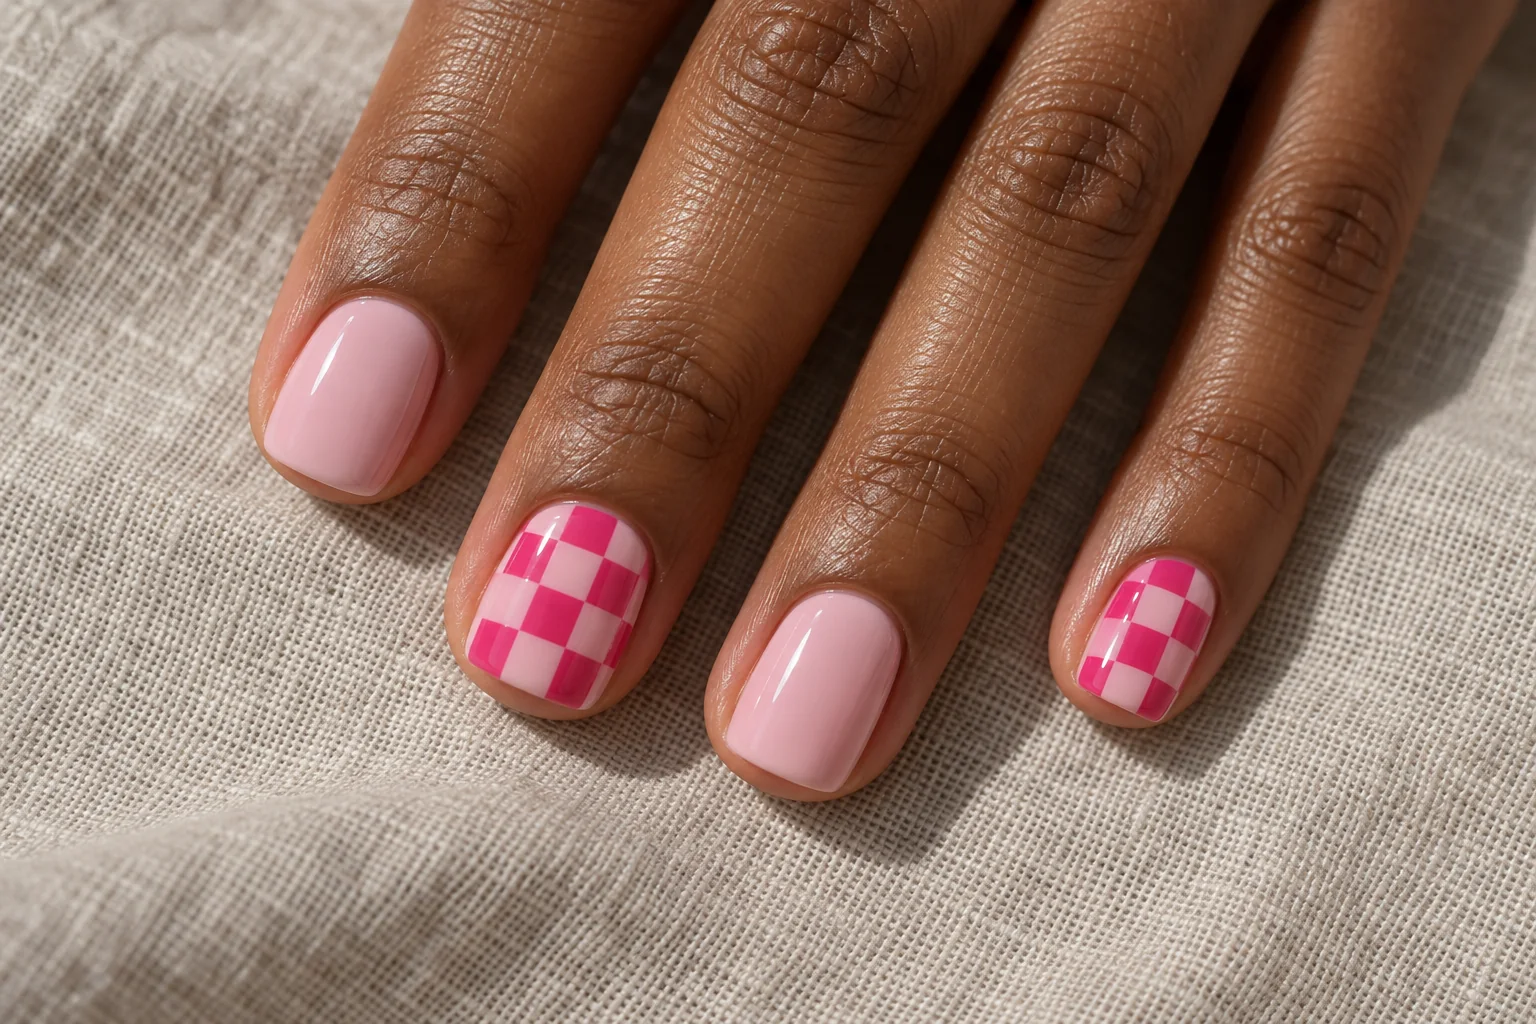
    A tiny checkerboard turns pink polish into a graphic pattern. The mix of hot pink and pale pink gives the squares enough contrast without making the manicure feel heavy. Keep the checks on two accent nails, with plain pink beside them, so the pattern has a clear place to stand out.

    Small Checks, Strong Colour

    Short square nails suit this idea because the straight tip echoes the grid. Ask for small, evenly spaced squares rather than an oversized board covering every finger. A sheer base around the checks can soften the finish and keep the design from looking like a printed sticker.

    2. Terracotta Colour Blocks

    Terracotta Colour Blocks geometric nail art design

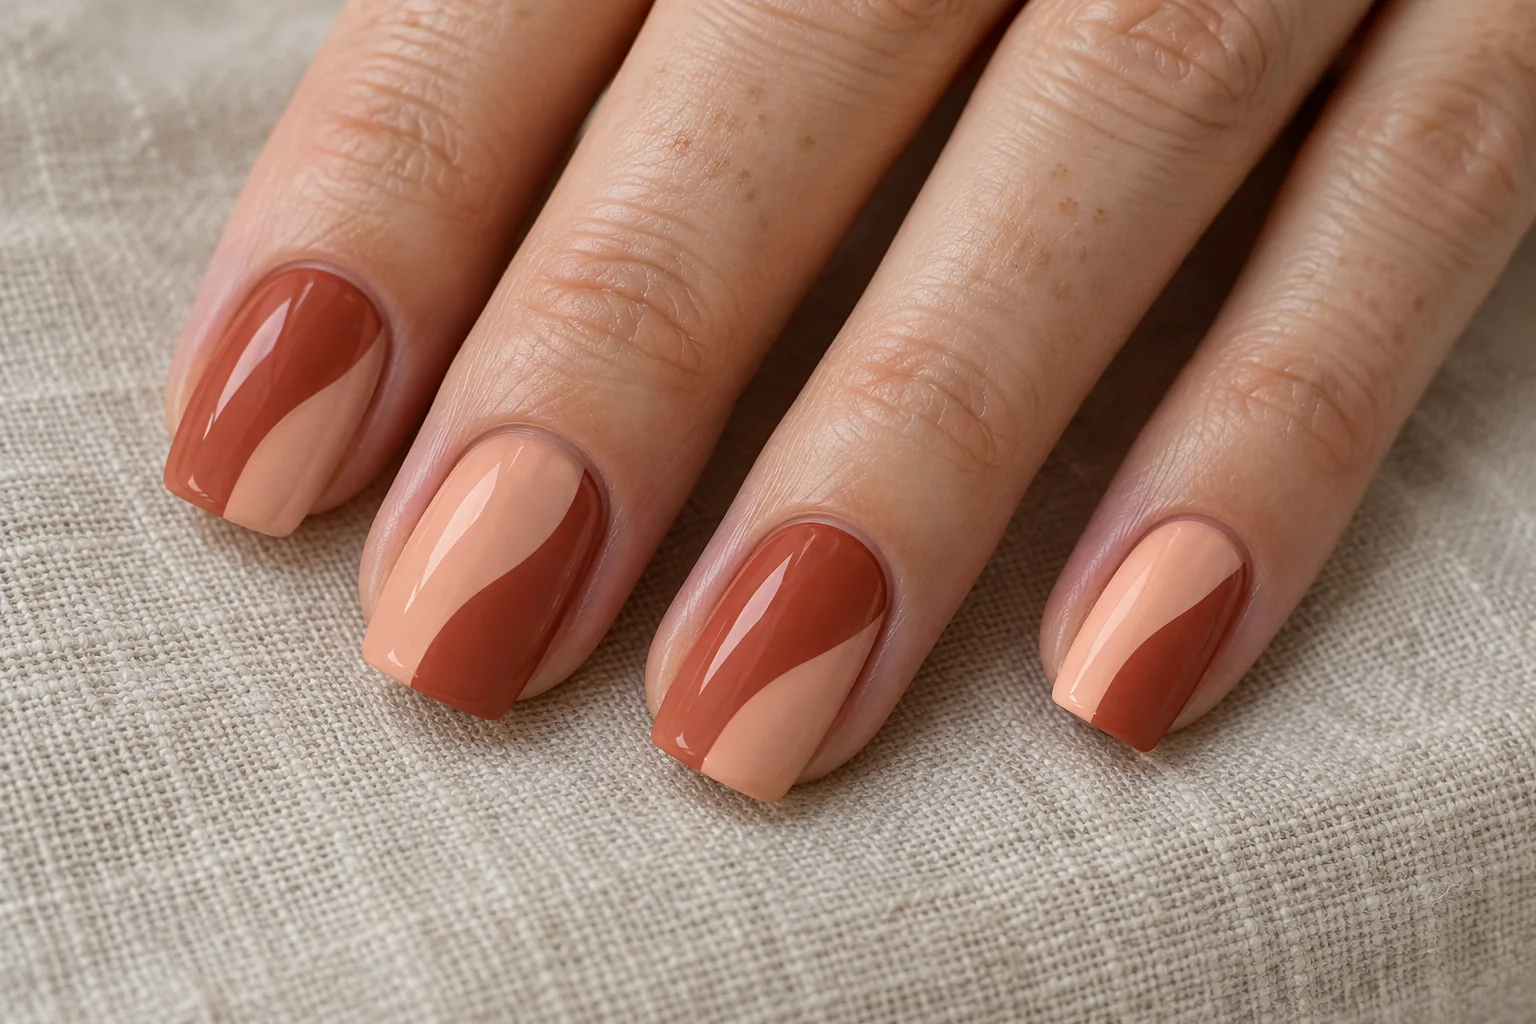
    Terracotta, cream and dusty peach create an earthy colour-block manicure. The interest comes from the boundaries: a wide cream section on one nail, a smaller terracotta corner on the next. The colours belong together, while the shapes prevent the set from feeling repetitive.

    Warm Blocks With Uneven Borders

    Squoval nails offer enough space for the blocks without requiring much length. Choose two or three shades and keep the edges deliberate. If every nail contains too many tiny sections, the simple graphic effect can disappear. A clear glossy finish helps the different colours feel like one coordinated set.

    3. Navy Diagonal French Tips

    Navy Diagonal French Tips geometric nail art design

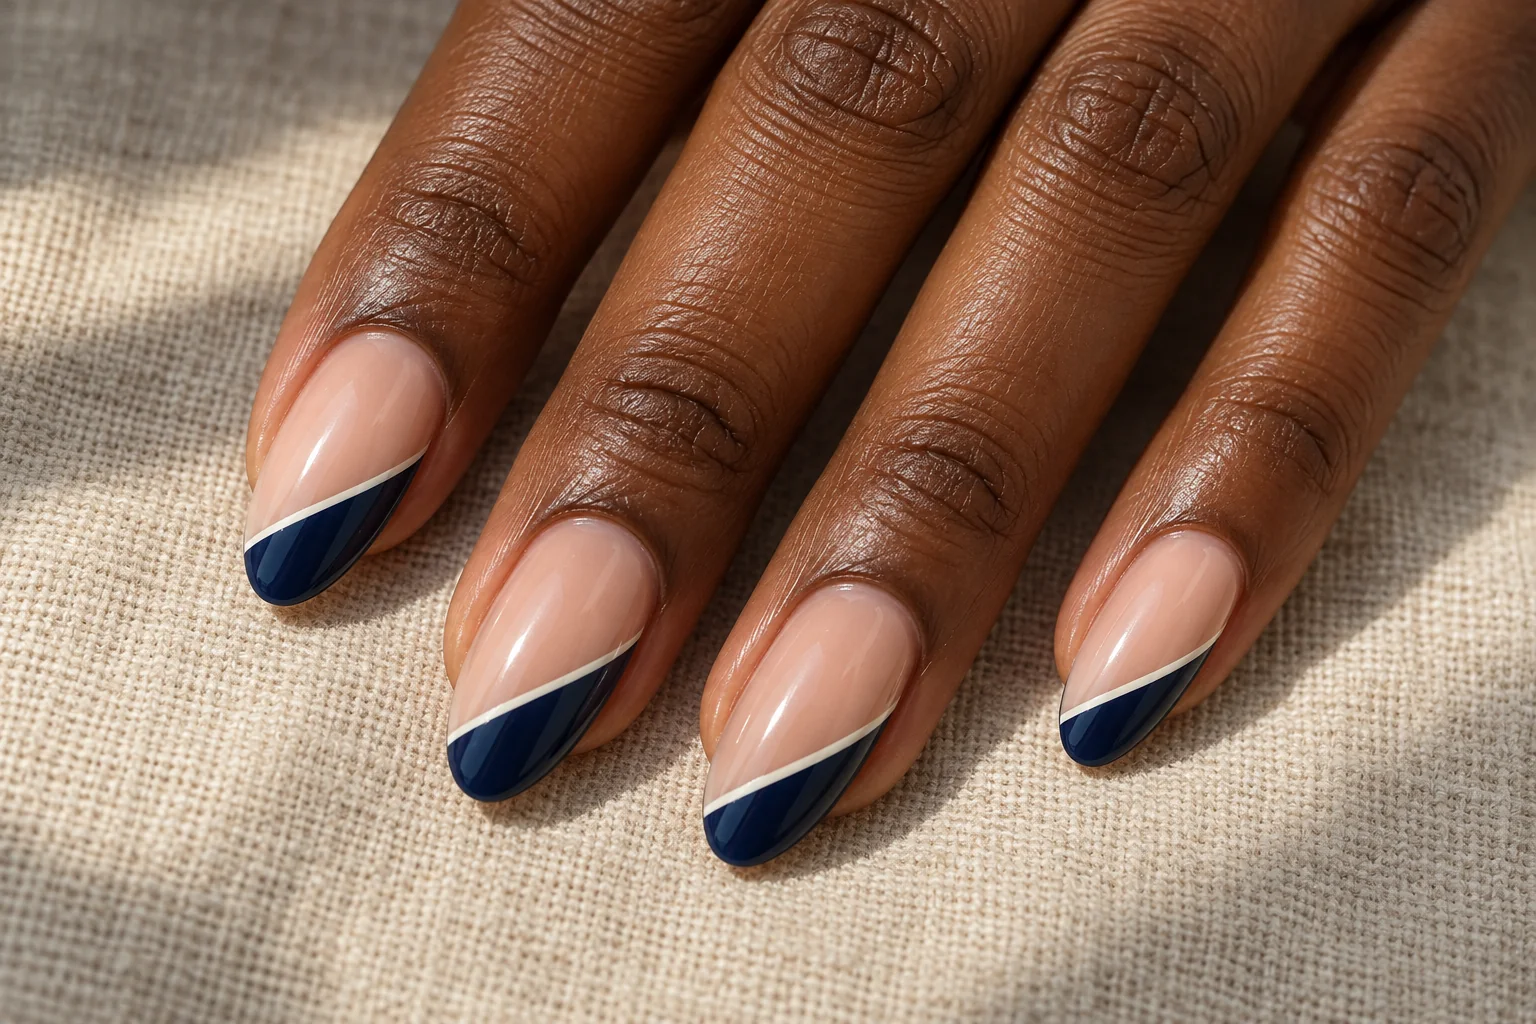
    A diagonal navy tip changes the familiar French manicure by moving its border away from a soft curve. The nude base leaves the slanted shape clearly visible. A narrow ivory line alongside the navy adds definition without becoming another competing pattern.

    A Sharper Take on French Tips

    Medium almond nails make the diagonal feel elegant, although the idea can work on a shorter shape with a smaller painted tip. Keep the slope similar across the set. The line should follow the navy border cleanly, rather than wandering into the bare centre of the nail.
    4. Sage Half-Moon Nails

    Sage Half-Moon Nails geometric nail art design

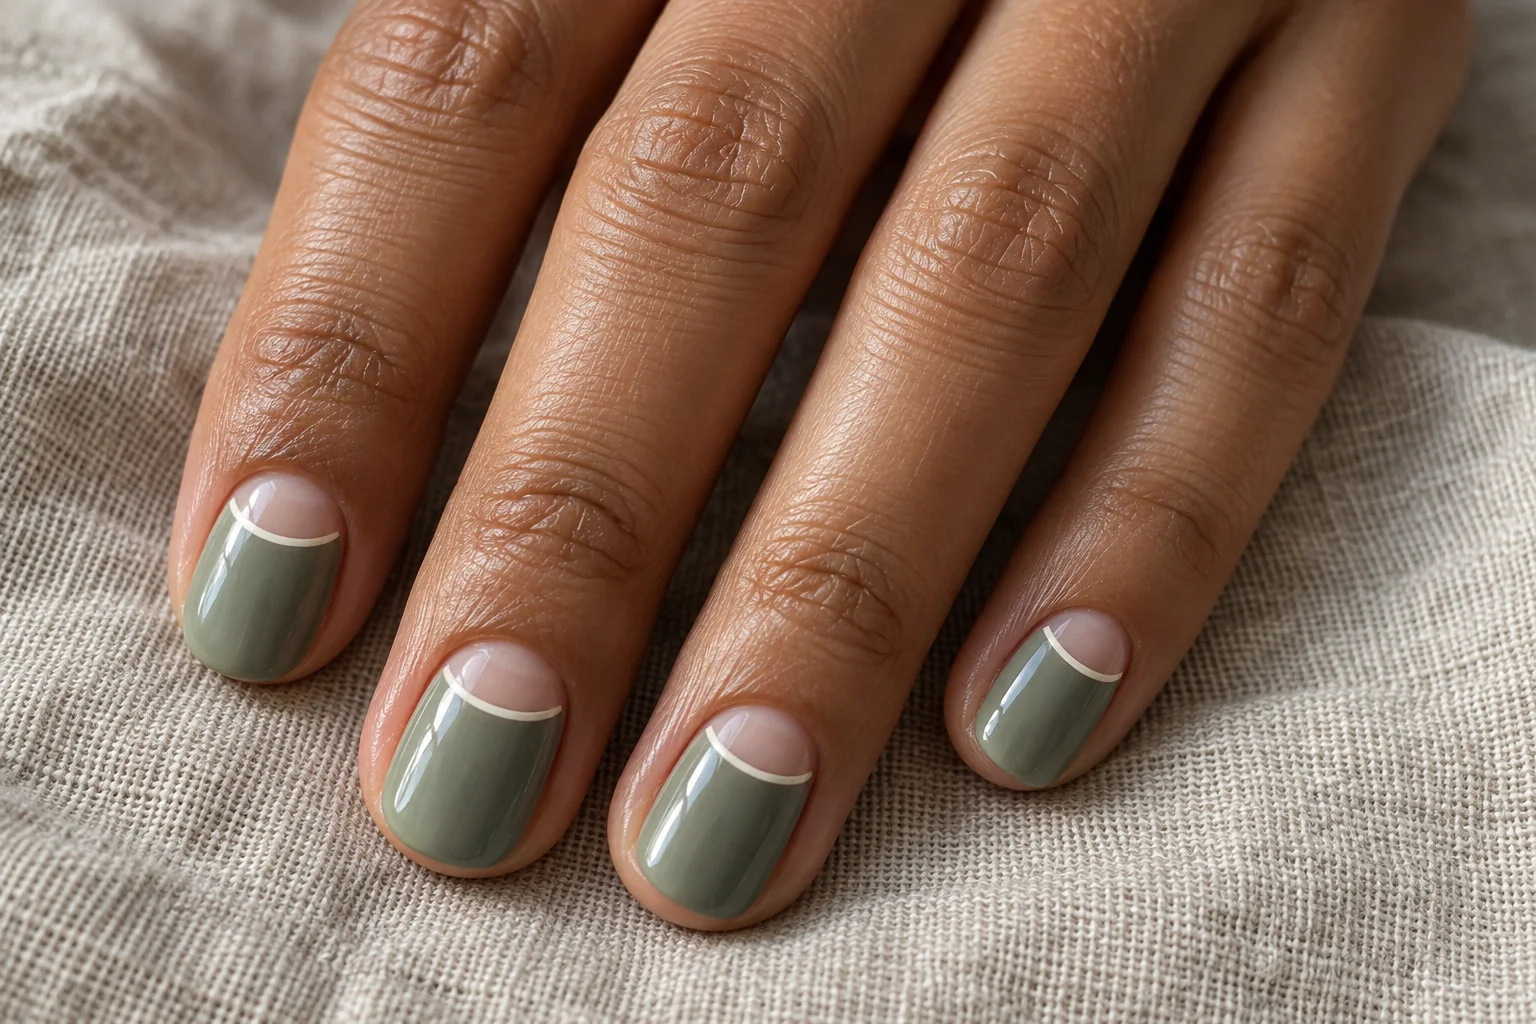
    Sage half-moon nails leave a nude semicircle near the cuticle and colour the rest of the nail green. A fine ivory outline makes the curve feel intentional. Unlike a French tip, the focal point sits at the base, giving the manicure a different visual balance.

    Show the Natural Crescent

    Short rounded nails complement the curved detail. Ask for a consistent crescent size across the fingers, adjusted slightly for nail width. Leave enough nude space to recognise the half-moon. A tiny cuticle gap alone will not create the same effect, especially with a soft sage shade.

    5. Fine Black Grid

    Fine Black Grid geometric nail art design

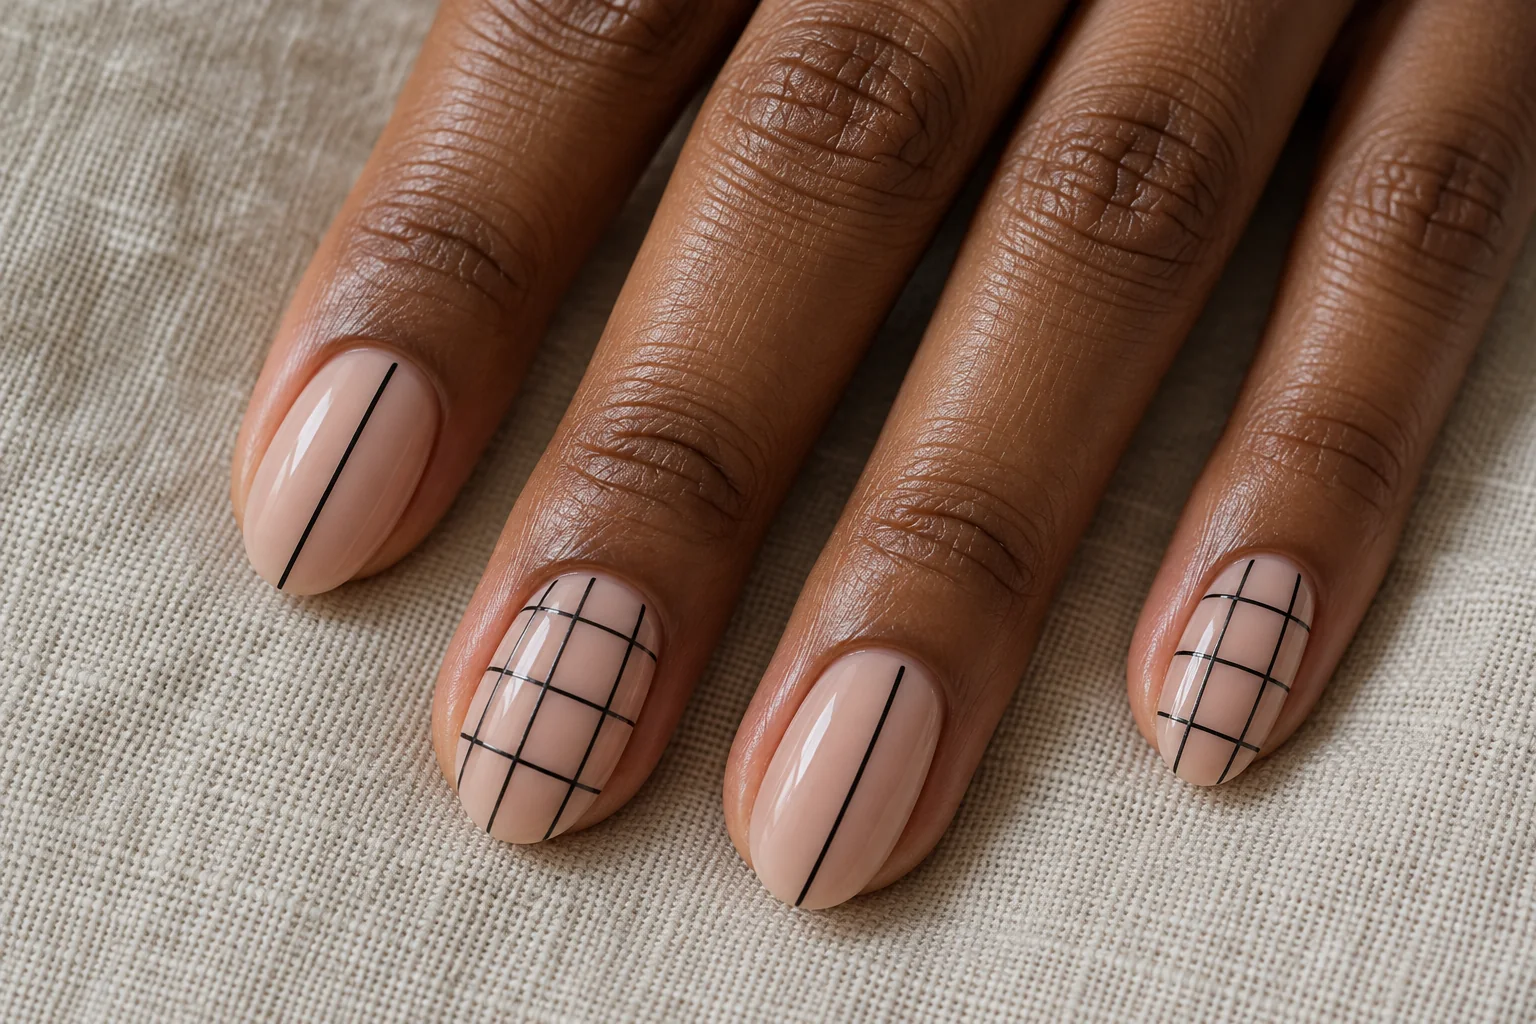
    Black grid lines on sheer nude polish make a graphic accent without covering the nail in solid colour. Two patterned nails are enough to establish the idea. A single black stripe on the remaining nails repeats the colour while keeping the overall set open.

    Let a Fine Grid Stay Light

    The spacing matters as much as the line thickness. Wider rectangles feel calmer; tightly packed squares look busier. Choose a fine line that is still visible at normal viewing distance. Avoid adding extra dots or glitter inside every cell, since the grid already provides the main decoration.

    6. Cobalt Dot and Line

    Cobalt Dot and Line geometric nail art design

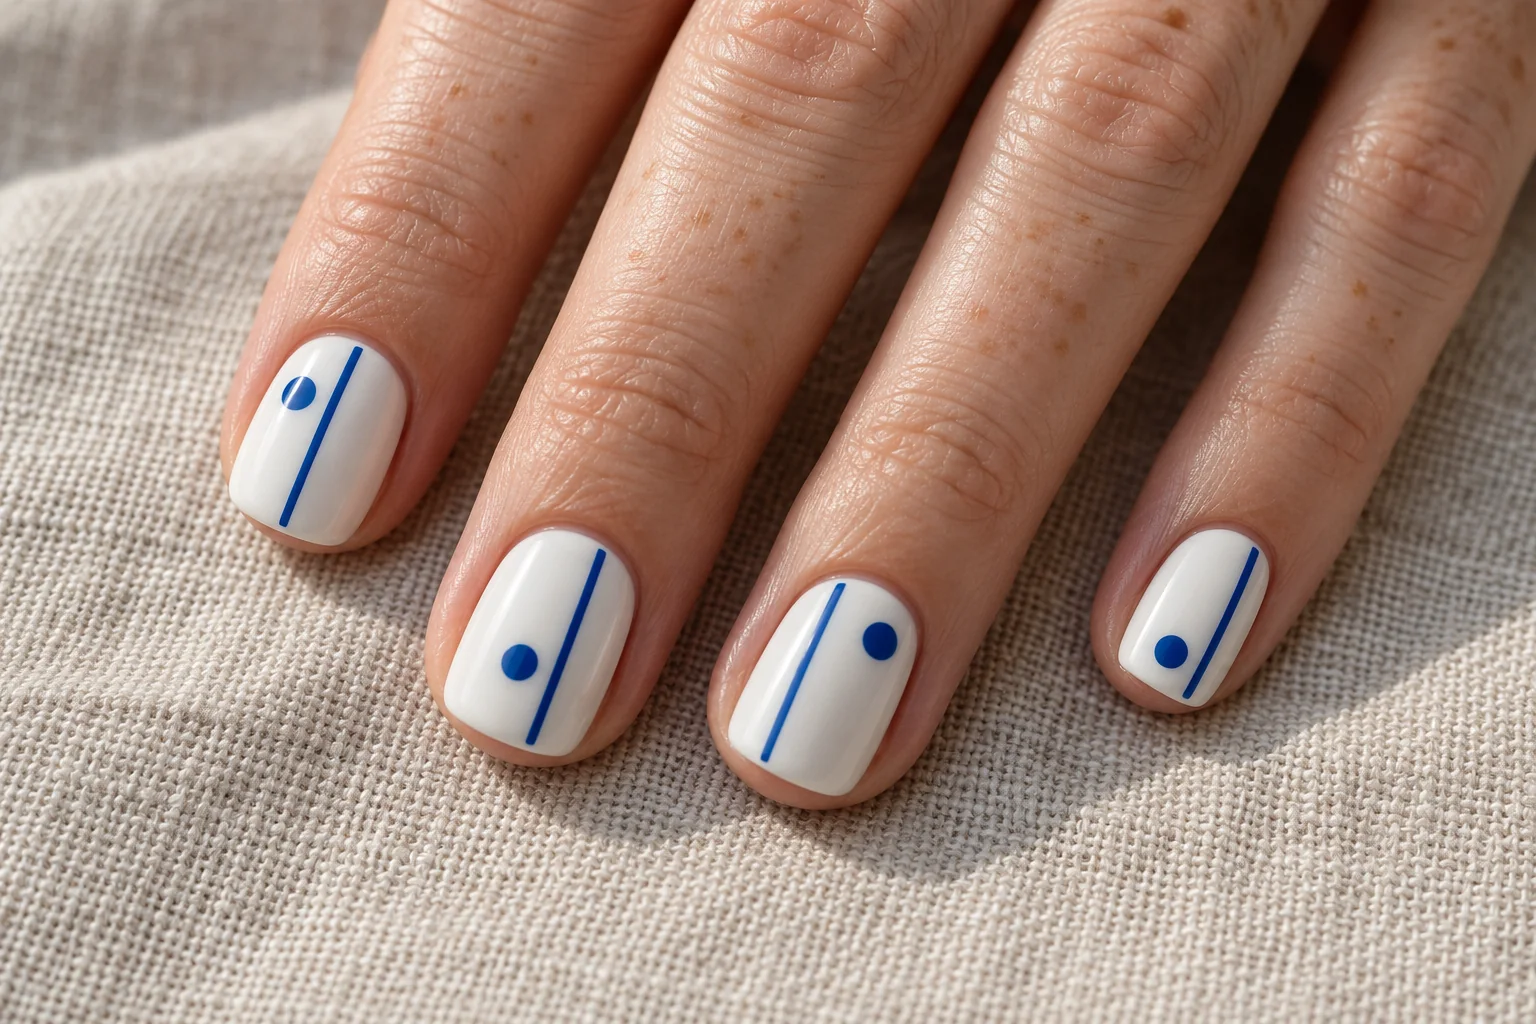
    Cobalt blue looks fresh against a clean white base. A single dot and one slim line create a compact design with a clear focal point. Moving the dot slightly from nail to nail gives the set variety while preserving the same simple visual language.

    One Dot, One Line

    Short squoval nails make this pattern easy to read. Keep the dot separate from the line instead of joining them into an accidental symbol. The blue does not need to cover much surface to make an impression. Its strong contrast with white supplies the impact.

    7. Lilac Chevron Tips

    Lilac Chevron Tips geometric nail art design

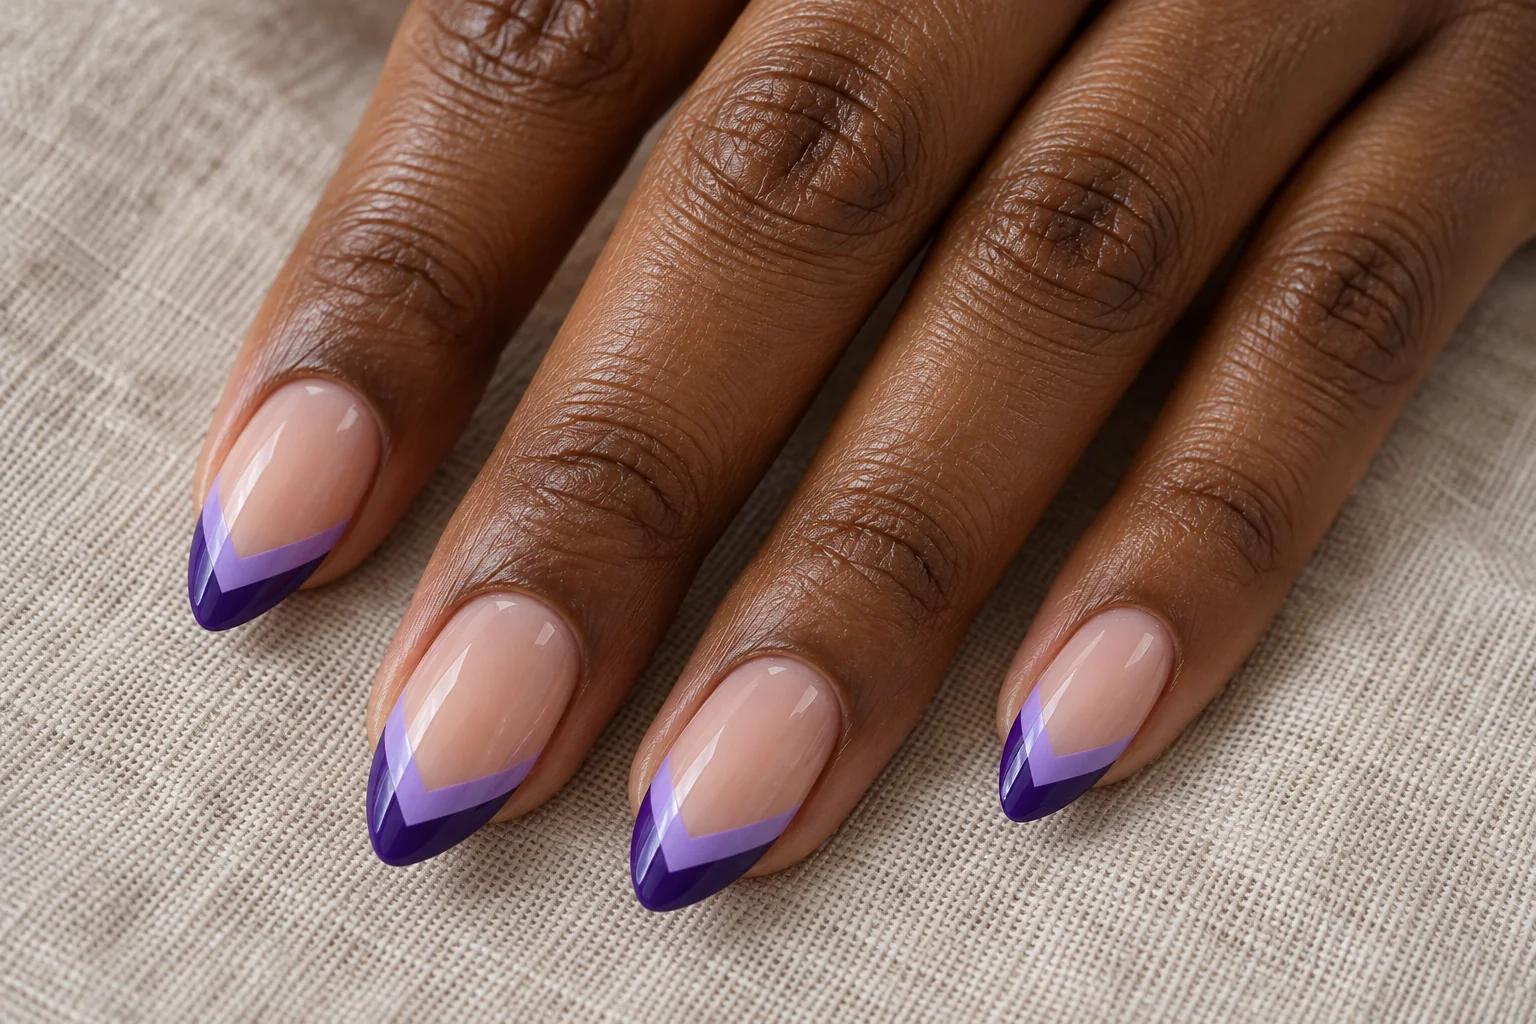
    Lilac chevron tips replace the rounded French border with a pointed V. A second purple edge gives the tip more depth without adding raised decoration. The nude base keeps the shapes crisp and makes the two shades easier to distinguish.

    Use Two V-Shaped Edges

    Almond nails naturally support the pointed design, but the chevrons should not extend too far toward the cuticle. Leave a generous clear centre. Ask for the V to meet neatly near the middle of each tip, with similar line widths on both sides for a balanced finish.

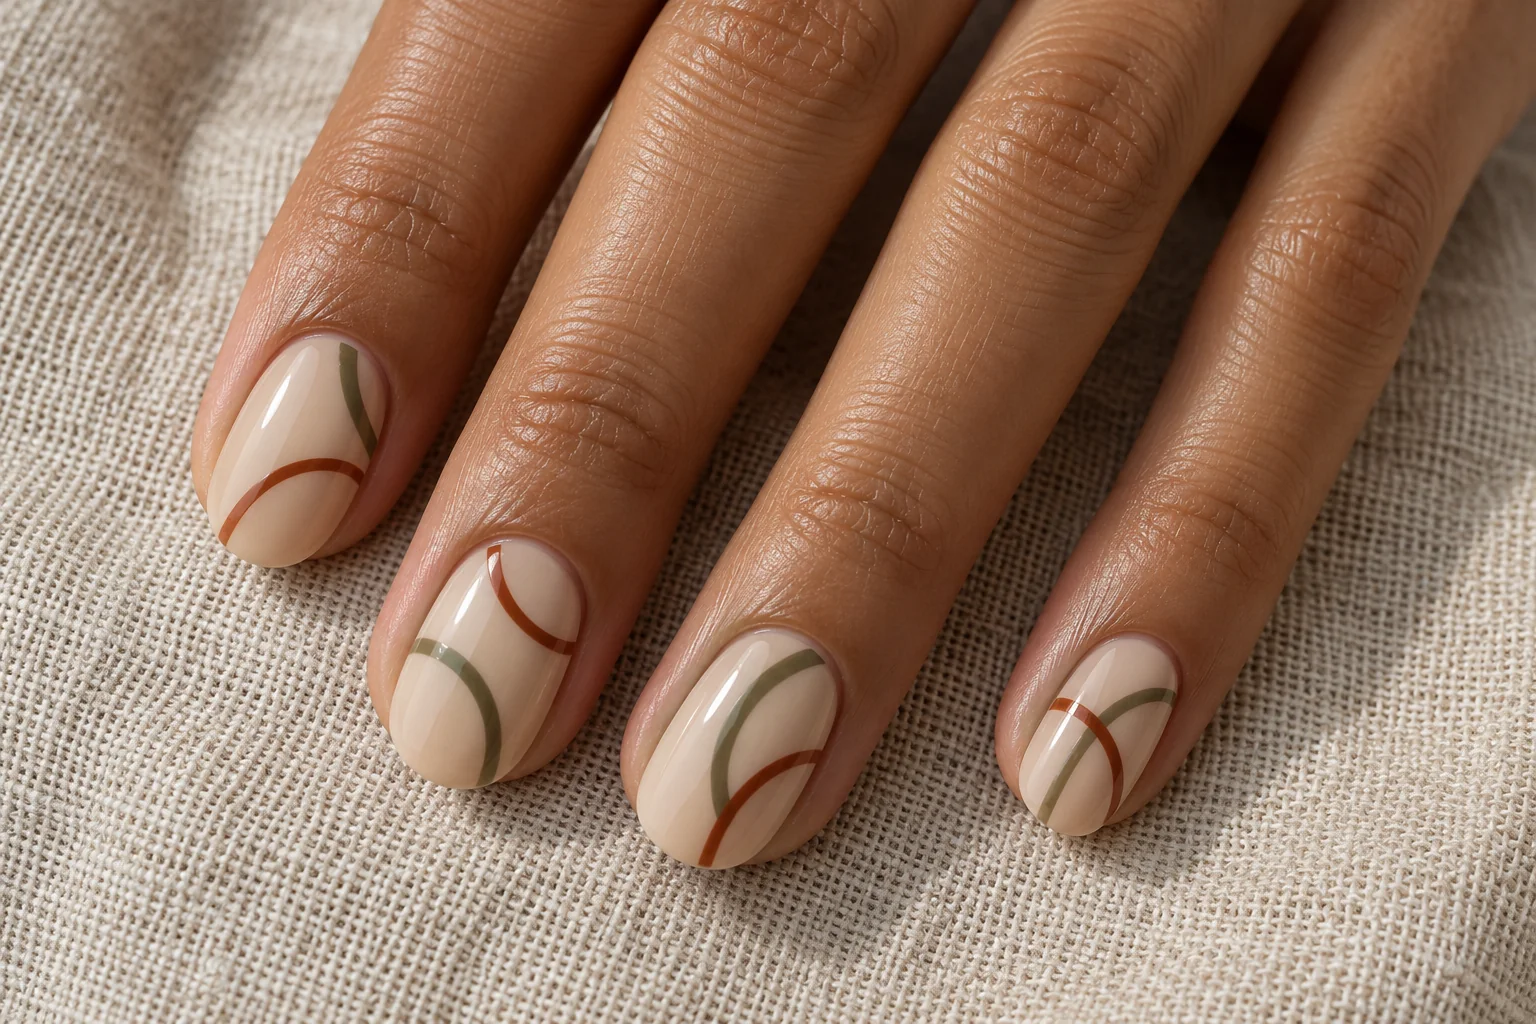
    8. Olive Abstract Arches

    Olive Abstract Arches geometric nail art design

    Olive and rust arches bring a softer geometry to a beige manicure. Their curved lines can overlap or sit at different heights, creating movement without using floral motifs. The warm background connects the colours and leaves room for the arches to stay visible.

    Curves That Move Across the Set

    Rounded nails suit this relaxed pattern. Keep the lines thin and let some curves continue beyond the nail edge rather than squeezing every arch into a complete shape. Different placements work well here, provided the colour palette and brush thickness remain consistent across the manicure.

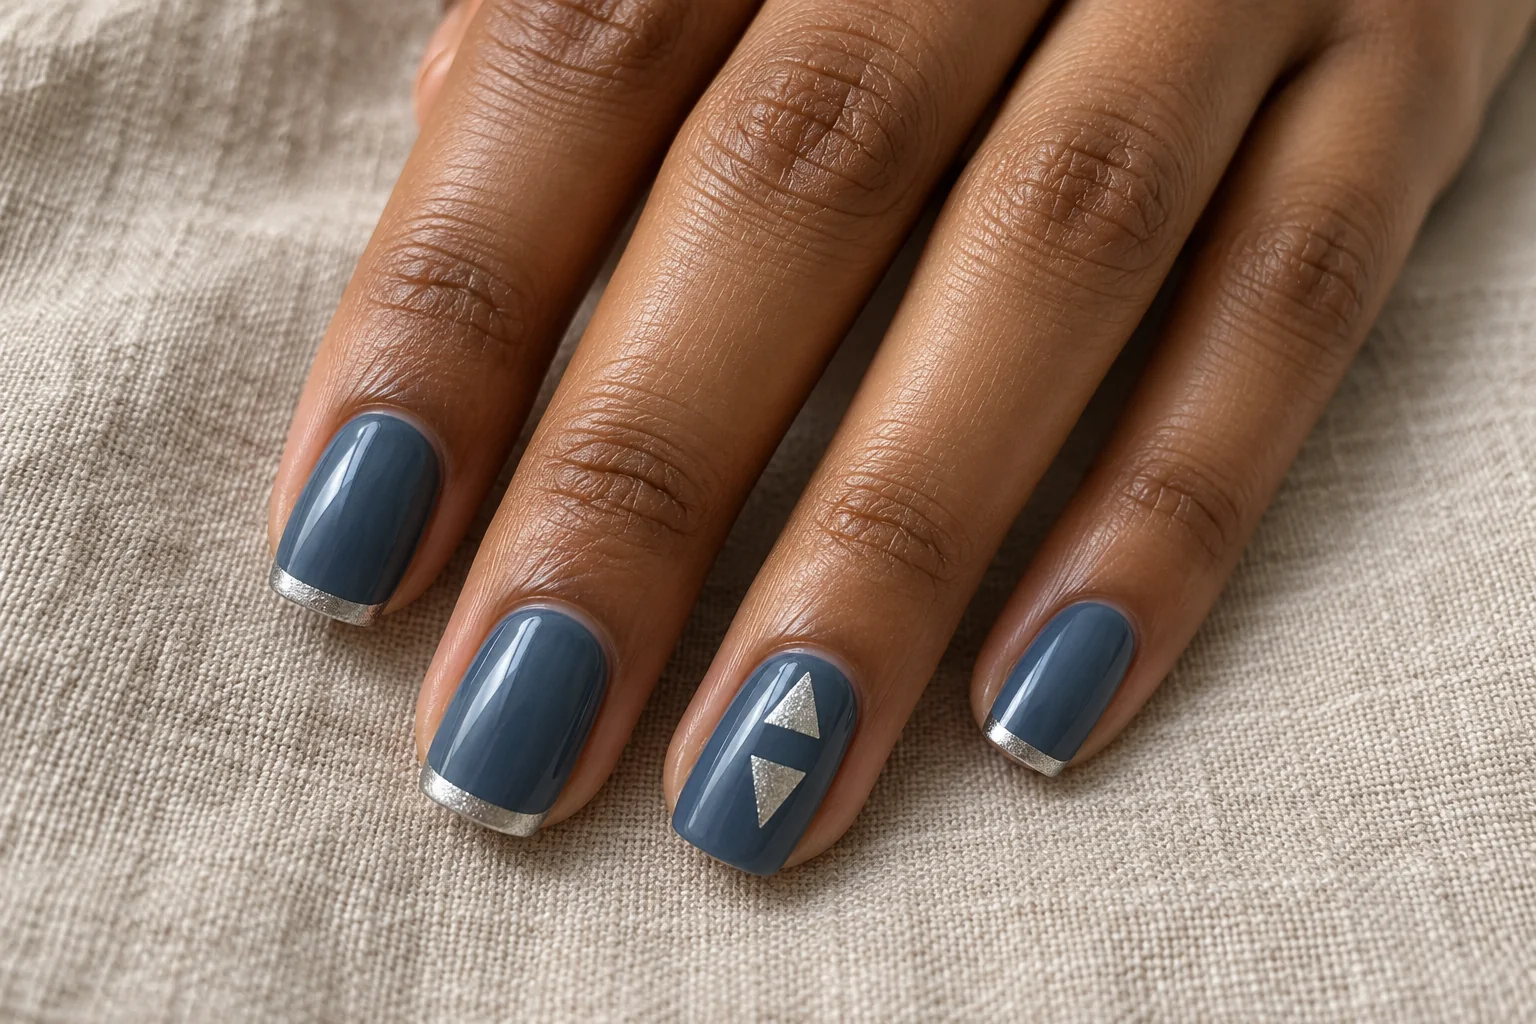
    9. Silver Triangle Accent

    Silver Triangle Accent geometric nail art design

    Silver triangles add a focused metallic detail to slate-blue nails. Their straight sides contrast with the softer nail outline. Place the triangles on one accent nail and use a narrow silver tip elsewhere, rather than covering every finger with a repeated metallic badge.

    A Small Metallic Shape

    The triangles should have enough space around them to read as separate shapes. Two small pieces can be more effective than one large panel. A squoval shape provides a useful background for the angular detail. Keep the silver restrained so it complements the blue instead of hiding it.

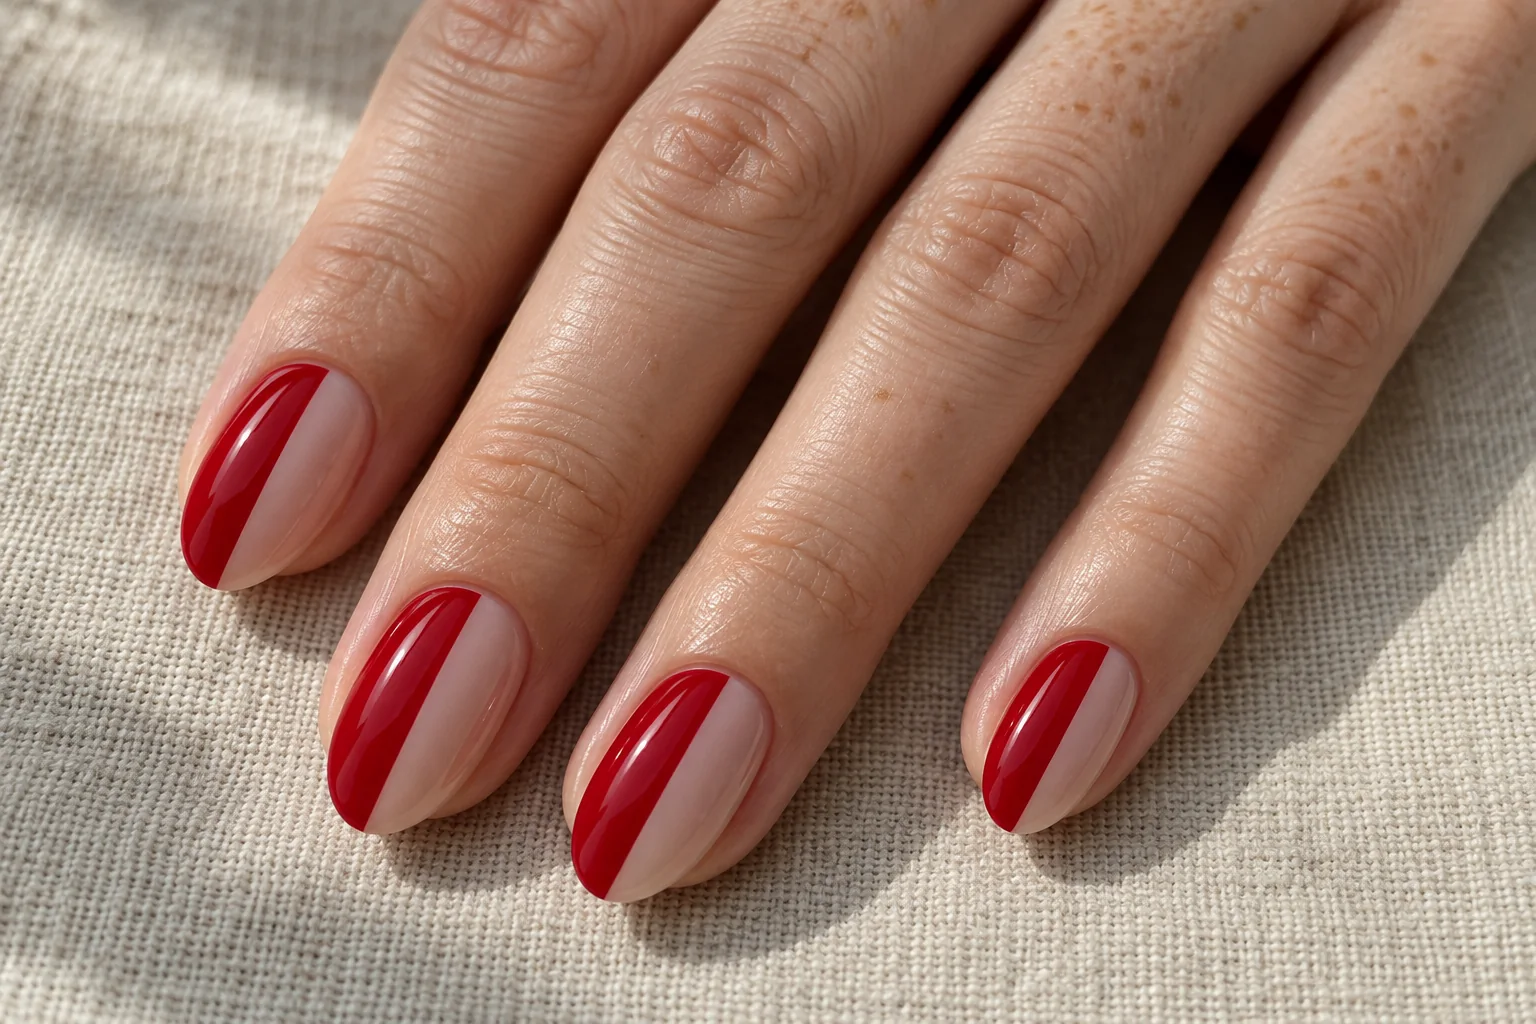
    10. Red Split-Tone Nails

    Red Split-Tone Nails geometric nail art design

    A cherry-red section beside sheer nude polish creates a bold split-tone manicure. The straight lengthwise boundary becomes the design, so there is no need for flowers, gems or extra outlines. Red supplies the colour; the clear portion supplies the breathing room.

    Divide the Nail Into Two Stories

    Oval nails soften the strong division. You can place the red on the same side of every nail or alternate sides for a more playful arrangement. Keep the boundary clean and the nude portion wide enough to remain visible. A very narrow clear strip changes the effect into a stripe.

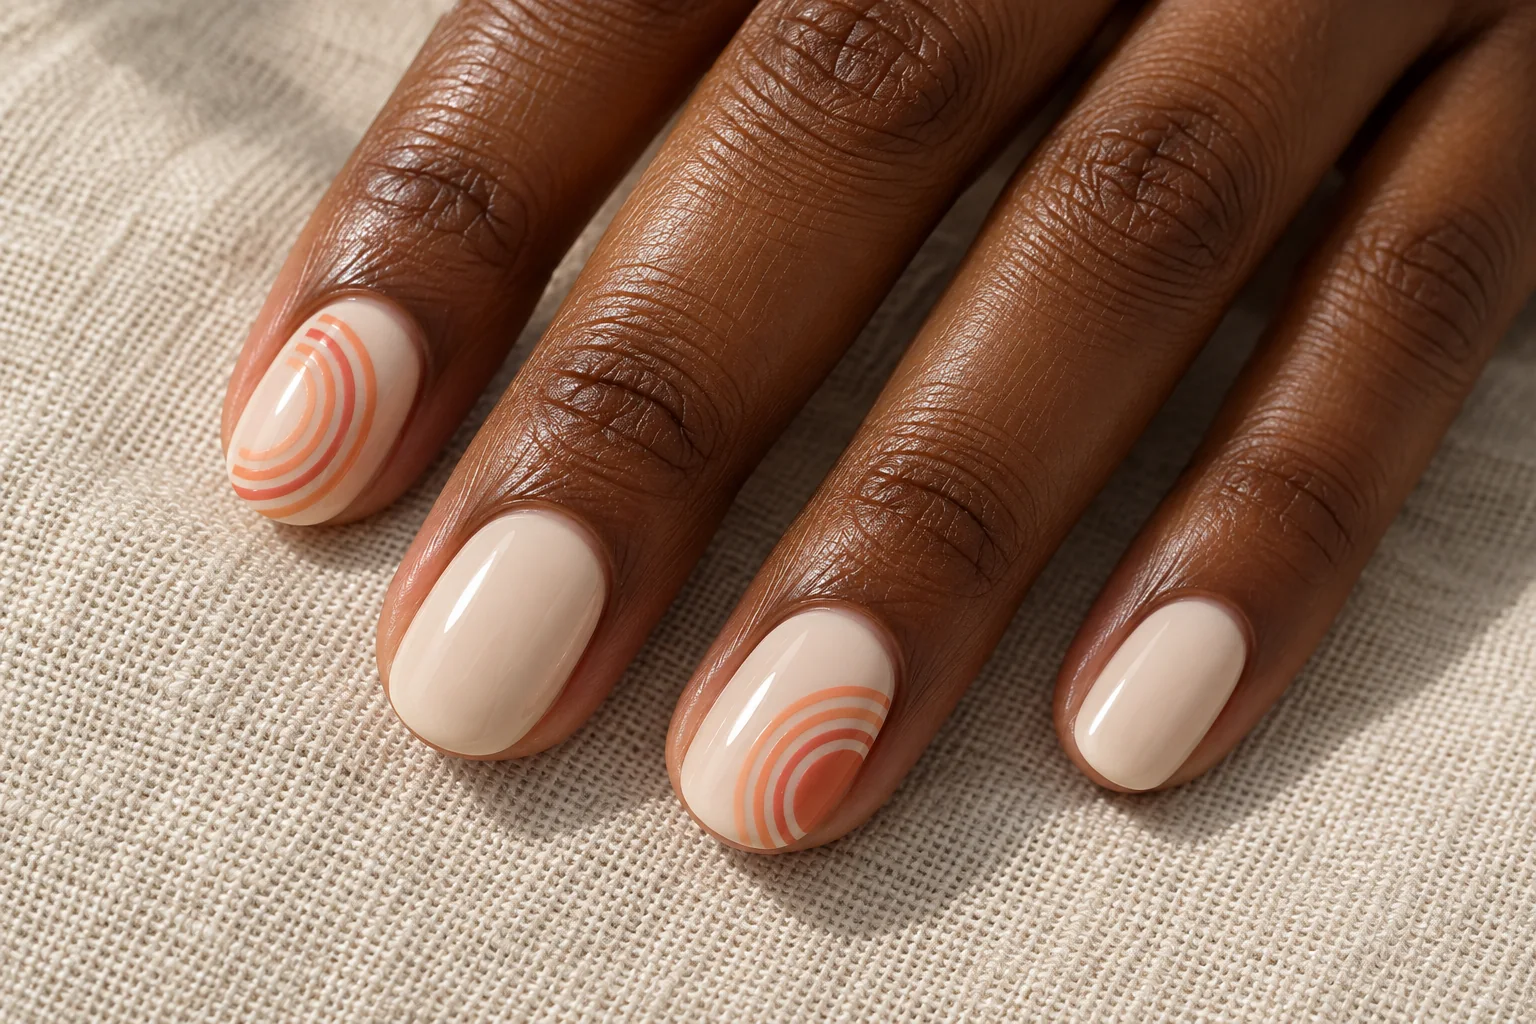
    11. Peach Concentric Circles

    Peach Concentric Circles geometric nail art design

    Peach and coral rings on cream polish create a gentler graphic design. Concentric circles give the accent nail a clear centre without filling it with a solid spot. The warm tones remain subtle, but the repeated outline makes the pattern recognisable.

    Circular Details With Room Around Them

    Short oval nails work well with these rounded shapes. Keep the circles on selected nails and use plain cream beside them. The rings need visible space between their edges. If they are painted too close together, they can merge into a thick patch rather than a light circular pattern.

    12. Teal Zigzag Edge

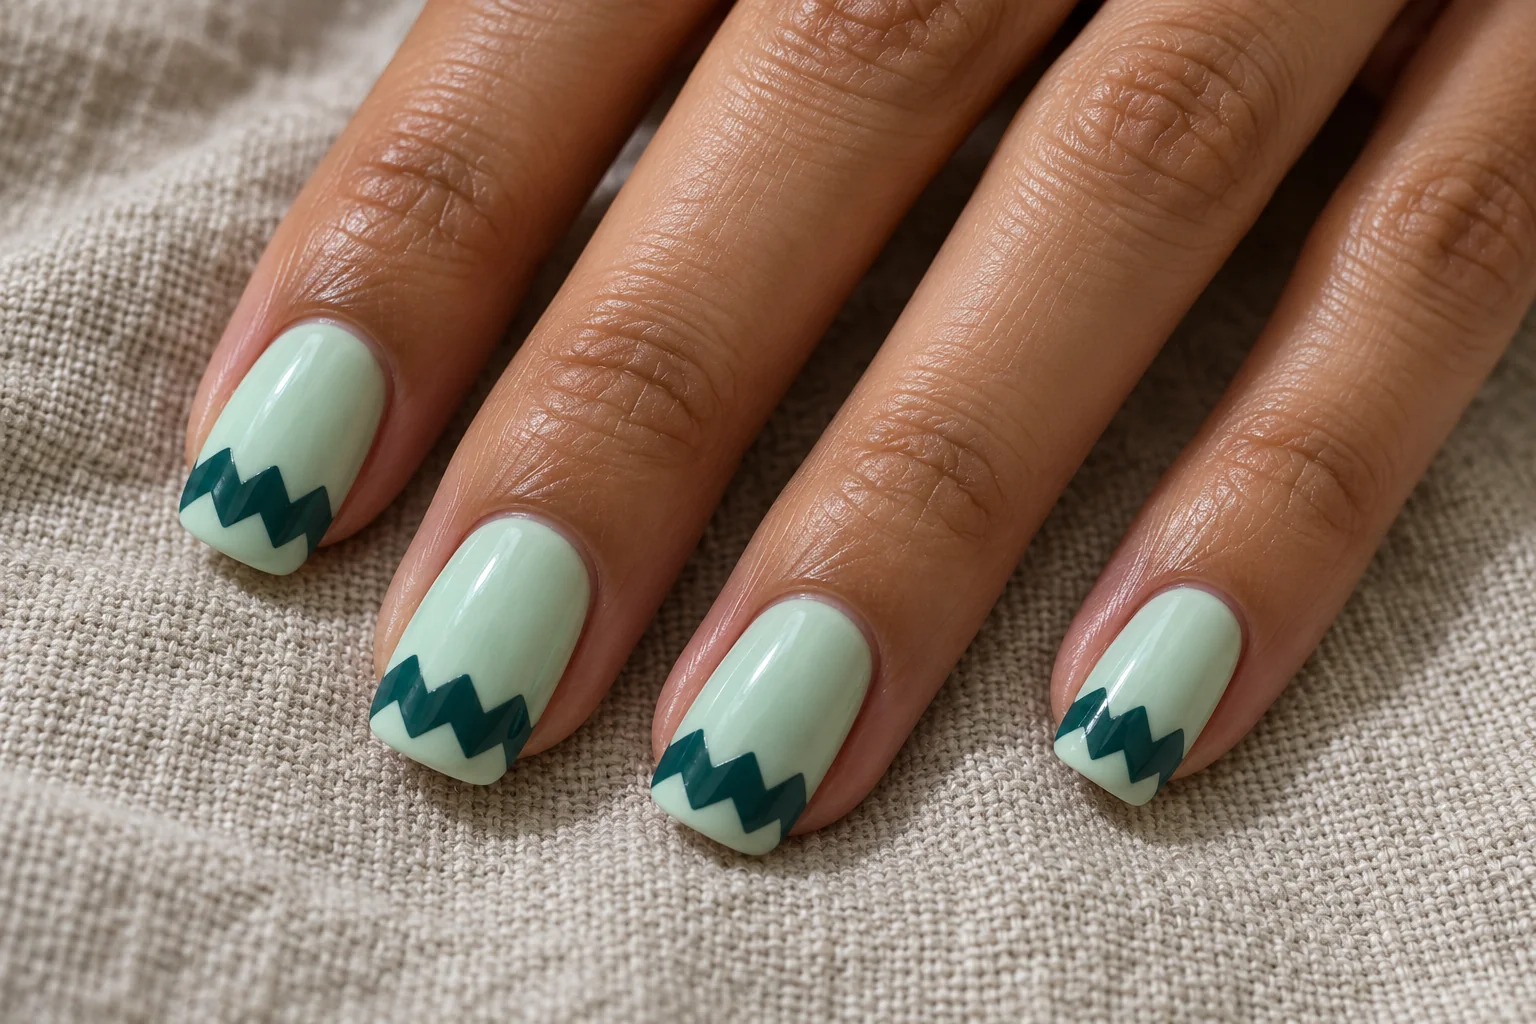
    Teal Zigzag Edge geometric nail art design

    A dark teal zigzag band brings a sharper edge to pale mint nails. The pattern sits near the tip, leaving the rest of the nail simple. Its repeated peaks create movement while the limited palette keeps the manicure coordinated.

    A Zigzag Instead of a Straight Tip

    Square nails give the zigzag a clear horizontal setting. Ask for similar peak heights and a narrow band rather than a large sawtooth shape covering half the nail. Keep other decoration minimal. The contrast between mint and teal already makes the edges visible without extra metallic outlines.

    13. Chocolate Uneven Stripes

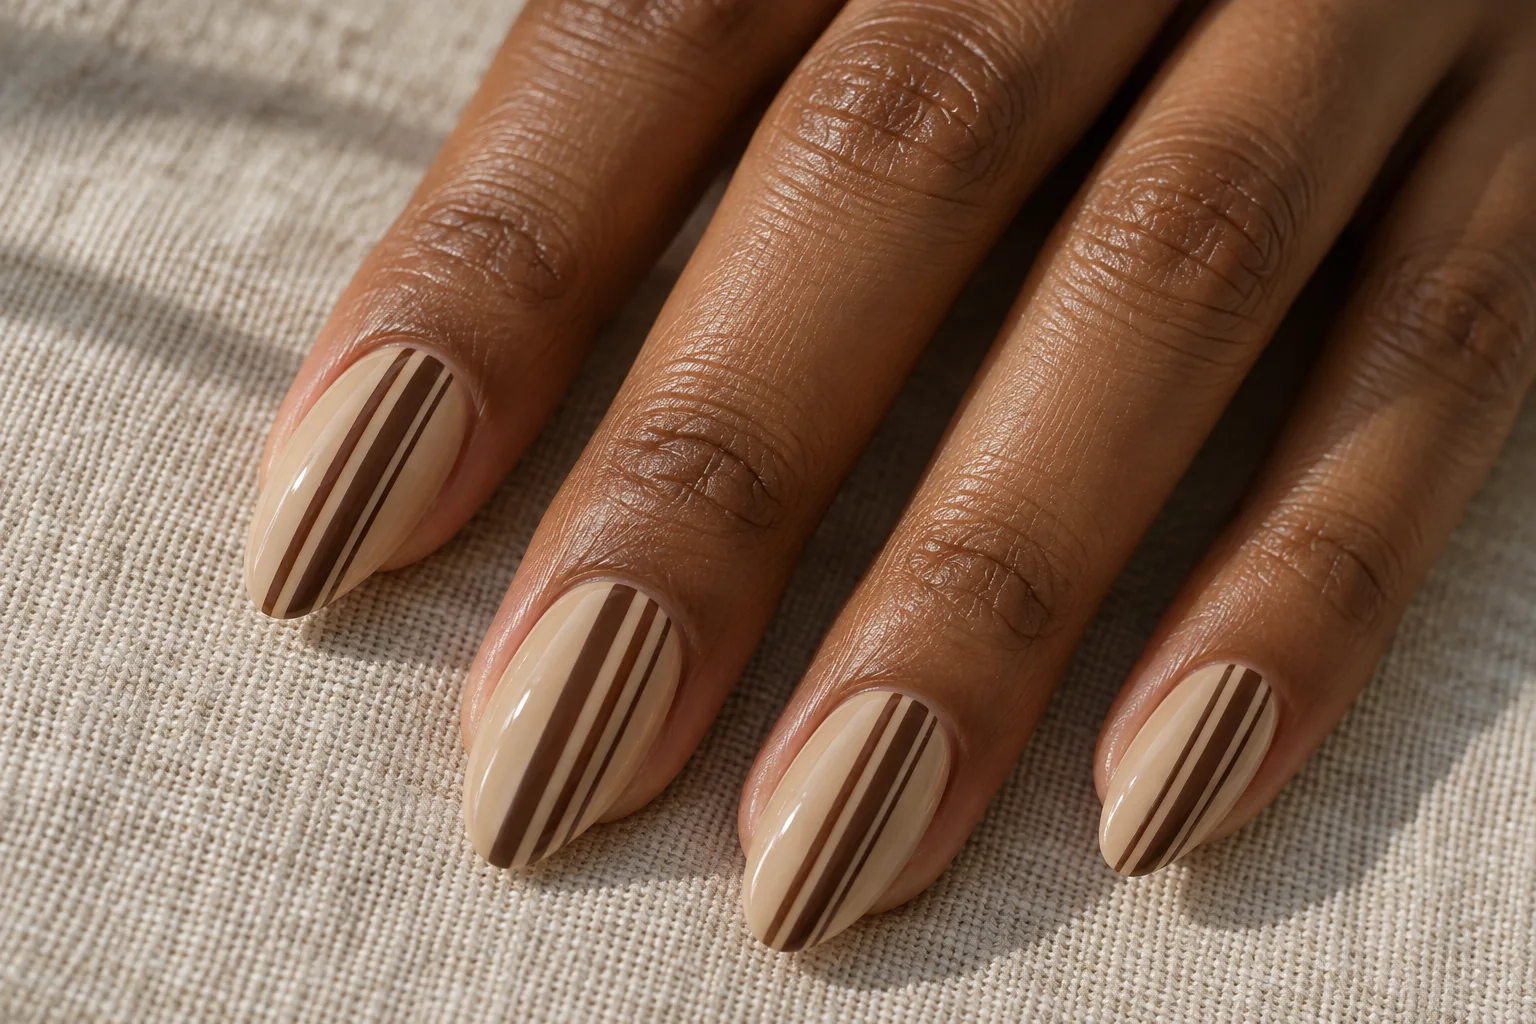
    Chocolate Uneven Stripes geometric nail art design

    Chocolate stripes on beige polish create a warm, understated graphic set. The lines run lengthwise, but their different widths prevent them from looking like a rigid uniform. Offset placement gives each nail a little individuality while keeping the overall direction consistent.
    Vary the Width, Keep the Direction

    Almond nails complement the longer lines. Leave plenty of beige between the stripes so the background remains part of the design. A mix of one slightly wider stripe and two fine ones can feel more considered than several identical bands. Keep the brown clear and rich rather than muddy.

    14. Mustard Diamond Tiles

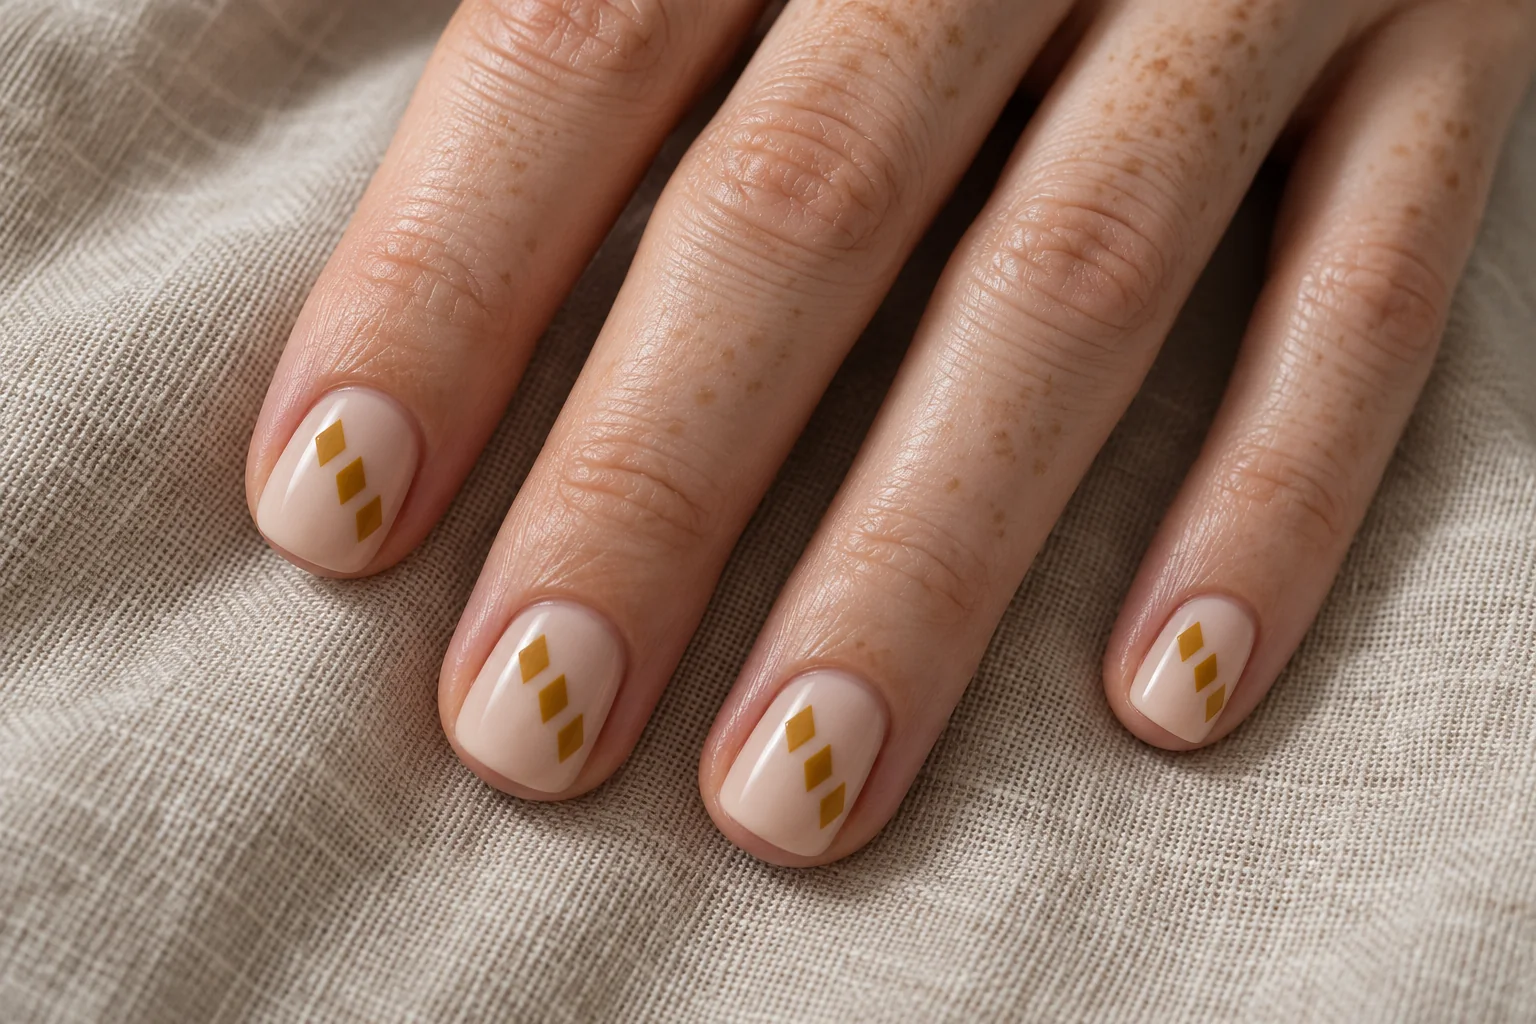
    Mustard Diamond Tiles geometric nail art design

    Mustard and ochre diamonds create a tile-like detail on creamy nude nails. A staggered row adds movement without using a full checkerboard. The shapes should remain separate, with a little background visible around each one, so the design stays light.

    Turn Small Diamonds Into a Rhythm

    Short squoval nails suit this compact pattern. Choose small diamonds that fit comfortably inside the nail outline rather than cutting large shapes awkwardly at the sides. Repeating the same warm palette connects the fingers. The arrangement can vary slightly while the number and scale of the diamonds stay similar.

    How to Choose Your Geometric Nail Art Pattern

    Start with the amount of detail you want to see across the whole hand. Checkerboards and diamond tiles create a repeated rhythm, while a split-tone nail relies on one strong boundary. If you prefer a quieter look, choose dots, fine grids or metallic triangles on a small number of accent nails.

    Think about the nail outline as well. Square and squoval tips give straight patterns a natural setting. Almond and oval nails can soften angular shapes or support curves. These are design suggestions rather than fixed rules: a good nail artist can change the scale and placement to suit the surface available.

    Make the Colours Work With Your Wardrobe

    A manicure can connect with clothes you already enjoy. Warm terracotta and chocolate shades pair easily with our cardigan and jeans outfit ideas. If you prefer richer colours, explore our burgundy outfit inspiration and use a small matching detail rather than copying the entire outfit palette.

    For a softer finish, choose a pale base and keep the pattern to one or two colours. A natural makeup look can complement a detailed manicure without competing with it. If you want raised texture for a future appointment, our 3D flower nail art collection offers a different direction.

    Save the designs that appeal to you, then compare their shapes as well as their colours. Ask your artist to explain how the spacing and line thickness will change on your own nails. A simple pattern with clear placement often has more impact than adding every detail at once.

  • 3D Flower Nail Art: 12 Fresh Designs to Inspire Your Next Manicure

    3D Flower Nail Art: 12 Fresh Designs to Inspire Your Next Manicure

    3D flower nail art brings small sculpted petals above the nail surface, creating detail you can see from more than one angle. The most interesting designs do not always have the largest flowers. Colour, placement and the amount of clear space can make a small bloom feel just as memorable.

    This collection features twelve original design concepts created for Haya Glam. Pinterest floral styling ideas informed the general direction, while the colour pairings, flower choices and arrangements were developed into new illustrations. The images are AI-generated manicure concepts, not photographs of completed salon work.

    Use them to explain a mood to your nail artist rather than treating every petal as a fixed requirement. Nail length, width and your daily routine may call for a smaller flower or a simpler accent. Below, each design has its own image, colour story and practical suggestion.

    1. Porcelain Daisies With Butter-Yellow Tips

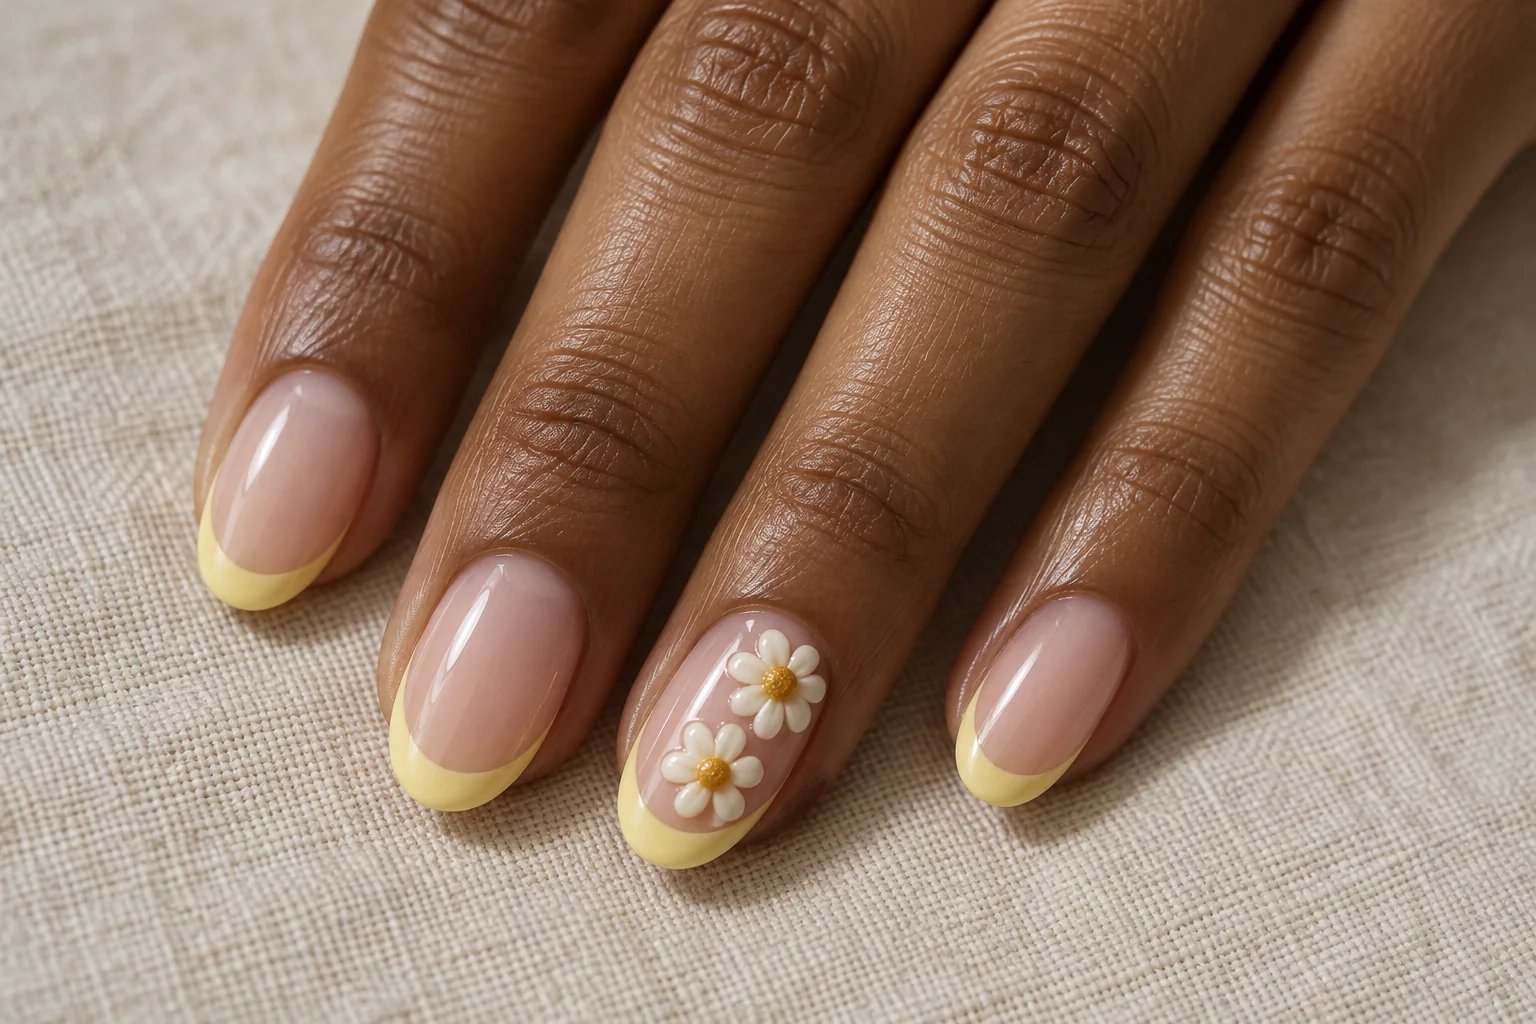
    Porcelain Daisy and Butter Yellow 3D flower nail art design

    A milky pink base gives these tiny ivory daisies room to stand out. Butter-yellow tips repeat the warmth of the flower centres without filling every nail with decoration. The result is a soft, light manicure that works particularly well when you want the raised detail to feel delicate.

    Keep the daisies slightly off-centre on one accent nail instead of placing an identical flower on every finger. Two small blooms can create more movement than one large, perfectly symmetrical shape. Oval nails support the rounded petals, while the narrow tips keep the design from looking crowded.

    Keep the Petals Low

    Ask for a shallow sculpted finish so the flowers remain visible without becoming bulky. The shape and spacing matter more than adding extra stones or glitter.

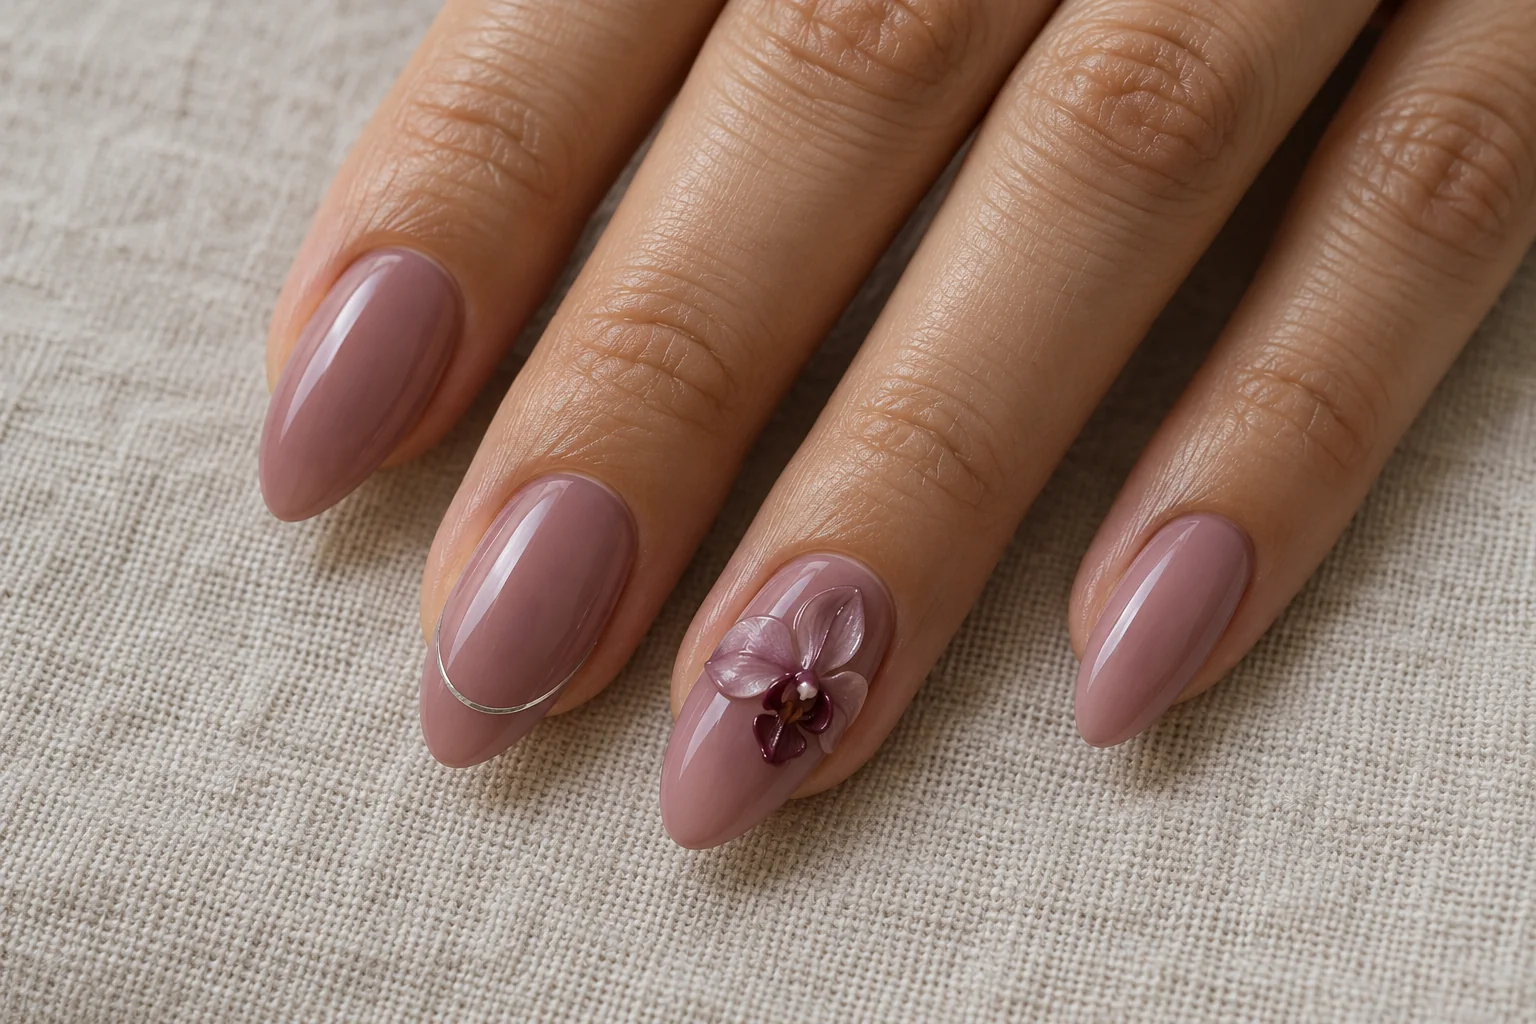
    2. Mauve Orchid on a Smoky-Rose Base

    Mauve Orchid on Smoky Rose 3D flower nail art design

    This design pairs a muted rose background with one sculpted mauve orchid. A darker plum centre gives the flower depth, while a thin silver arc on a neighbouring nail creates a quiet contrast. The colour palette feels expressive without relying on neon shades.

    An orchid looks most interesting when its petals have a little asymmetry. Let the bloom sit diagonally rather than forcing it into the centre of the nail. Medium almond nails leave enough space for the flower’s shape and a clear border around it.

    Leave Some Space

    Keep the other nails simple so the orchid remains the focal point. A single metallic line is enough to connect the accent nail to the rest of the manicure.

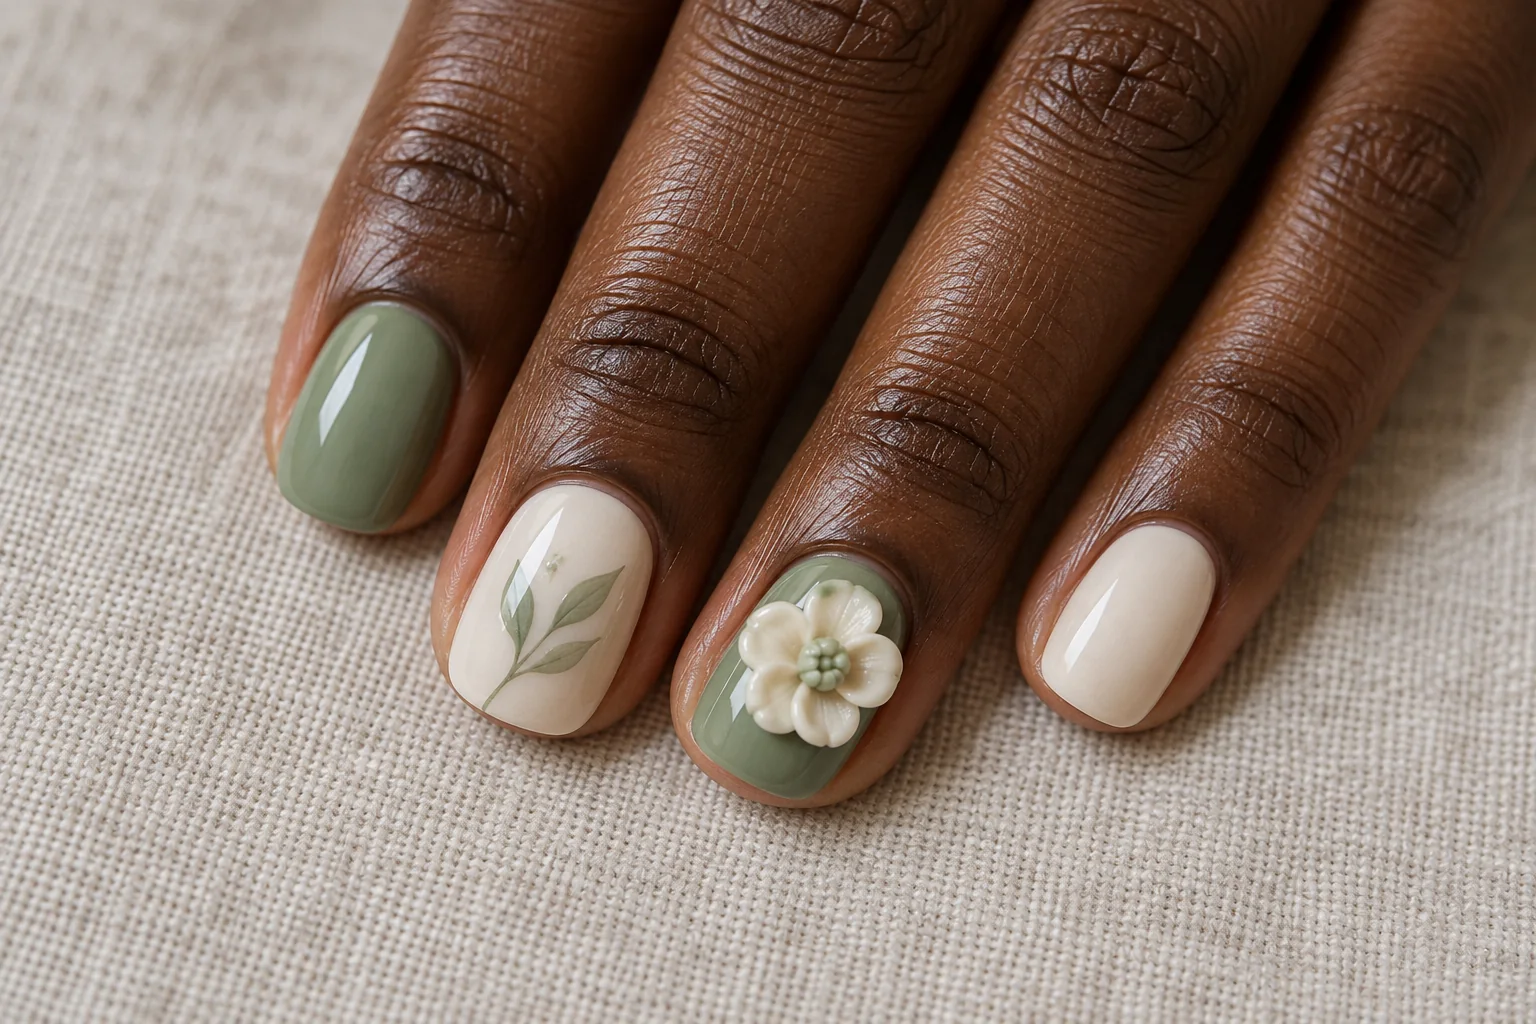
    3. Sage Camellia With Cream Accents

    Sage Camellia and Cream 3D flower nail art design

    Sage and cream create a calm setting for an ivory camellia. Overlapping, rounded petals give the bloom a fuller shape than a simple five-petal flower. A small painted leaf on another nail introduces the botanical idea without adding more raised decoration.

    Short rounded-square nails make this concept feel practical and considered. Alternate the background colours rather than repeating the same accent on every finger. The cream nail can carry the sculpted flower, while the sage nails provide a clear colour block beside it.

    Balance Soft and Solid

    Choose a gentle green rather than a very saturated one if you want the ivory petals to remain prominent. Keep the leaf fine and avoid filling all the remaining space.

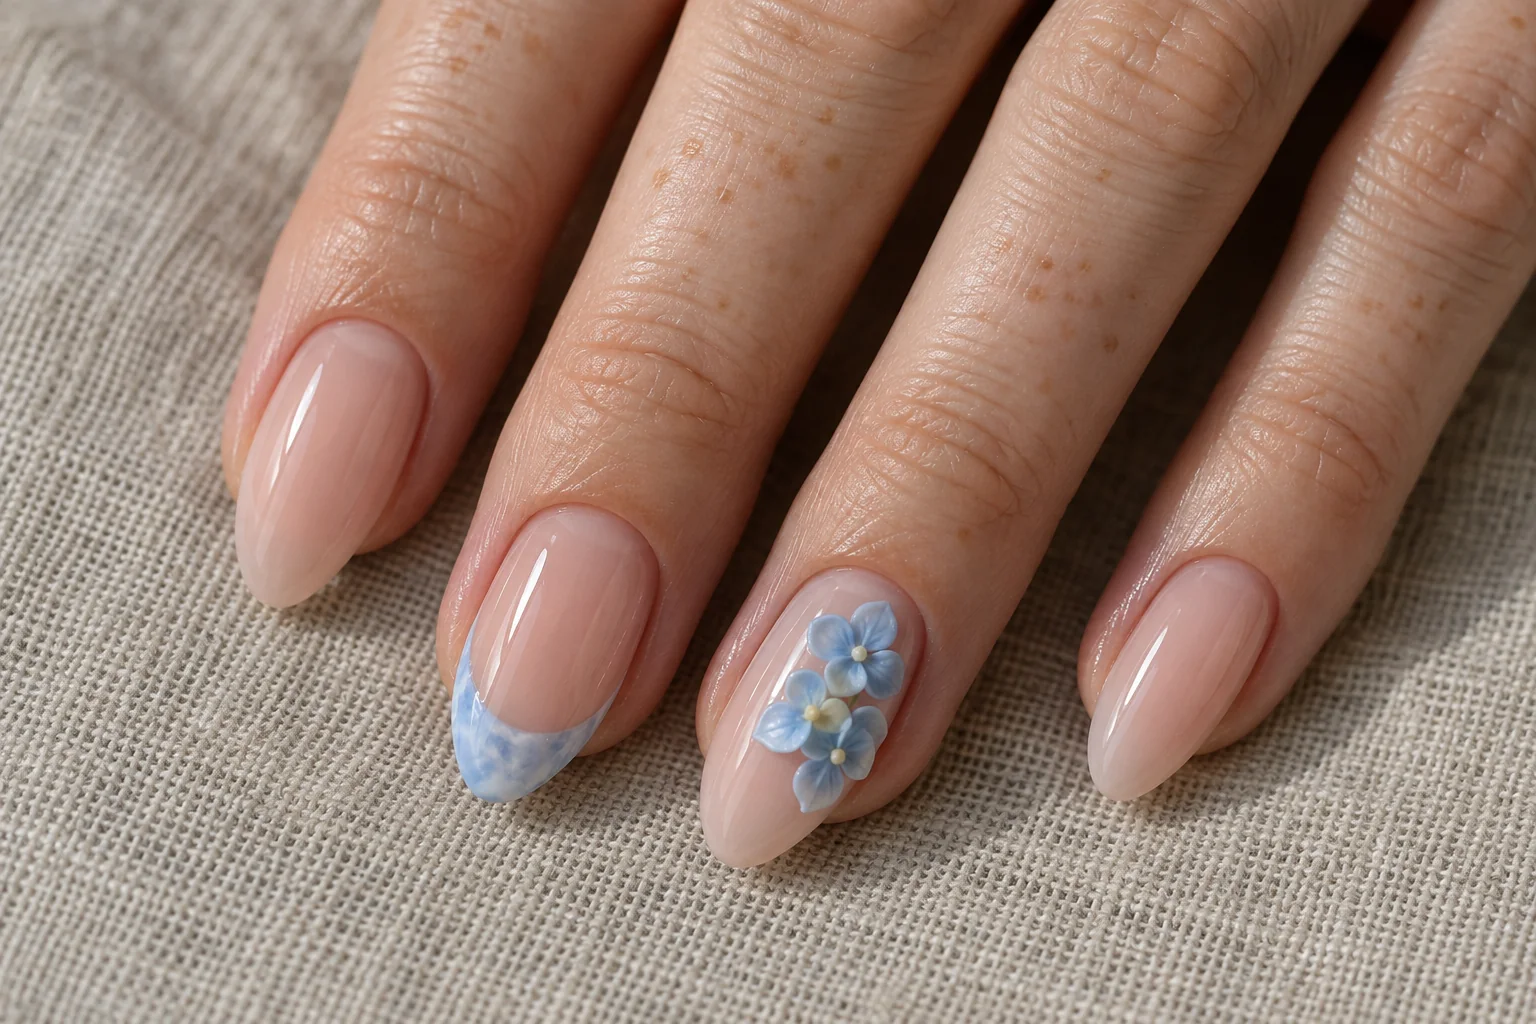
    4. Powder-Blue Hydrangea on Sheer Nude

    Blue Hydrangea on Sheer Nude 3D flower nail art design

    A cluster of tiny blue florets gives this 3D flower nail art a different rhythm from a single statement bloom. The sheer nude base keeps the cluster visible, while an irregular icy-blue tip on another nail repeats the colour in a lighter way.

    Hydrangeas work best here as a small grouped detail. Vary the position of the florets slightly so they look gathered rather than arranged in a rigid grid. Keep their centres subtle and let the raised petals provide most of the texture.

    Choose a Compact Cluster

    Ask the nail artist to scale the flowers to your nail width. A compact arrangement can feel detailed without covering the entire surface or spilling beyond the nail edge.

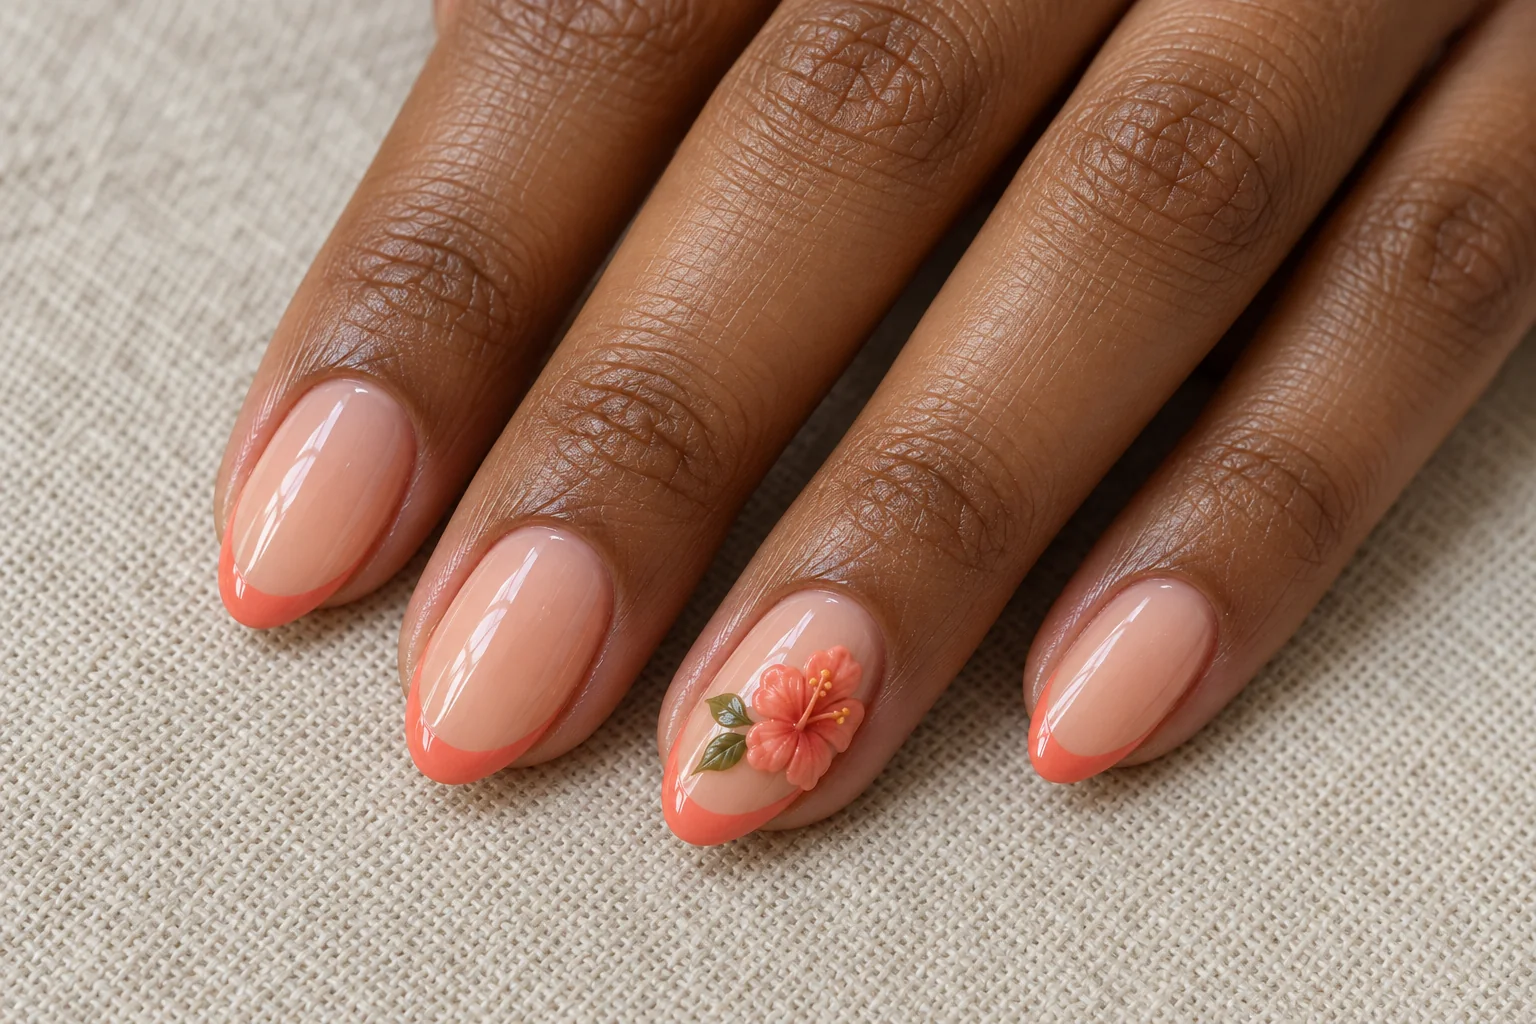
    5. Coral Hibiscus With Apricot Tips

    Coral Hibiscus and Apricot Tips 3D flower nail art design

    Coral petals bring a warmer mood to the collection. An apricot base and narrow coral tips connect the accent flower to the plain nails, while a tiny olive leaf adds a small colour change. The combination feels lively without needing a tropical scene painted on every finger.

    Use one hibiscus as the main feature and keep the orange centre restrained. Its broad petals should read clearly against the lighter base. Oval nails suit the soft outline, but the concept can be adjusted to another shape by making the bloom smaller.

    Repeat One Warm Shade

    Echo the flower colour in the tips, then stop there. Adding several different bright colours can make the manicure harder to read and distract from the sculpted detail.

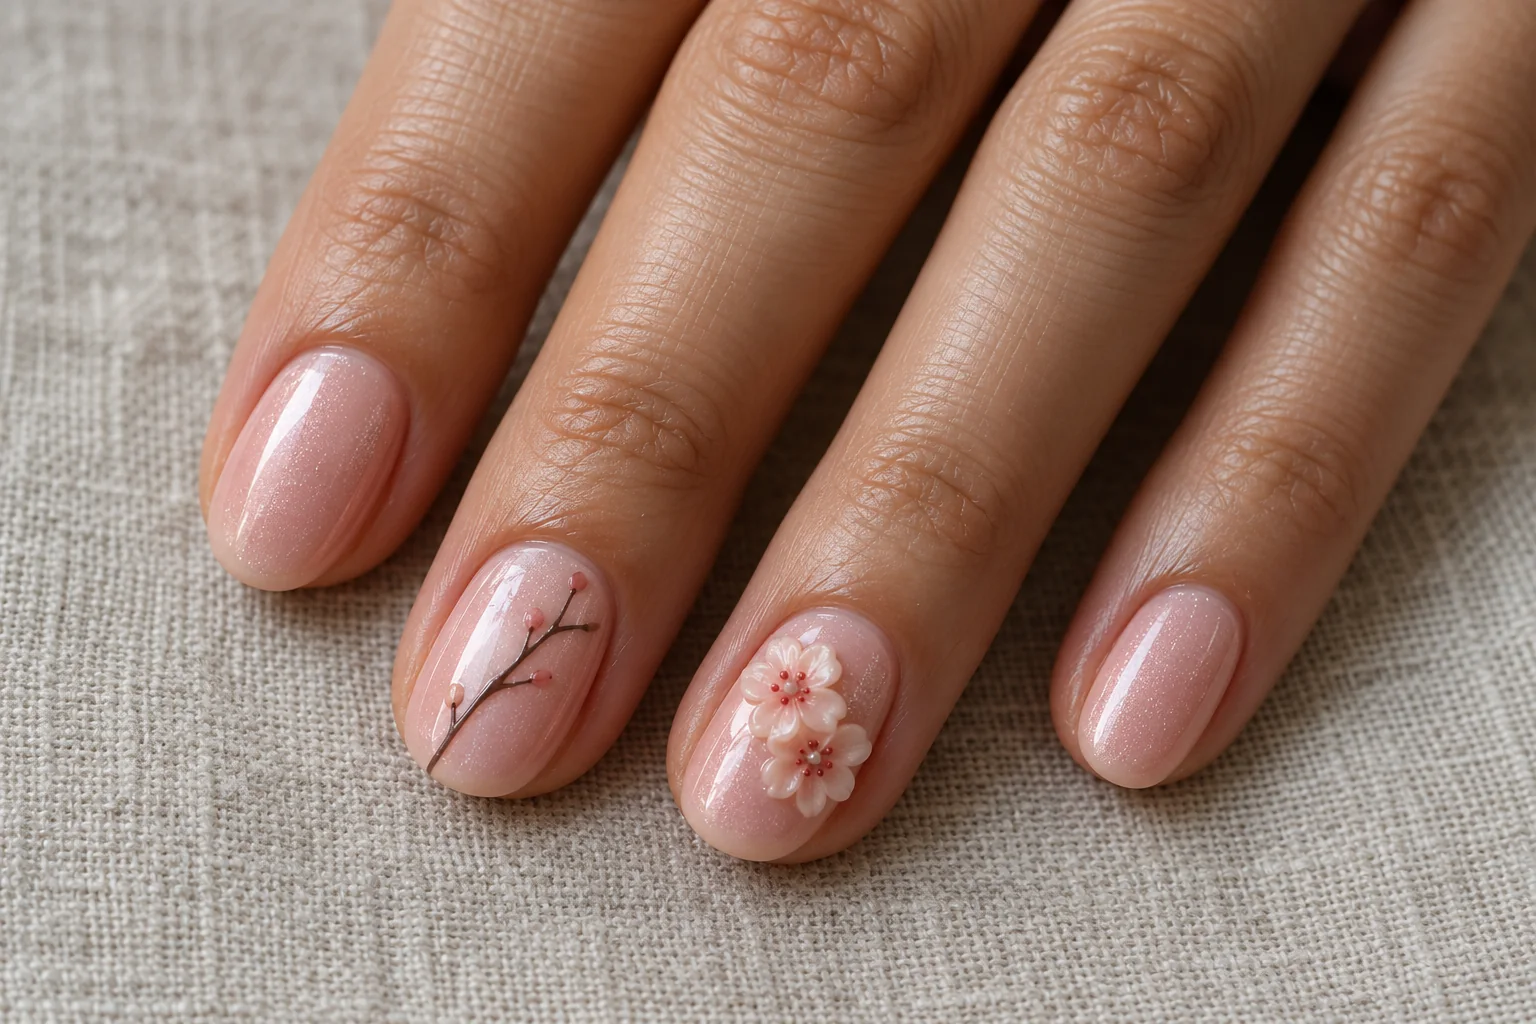
    6. Pearl-Sheen Cherry Blossoms on Blush

    Pearl Cherry Blossom on Blush 3D flower nail art design

    Blush pink and a subtle pearl sheen create a soft background for two pale cherry blossoms. Fine red centres make the flowers readable without introducing large gems. A delicate painted branch on another nail adds a connected detail while keeping most of the surface clear.

    This is an option for short oval nails because the blossoms do not need to be large. Place them at slightly different heights rather than lining them up exactly. The variation gives the accent nail a more natural composition.

    Keep the Shine Gentle

    Choose a quiet pearly finish instead of a strong mirror effect. The light should help show the petal shapes, not overpower them or make every nail look like a different design.

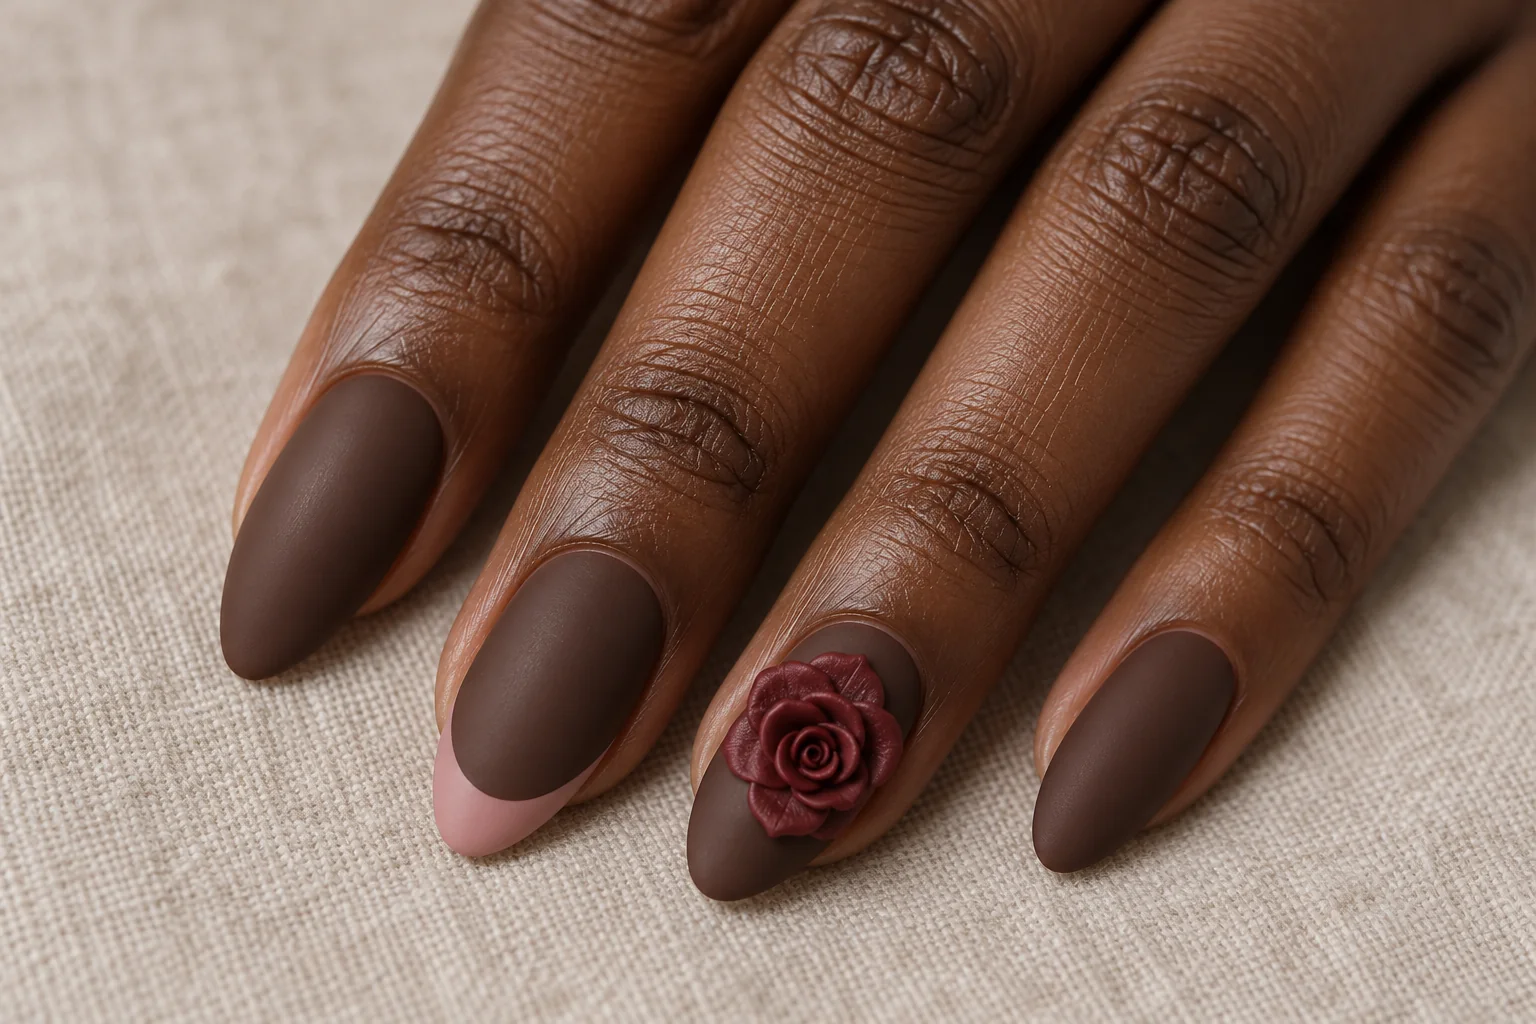
    7. Burgundy Rose on Matte Cocoa

    Burgundy Rose and Matte Cocoa 3D flower nail art design

    A sculpted burgundy rose against matte cocoa creates a richer floral look. The satin petals stand out because their finish differs from the flat background. A dusty-pink crescent on a neighbouring nail adds a lighter note without breaking the colour story.

    The rose needs visible overlapping edges to feel sculpted rather than like a flat flower sticker. Keep its height controlled and its outline compact. Medium almond nails give the bloom a tapered setting while leaving room around the sides.

    Use Finish as Contrast

    Matte and satin surfaces provide enough variety on their own. Avoid adding heavy sparkle over the rose, since it can hide the curled petal edges that make the design interesting.

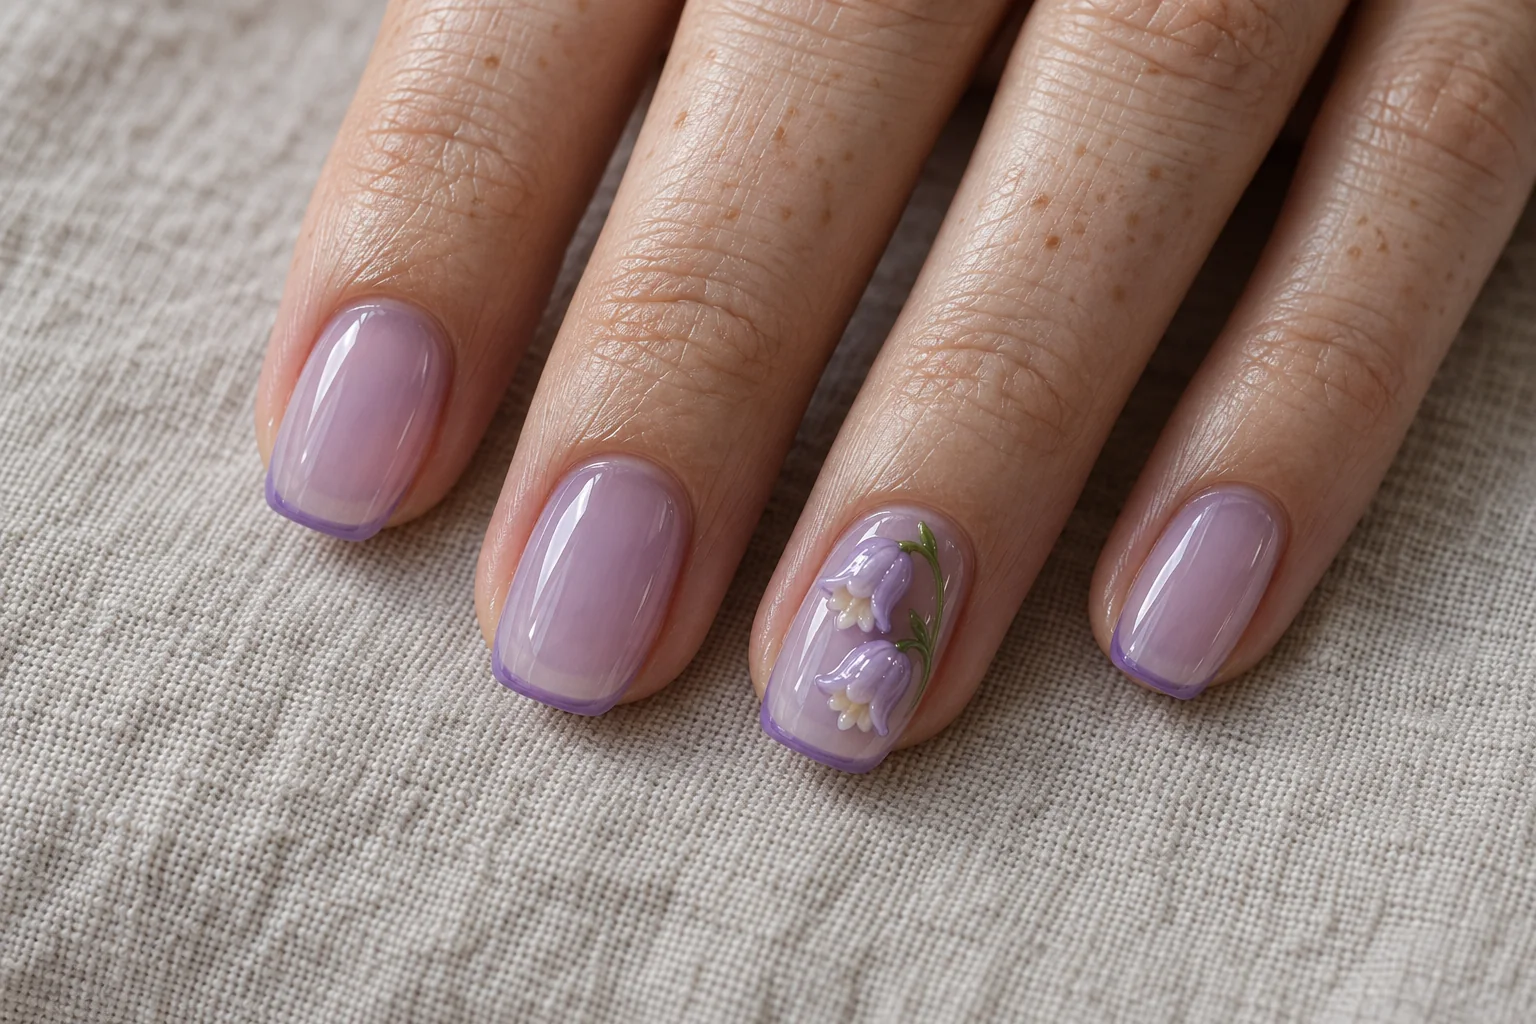
    8. Lavender Bellflowers on Clear Jelly

    Lavender Bellflowers on Clear Jelly 3D flower nail art design

    A transparent lavender base lets the bell-shaped flowers feel light and airy. Two small blooms angled in different directions make the accent nail more playful than a centred floral badge. Narrow violet edges give the plain nails a little definition.

    Leave clear space between the flowers so their shapes remain separate. Fine green stems can help explain the design, but they should stay secondary to the pale sculpted blooms. Squoval nails provide a useful balance between a straight tip and softer corners.

    Protect the Transparency

    Keep the background sheer and the extra details minimal. Too many painted marks or scattered crystals would reduce the open, jelly-like effect that makes this concept distinctive.

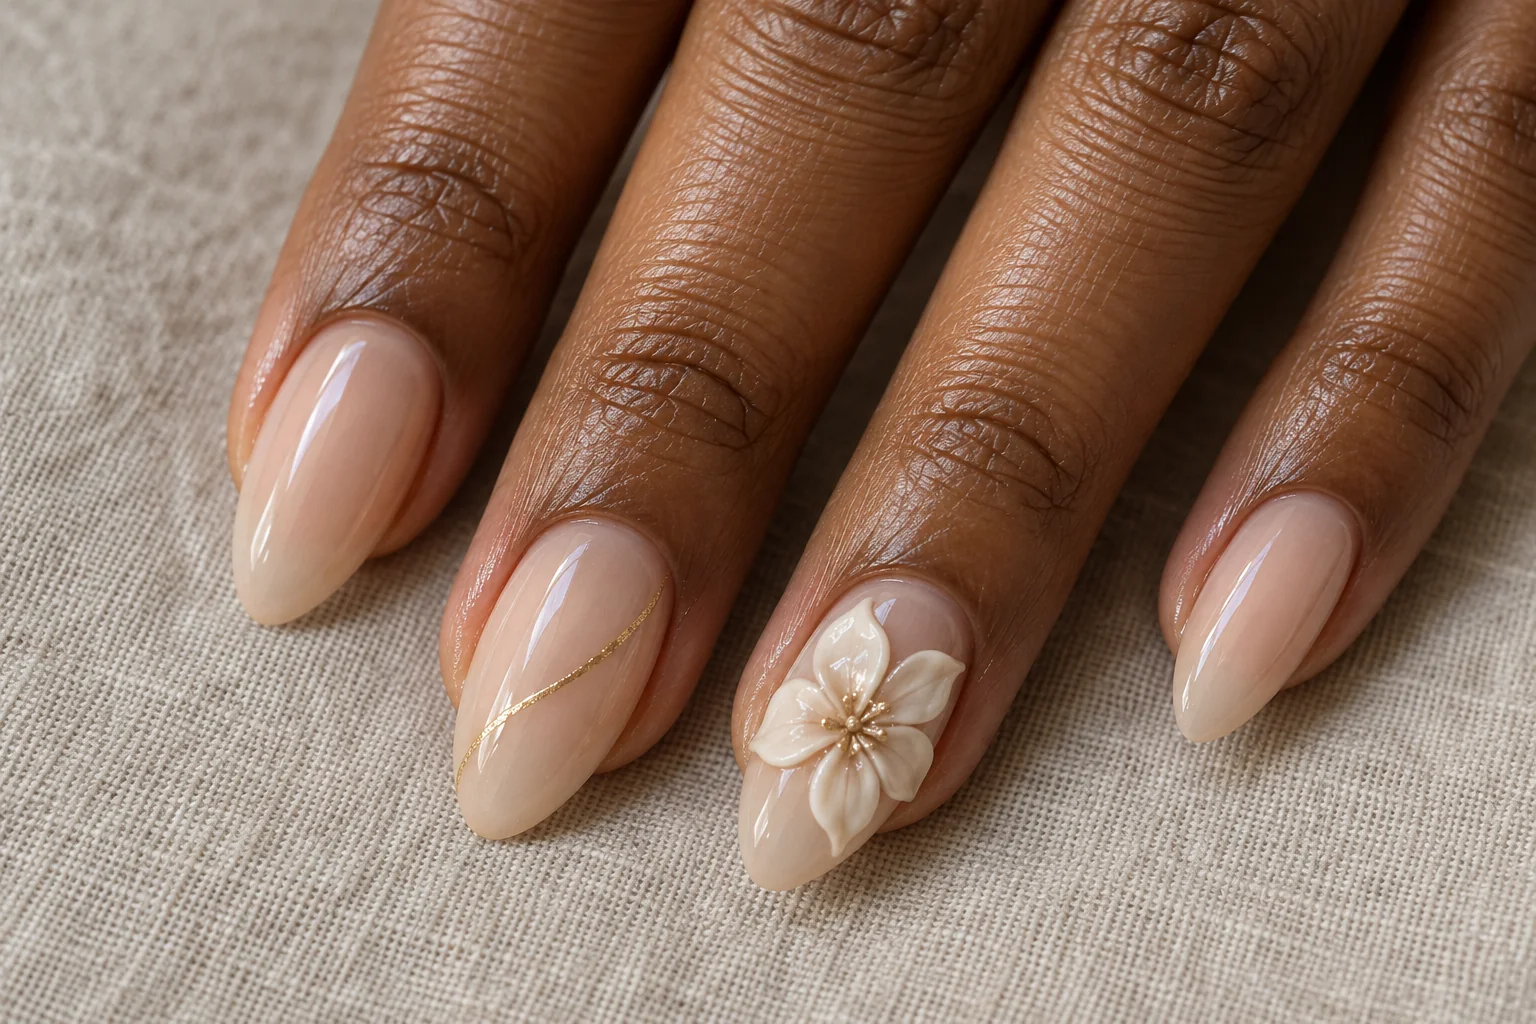
    9. Ivory Magnolia With Champagne Lines

    White Magnolia and Champagne Lines 3D flower nail art design

    An ivory magnolia brings a broader, calmer flower shape to a sheer beige manicure. Five curved petals create a clear silhouette, while a thin champagne line across another nail adds a measured touch of shine. The palette can work for an occasion or an understated everyday set.
    Let the flower occupy one accent nail and keep the remaining nails mostly plain. The petals should curve gently rather than rise into a tall, heavy sculpture. Almond nails create an elegant outline, but a smaller magnolia can also fit a shorter shape.

    Keep the Metallic Detail Fine

    A narrow diagonal line looks more intentional than a wide band competing with the flower. This is also an easy palette to pair with a natural makeup look.

    10. Mini Marigolds With Terracotta

    Mini Marigolds on Terracotta 3D flower nail art design

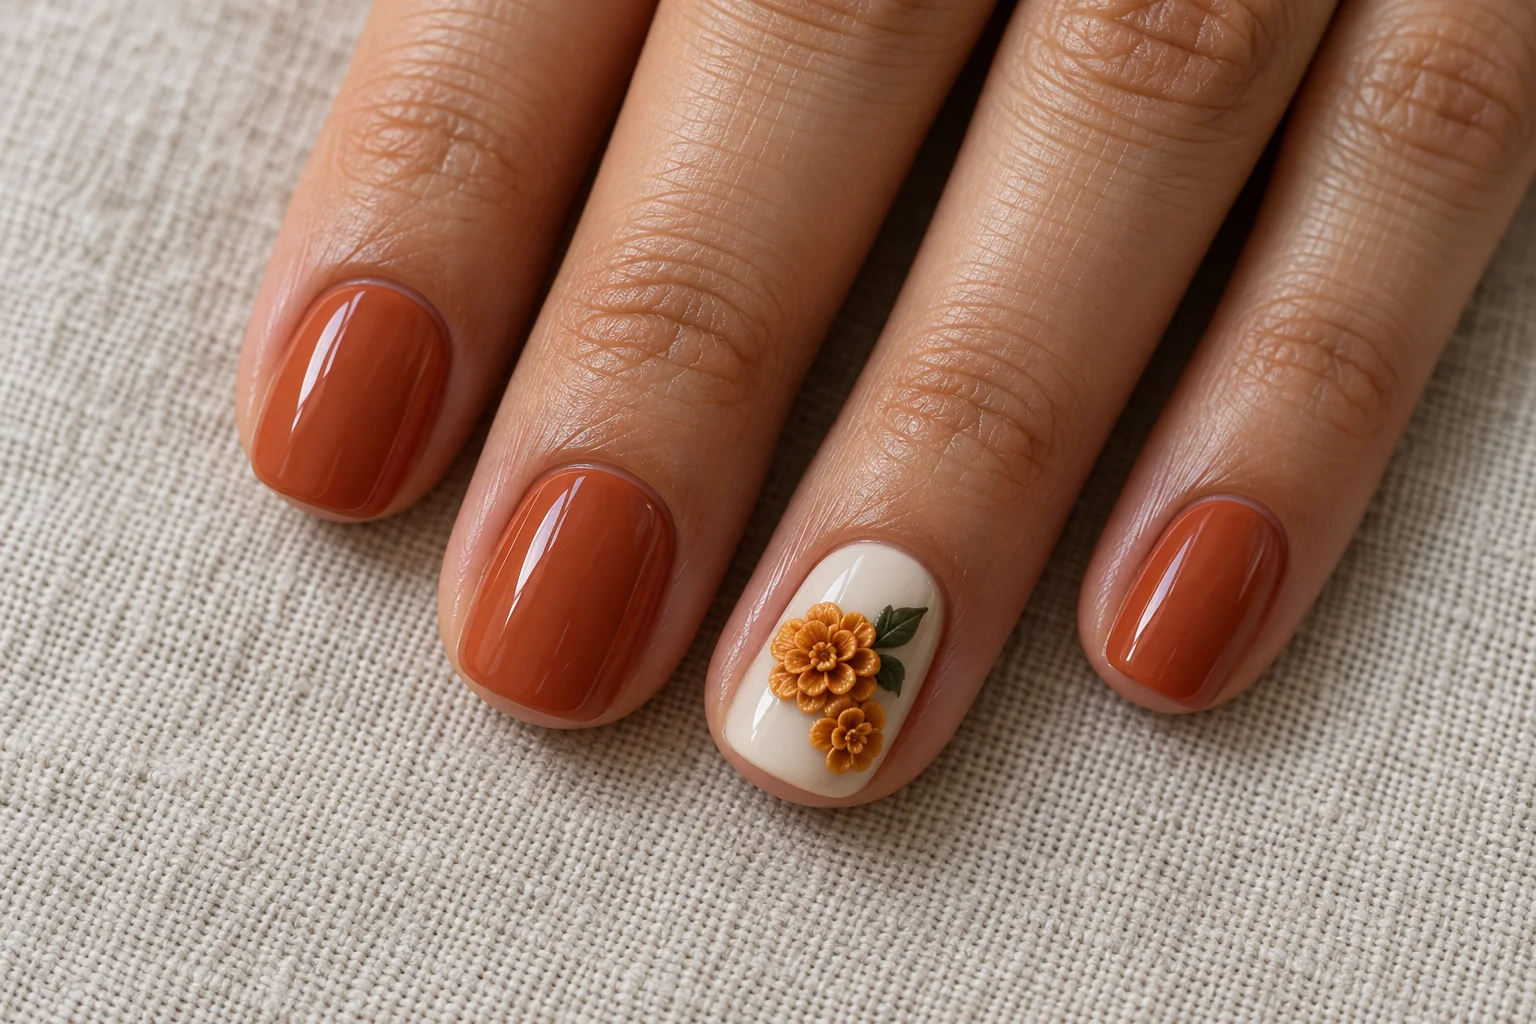
    Terracotta polish gives tiny mustard-orange marigolds a grounded setting. A cream accent nail separates the flowers from the warmer background, making their ruffled petals easier to see. One small green leaf is enough to complete the botanical idea.

    Short rounded-square nails keep this design compact. A miniature flower cluster works better than an oversized pom-pom shape. Keep the petals within the nail edges. The texture can be intricate while the overall manicure remains simple.
    Control the Texture

    Ask for clear petal definition without excessive height. The cream base and warm plain nails already create contrast, so the flowers do not need added jewels to make an impression.
    11. Mint Water Lily on Pale Aqua

    Mint Water Lily on Aqua 3D flower nail art design

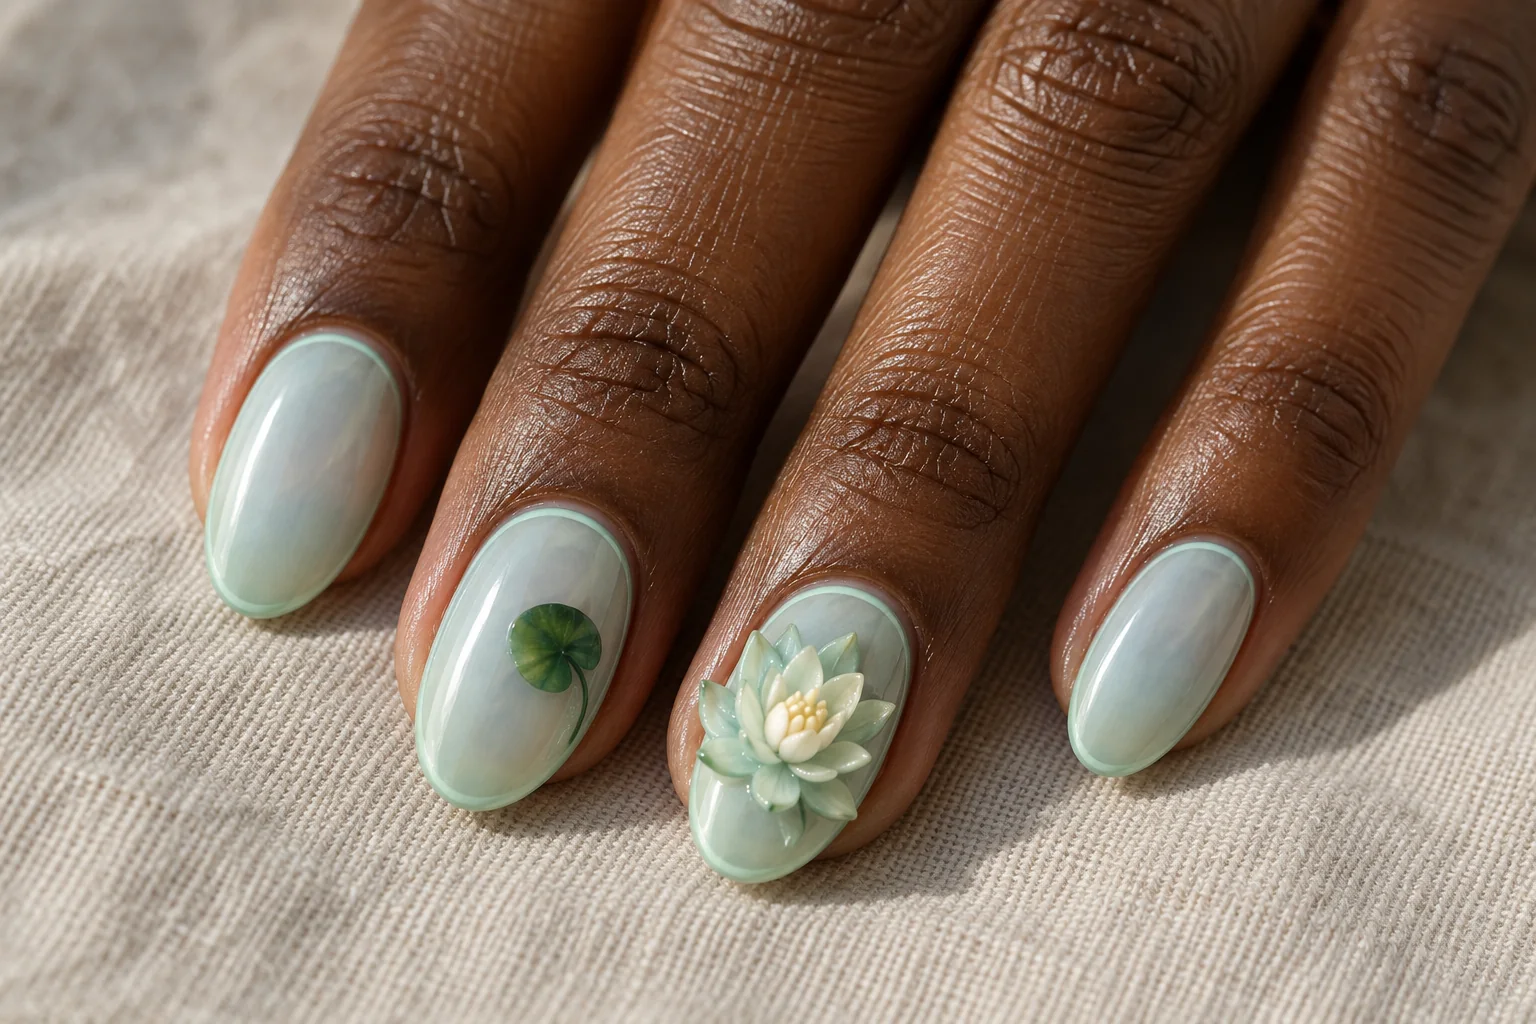
    Very pale aqua and mint give this water-lily concept a fresh, cool finish. The ring nail carries one low sculpted bloom with tapered petals and an ivory centre. A small painted green crescent on another nail suggests a leaf without becoming a full illustration.

    The flower should sit comfortably within the nail outline. Keep its layers shallow and avoid making every petal identical in size. Oval nails support the rounded composition, while the thin mint rim gives the other nails a connected finishing detail.

    Let the Base Stay Light

    A translucent background helps the sculpted petals remain the main feature. If you prefer a stronger colour, change only the rim before darkening the whole manicure.

    12. Ivory Anemone on Charcoal Gloss

    Ivory Anemone on Black Gloss 3D flower nail art design

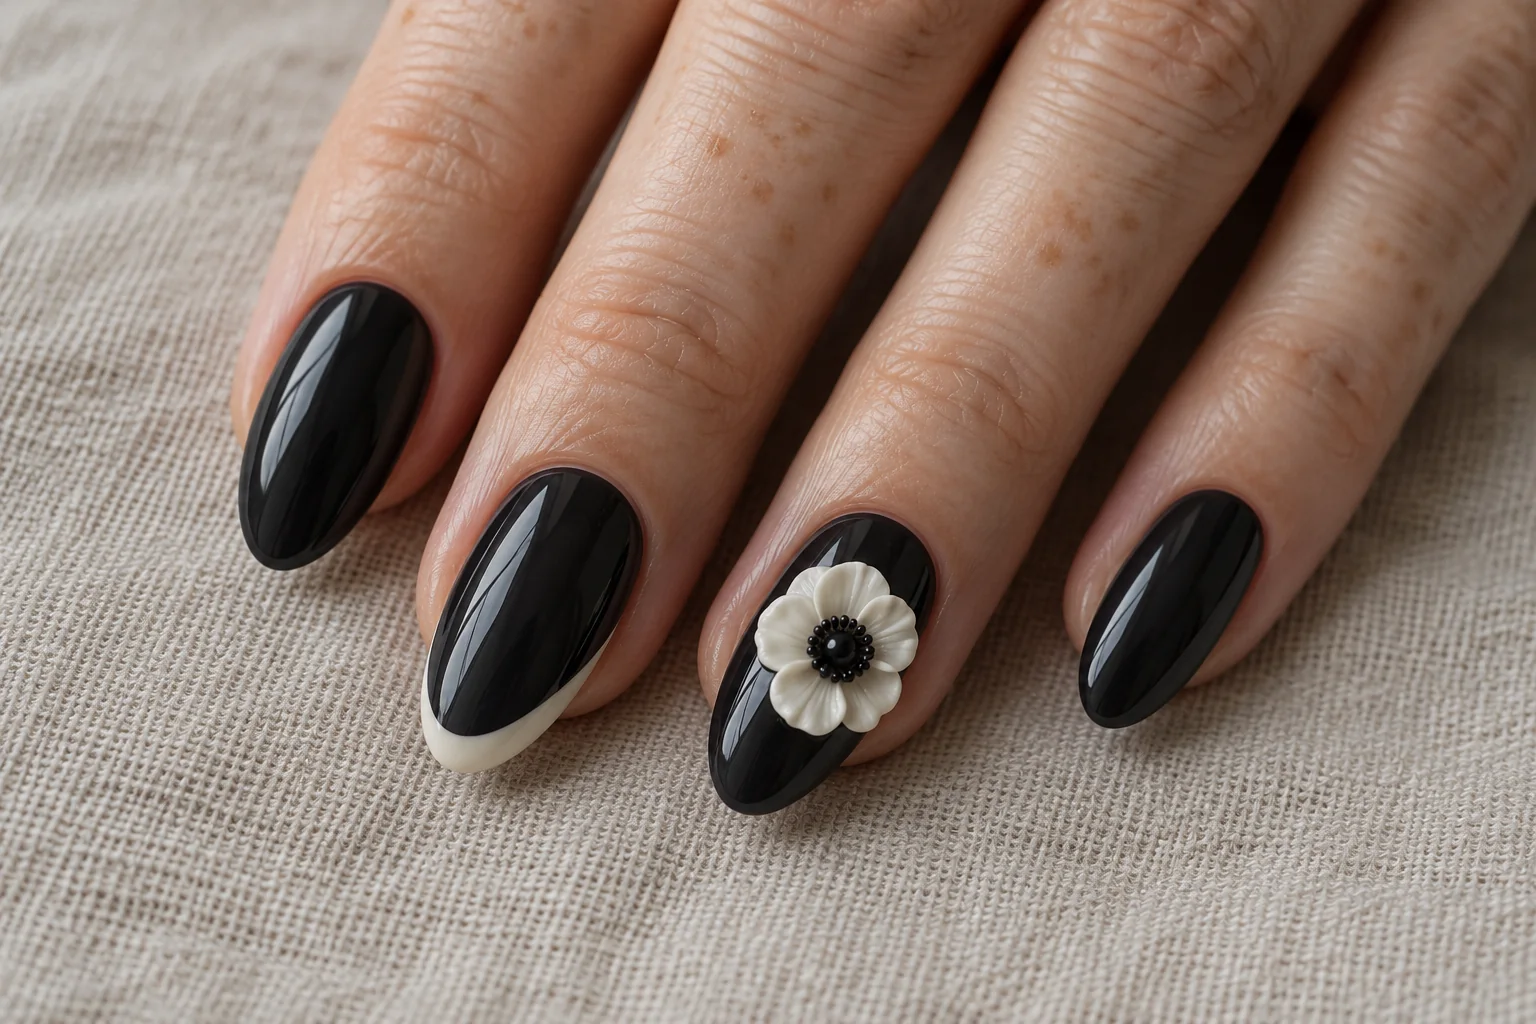
    An ivory anemone against glossy charcoal creates the strongest contrast in this collection. A tiny dark centre connects the flower to the base, and an asymmetric ivory edge on a neighbouring nail repeats the light colour without adding another bloom.

    Keep the petals thin-looking and the flower compact so the manicure feels intentional rather than overloaded. The dark background makes even a small raised detail visible. Medium almond nails provide room for the accent while preserving a clean outline.

    Choose One Statement Nail

    Let the anemone do most of the work. A clear colour contrast can be more striking than multiple flowers, glitter and stones competing across every nail.

    How to Adapt 3D Flower Nail Art to Your Routine

    Begin with the size of the flower, then choose the nail shape. A dramatic bloom might suit an occasion set, while small, low-profile petals can feel easier for everyday wear. Ask your nail artist how to adjust the height and placement so the finished design feels comfortable for your hands.

    A single sculpted accent nail is a useful starting point if you have never worn raised nail art. You can repeat its colour in a French tip, a fine line or a painted leaf on the other nails. This creates a connected manicure without needing the same decoration on every finger.

    Show the artist the exact detail you like: the orchid shape, the transparent base or the contrast between matte polish and satin petals. Discuss suitable materials and the application process with them. The generated images demonstrate design ideas; the real manicure will depend on the artist’s technique and your nail shape.

    Make the Manicure Part of Your Look

    Choose a palette you already enjoy wearing. Soft cream and sage work with quiet neutrals, while burgundy and cocoa can complement burgundy outfit ideas. For an easy everyday combination, try your chosen manicure with one of our cardigan and jeans outfits.

    Save two or three favourite designs and compare them before your appointment. You might love the colour from one and the flower placement from another. Start with the feature that matters most, keep the rest considered and let the final 3D flower nail art feel personal.