

Makeup brush care is easy to overlook when the interesting part of beauty is colour and technique. Yet a brush covered in yesterday’s products can change how a new shade applies, leave streaks and make a simple routine more frustrating. Looking after a small set of tools is often more useful than adding another set.
This guide focuses on a practical cleaning and storage system rather than a complicated collection of accessories. Your tools should be clean, suitable for their purpose and easy to maintain. Follow the instructions from the brush or sponge manufacturer, especially when a tool contains delicate natural fibres, unusual materials or replaceable parts.
Begin by separating the tools you actually use
Empty your brush cup or pouch onto a clean surface. Put daily tools in one group and occasional tools in another. Look at which products each brush touches. A base brush used with liquid makeup may need different attention from a brush used only for a dry powder.
Check for loose handles, damaged ferrules and bristles that shed heavily. Cleaning cannot repair every problem. If a brush scratches, loses its shape or no longer applies product properly, it may be time to replace it. Keep the tools that work rather than measuring the kit by how many pieces it contains.
Give each daily tool a clear purpose
You do not need a separate brush for every colour, but a few clear roles make maintenance easier. A base tool, a cheek brush and one or two eye brushes may cover your ordinary look. Adjust the number to your makeup rather than copying someone else’s complete kit.
A smaller collection also makes it easier to see when something needs cleaning. Our beauty capsule routine explains how to organise products around repeated habits. Choose tools that support those products and remove duplicates that create clutter without making application easier.
Read the cleaning instructions before starting
Different fibres and adhesives can respond differently to water and cleansers. Use a product or method recommended for the tool rather than assuming that a strong household cleaner will be suitable. Harsh solvents can damage bristles, loosen glue or leave residues you do not want near your face.
Prepare a clean towel and a place for drying before wetting the tools. This avoids putting freshly cleaned brushes back into an old pouch. If the manufacturer recommends a particular direction for rinsing or a specific cleaning product, follow that guidance even when an online shortcut seems quicker.
Wash gently and rinse thoroughly
Wet the bristles as directed, keeping the handle and glue area from unnecessary soaking. Work the recommended cleanser through the bristles gently. You should not need to pull hard, twist the brush sharply or scrub it against a rough surface to remove makeup.
Rinse until the water is clear and no cleanser remains. Leftover product can make the brush feel stiff or change how makeup applies. Check dense brushes carefully because makeup can remain close to the centre. Repeat the gentle cleaning process if needed rather than using more force.
Let brushes dry before storing them
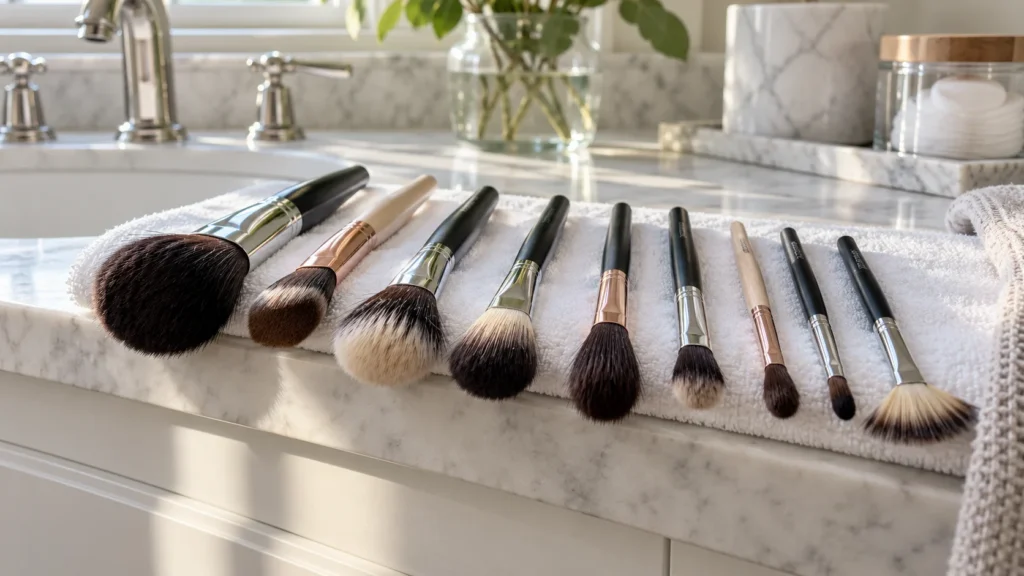
Gently reshape the bristles after removing excess water according to the instructions. Arrange the brushes where air can circulate and where the bristles are not pressed into a bent shape. Do not put them away while damp simply because the outside looks dry.
Avoid speeding the process with intense heat. A hairdryer, radiator or direct hot surface can affect materials and adhesives. If you need the brush urgently, use another clean suitable tool. Building drying time into the routine is more dependable than trying to rescue a wet brush in the morning.
Treat makeup sponges as a separate task
Sponges hold moisture and product differently from brushes. Follow the manufacturer’s washing, drying and replacement guidance rather than applying the same rules to every type. Inspect the sponge carefully and replace it if it cannot be cleaned properly or its material has deteriorated.
Store a sponge only after it is fully dry, in a clean ventilated place. A closed pouch can trap moisture. If you travel with it, give it time to dry when you arrive instead of leaving it sealed for the whole trip. Convenience should not make maintenance harder.
Keep your storage area clean too
A clean brush placed inside a makeup covered pouch becomes dirty again. Wipe suitable storage surfaces and wash washable pouches according to their care instructions. Let the container dry before returning tools. A simple cup can work well if it is stable, clean and easy to maintain.
Do not crowd the brushes so tightly that you have to tug them out by the bristles. Keep handles accessible and separate clean tools from those waiting to be washed. That small distinction prevents you from accidentally using a dirty brush because it looks identical to the clean one.
Plan cleaning around your real routine
Choose a regular time when you can wash tools and leave them to dry. The right schedule depends on use and the manufacturer’s advice; tools used frequently or with wet products need particular attention. Do not wait for visible streaks or an unpleasant smell before thinking about care.
A short checklist helps:
- Identify which tools were used.
- Clean them using their recommended method.
- Rinse thoroughly and reshape gently.
- Allow complete drying.
- Clean the storage area before putting tools back.
If you have a skin condition or repeated irritation, ask a dermatologist about your products and tools rather than assuming cleaning alone will solve it. For general hygiene, the American Academy of Dermatology’s makeup brush guidance is a useful reference.
Avoid sharing and improvised shortcuts
Keep personal tools personal, especially those used near the eyes. A quick wipe does not make every shared product or brush suitable to use. If a professional does your makeup, it is reasonable to expect clean tools and appropriate hygiene rather than assuming that a large kit guarantees it.
Skip shortcuts that involve saliva, strong household chemicals or improvised products not intended for cosmetic tools. These ideas may appear convenient online, but they can create new problems. A straightforward cleaning routine is easier to repeat and easier to assess than a collection of unverified hacks.
Know when technique is the real problem
A clean brush can still produce a patchy result if the product, amount or application method is unsuitable. Try a small amount of makeup and build gradually. Check whether the brush is designed for the texture you are using before deciding you need a more expensive tool.
Our natural makeup tutorial can help you simplify application. When the routine is clear, it becomes easier to notice whether a tool is helping or making the process harder. Good maintenance and sensible technique work together.
Frequently asked questions
Do I need an expensive brush cleaner?
Not necessarily. You need a cleaning method that is suitable for your tool and leaves it properly rinsed. Follow the manufacturer’s recommendations and avoid choosing a cleanser solely because it is popular. A simple, consistent process matters more than elaborate packaging.
Can I store brushes in a closed travel case?
Yes, when they are clean and fully dry. Keep the case clean too, and avoid compressing the bristles into a bent shape. After travel, unpack tools that need air or cleaning instead of leaving them untouched in a pouch until the next trip.
Should I replace every brush at the same time?
Usually it is more useful to inspect each one individually. Replace tools that are damaged, uncomfortable or cannot be maintained properly. A brush that still works well does not become unnecessary just because another tool in the set has worn out.