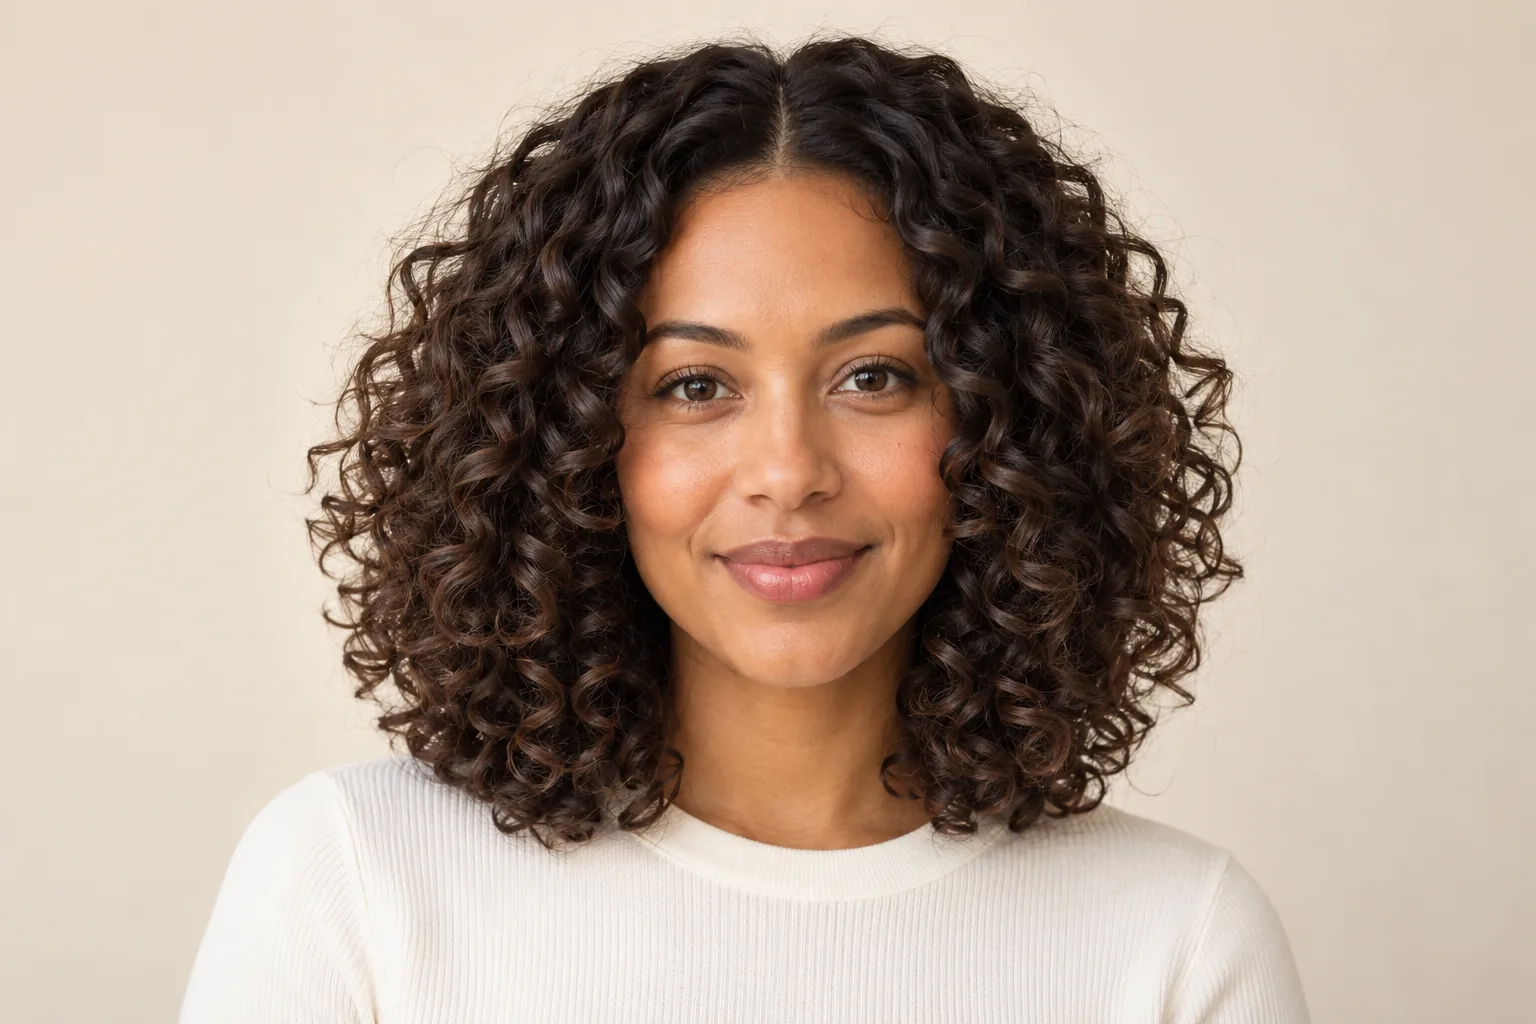
Curly hairstyles look their best when the shape works with the curls you already have. A short cut can highlight a springy texture, while longer layers create room for movement. Updos offer another way to change your look without committing to a haircut. The right choice depends on your length, density, preferred silhouette and the time you enjoy spending on styling.
This guide explores twenty curly hair ideas, from a compact pixie to a loose half-up style. Each comes with front, side and back illustrations so you can compare more than the face-framing detail. The images are original generated styling references, not photographs of salon clients. Bring your favourites to a stylist and discuss how the shape could be adapted to your own curl pattern.
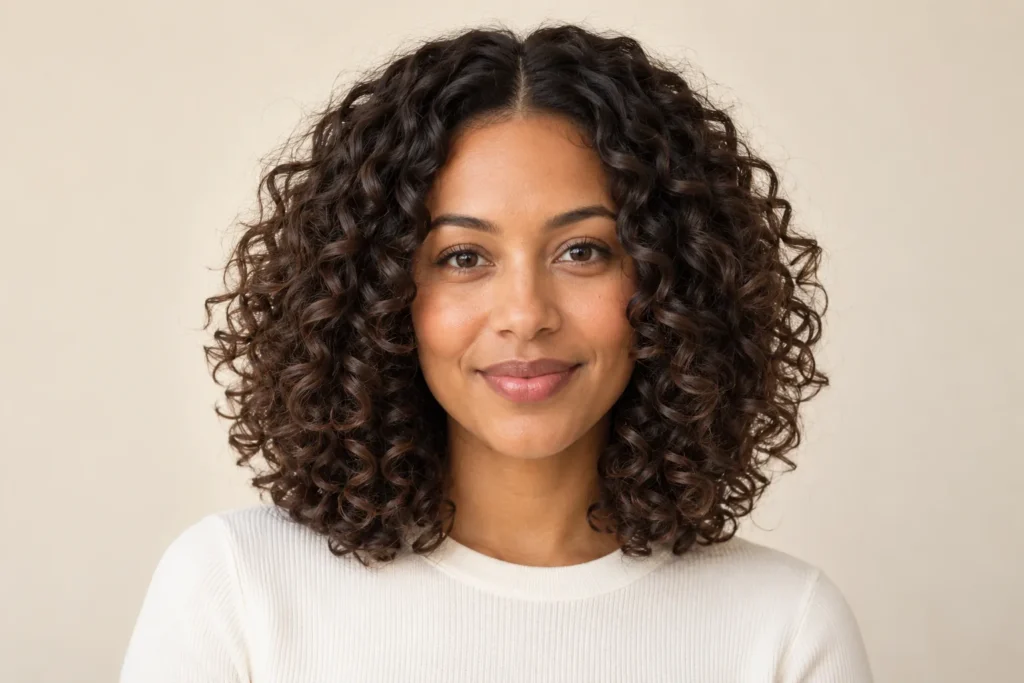
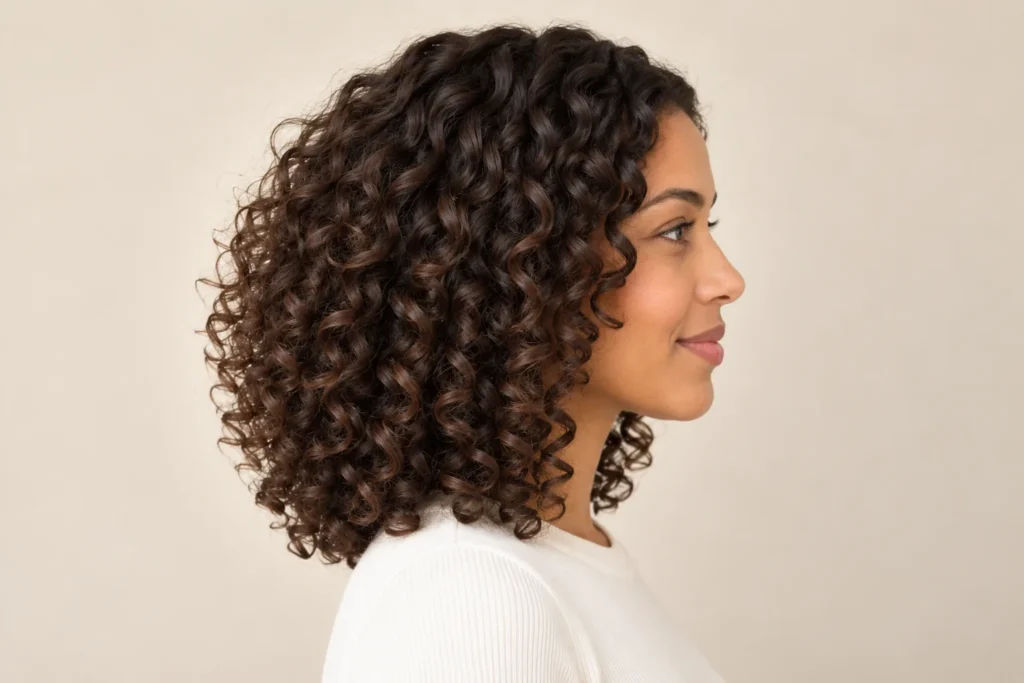
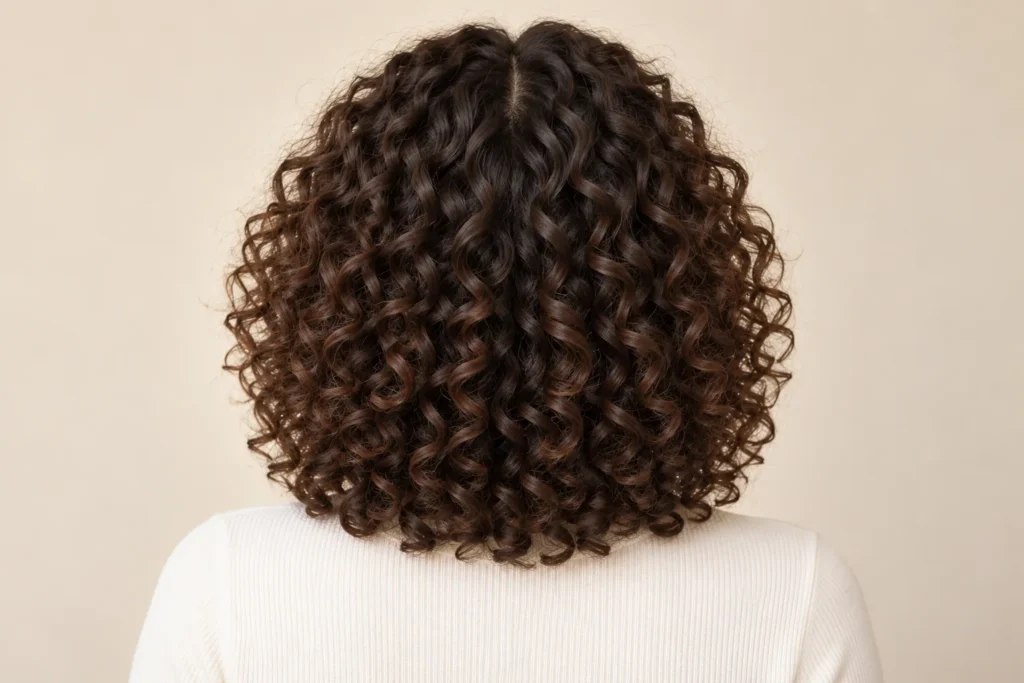
1. Shoulder-Length Layered Curls
Shoulder-length layers create a rounded outline without removing all the weight from the ends. Shorter pieces near the crown give the curls space, while the perimeter keeps the cut looking full. It is a flexible starting point if you want a noticeable shape and enough length for small updos.
Ask your stylist where the shortest layer will sit when your hair is dry. At home, arrange the part while the hair is damp, then let the curls settle before separating a few clumps with your fingertips.
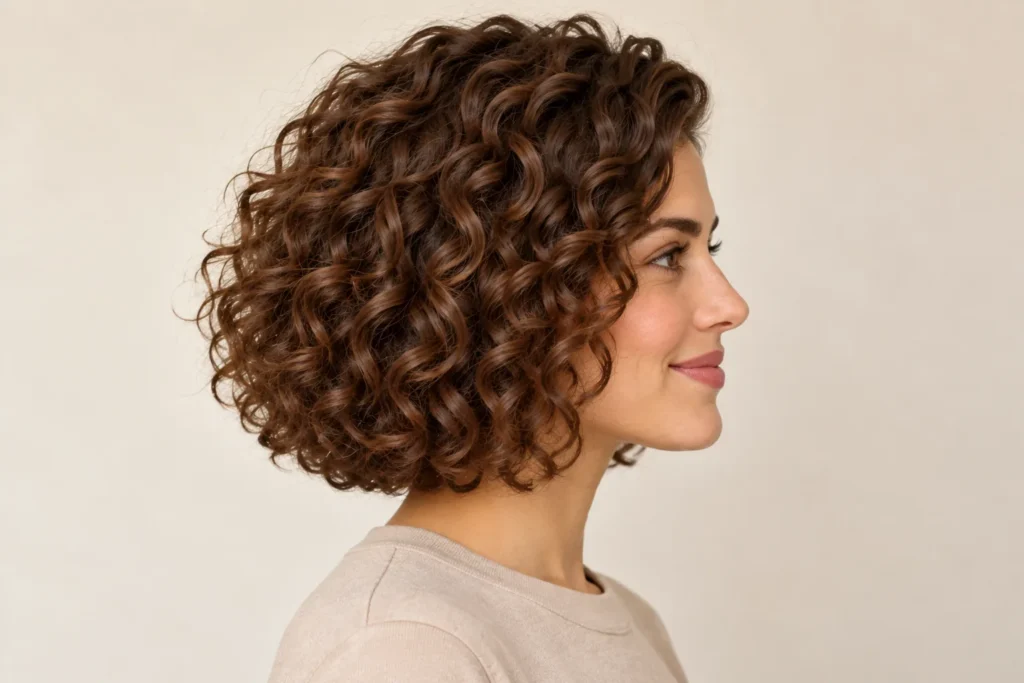
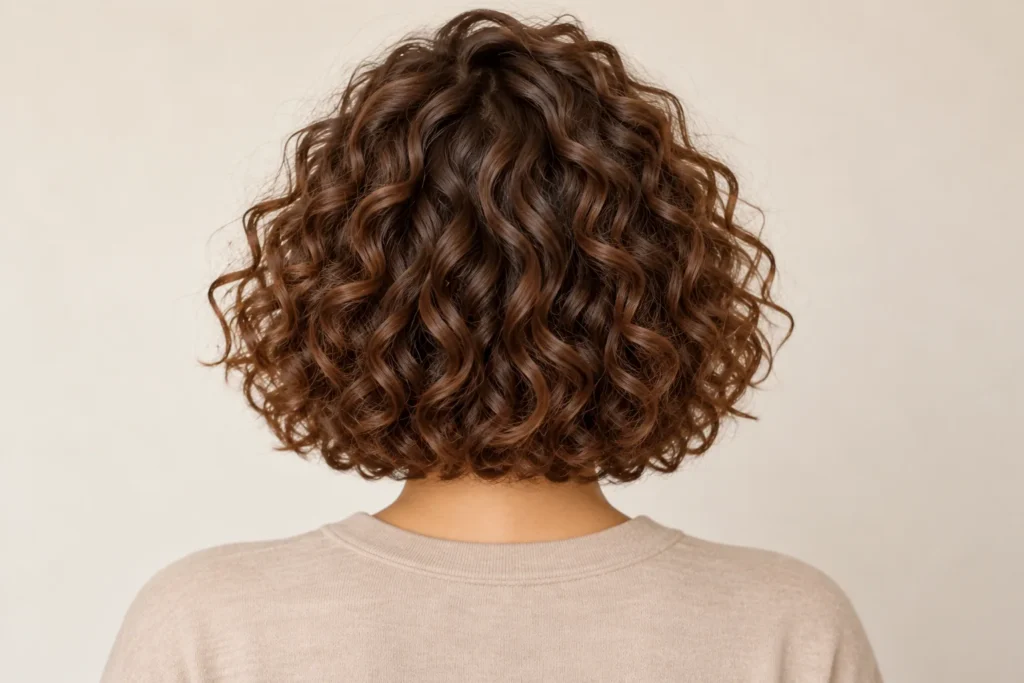
2. Curly Bob
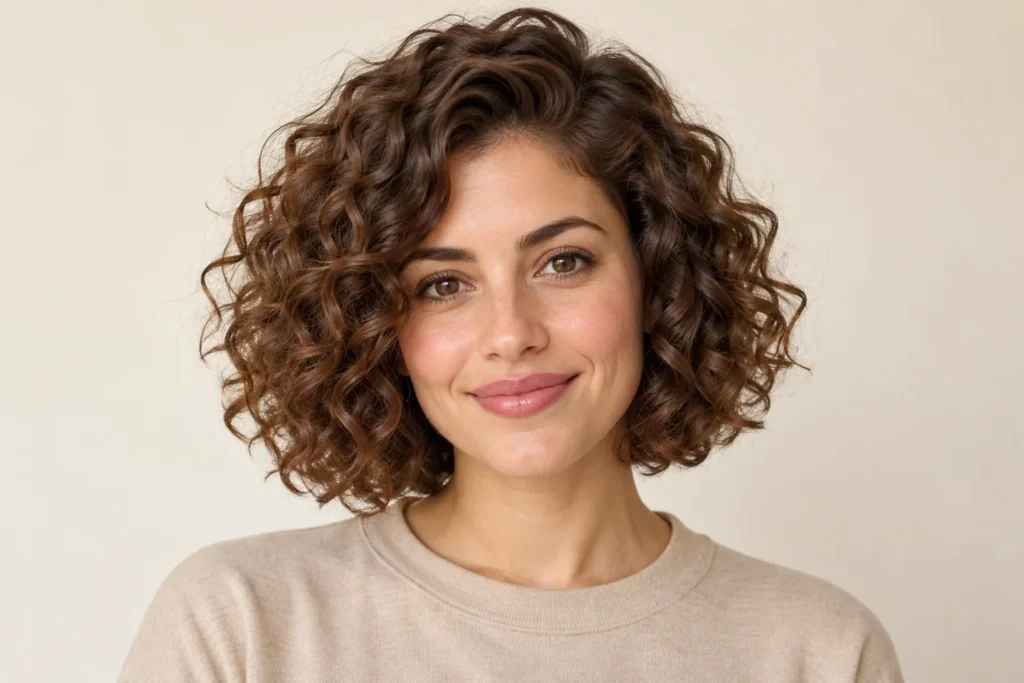
A curly bob brings the focus toward the jaw and cheekbones. Defined ends make the outline feel deliberate, while a gentle side part stops it from looking overly symmetrical. The exact finished length matters more than a fixed label such as chin-length or shoulder-length.
Compare the side and back views before choosing your cut. Leave enough length at the nape for the silhouette you want, and discuss how the front curls rise after drying so they do not finish shorter than expected.
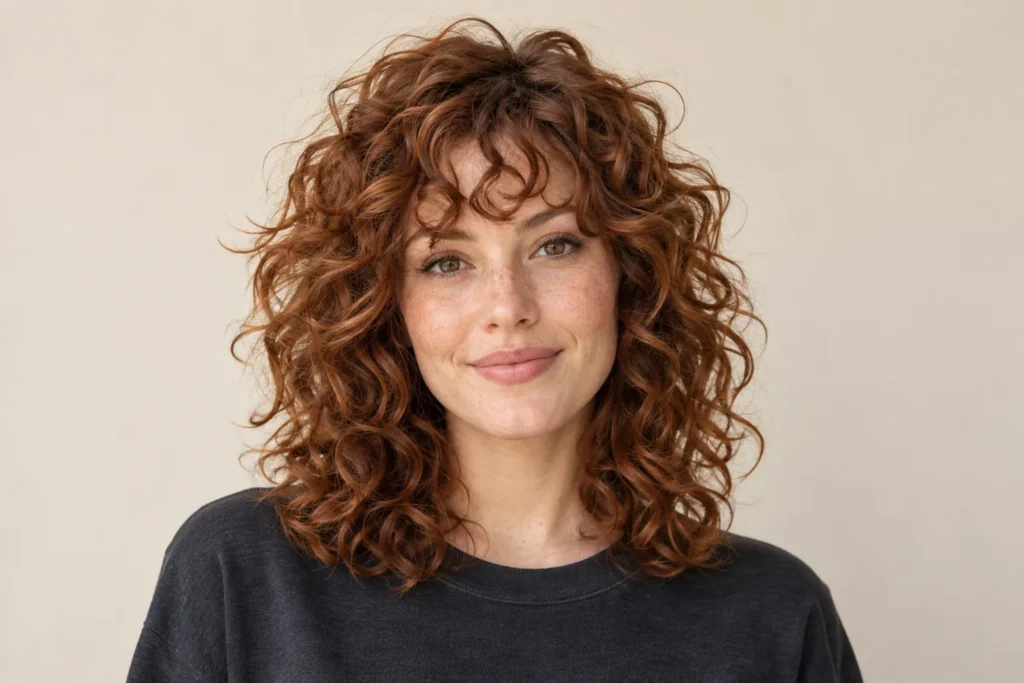
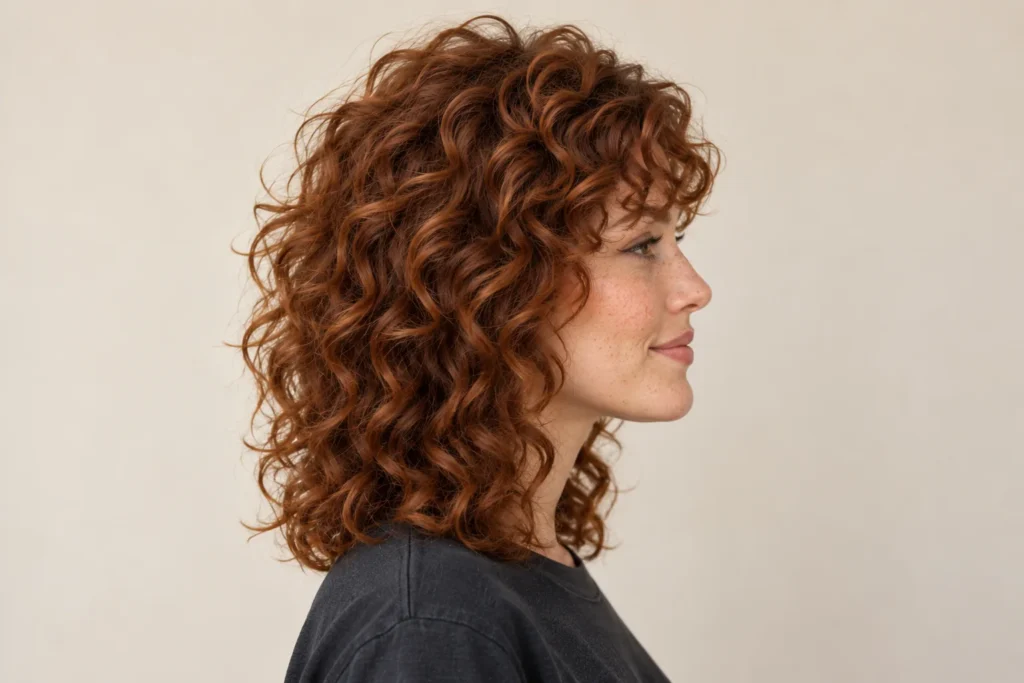
3. Curly Shag
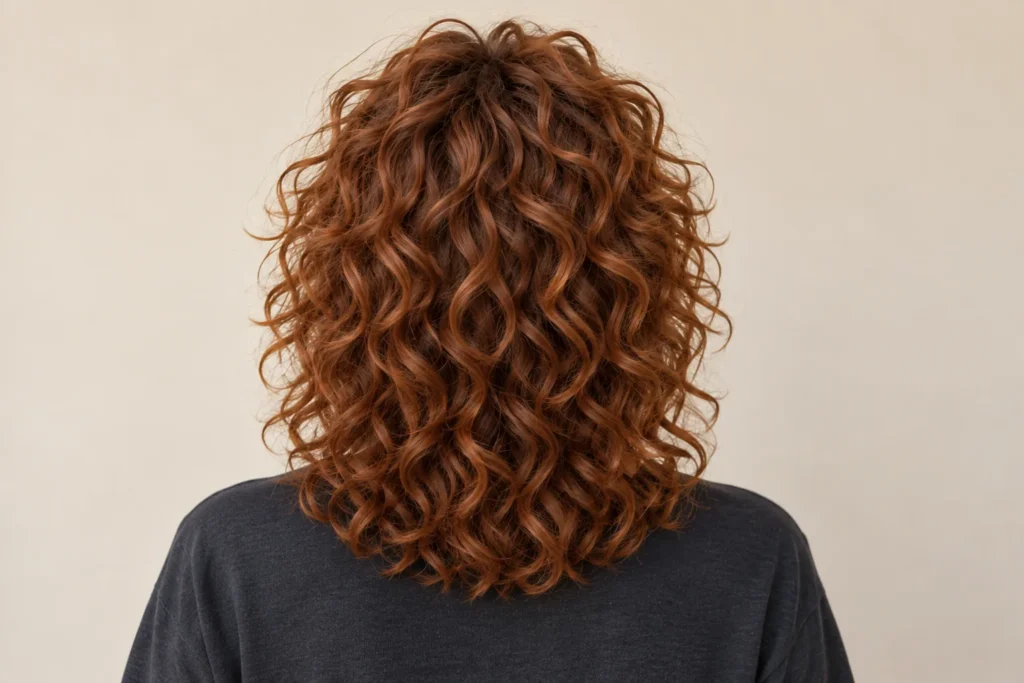
The curly shag combines a layered crown, a lighter perimeter and a relaxed fringe. Its charm comes from an uneven, lived-in outline rather than perfectly matching ringlets. It suits someone who enjoys visible movement and does not want the sides to form a solid block.
Keep the fringe conversation separate from the overall length. Ask how it will blend into the cheekbone pieces. When styling, lift selected curls around the crown and let the shorter layers find their own direction.
4. Curly Pixie
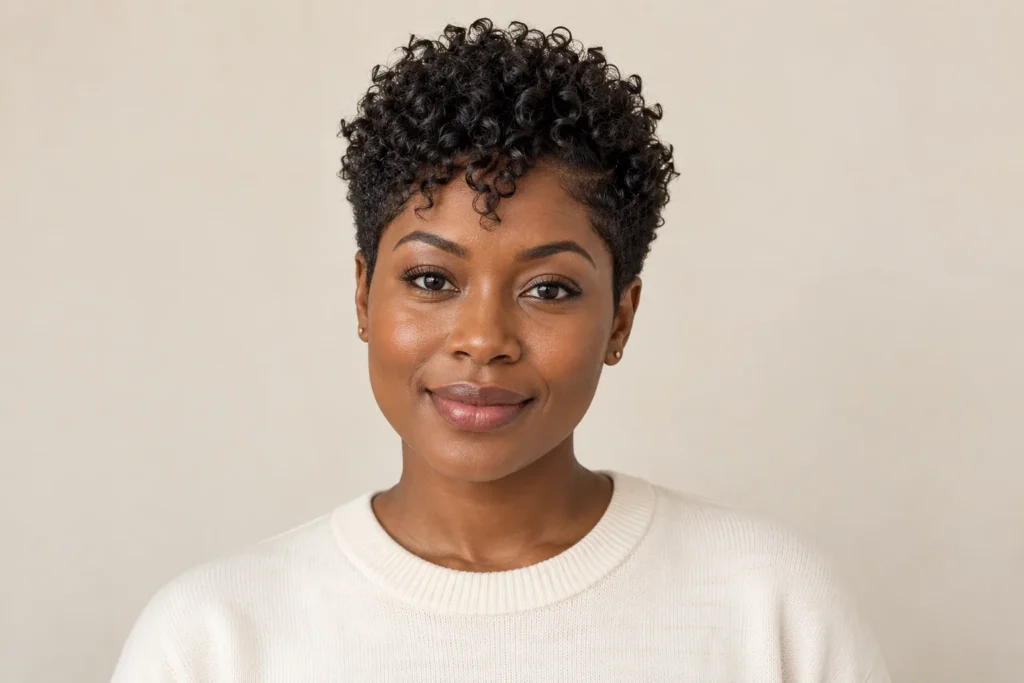
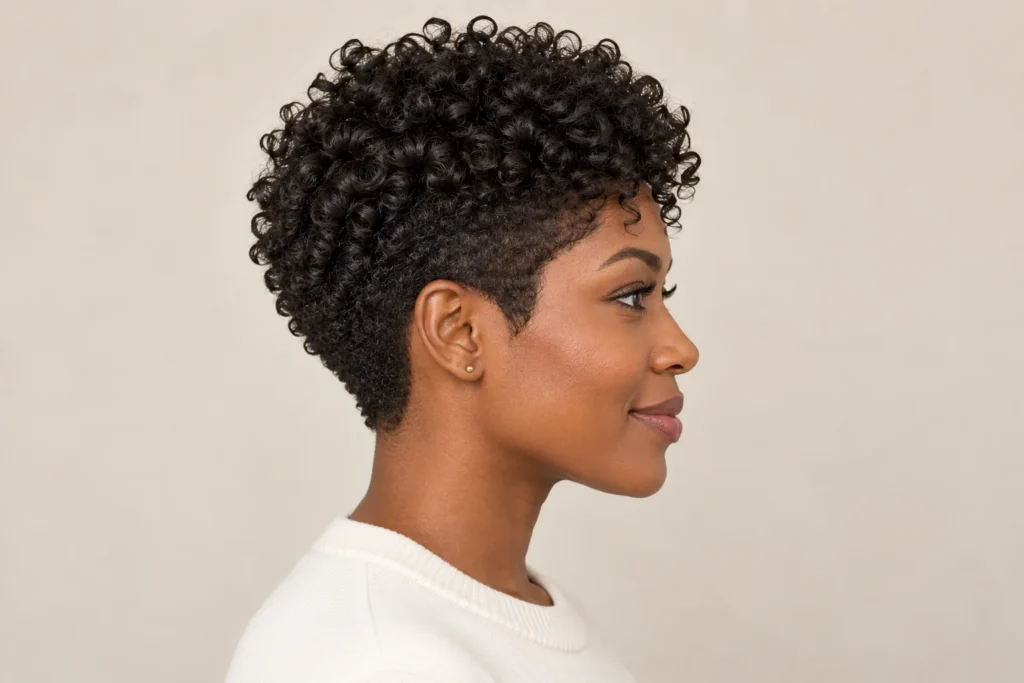
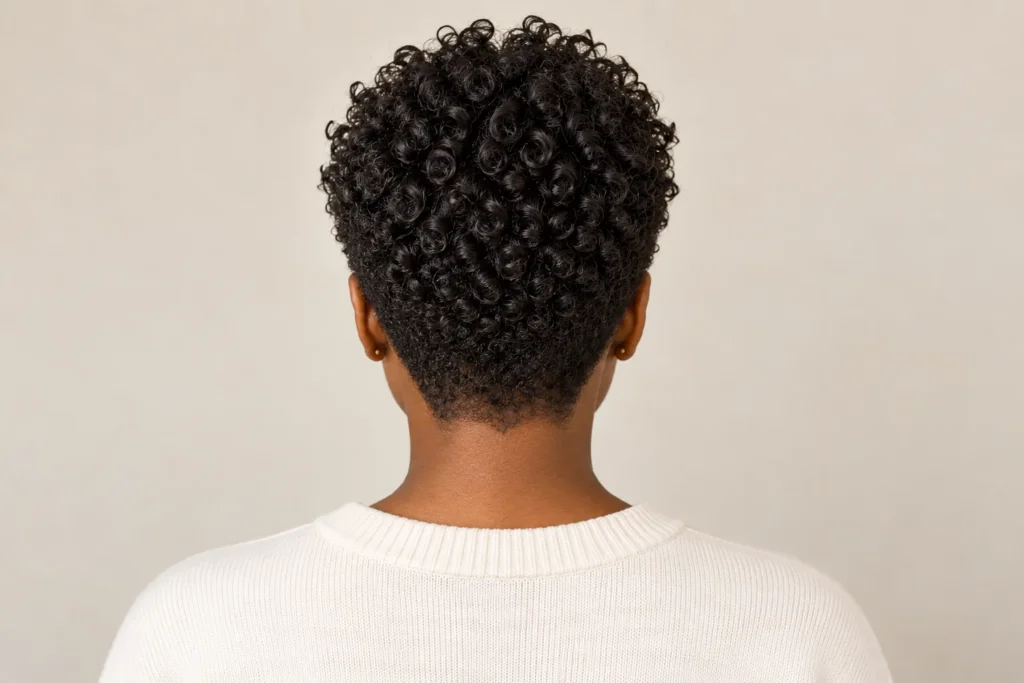
A curly pixie keeps the sides compact and leaves more texture on top. The contrast makes the individual curls easy to see and gives a short cut a clear profile. It can be neat around the ears while still feeling soft through the fringe.
Show your stylist both the front and side references, especially if you want tapered edges. A little definition on the longer top section is often enough for the visual effect; the outline will also need attention as the cut grows.
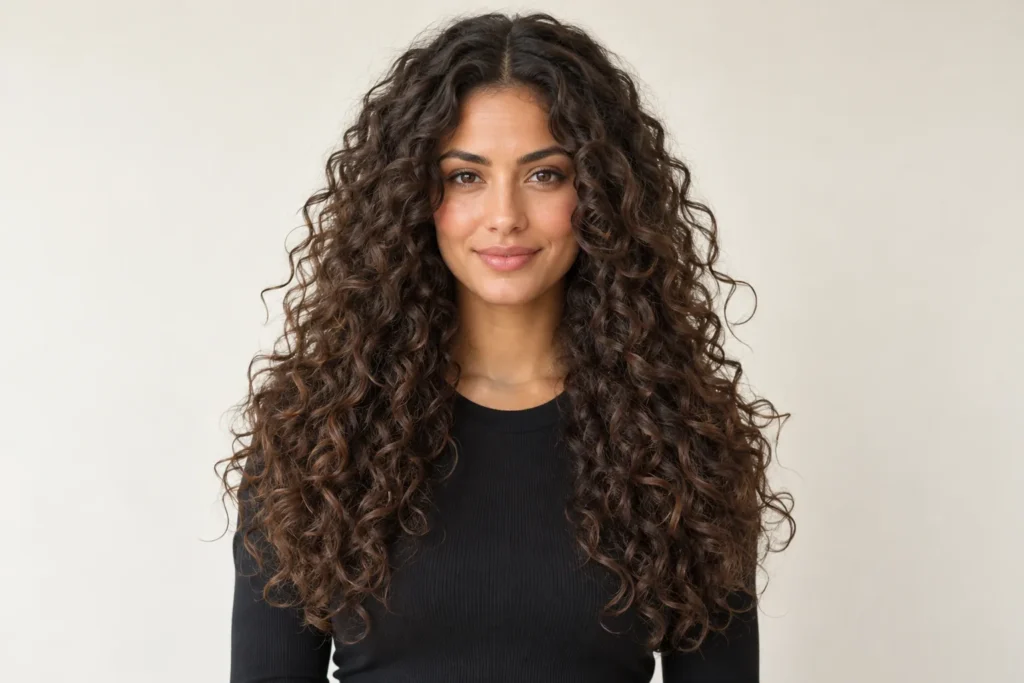
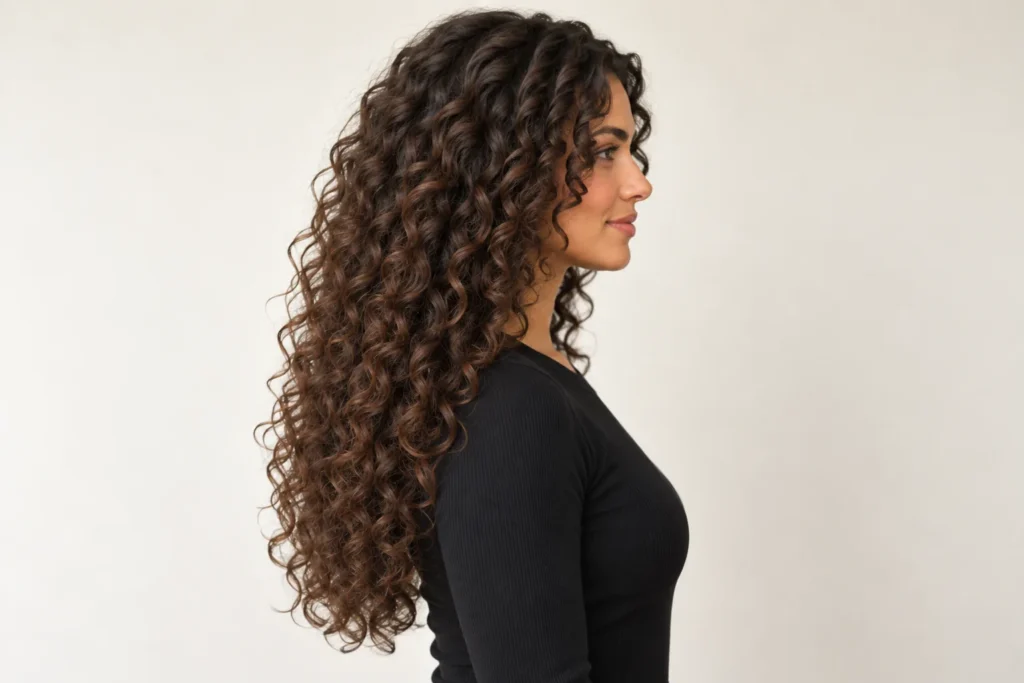
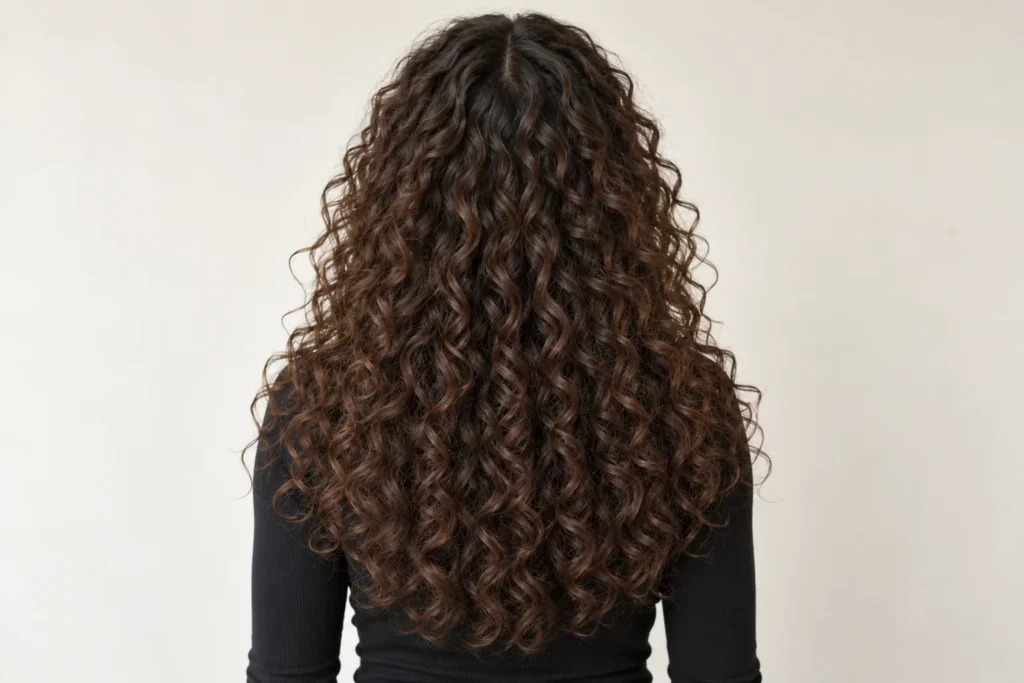
5. Long Layers With a Centre Part
Long layers preserve length while changing how the curls fall around the shoulders. A centre part creates a balanced frame, and subtle shorter pieces prevent all the visual weight from collecting at the bottom. This is an option when you love long hair but want a more considered shape.
Avoid copying the shortest layer from a reference without discussing your density. Ask for enough fullness through the ends. Style the two sides in their natural direction instead of forcing every curl to sit identically.
6. Curly Curtain Bangs
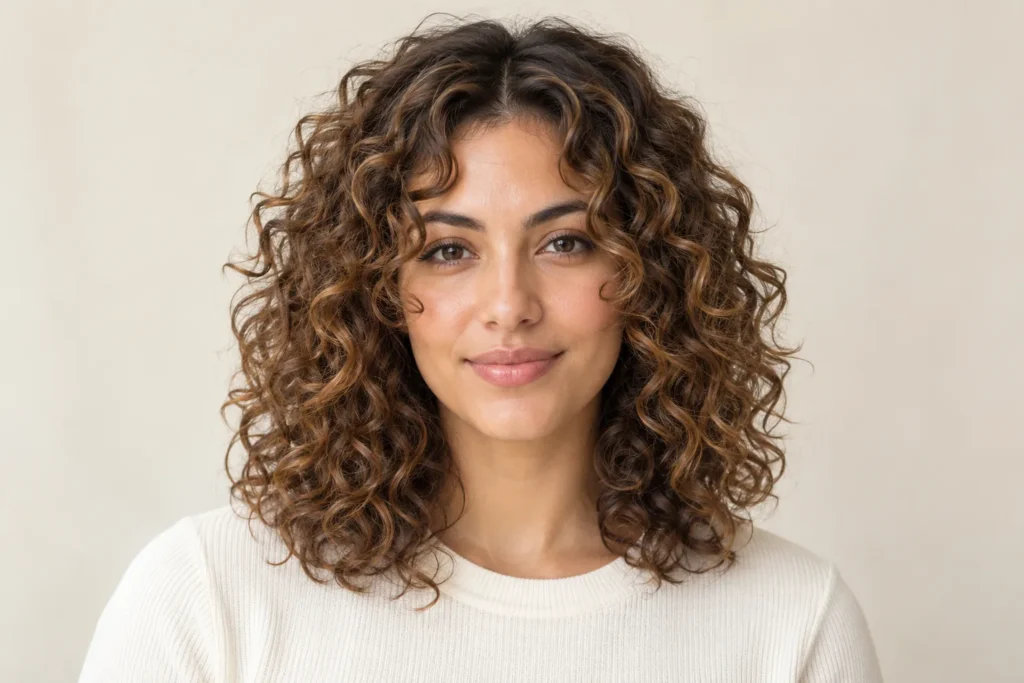
Curly curtain bangs open around the centre and blend into longer pieces beside the face. They create a softer frame than a straight, heavy fringe. The important detail is the transition: the shortest curls should connect naturally with the rest of the haircut.
Talk through the fringe length on dry curls before any cutting starts. For everyday styling, place the split where you want it while damp and guide each side gently outward. A fringe can need its own refresh even when the lengths look settled.
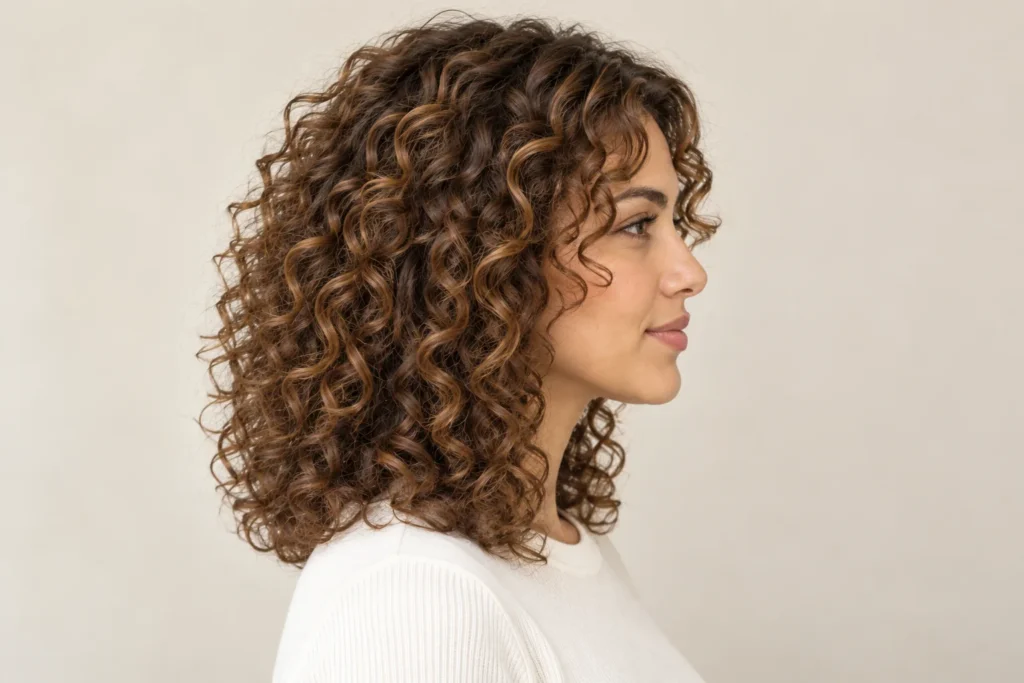
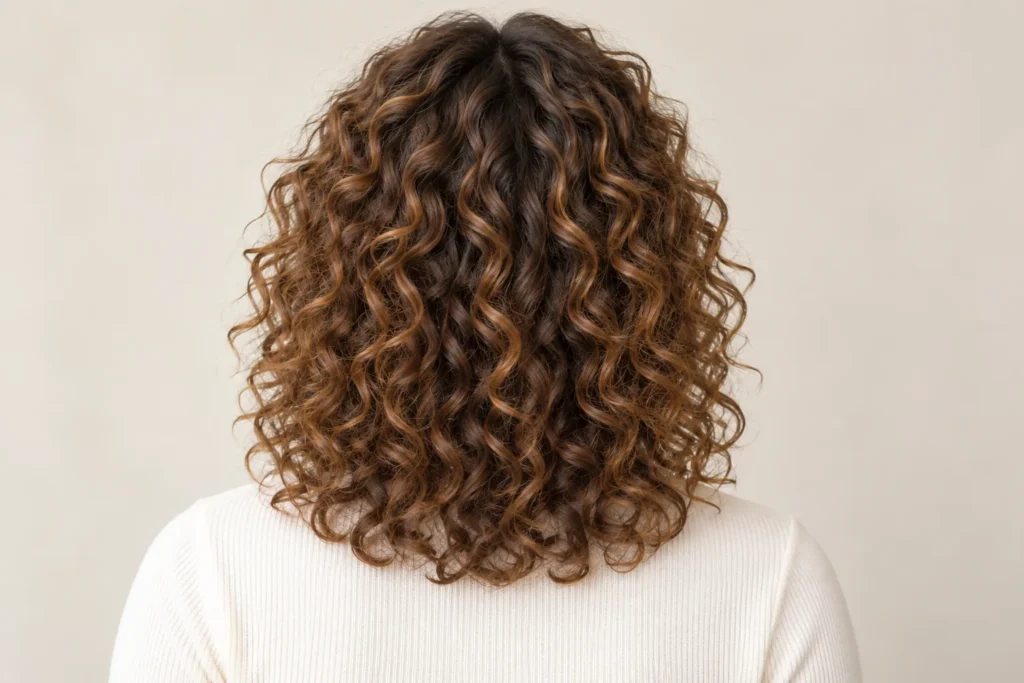
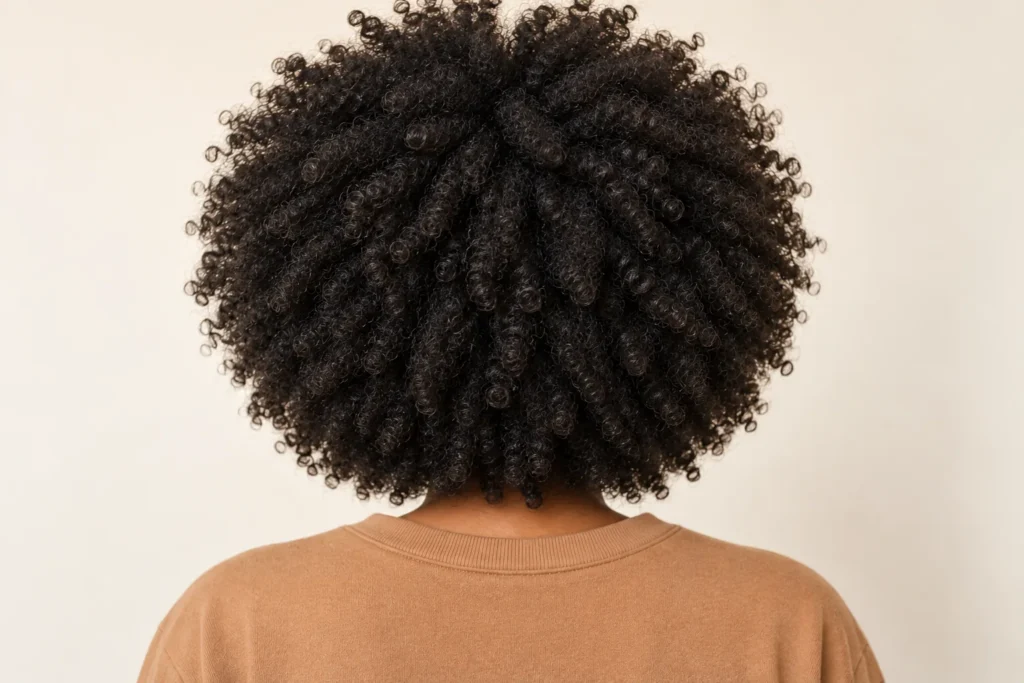
7. Rounded Curly Afro
A rounded curly afro puts the whole silhouette at the centre of the look. The crown, sides and back work together, with fullness distributed around the head. Defined coils and a soft outer edge can coexist; the style does not have to look rigid to have a deliberate shape.
Use all three angles to explain the proportions you like. Ask whether you want more width at the sides or height at the crown. Arrange the outer curls lightly so the outline remains visible without flattening the texture.
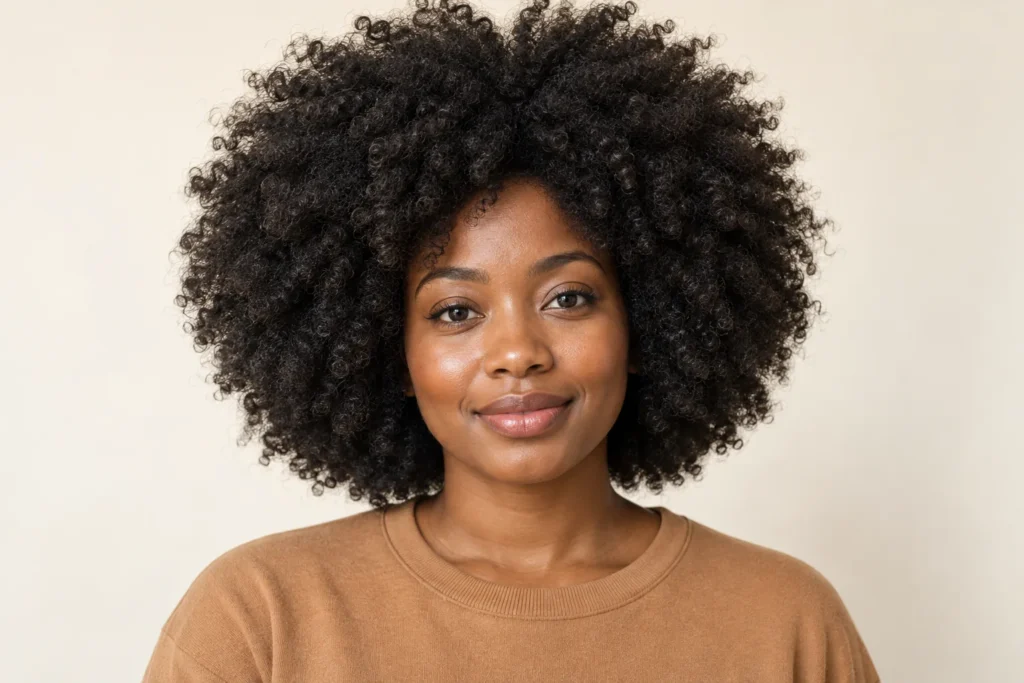
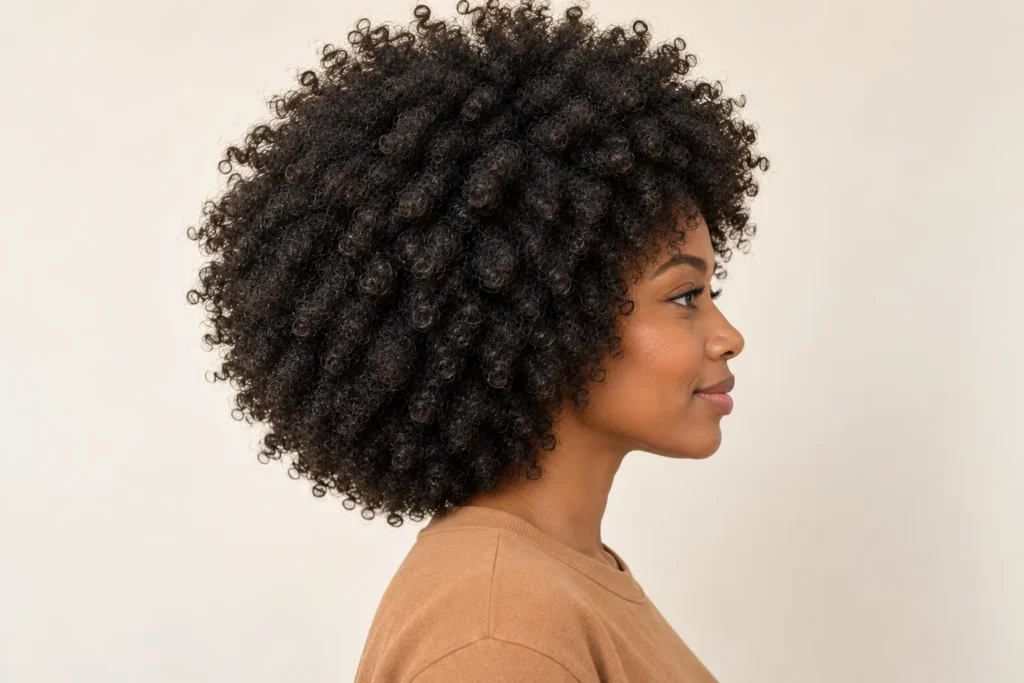
8. Curly Wolf Cut
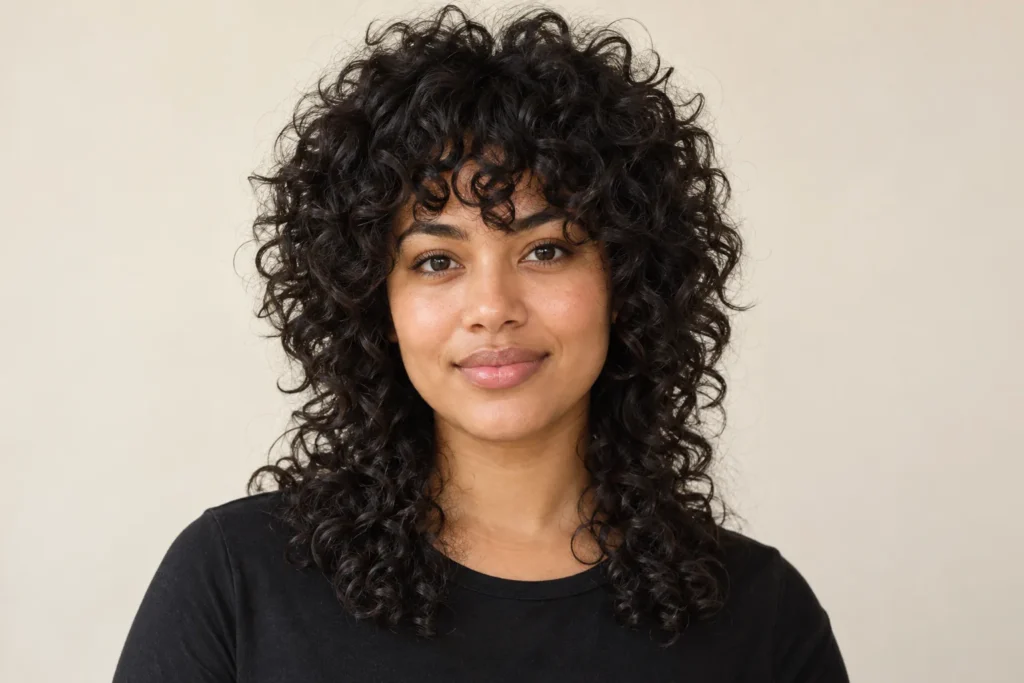
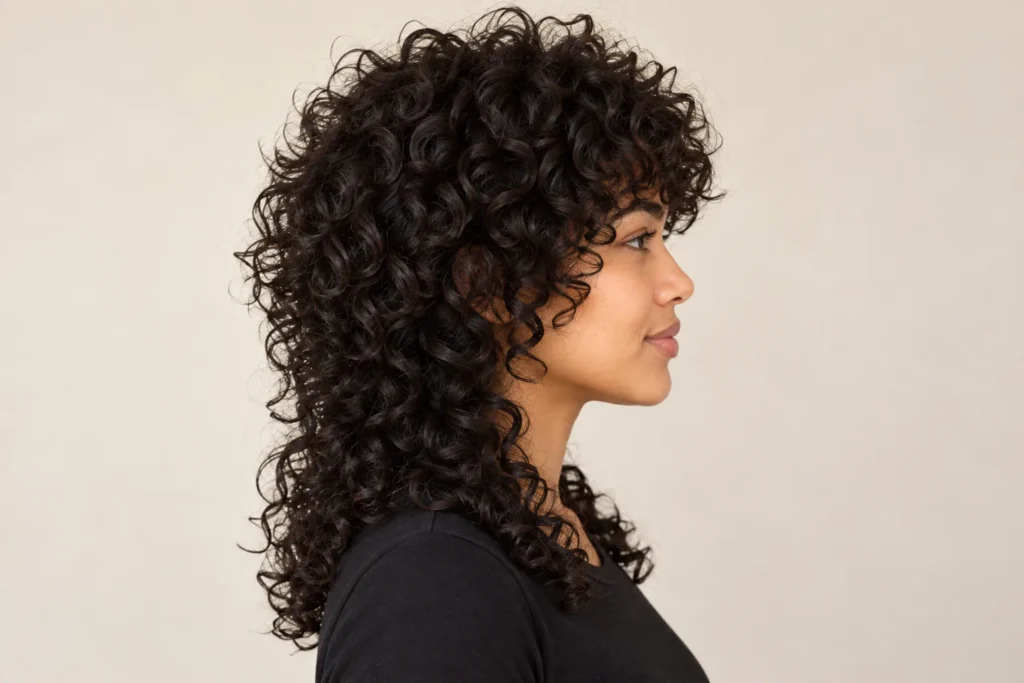
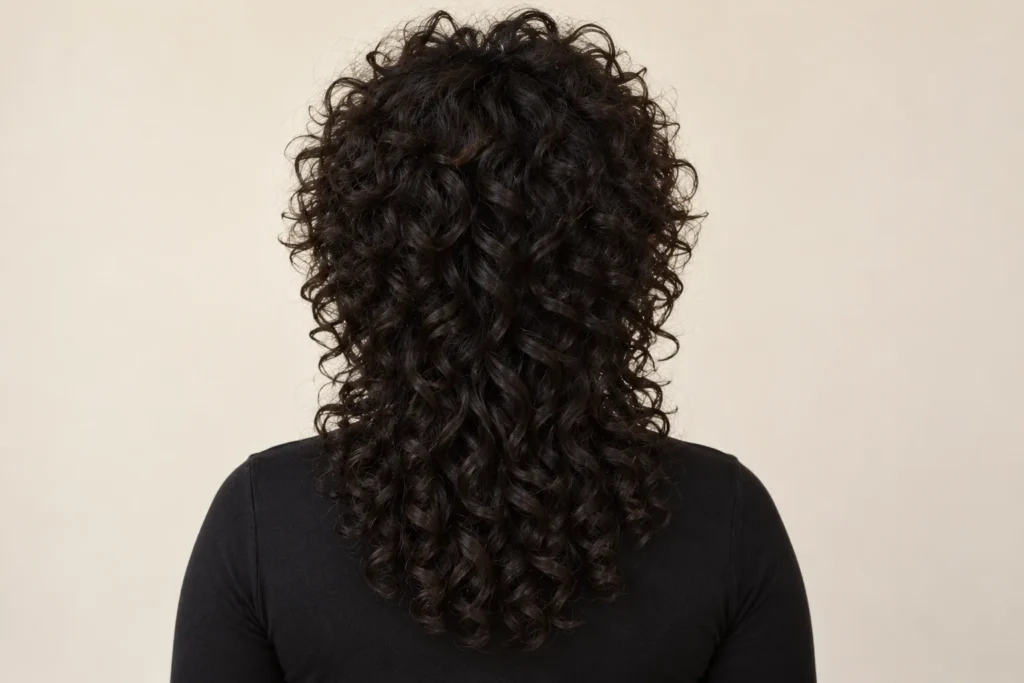
The curly wolf cut has a fuller top, shorter framing pieces and a longer nape. Its contrast is stronger than a gentle layered cut, giving it a slightly rebellious profile. It is useful inspiration if you want the back length to remain visible beneath the crown.
Discuss how dramatic the transition should be. A subtle version can be easier to tie up, while very short crown layers create a different daily styling commitment. Look closely at the side reference before deciding where that change in length should begin.
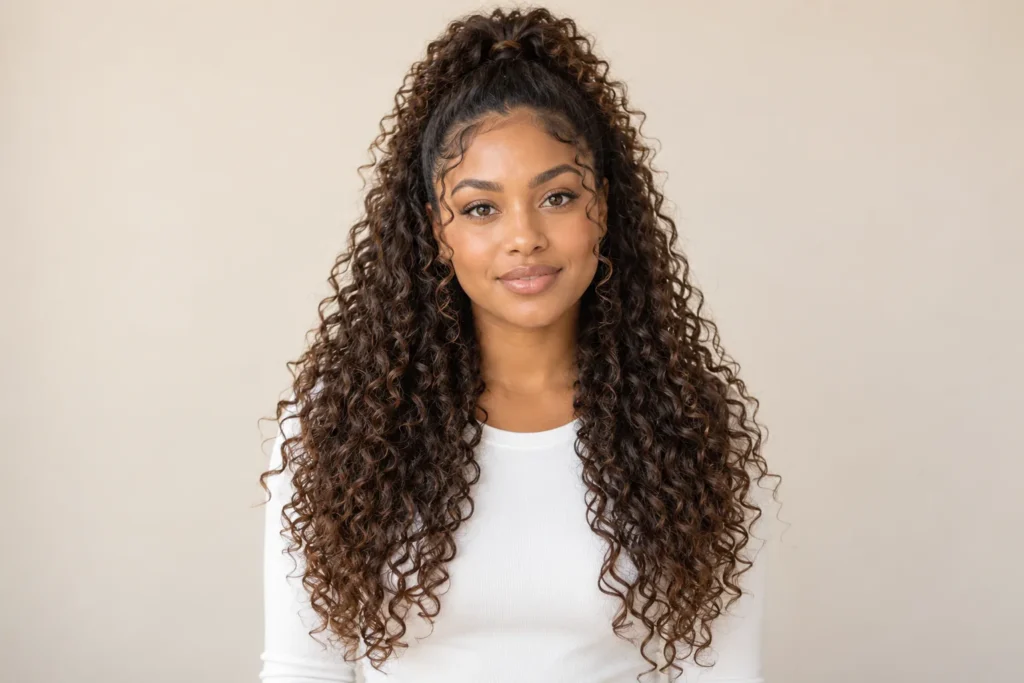
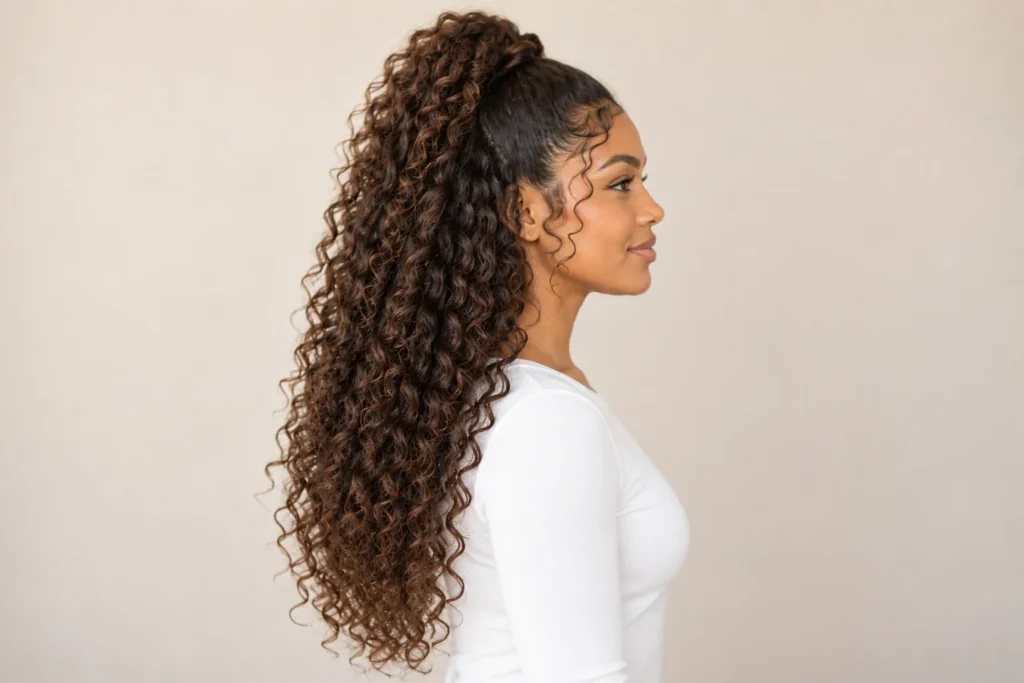
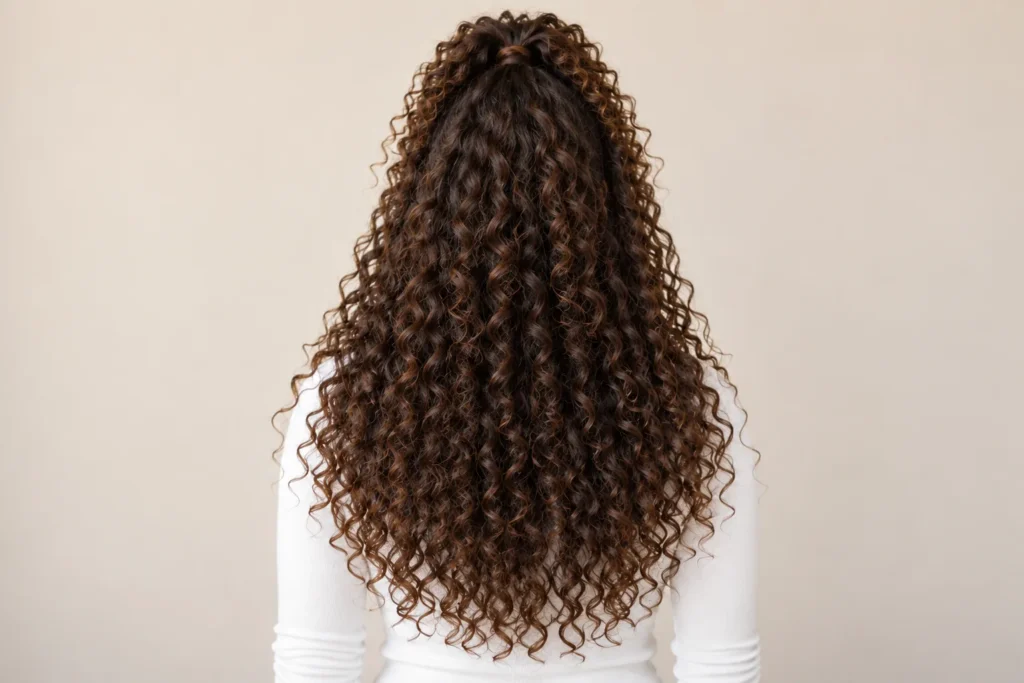
9. Half-Up Curly Ponytail
A half-up curly ponytail gathers the upper section while leaving the lower curls loose. It shows the face and preserves movement through the back, making it an easy alternative to wearing everything down. The amount you gather changes how much volume remains beside the ears.
Start with a smaller top section and adjust it before fastening. Let the ponytail sit loosely enough for comfort, then arrange a few curls around the join. The back view helps you judge whether the gathered section feels balanced.
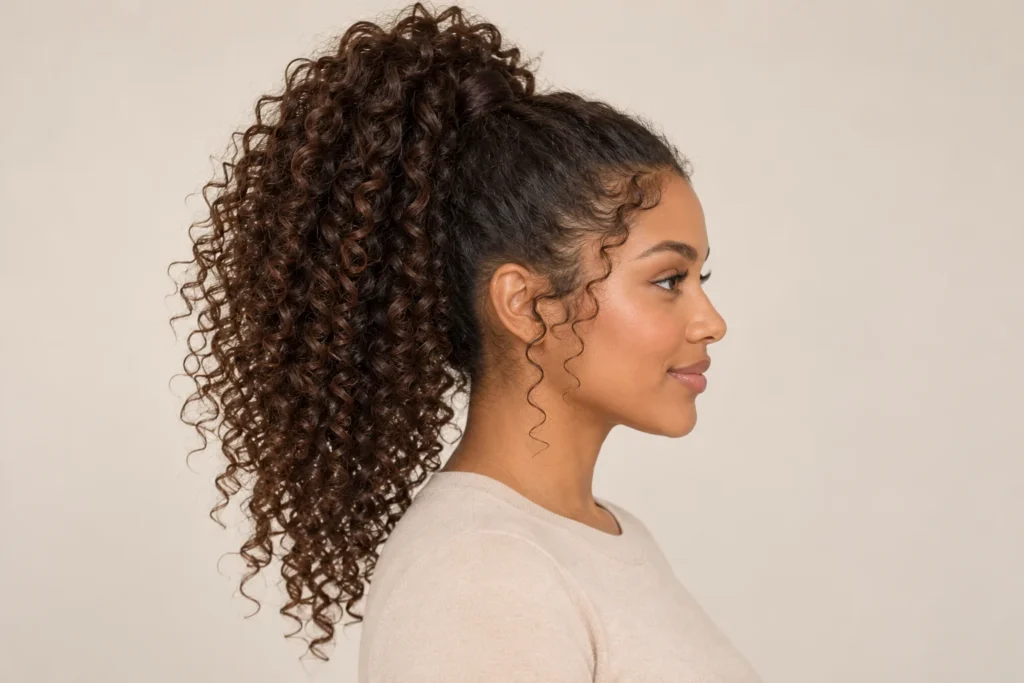
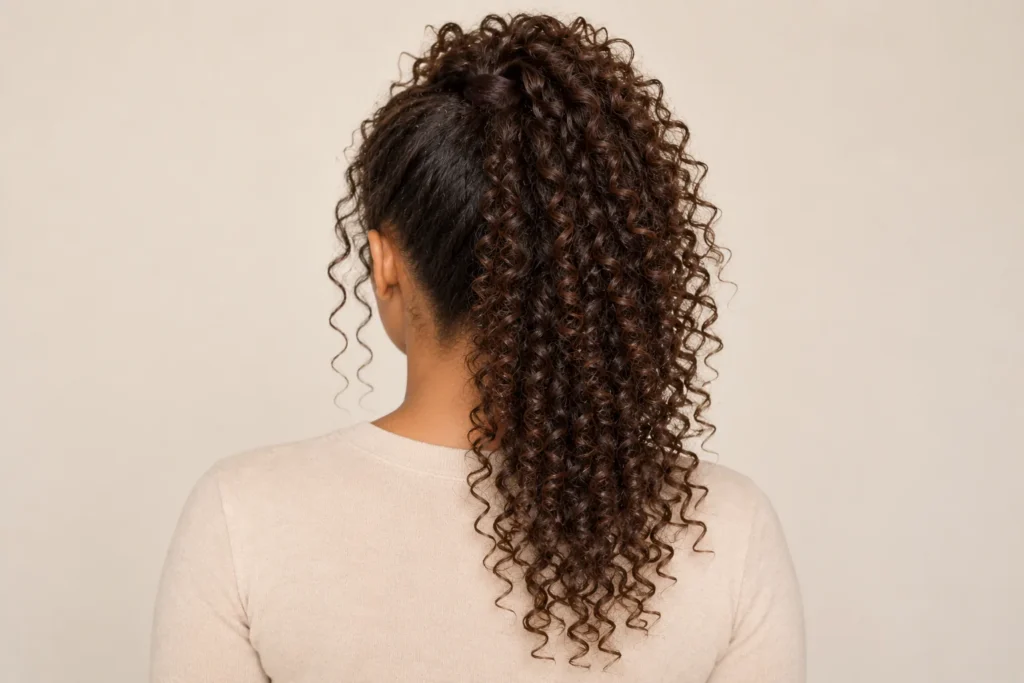
10. High Curly Ponytail
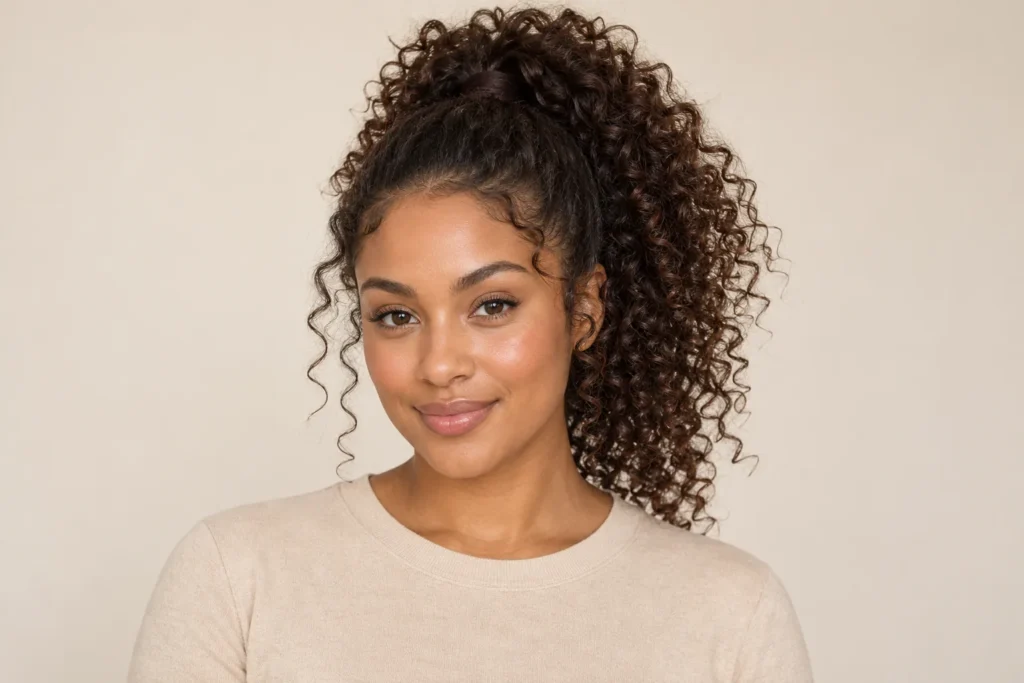
A high curly ponytail creates height and a cascading tail. Smooth sides can make the contrast more visible, although a softer finish works too. It is a styling idea rather than a particular haircut, and the result will look different depending on your length and density.
Gather the hair with your hands and choose a comfortable fastening point near the crown. Leave room for the tail to spread instead of pulling it into one narrow section. If the style feels tight, loosen it rather than chasing a flatter finish.
11. Low Curly Ponytail
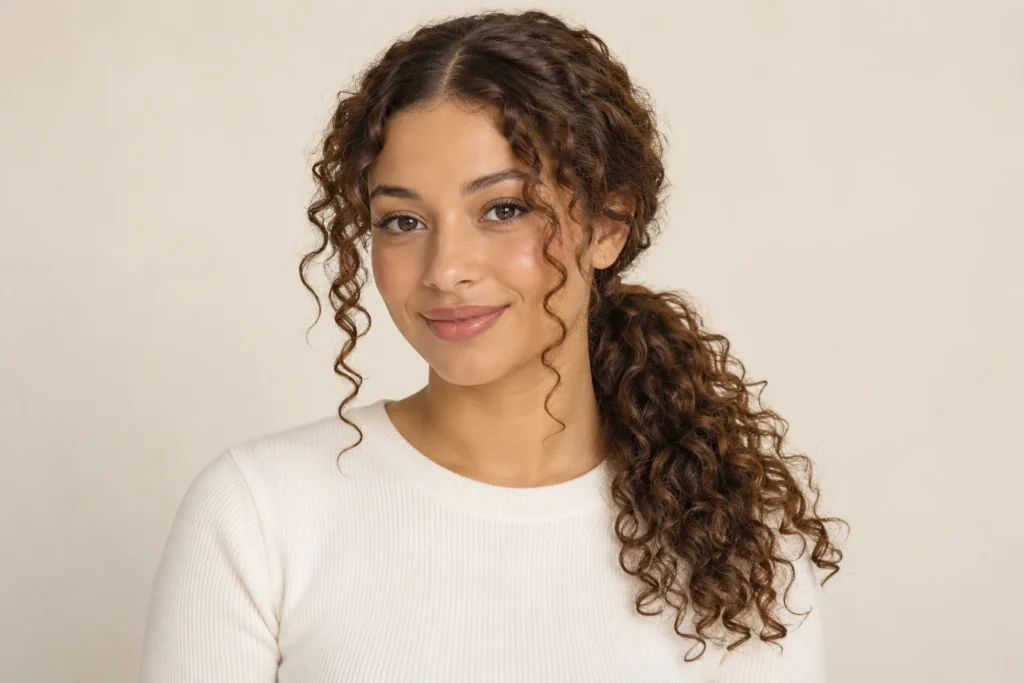
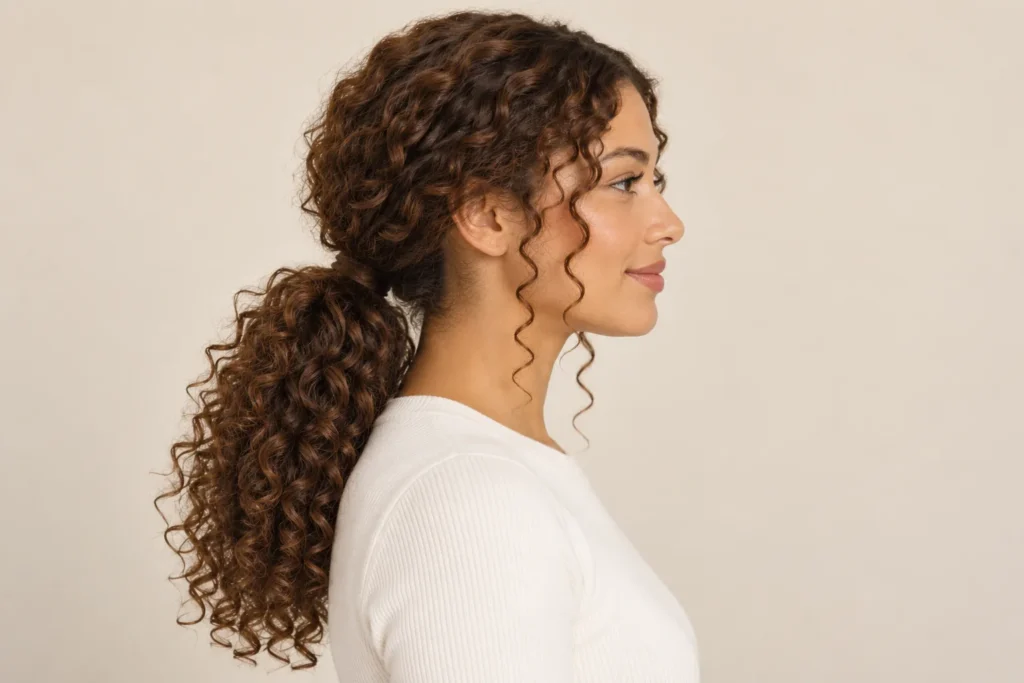
A low curly ponytail places the main shape near the nape. A centre part and a couple of loose tendrils give it a calm, understated finish. It works well when you want the curls contained while still showing their texture along the tail.
Gather the lengths gently and check that the two sides sit comfortably. Choose tendrils from curls that naturally fall forward rather than pulling new pieces out repeatedly. The side view is particularly useful for comparing where the fastening sits.
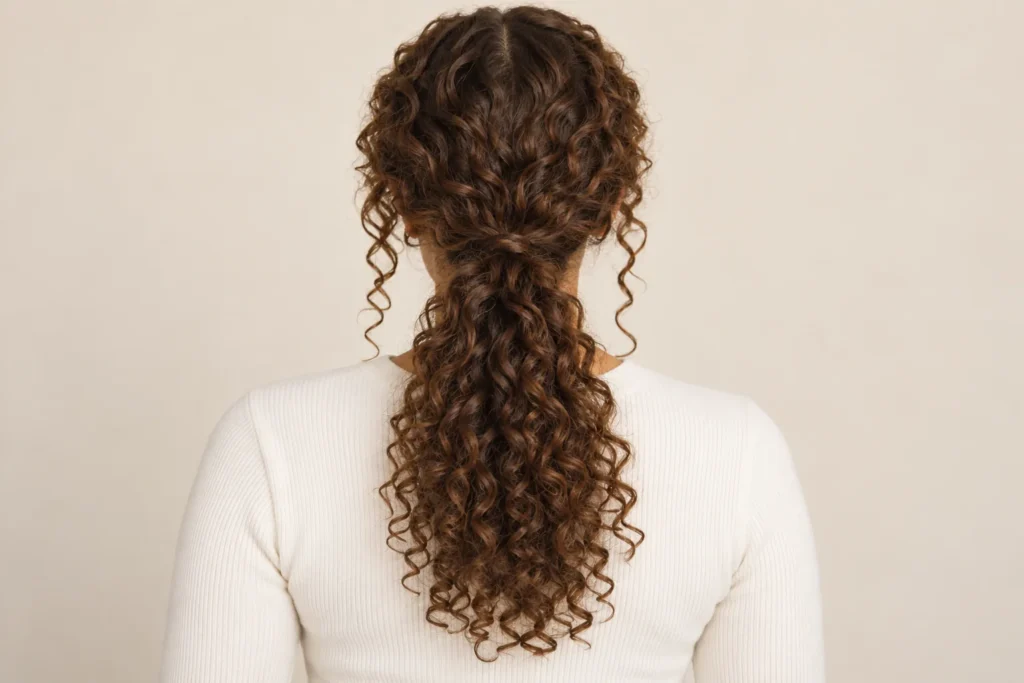
12. Pineapple Updo
The pineapple updo gathers curls high on the head, leaving the ends to fan forward and outward. Its loose, airy appearance makes it a distinct daytime look as well as a familiar way of gathering longer curls. The final silhouette depends on how much length you have.
Use a relaxed fastening and arrange the ends instead of tightening the base until everything looks smooth. Check the back for loose sections and adjust them individually. The aim is a comfortable cluster of curls with visible movement.
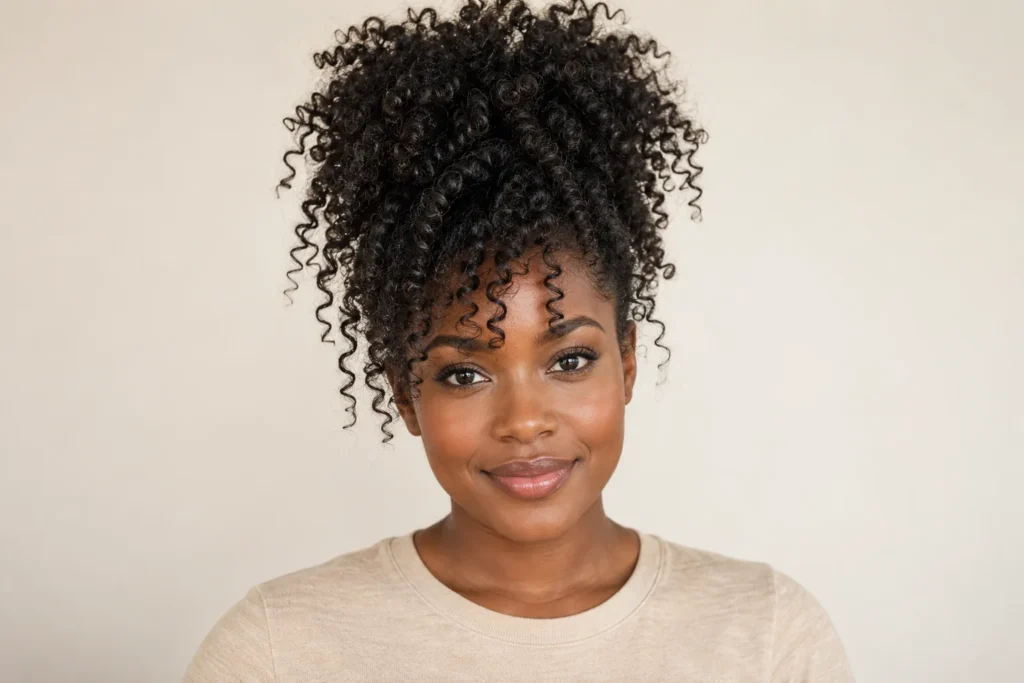
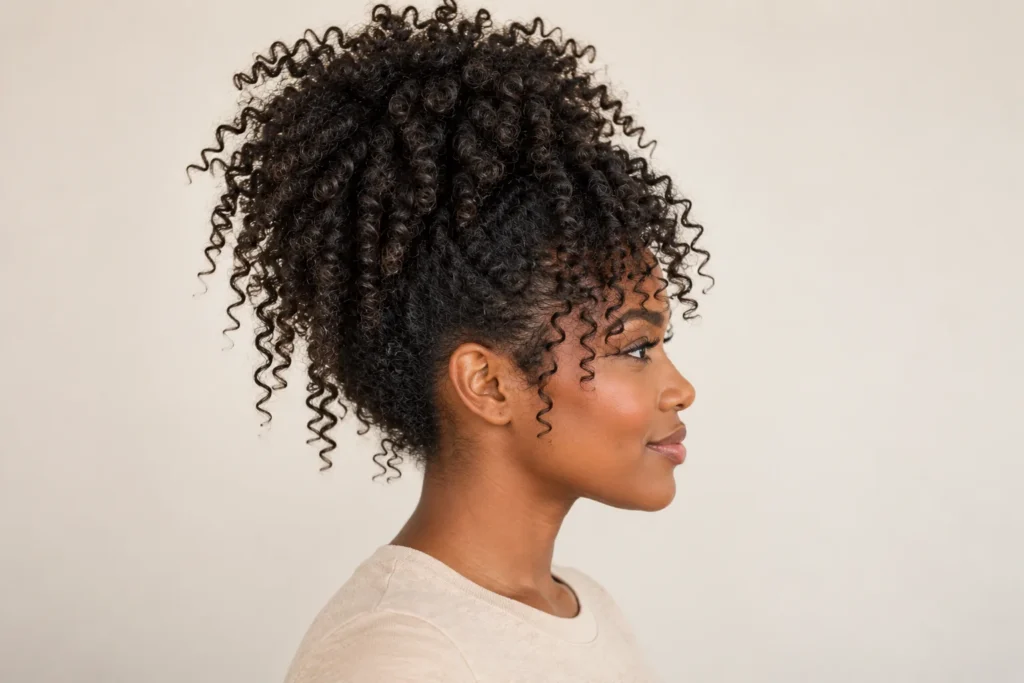
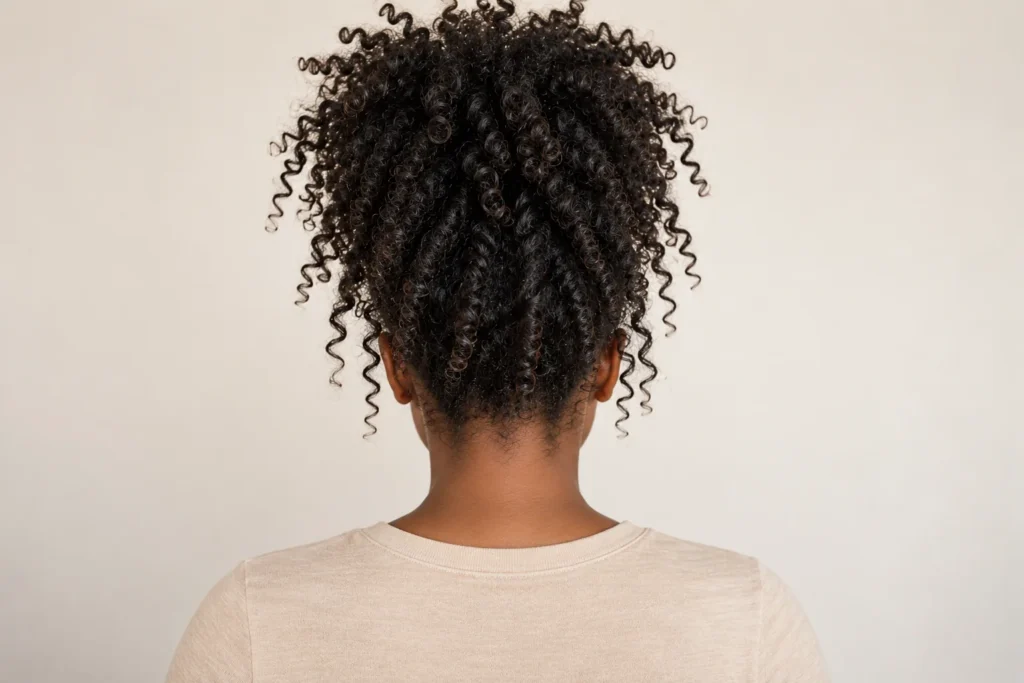
13. Messy Curly Bun
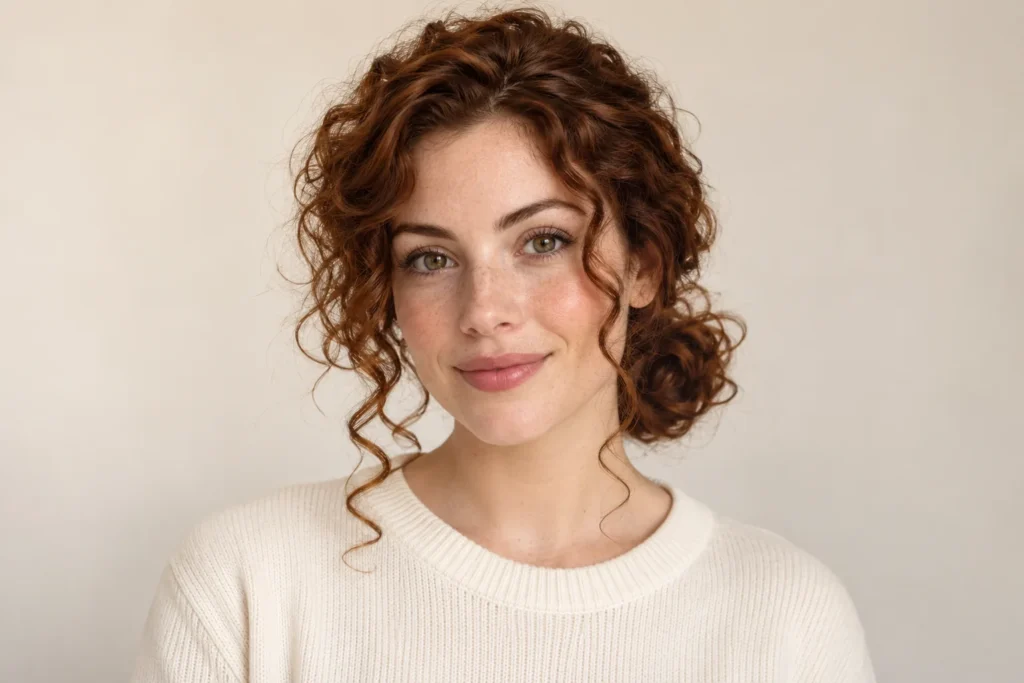
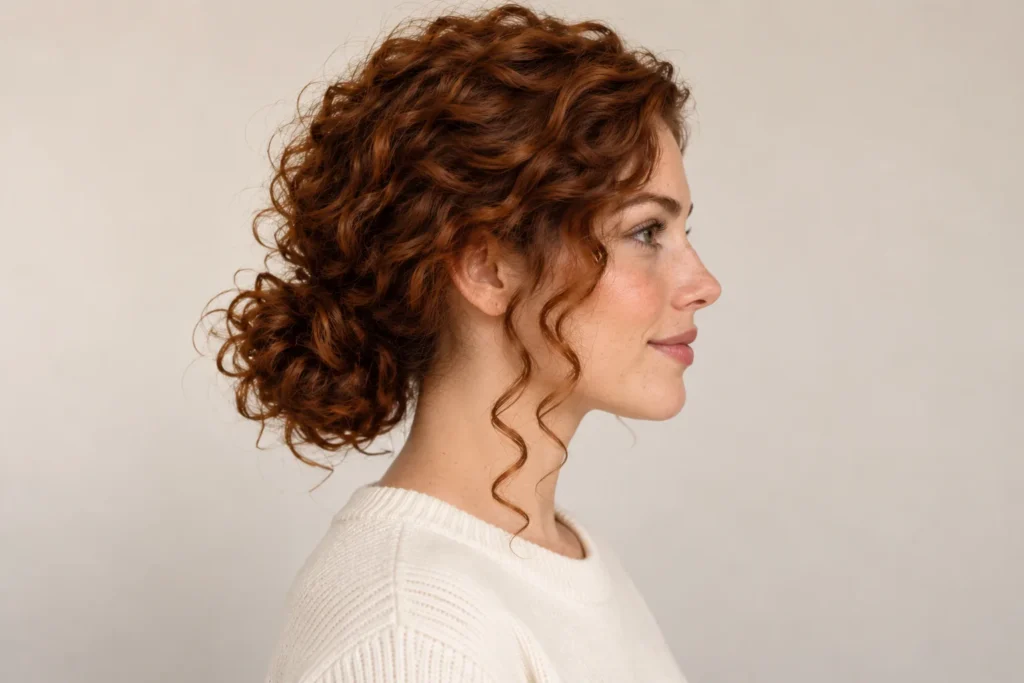
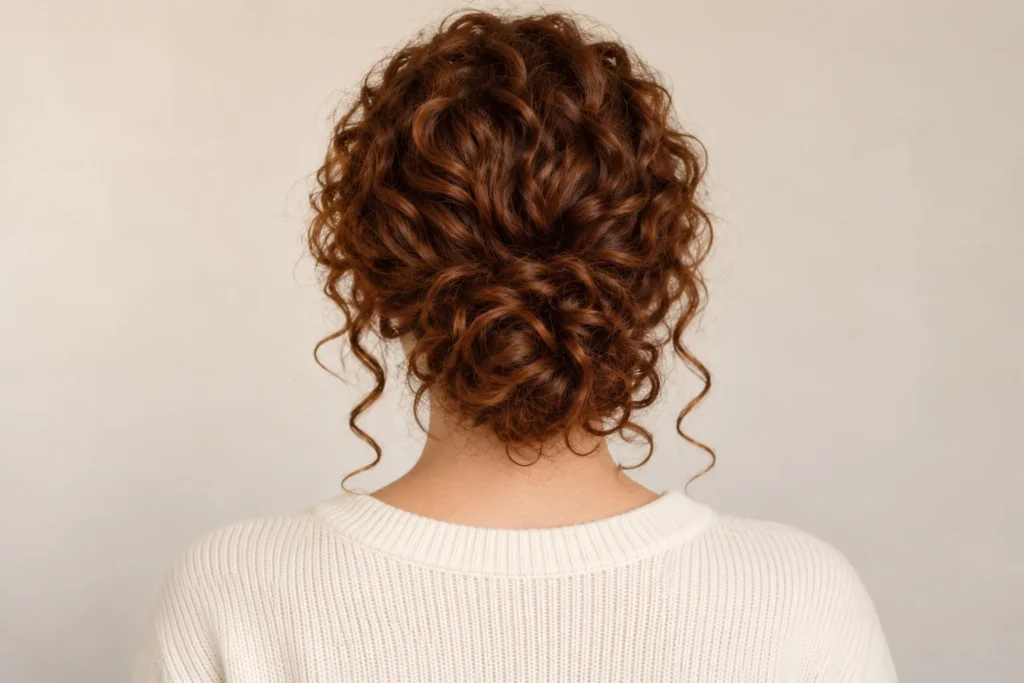
A messy curly bun uses loops and loose ends to create texture around the nape. It feels softer than a perfectly tucked bun because the curl pattern remains visible. A few face-framing pieces can connect the updo with the front of your haircut.
Gather the hair low, form a loose bun and secure the shape without hiding every end. Reposition sections that stick out awkwardly rather than adding more tension. The rear reference shows how an intentional outline can still look relaxed.
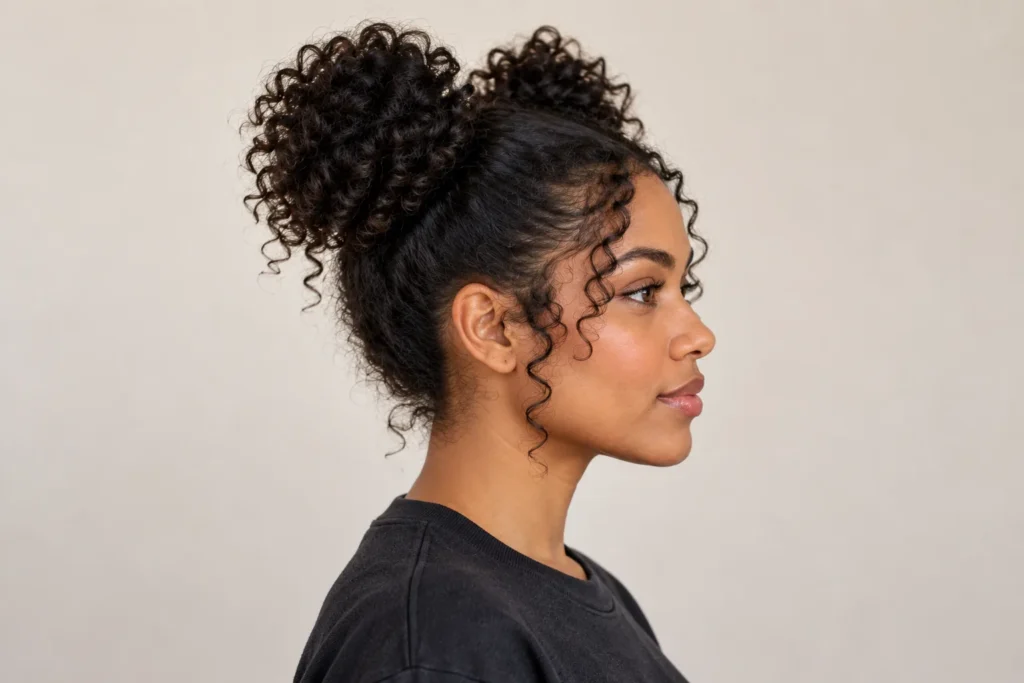
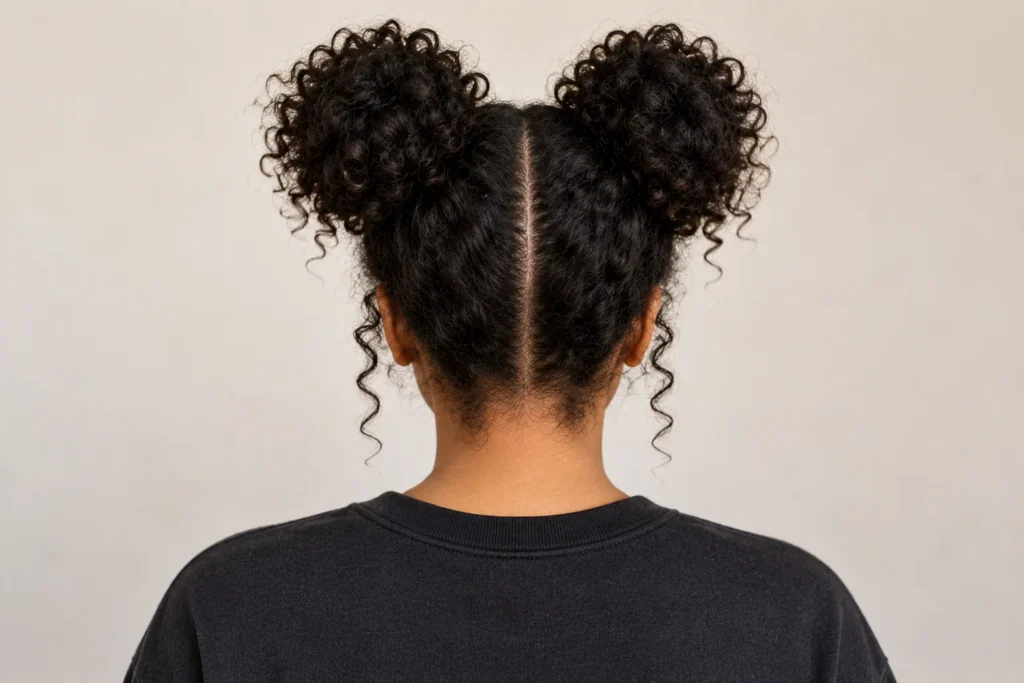
14. Curly Space Buns
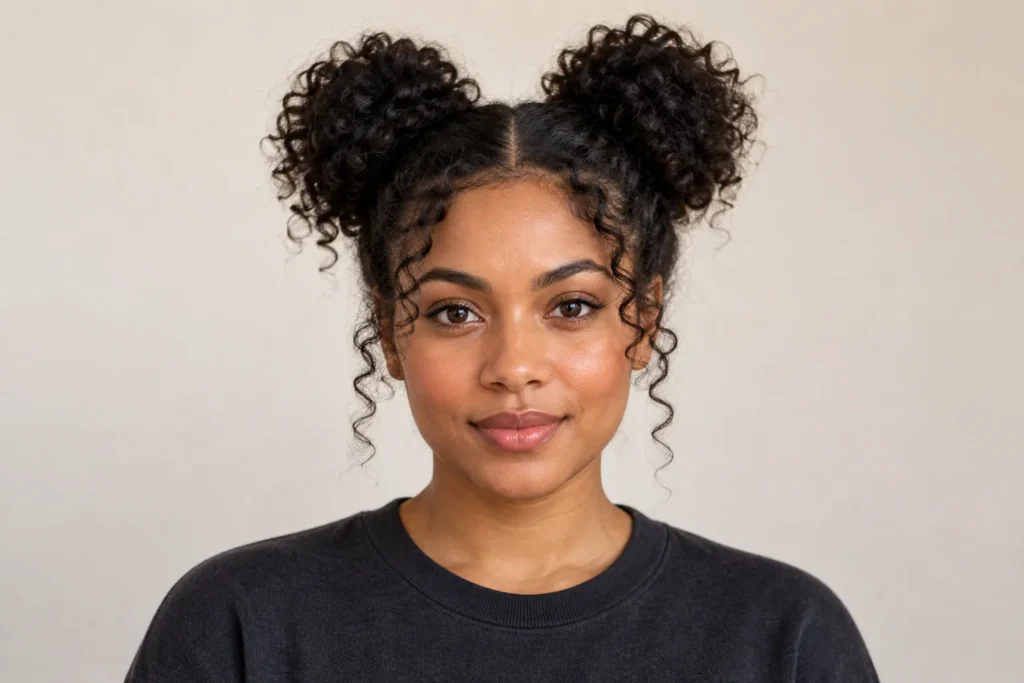
Curly space buns divide the hair into two sections and build matching shapes above the ears. The curls keep the buns from looking too solid, while a centre part gives the arrangement a clear structure. They can feel playful without needing extra accessories.
Make the two sections similar in size before fastening them. Arrange each bun loosely and compare their height in a mirror. Leave a couple of curls near the temples if you want a softer front, or keep the outline clean for more contrast.
15. Side-Swept Curls
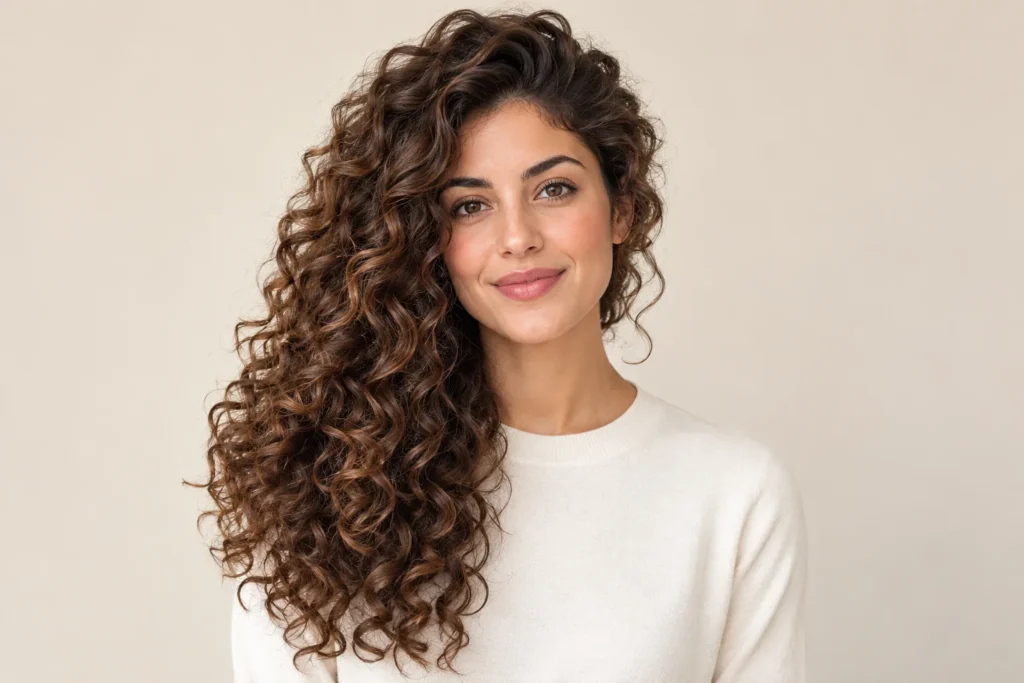
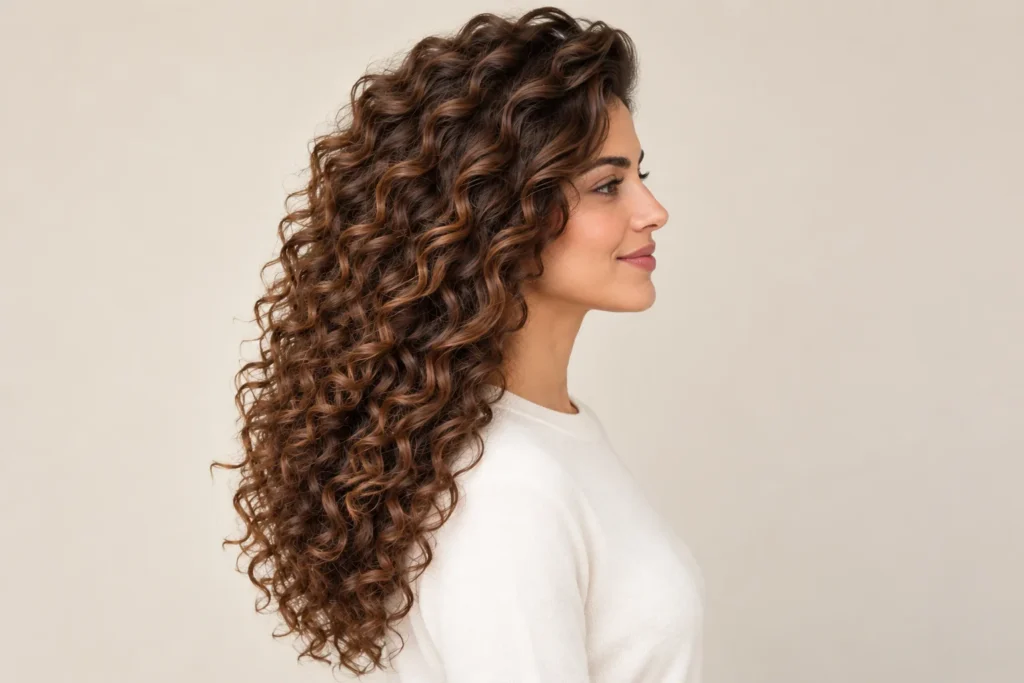
Side-swept curls move most of the length toward one shoulder. A deeper part creates the shift, and the exposed side adds contrast to the full side. It is a useful way to change the silhouette of an existing long cut without taking away length.
Try the part on both sides before settling on the direction. Guide the curls over your shoulder and secure a small section discreetly if needed. Keep the ends loose so the look remains about the curl texture rather than the fastening.
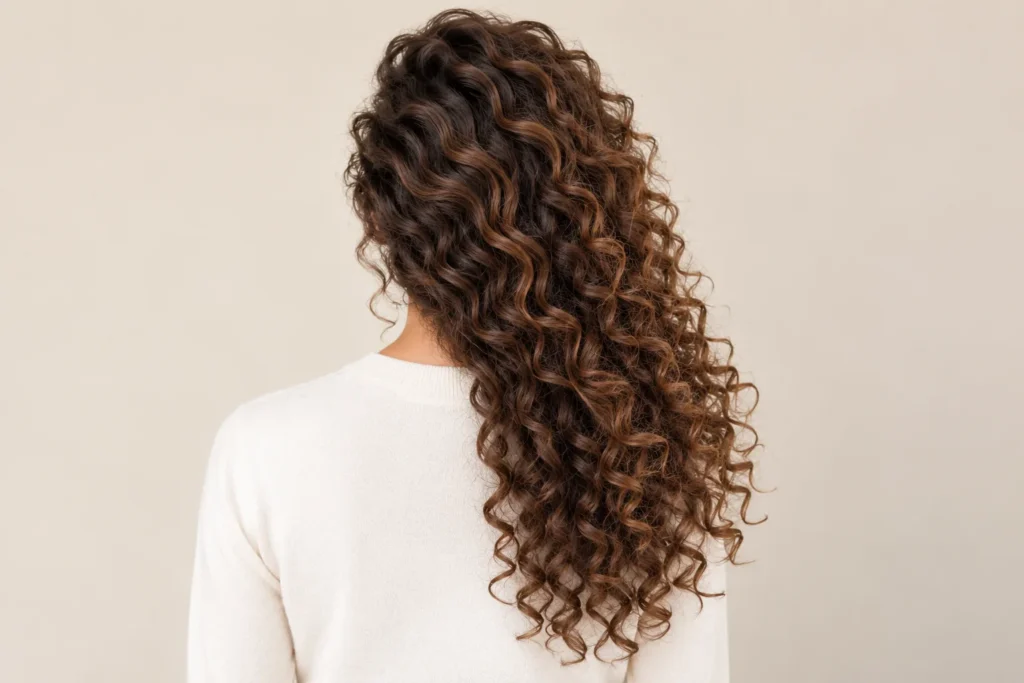
16. Claw-Clip Curly Updo
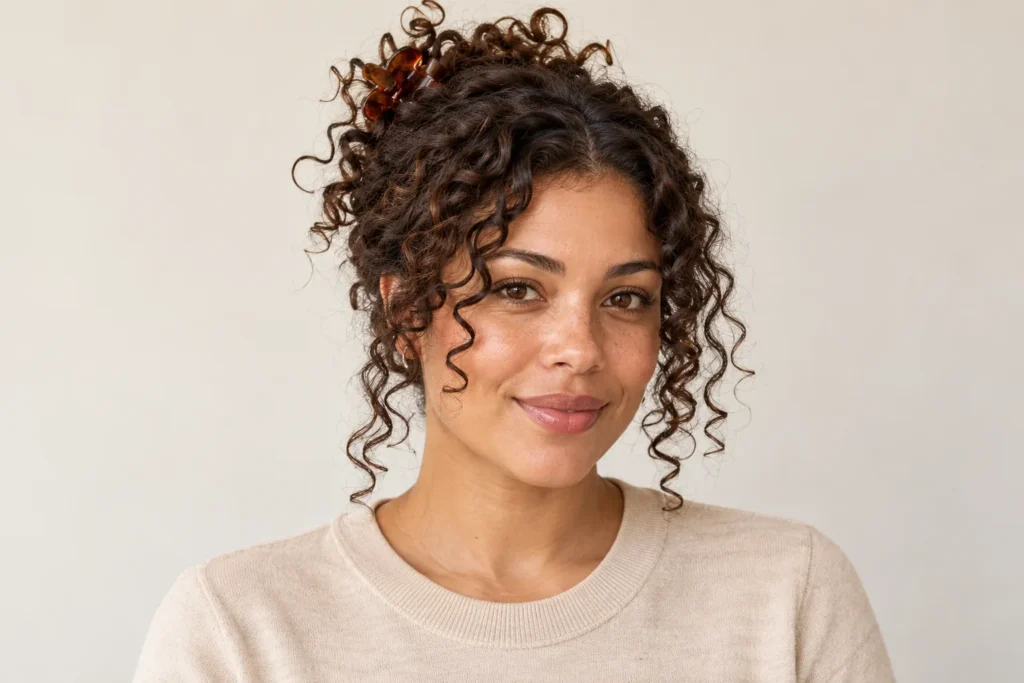
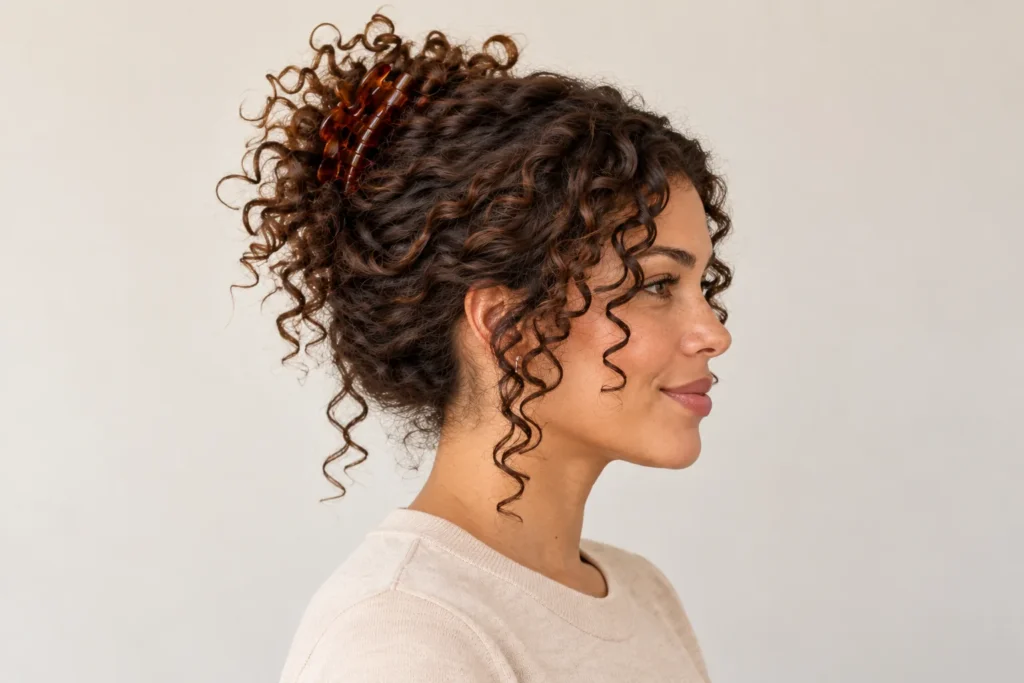
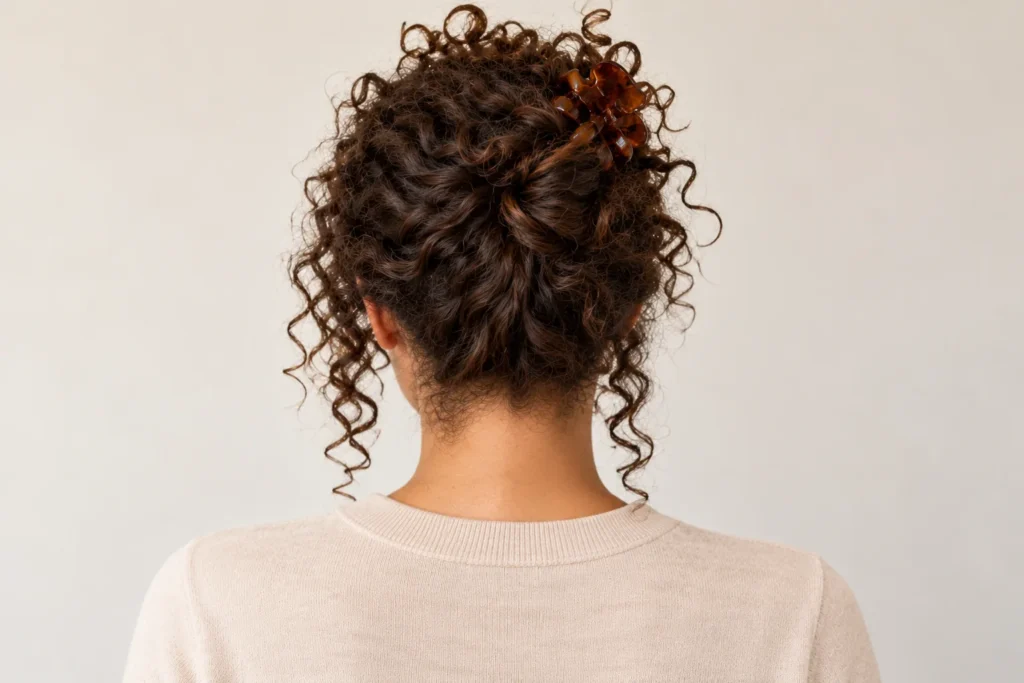
A claw-clip curly updo gathers the back into an upward twist and lets the ends spill above the clip. The accessory holds the structure while the curls provide the finish. It is especially helpful as a reference for medium lengths that do not form a large bun.
Choose a clip that comfortably holds your hair, then twist the lengths loosely before closing it. Check that the teeth do not press awkwardly against the scalp. From the rear, the clip and curls should look like one balanced arrangement.
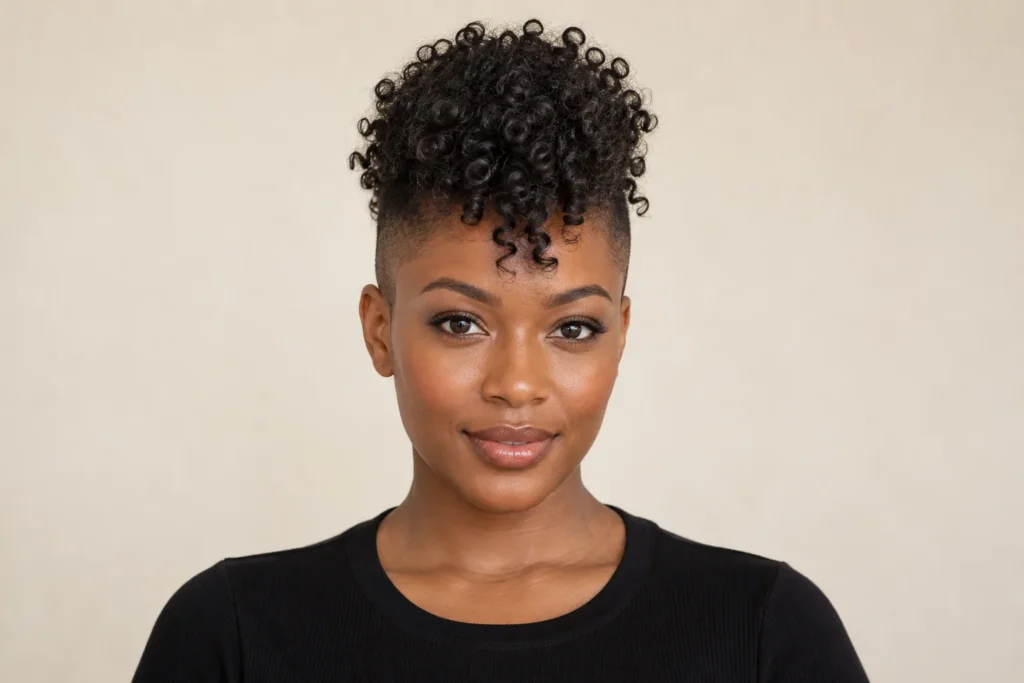
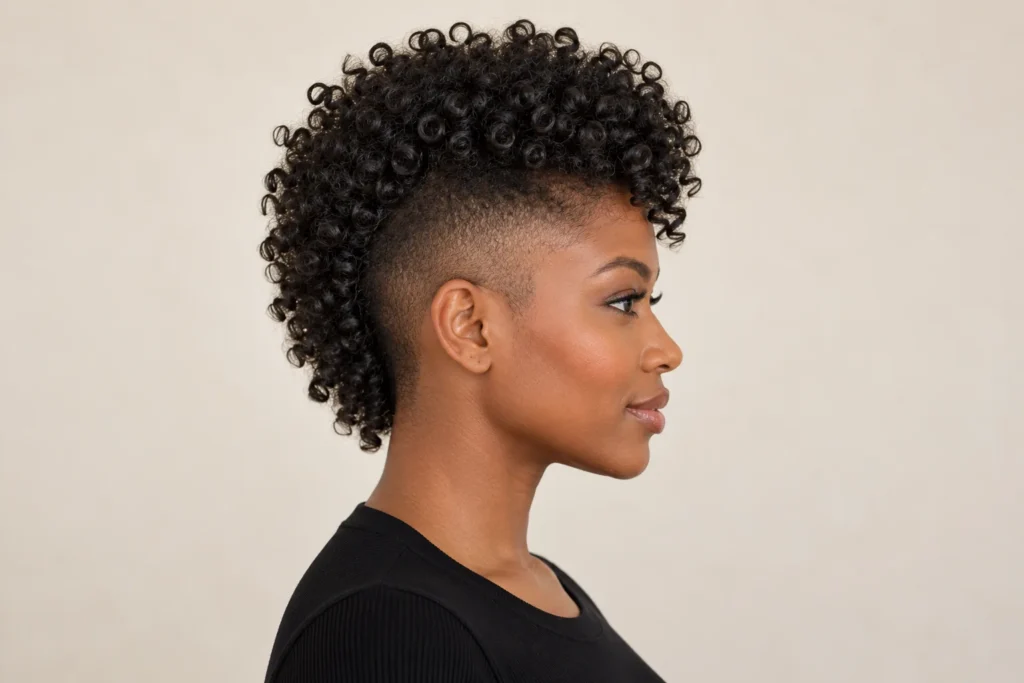
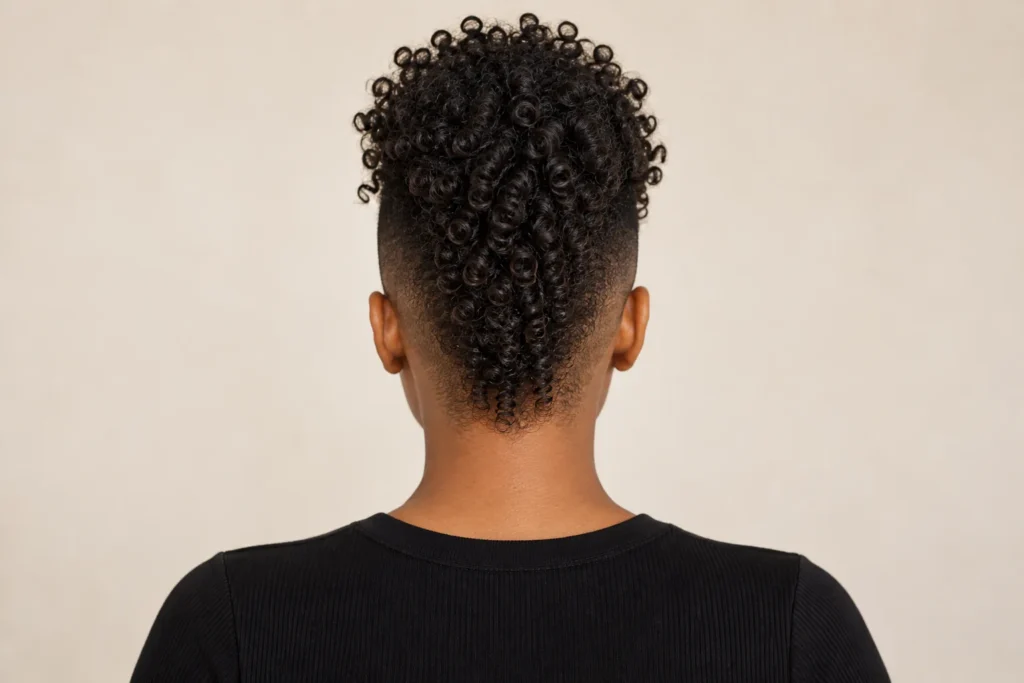
17. Curly Mohawk
The curly mohawk places the fullest texture through the centre and keeps the sides much shorter. This strong contrast makes the profile as important as the front. A tapered version feels different from shaved sides, so those details are worth deciding before the appointment.
Bring a side image and discuss the width of the central strip. Ask how the shorter sides will grow into the longer section. Let the curls on top keep their natural character instead of trying to turn them into a rigid ridge.
18. Curly Bixie
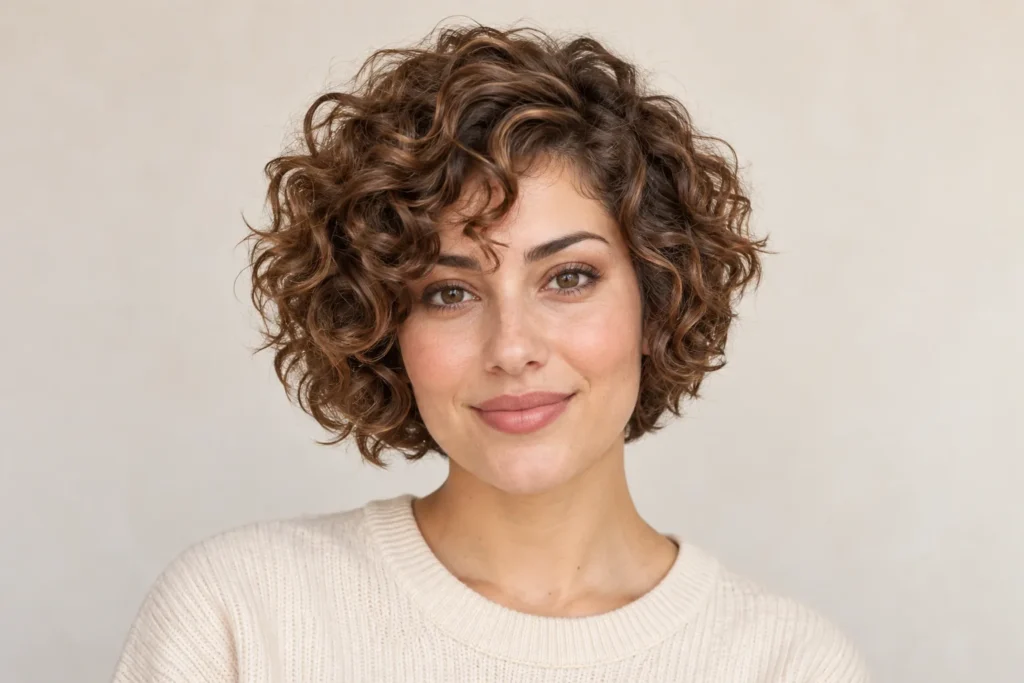
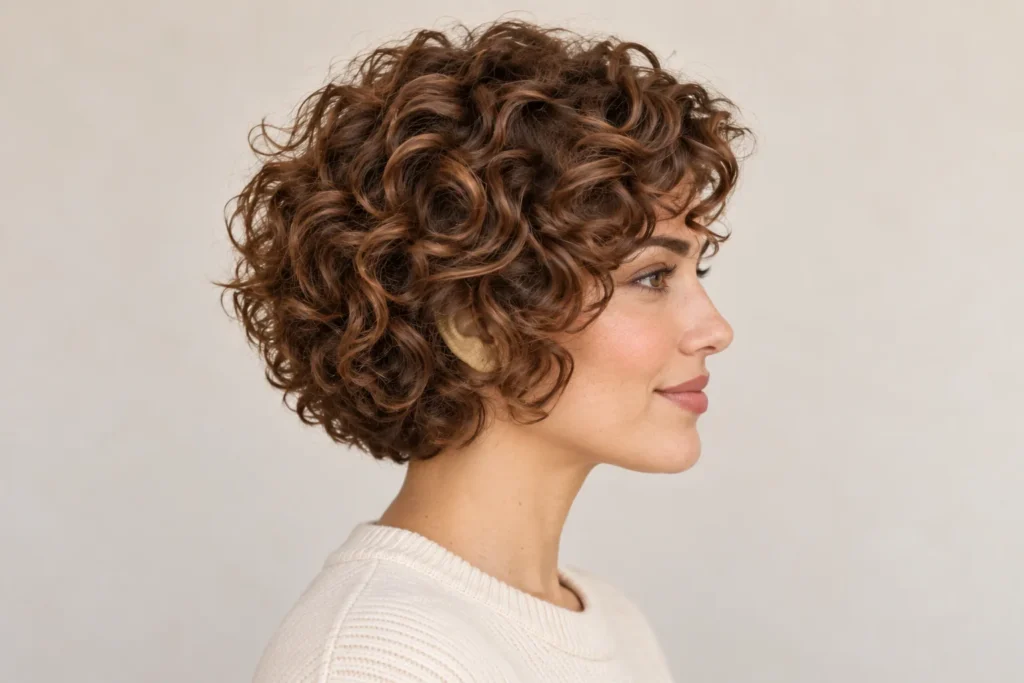
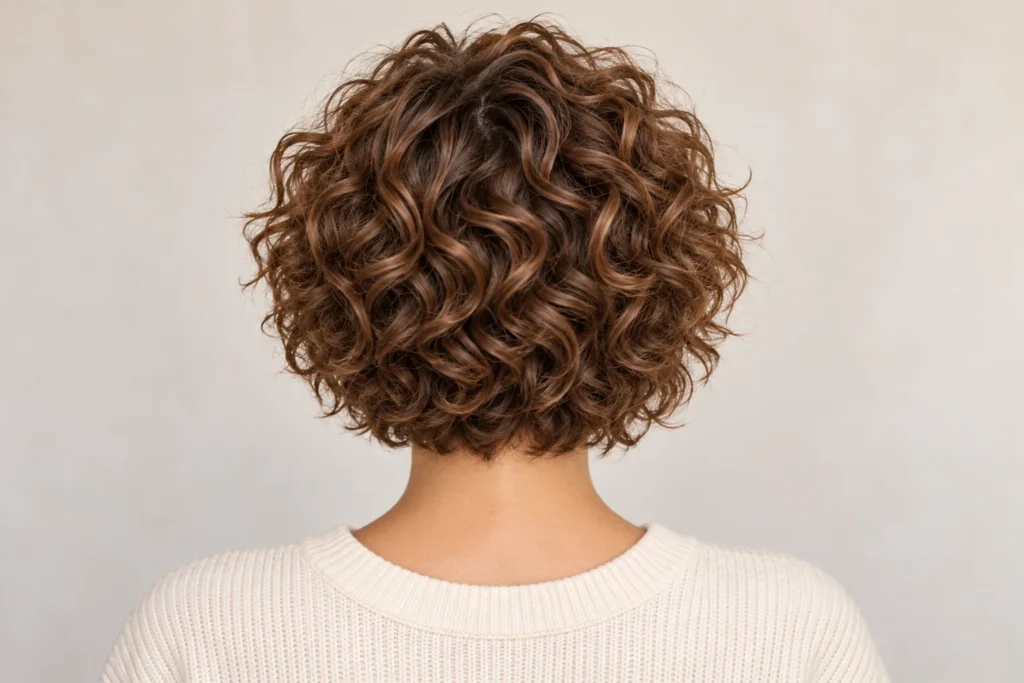
A curly bixie sits between a pixie and a short bob. It keeps softness around the ears and nape while giving the crown a more compact shape. A little curly side fringe connects the short outline with the face and makes the cut feel less severe.
Specify which bob details you want to keep, particularly the back length. The name alone does not tell a stylist your preferred proportions. Arrange the fringe separately from the crown so the two areas do not compete for the same direction.
19. Half-Up Twists With Curls
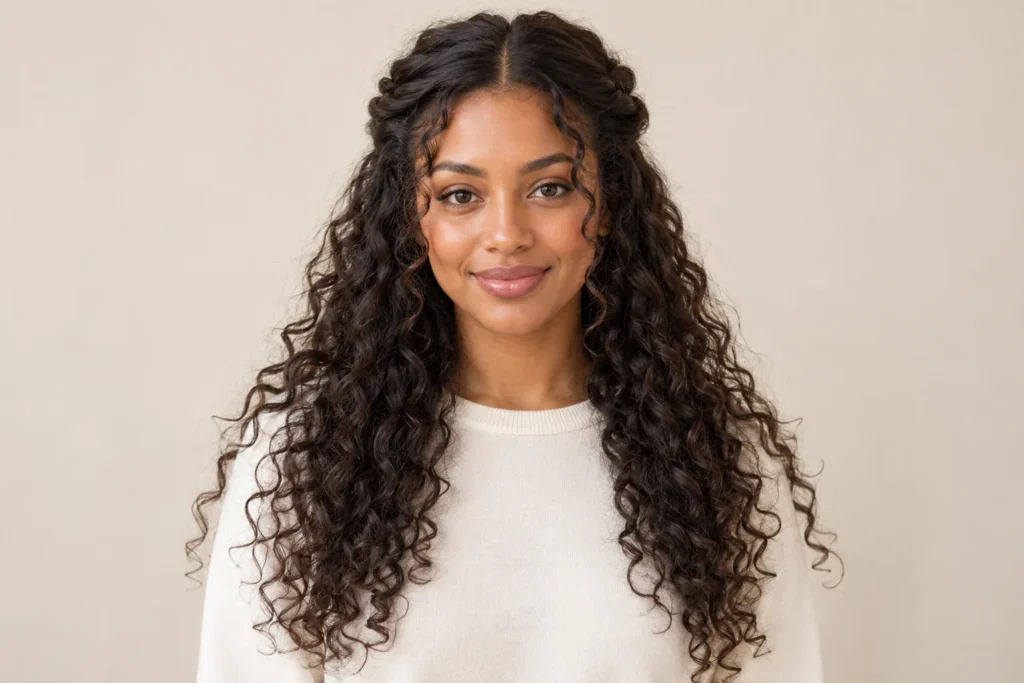
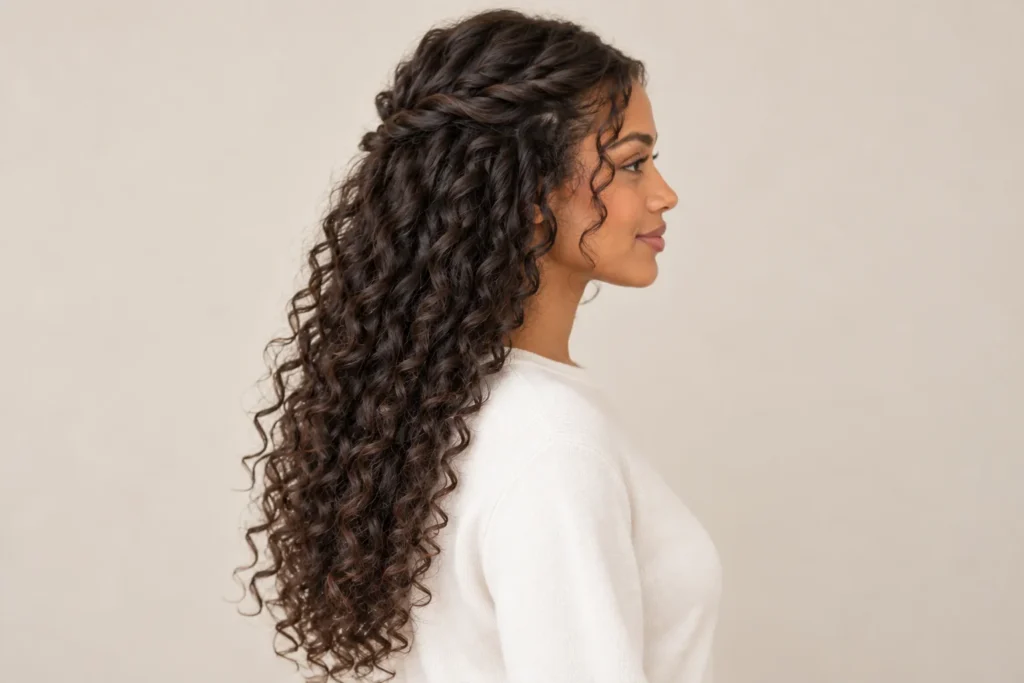
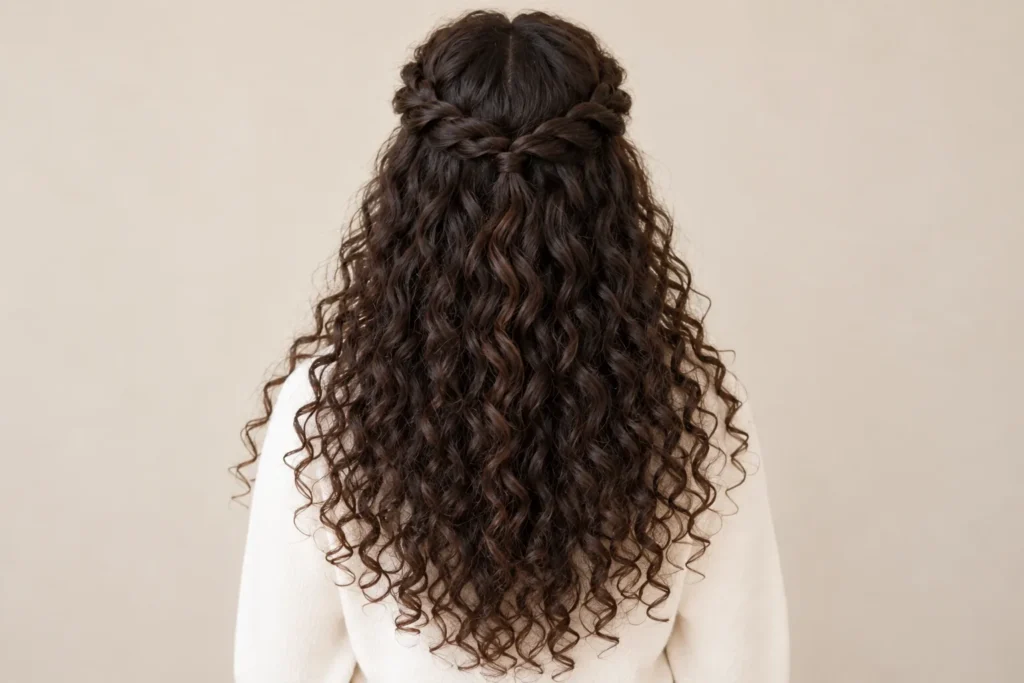
Half-up twists add a small structured detail to loose curls. Two sections from near the temples meet at the back, leaving the lower hair free. Compared with a ponytail, the fastening can sit more discreetly and preserve a softer outline around the crown.
Twist each section gently in the direction you prefer and secure their meeting point at the back. Keep the sections modest so the loose hair remains the main feature. Use the rear reference to explain the placement of the join.
20. Curly Hair With a Headband
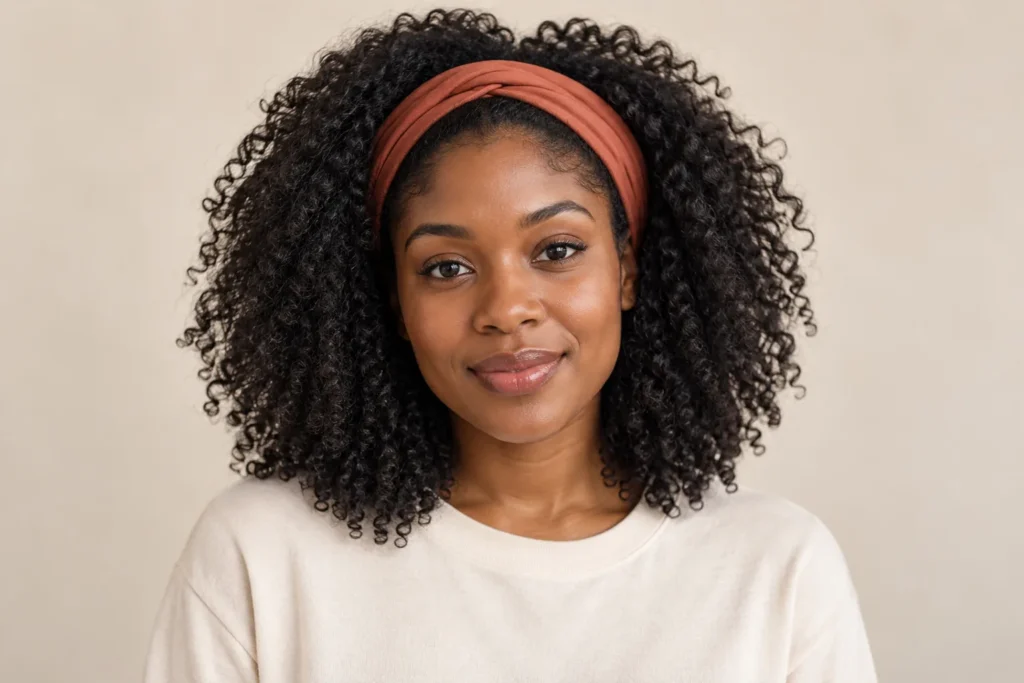
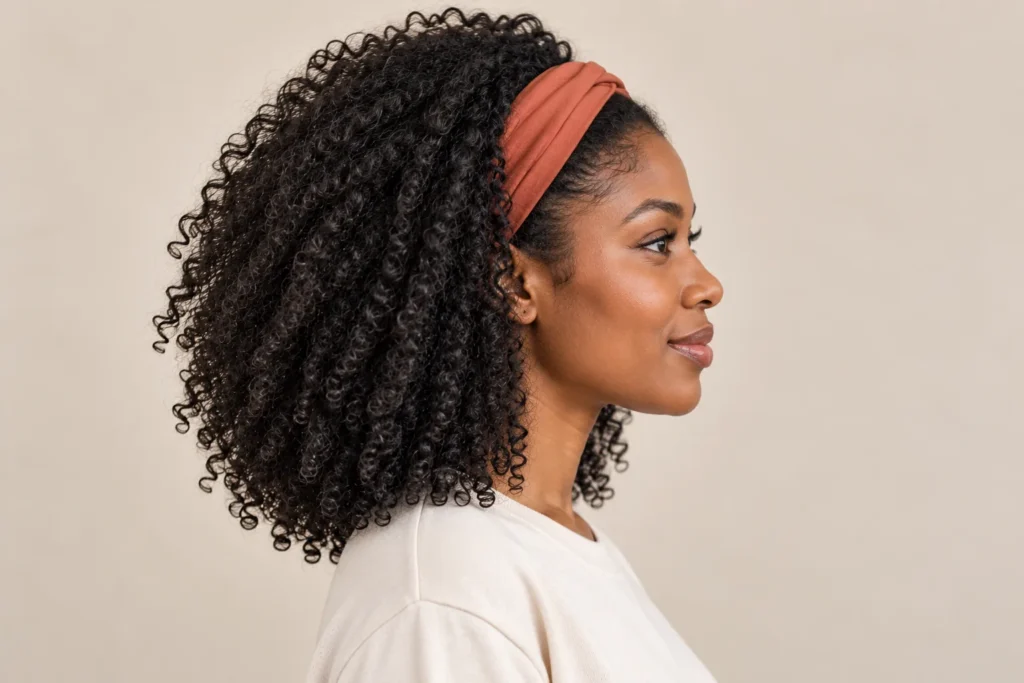
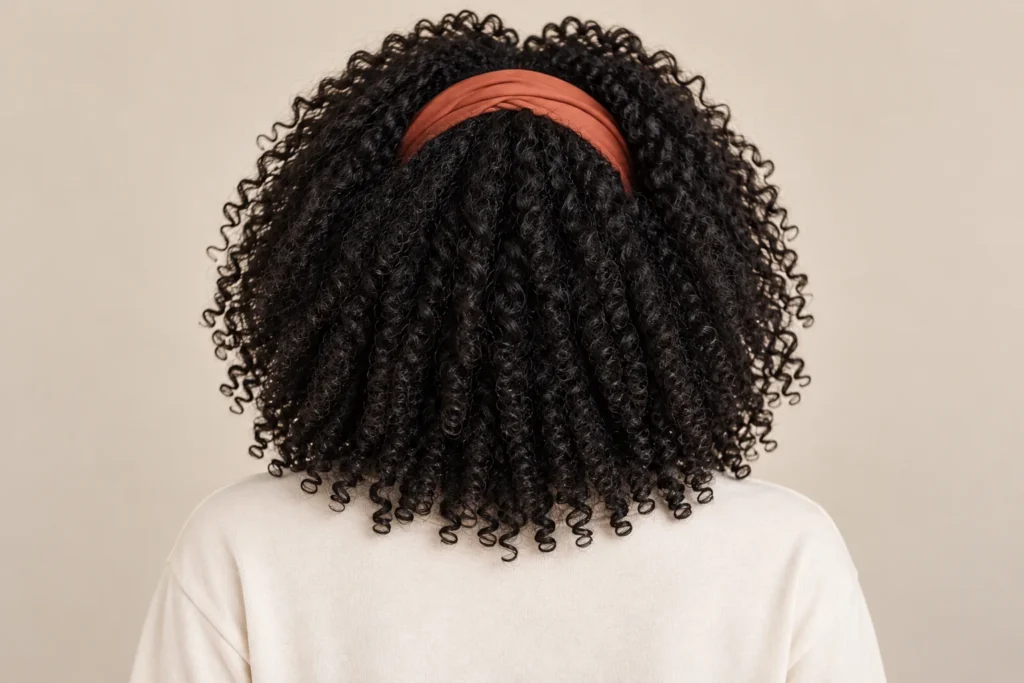
A headband gives loose curly hair an immediate change of frame. A plain fabric band can hold the front back while leaving volume above and behind it. The width and placement of the band determine how much of the hairline and fringe stays visible.
Try the band slightly behind the hairline and adjust it for comfort. Arrange a few curls around the edge rather than trapping every strand beneath it. A simple colour lets the texture stand out and makes the accessory easy to pair with everyday clothes.
How to Choose Between Curly Hairstyles
Begin with the amount of change you want. A new part, ponytail or headband can change the outline for an afternoon. A bob, shag or pixie changes the haircut itself. Consider how often you tie your hair up, what length you enjoy and whether you want a fringe before choosing a salon reference.
What to Ask Your Stylist
Describe the silhouette, not just the style name. Point out the crown height, side fullness, fringe length and back shape you like. Explain how your curls look after your usual styling routine. The reference is a starting point for a conversation, and your finished cut can be adapted rather than copied exactly.
Small Styling Details That Change the Result
Notice where the part begins, how tightly an updo is fastened and whether the ends are tucked away or visible. These small decisions can make two versions of the same hairstyle feel different. Start with one change at a time so you can see which detail gives you the finish you prefer.
Quick Reference Checklist
- Compare front, side and back views before choosing a cut.
- Discuss the finished dry length and the shortest layers.
- Choose an updo fastening that feels comfortable.
- Save references with a curl texture close to your own.
For more inspiration, browse our Haircare guides and explore our cool hair styles collection. Choose a few references that fit your routine, then make the final shape your own.