Nail art nail stickers offer a simple way to add flowers, stars, fine lines, or playful accents to a manicure without painting every detail by hand. A small design can refresh a plain colour, while a full nail strip can create a more complete patterned finish. The key is choosing the right product and understanding how it is meant to be applied. Decorative stickers, water decals, nail wraps, and gel strips are not interchangeable. This guide explains the differences, shares easy design ideas, and helps you plan preparation, placement, and removal. You do not need an elaborate kit to begin. Start with one design you like, read the instructions, and leave yourself enough time to work carefully.
What Are Nail Art Nail Stickers?
Decorative nail stickers are small adhesive designs intended for the nail surface. They may come on a sheet with individual flowers, metallic shapes, letters, or tiny motifs. You lift a design from its backing and place it where you want the detail. Some products work over polish, while others have their own application requirements. Always check the packaging before treating different sheets the same way. The appeal is flexibility. One sticker on a ring finger can make a manicure feel considered without covering every nail. A repeated detail creates a coordinated look, and mixed motifs can feel more expressive. Your choice should fit the size of your nails and the finish you enjoy rather than the number of designs on the sheet.
Stickers, Water Decals, and Nail Wraps
A peel-and-stick accent is different from a water decal. Water decals usually require a preparation step to release the design from its backing, with timing and finishing instructions specific to the product. Full nail wraps or strips cover a larger area and need sizing to the nail. Some strips require curing under a compatible lamp; others do not. Read the product description before buying so you know which type you are getting. Do not assume that the word gel means every strip uses the same process. For example, Dashing Diva’s Gloss line is described as a no-lamp product, while other product lines can require curing. If you want a straightforward first attempt, choose a clearly labelled product with complete instructions, then use that method rather than combining several online tutorials.
Choose Designs That Suit Your Nail Size
Large motifs can look different on short nails than they do on long display tips. Check the scale of individual stickers, not only the sheet dimensions. Small flowers, dots, stars, or narrow lines leave room around the design and can be easier to place. A wider pattern may be better suited to a full nail wrap than a tiny accent sticker. Consider your nail shape too. A curved tip and a flat graphic do not always meet neatly, especially when the sticker overlaps an edge. Hold the backing sheet near your nail to imagine the placement before peeling anything. Choose one or two options for each hand instead of deciding while adhesive designs are already stuck to your fingers. A little planning keeps the result intentional.
Plan a Base Colour Before Adding Details
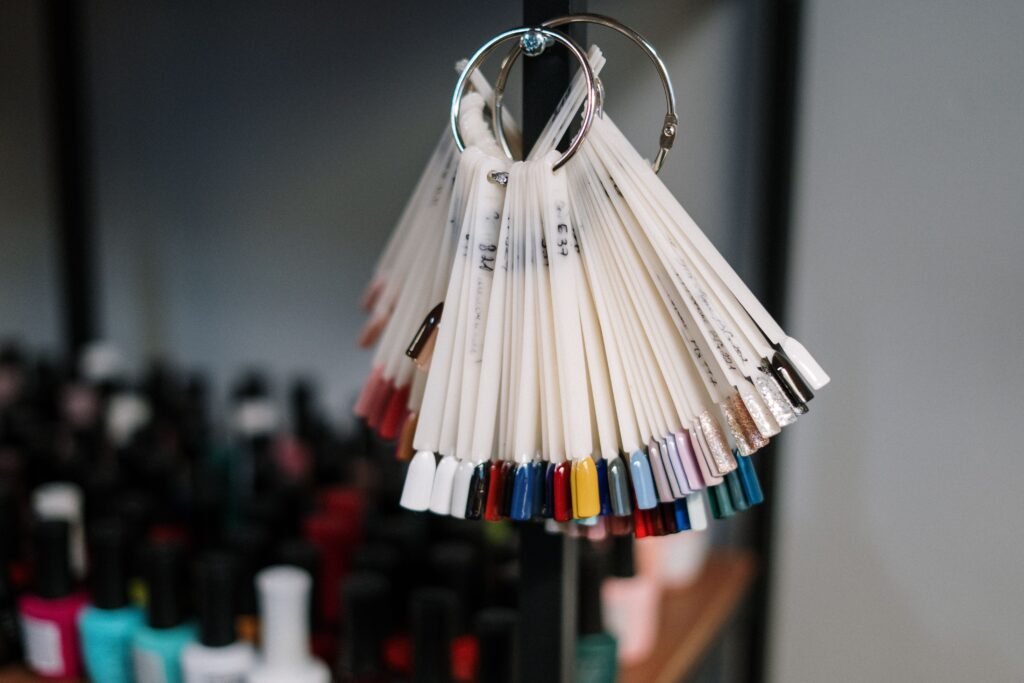
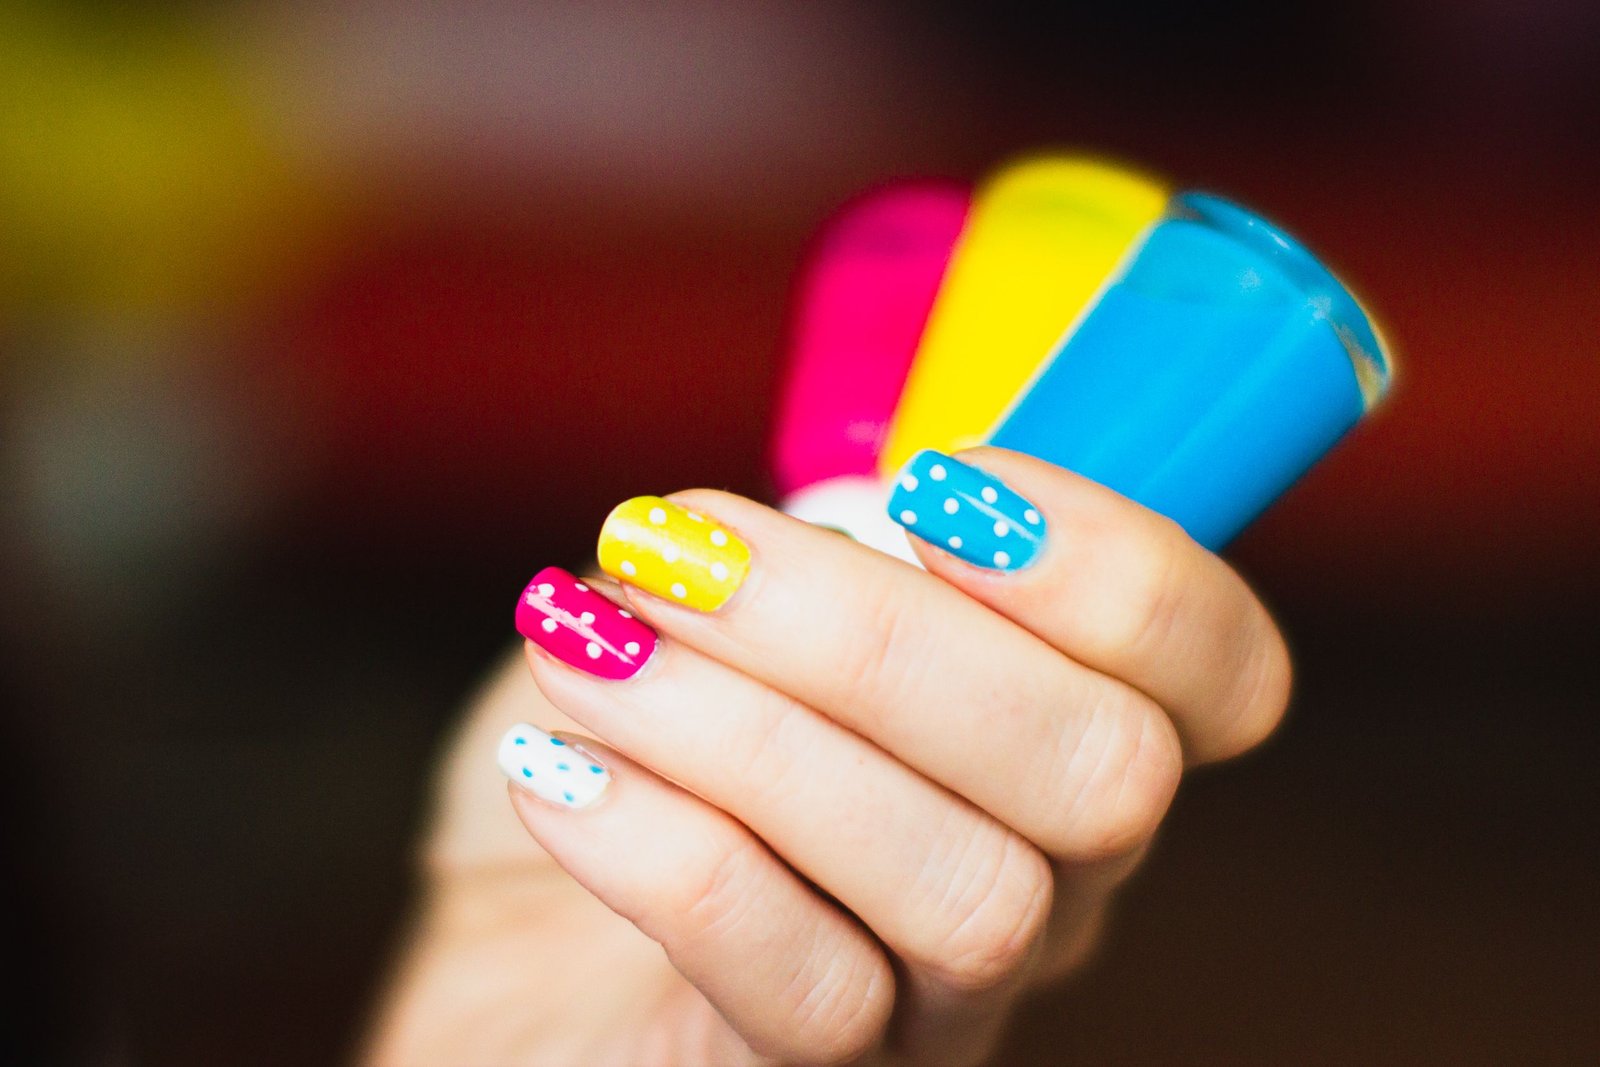
The background colour determines how clearly your sticker design shows. A pale flower may stand out on a darker base, while a fine black line can look crisp over a soft neutral. Transparent sections of a sticker allow the underlying finish to show through, so compare the design with the colour you plan to use. You can make a quick sketch or arrange the sheet beside the polish bottle. Our cute nail ideas can help you choose a palette before applying the details. Keep the first manicure simple: one base colour, one repeated motif, and a small accent. The photos in this guide provide manicure and colour inspiration; they do not demonstrate a particular sticker product or prove how a finish was created.
Prepare Your Nails With a Gentle Approach
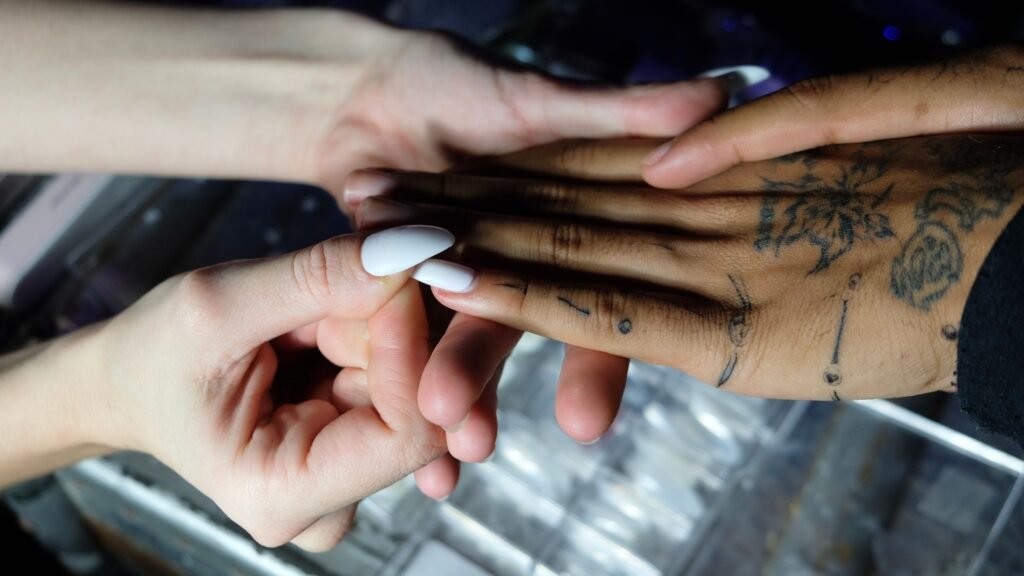
Read the product instructions and gather the recommended tools before starting. Preparation often includes cleaning the nail surface, allowing it to dry, and choosing a manageable shape. Keep filing gentle and avoid aggressive buffing just to make a sticker stay longer. If a prep pad is supplied, follow its directions rather than adding several stronger products on your own. Check whether your chosen sticker is designed for bare nails or a polished base. If it goes over polish, allow that layer to dry as instructed so placement does not disturb it. Avoid putting adhesive on surrounding skin. Do not apply a decorative covering over an unexplained nail problem. If your nails are painful, swollen, or changing unexpectedly, get appropriate advice before using another cosmetic product.
Apply Small Accent Stickers Carefully
Choose the position while the sticker is still on its backing. If the kit recommends tweezers, use them to lift the edge without repeatedly handling the adhesive. Place the design gently, then smooth it according to the instructions. Working on one nail at a time makes it easier to notice folds, trapped edges, or a motif sitting too close to the skin. Keep a little space around the cuticle and sidewalls. A design that runs onto skin or hangs beyond the nail edge can be harder to keep neat. If you make a mistake, check whether the product allows repositioning; repeated lifting may reduce adhesion. Begin with a single accent nail so you can practise the pressure and placement before repeating the detail across both hands.
Size Full Nail Strips Before Application
Full nail strips need a different approach from tiny decorative stickers. Compare the available sizes with each nail, including the width near the sides. Avoid covering the skin to make a strip appear wider. Follow the manufacturer’s direction for choosing between sizes and smoothing the strip, rather than stretching it beyond what the material is intended to do. For a worked example, see Dashing Diva’s Gloss application instructions. They explain sizing, keeping strips off skin, smoothing, and removing excess at the free edge for that specific product. Other brands and formats may differ. Treat brand instructions as product-specific guidance, and confirm any lamp requirements before using a gel strip. A decorative sticker does not automatically need curing.
Easy Floral Nail Sticker Ideas
Floral details work well when you give them room. Try one small bloom near the corner of an accent nail and keep the others plain, or repeat a tiny flower on two fingers. A soft background makes the pattern gentle, while a contrasting base makes the same sticker more visible. You can also vary the placement without introducing another colour. Choose the flower scale to suit your nail length. A large design placed across an edge may wrinkle or feel crowded. If you enjoy more textured floral inspiration, browse our 3D flower nail art guide, while remembering that raised salon designs and flat stickers use different techniques. Borrow the colour balance or arrangement, then adapt it to the actual stickers you have.
Stars, Hearts, and Minimal Line Designs
Small stars and hearts are useful when you want a playful detail without a complicated pattern. Place one motif on each accent nail, or repeat it in a consistent corner across the hand. A little variation can feel relaxed, but decide where the visual focus belongs before using every shape available. The negative space around a sticker is part of the design. Fine lines can create a more restrained look, especially over a neutral base. Keep them within the nail surface and check how a straight sticker lies on your nail’s curve. A short line may be easier to manage than a long one crossing several edges. If you are trying metallic details, compare their tone with jewellery you wear regularly to keep the overall palette comfortable.
Make a Mixed Manicure Feel Coordinated
You can combine sticker designs without making every nail compete. Choose a shared colour, theme, or scale. For example, two small flowers and a tiny dot can feel related when they use the same palette. A patterned accent nail also works beside a solid finish that repeats one colour from the design. This creates variety with a clear connection. Arrange your plan for both hands before applying the first sticker. They do not need to be perfectly identical, but matching the level of detail helps the manicure feel balanced. Look at your hands from a normal distance as well as close up. A design that looks busy in a magnified photo may feel different in everyday use. Stop adding details when the overall effect already looks complete.
Do You Need a Top Coat?
The answer depends on the sticker or strip. Some decorative accents are meant to be sealed with a compatible top coat, while other products have a finished surface or specific finishing requirements. Check both the sticker instructions and the coating instructions. Do not assume any gel top coat can be added safely without the correct curing system. When a regular top coat is recommended, apply it carefully so you do not drag a small motif out of place. Allow the finish to set as directed. If the product does not explain compatibility, ask the manufacturer rather than layering unfamiliar formulas. Extra coats are not a guaranteed solution to lifting, and a thicker finish may change the appearance you wanted. A clear, simple application method is easier to repeat.
Keep the Finish Neat During Everyday Wear
Wear time varies with the product, preparation, fit, and what you do with your hands. Avoid promising yourself a fixed number of days based on another person’s photo. Follow the stated settling period and care instructions. If an edge catches, assess it early rather than pulling at the design or covering it with several additional layers. Protect your hands during cleaning and avoid using your nails to open packaging or scrape surfaces. The American Academy of Dermatology’s healthy nail tips recommend clean, dry nails, avoiding nail use as a tool, and protection during repeated water exposure. These are general care principles, not a promise about sticker longevity. Once the manicure no longer feels comfortable or looks tidy, follow the removal instructions instead of forcing extra wear.
Remove Stickers Without Pulling at Your Nails
Removal is part of the manicure, so check it before applying the product. A small sticker under regular polish may need a different method from a full adhesive strip or a cured gel product. Use the remover and technique specified for your product. Do not peel a resistant covering off quickly just because a corner has lifted. Rushing removal can leave you pulling at the nail surface. Work patiently and stop if the process causes significant discomfort. Follow the instructions for any remover, then care for your hands afterward. If a product repeatedly irritates you or your nails look damaged, pause cosmetic coverings and seek advice as needed. Your next design can wait. An attractive manicure should not depend on ignoring discomfort or concealing a problem.
Build a Small Nail Sticker Collection
Start with one versatile sheet rather than a large bundle of unfamiliar formats. Check the sticker sizes, colour combinations, application method, and removal requirements. Keep packaging so you can refer to instructions later. A sheet that suits your usual nail length and favourite base colours is more useful than dozens of patterns you cannot easily place. Store unused designs as directed, keeping their backing protected. Note which motifs worked, which sizes fitted, and whether a particular arrangement was practical during your week. That gives your next manicure a useful starting point. Nail art nail stickers are most enjoyable when they offer a manageable way to experiment: a clear method, a design you like, and a result you can comfortably maintain.
Frequently Asked Questions
Can I put nail stickers over regular nail polish?
Some decorative stickers are designed for a polished base, but others are intended for bare nails or a specific system. Read the instructions for your product. When polish is an approved base, allow it to dry as directed before placing the sticker.
Do nail stickers need a UV or LED lamp?
Ordinary decorative stickers and some full nail strips do not need a lamp. Certain gel-strip products do require compatible curing. Check the exact packaging instead of assuming that every sticker or every product labelled gel follows the same process.
How long do nail art nail stickers last?
There is no universal wear time. Adhesive, preparation, placement, finishing steps, and daily activities affect the result. Use the manufacturer’s stated expectations as guidance rather than a guarantee, and remove the product when it becomes uncomfortable or untidy.
Are nail stickers suitable for short nails?
Yes, when the design and size fit. Small motifs can be easier to arrange without overlapping skin or extending beyond the nail. For full nail strips, choose the correct width and follow the directions for handling excess length.
Why do my nail stickers lift at the edges?
Possible reasons include unsuitable sizing, contact with skin, surface residue, or preparation that does not match the product instructions. Review the method before adding more coating. If a sticker no longer sits comfortably, use the recommended removal approach.
Can I reuse a nail sticker after removing it?
Most decorative adhesive stickers and nail strips are intended for one application. Removal or repeated repositioning can change adhesion and shape. Reuse only if the manufacturer explicitly says the product is designed for it.
Are stickers the same as press-on nails?
No. A sticker or wrap decorates or covers the nail surface, while a press-on is a separate shaped artificial nail. Application, adhesive, sizing, and removal requirements differ. Choose instructions for the exact product you own.
What should I do if a nail sticker causes irritation?
Stop using the product and follow its removal instructions without force. Seek professional advice for persistent irritation, pain, swelling, or nail changes. Keep the packaging so you can identify the product and ingredients if asked.