Category: Makeup

Discover natural makeup looks, everyday techniques and colour inspiration. Our guides break down styling ideas into approachable steps for a look that feels like you.

  • Blurred Lip Makeup: A Soft Colour Look You Can Repeat

    Blurred Lip Makeup: A Soft Colour Look You Can Repeat

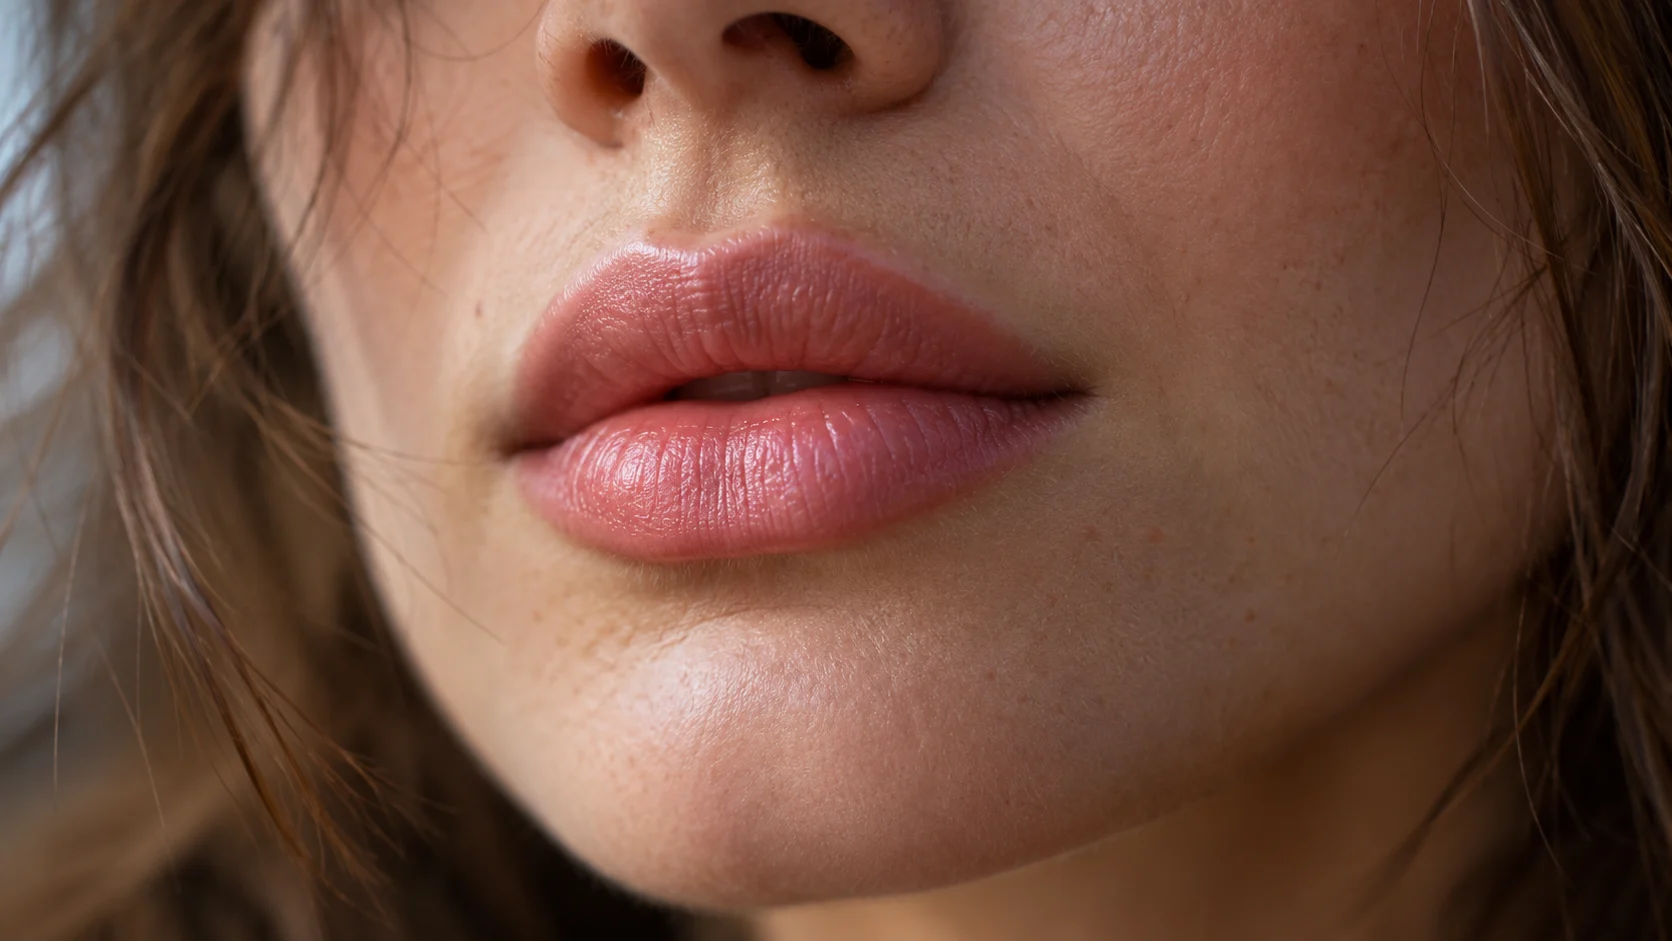
    Blurred lip makeup gives colour a softer outline than a sharply drawn lipstick look. The centre can carry more pigment while the edges fade gently, creating a finish that feels relaxed but deliberate. It is useful when you enjoy a rich shade yet prefer something easier to wear than an opaque, precise lip.

    Soft and imperfect lip finishes have appeared in current beauty coverage, but you can adapt the idea without recreating a runway face. The key is controlled placement. Blurred does not mean spreading colour everywhere or ignoring the shape of your lips. Start with a small amount and build the finish you actually like.

    Choose a product that suits a soft finish

    A lipstick that blends easily is a useful starting point. Some lip stains also create a diffused effect, but fast setting formulas can be harder to adjust. Test the texture before an occasion, especially if you have never used the product. Follow its instructions rather than assuming every lip colour behaves the same way.

    Avoid buying a whole collection for one technique. A shade already in your kit may work when applied more lightly. The finish depends on opacity and placement as well as colour. Try the product on the back of your clean hand to understand how quickly it sets and how easily it blends.

    Pick a shade you enjoy at lower coverage

    A deep berry or burgundy can look softer as a light layer, while a rose shade may create a quieter effect. Compare the colour in daylight and choose according to your preferences. Rules about which shade every skin tone must wear are less useful than checking how the actual product looks on you.

    If you are uncertain, begin with a colour close to one you already wear comfortably. Learn the technique first, then experiment with a stronger shade. That separates two decisions and makes it easier to understand whether you dislike the colour or simply need a different application method.

    Prepare the lips without an elaborate routine

    Begin with comfortable, clean lips and avoid aggressive scrubbing. If you use a lip balm, follow its instructions and check whether excess product makes the colour slide. You do not need a long preparation ritual to try a soft lip look.

    Persistent cracking, pain or irritation is a reason to seek appropriate advice rather than cover the problem with more makeup. A cosmetic technique should feel comfortable. Do not continue using a product that stings because a trend tutorial says the effect is normal.

    Place colour in the centre first

    Apply a small amount to the central area of the upper and lower lips. Keep the first layer light so you can see where the colour needs to move. Starting with a full opaque outline makes it harder to achieve the gradual edge that defines the look.

    Use a suitable clean brush or clean fingertip to soften the colour outward. Work in small motions and pause to look at the shape. It is easier to add another light layer than to remove a thick application that has already spread beyond the area you wanted.

    Soften the edge while keeping the shape readable

    Blend the colour towards the natural outline without automatically going beyond it. Look at the corners, cupid’s bow and lower edge separately. A soft outline can still follow the lip shape closely; the difference is the lack of a hard line.

    If one area becomes too wide, refine it with a clean cotton bud or suitable removal method. Avoid repeatedly covering the mistake with concealer, which can create a heavy border. Small corrections preserve the relaxed finish better than rebuilding a sharp outline around it.

    Add depth only where you want it

    Once the edge looks balanced, add a little more colour to the centre. This creates depth without making the entire lip equally opaque. Press the lips together gently if that suits the product, then check whether the lower lip has picked up too much colour in one place.

    The centre does not need to look dramatically darker. A subtle difference may be enough for an everyday version. If the finish feels patchy, try a thinner application and a more blendable formula next time rather than adding more pigment to every area.

    Decide whether to keep it matte or add sheen

    A soft matte finish emphasises the diffused colour, while a small amount of compatible gloss changes the mood. If you add gloss, keep the application controlled so it does not move the colour beyond the edge. Follow the product instructions and test the combination before relying on it.

    Think about your day. A glossy finish may need more attention during meals, while a lighter stain can feel easier to maintain. Choose the version you enjoy wearing rather than assuming the most photographed texture is the best choice for every situation.

    Balance the rest of the makeup

    Keep your usual base and add a small amount of cheek colour if you like. Defined brows or a simple lash look can give the face structure without competing with the lip. You do not need a full eye look simply because the lip technique is current.

    Our natural makeup tutorial offers a simple foundation for the look. If you want a stronger version, add one extra detail and check the balance. Changing every feature at once makes it harder to see why the result feels different.

    Make touch-ups easy

    Carry the same lip product and a small clean tool if you use one. After eating, check the centre and corners before adding more colour. You may only need a little pigment in the middle rather than another complete layer.

    Avoid building thick colour on top of an uneven worn layer. If necessary, remove the remaining makeup appropriately and begin again. A look that takes a minute to refresh is more practical than one that becomes increasingly patchy because you are trying to preserve every trace.

    Blurred lip makeup checklist

    • If the colour spreads, use less product and smaller blending motions.
    • If the finish looks patchy, check whether the formula sets too quickly.
    • If the outline disappears, keep the blending closer to the natural lip shape.
    • If the look feels too strong, reduce coverage before changing the shade.
    • If the lip feels dry, reconsider the formula rather than adding repeated layers.

    A small, organised kit helps you practise without constantly changing products. Our beauty capsule guide can help you keep a dependable daily shade and one more expressive option within easy reach.

    Frequently asked questions

    Do I need lip liner for this look?

    Not necessarily. A liner can provide subtle definition if you enjoy using one, but a sharp visible border changes the effect. Begin without it and decide whether the lip shape needs more structure. If you add liner, soften it carefully so it works with the diffused finish.

    Can a bright lipstick create blurred lips?

    Yes, if the formula blends suitably and you like the colour at lower coverage. Start with a very small amount. A bright shade can remain noticeable even when applied lightly, so keep the rest of the makeup familiar while you test it.

    For current beauty context, see Vogue’s Milan beauty report. The steps here turn the broader idea of softer lip edges into a controlled routine you can practise at home.
  • Burgundy Makeup Look: Balance Rich Lips, Eyes and Cheeks

    Burgundy Makeup Look: Balance Rich Lips, Eyes and Cheeks

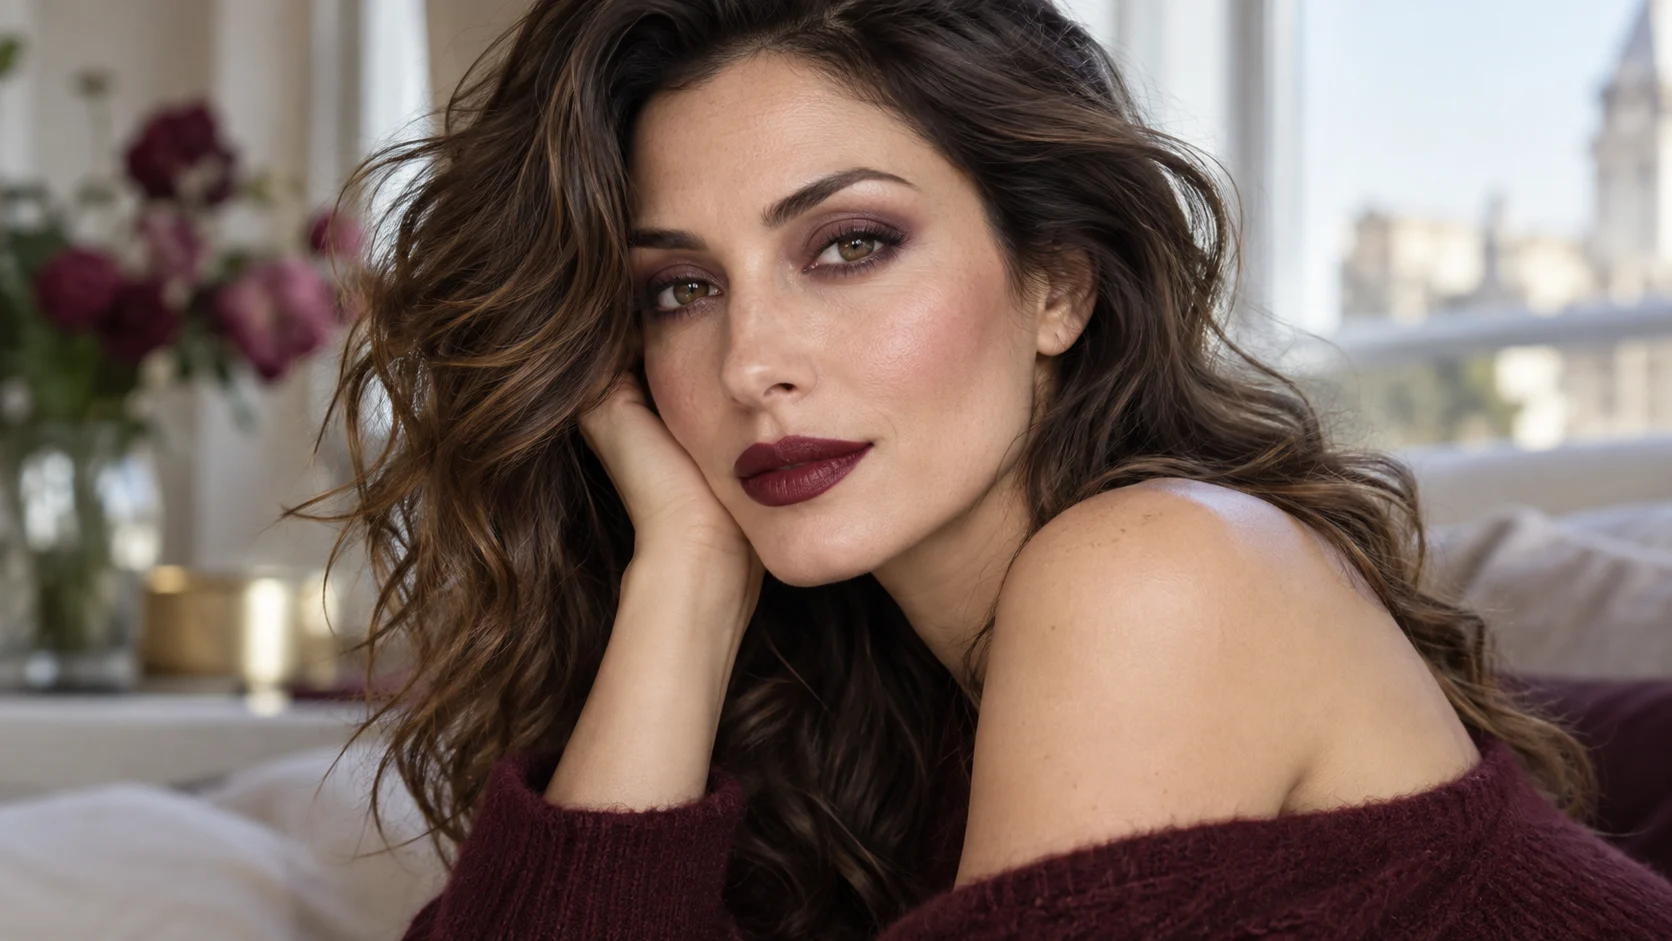
    A burgundy makeup look can feel rich without becoming heavy. The colour works as a soft lip stain, a small eye detail or a deeper evening feature, depending on the formula and placement. The most useful approach is choosing one focal point before deciding how much colour to use elsewhere.

    Deep red tones have appeared in current beauty reporting, but you do not need a complete matching face to enjoy the idea. This guide explains how to choose a suitable shade, keep the application controlled and balance the look with your clothes. Start with a product you know, then adjust the intensity gradually.

    Compare the actual shade rather than its name

    Burgundy makeup can lean berry, brown, purple or clear red. Two products with the same shade description may look quite different once applied. Check the colour in daylight and at the coverage you intend to wear, rather than judging only a heavy hand swatch.

    Consider how the shade works with your usual blush and wardrobe. You do not need exact matches, but a clear relationship makes the look easier to repeat. A cool berry lip beside a warmer cheek can work if both are soft; strong competing tones may need more adjustment.

    Choose the focal point first

    Decide whether you want the eyes or lips to lead. That does not ban colour elsewhere, but it gives the look a clear direction. If the lip is rich and opaque, the eye can stay softly defined. If the eye has a deep burgundy accent, a quieter lip can provide balance.

    Take your available time into account. A lip focus may be quicker to create, while a blended eye needs more practice. Choose the feature you can comfortably maintain during the day or evening, not just the one that looks most dramatic in a reference photograph.

    Begin with a familiar base

    Use the foundation or concealer routine you already understand. A new colour is easier to judge when the rest of the face is familiar. Apply coverage only where you want it, and avoid adding extra layers simply because the lip or eye is stronger than usual.

    Our natural makeup guide offers a straightforward base routine. Keep sun protection decisions separate from cosmetic coverage, and follow the instructions for the products you use rather than mixing everything together to save a step.

    Make burgundy lips softer for daytime

    Apply a small amount of lip colour, then blend the edge while keeping the natural shape readable. A lighter layer allows the shade to feel present without the weight of a full opaque application. Check the corners before adding more pigment to the centre.

    Our blurred lip tutorial explains this technique in more detail. If you prefer a precise lip, use the product in that way instead. The colour does not require one particular finish; choose the version that suits your taste and maintenance habits.

    Build a stronger evening lip carefully

    For an opaque look, apply thin layers and refine the outline with a suitable clean tool. Do not rush to cover the entire lip heavily in one pass. A controlled application makes uneven areas easier to correct and gives you more choice over the final depth.

    Test how the product wears before an important occasion. Check whether it transfers, becomes patchy or needs a specific removal method. That information helps you plan touch-ups. A beautiful shade becomes less useful if you only discover its behaviour while eating dinner.

    Use burgundy near the eyes with appropriate products

    Choose an eye product labelled for that area. A lip pencil is not automatically suitable for the eyelids or waterline, even when the colour looks right. Follow the product instructions and avoid improvising with pigments or glitter not intended for eye use.

    Begin with a small amount close to the upper lashes or at the outer part of the lid. Blend gradually and check both eyes from a normal distance. You can add depth later; starting with a large dark shape makes it harder to keep the look soft.

    Keep the surrounding eye shades simple

    A familiar neutral can support a burgundy accent without creating a complicated multi colour eye. Use a clean brush to soften edges and avoid repeatedly spreading the darker shade farther than intended. The transition should look controlled rather than smoky by accident.

    If the colour makes the eye area look more tired than you like, try a smaller placement or a different undertone. You can also move burgundy to the lips instead. Enjoying a shade does not mean you have to use it on every feature.

    Choose cheek colour for balance

    Apply blush lightly and look at the entire face before adding more. A rich lip already changes the overall colour balance. You may need less cheek colour than with your usual neutral lip, or simply a softer texture and placement.

    Avoid assuming that burgundy lipstick must be used as blush. Only use a product for purposes permitted by its instructions. A suitable cheek product gives you more control, especially when you are still learning how the tones work together.

    Pair the makeup with a clear outfit palette

    Cream, grey, navy and dark denim can give a burgundy lip a straightforward setting. If your clothes already include rich red tones, decide whether you want a close match or a quieter makeup version. Both can work, but the choice should feel deliberate.

    Our burgundy outfit guide offers clothing combinations you can adapt. Keep accessories simple while testing the makeup. You can add more detail later once you understand which feature you want people to notice first.

    Burgundy makeup look checklist

    • Check the shade in daylight.
    • Choose eyes or lips as the main feature.
    • Use products appropriate for the application area.
    • Build colour in thin layers.
    • Assess the full face before adding more blush.
    • Carry what you need for sensible touch-ups.

    Clean tools make the colour easier to control. Old product on a brush can muddy the shade and change the edge you are trying to create. Keep your daily tools maintained and avoid sharing products used directly around the eyes or lips.

    Frequently asked questions

    Is burgundy makeup only suitable for evenings?

    No. A sheer lip, a small liner detail or a soft wash can work during the day. The amount of pigment and the placement matter more than the shade name. Begin with a restrained version and increase the depth only if you enjoy the result.

    Can I wear burgundy eyes and lips together?

    Yes, but it is useful to vary the intensity. A soft eye beside a more defined lip can feel balanced, while equally strong features may create a more dramatic effect. Try the combination when you have time to adjust it rather than during a rushed morning.

    For seasonal context, see Vogue’s current Milan beauty coverage. Treat the trend as a source of colour ideas and choose the application that fits your own face, products and routine.

  • Colourful Eyeliner Ideas: Small Details With Big Personality

    Colourful Eyeliner Ideas: Small Details With Big Personality

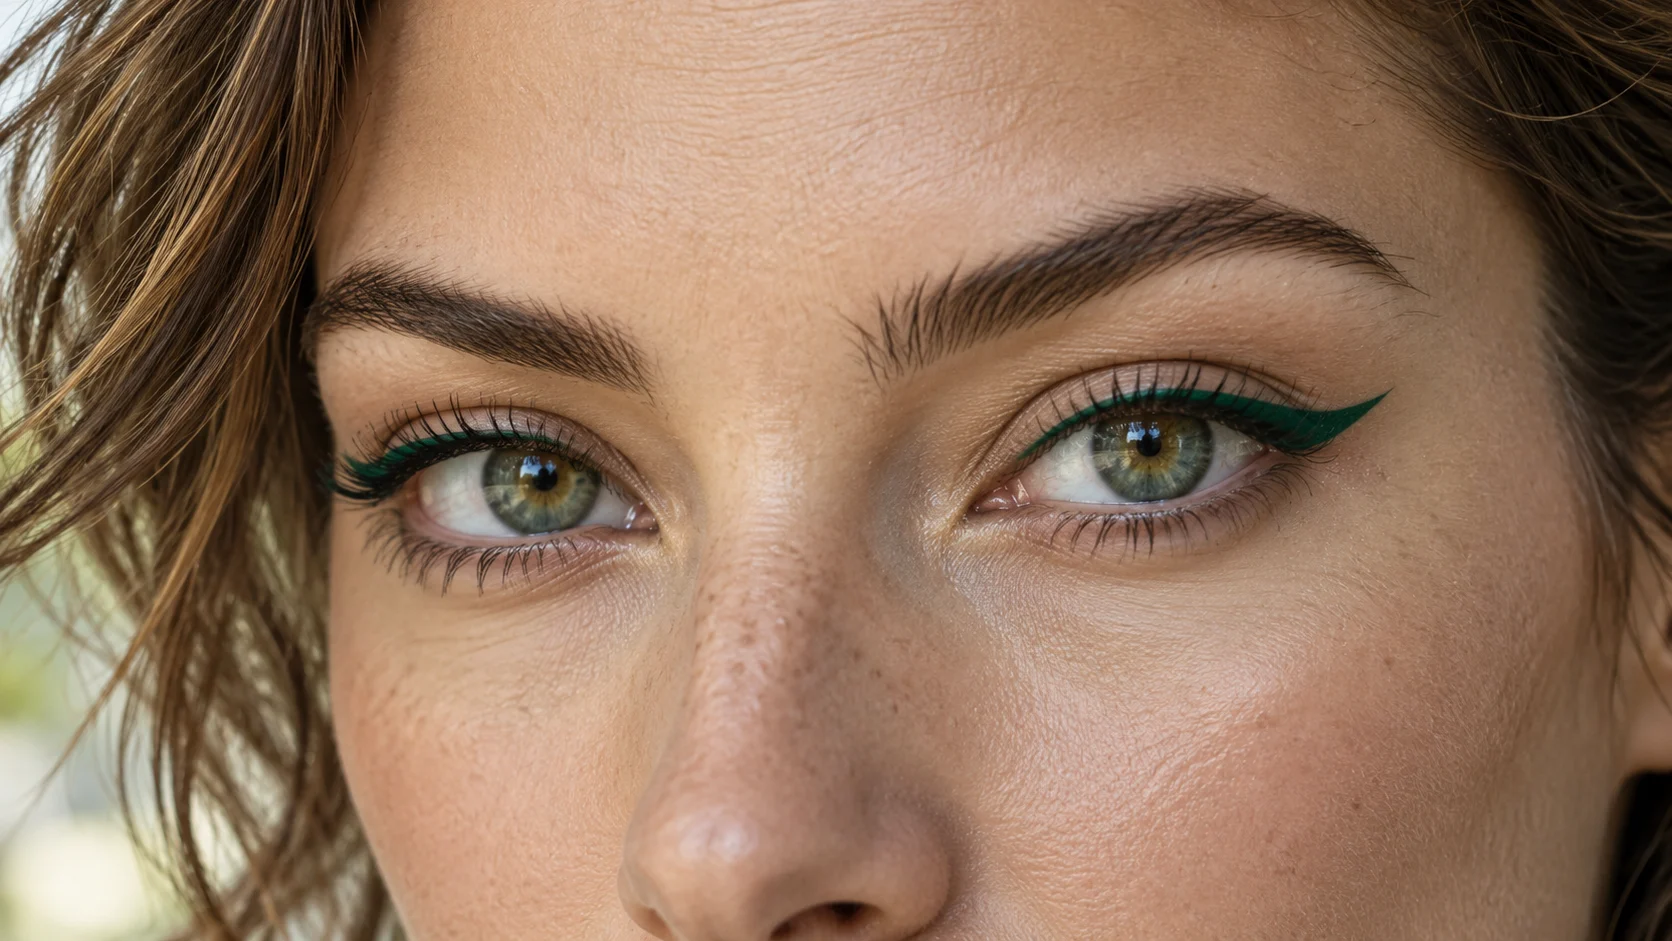
    Colourful eyeliner ideas are most useful when they start small. A short blue line, a soft plum accent or a bright detail at the outer corner can change a familiar makeup routine without requiring a full eye look. You can keep the same base and lip colour while experimenting with one controlled shape.

    Current beauty coverage has made more room for decorative and expressive eyes, but everyday versions do not need to be theatrical. Think of colour as a detail you place deliberately. The following approaches help you choose a manageable product, build a shape gradually and correct mistakes without turning the whole lid into a heavy line.

    Pick the product before the shape

    A pencil often gives you time to soften an uneven edge, while some liquid formulas create a sharper line and set quickly. The useful choice depends on your confidence and the finish you want. Read the instructions and choose a product intended for the eye area.

    Do not use a lip pencil, craft paint or loose decorative glitter around the eyes because the colour looks appealing. Cosmetic products have specific intended uses. If you want a shade you do not own in an appropriate eye formula, choose another colour rather than improvising with an unsuitable material.

    Try the formula when you have time

    Practice before a busy morning or important event. Check whether the product glides, catches, transfers or needs a particular removal method. A formula that works on a hand swatch may behave differently on your eyelid, so a small test look is more informative.

    Use a clean tool and follow any product warnings. Stop if the product causes irritation. No eyeliner shape is worth discomfort, and continuing to apply more product usually makes both the look and the problem harder to assess.

    Keep the line close to the upper lashes

    For a first experiment, apply colour in small sections near the upper lashes rather than drawing one long sweep. Short marks are easier to connect and control. Look straight ahead between sections so you can see how the line appears when the eye is open.

    You do not need to cover the entire lash line. Colour on the outer third can be enough. Keep the inner section simple while you learn how the shade changes the look. Once the small version feels comfortable, you can extend it if you want more presence.

    Make a short outer accent

    A small outward flick can feel playful without becoming a large wing. Mark the end lightly, then connect it to the upper line. Compare both eyes with your face relaxed. A shape that looks symmetrical with the eyes closed may look different when you open them.

    Let the angle suit your eye shape rather than forcing a reference photograph exactly. If a sharp flick feels difficult, soften the outer edge into a small shadow. A controlled blurred accent is a finished look, not a failed version of a wing.

    Use colour above a familiar neutral line

    If you already draw a reliable dark line, add a narrow coloured detail above part of it. This keeps the shape familiar while allowing the new shade to show. Begin with a short section so the two lines do not become a thick band.

    Choose whether you want clear contrast or a subtle relationship. Plum beside dark brown can feel quieter than turquoise beside black. Test the effect in daylight. The colour may appear stronger or softer depending on your skin, the formula and the width of the line.

    Try a soft pencil edge instead of a sharp graphic shape

    A blendable eye pencil can create a small wash close to the lashes. Apply a little product, then soften it with a suitable clean brush before it sets. Keep the movement controlled so the colour stays where you intended rather than spreading across the whole lid.

    This approach is useful when your hands are not steady enough for a fine liquid line. It also suits a more relaxed outfit. Pair it with a simple base and a familiar lip so the colour remains the main new detail.

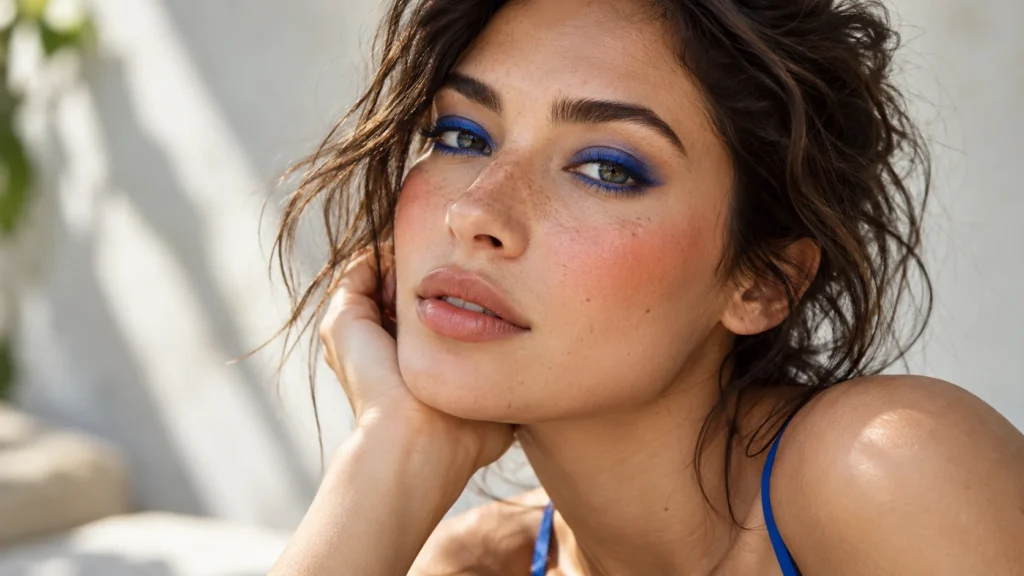
    Close-up editorial portrait of an adult woman with wearable cobalt blue eye makeup and warm coral blush, natural skin texture and subtle lips, expressive contemporary beauty.

    Choose colours from your wardrobe

    Look at a scarf, knit or accessory you enjoy wearing. A related eyeliner shade can connect the makeup to your outfit without matching it exactly. You might choose a plum detail beside a burgundy bag or a blue accent with a neutral outfit.

    Do not repeat every colour in a patterned outfit on your face. One connection is usually enough. Our scarf styling guide offers simple clothing combinations where a small coloured eye detail can sit comfortably beside a print.

    Keep the rest of the face manageable

    Use your ordinary base, brows and lip while you test the liner. If the colour looks too strong, reduce the width or the length before adding more makeup elsewhere. Trying to balance an oversized line with stronger blush often creates a much heavier face.

    Our natural makeup routine makes a useful starting point. For a more expressive version, change one extra feature after the liner is settled. A clear sequence helps you understand which adjustment improved the result.

    Correct mistakes before they become bigger

    When the line is uneven, pause and inspect the shape from a normal distance. You may only need to remove a small section. Adding thickness everywhere to hide one mistake can turn a small accent into a large eye look you never intended.

    Use an appropriate removal method and a clean small tool, keeping products out of the eye. Let the area settle before reapplying. Repeated rubbing can make the skin uncomfortable and the next line harder to control.

    Plan for wear and removal

    Try the look on an ordinary day before relying on it for a long event. Notice whether the product transfers when you blink or fades in a way you dislike. These observations help you decide whether the formula suits your routine or only works for a short photograph.

    Remove it according to the product instructions instead of scrubbing. A long wearing formula may need a specific remover. Keep that product available before you begin, especially when practising several versions in one session.

    Colourful eyeliner ideas checklist

    • A short plum line on the outer third of the upper lid.
    • A soft blue pencil edge close to the lashes.
    • A narrow coloured accent above part of a familiar neutral line.
    • A small flick with the rest of the eye kept simple.
    • A wardrobe inspired shade used as the only bright makeup detail.

    These are starting shapes rather than fixed rules. Adjust the placement and intensity to what you like seeing on yourself. The best technique is one you can reproduce comfortably without needing to rebuild the entire face.

    Questions that come up while practising

    Does colourful liner need matching eyeshadow?

    No. A plain lid can make the colour easier to see and reduce the number of products you need to manage. Add shadow only when it supports the shape you want. A simple line is a complete eye look if you enjoy the finish.

    Can I wear colour with a strong lip?

    Yes, but begin with a smaller line and compare the full face. You can also use a softer lip application, as in our blurred lip guide. The balance depends on intensity and placement, not a strict ban on combining colour.

    For wider trend inspiration, see Vogue’s Milan beauty report. Borrow the idea of expressive eyes, then scale it to the time, products and shapes that work for you.

  • Natural Makeup Look: A Step-by-Step Everyday Guide

    Natural Makeup Look: A Step-by-Step Everyday Guide

    A natural makeup look is less about using no makeup and more about choosing where a little color and definition help you feel like yourself. It can be a five-minute weekday routine or a more considered look for a relaxed event. You do not need to hide every freckle, reshape every feature or buy a full set of new products. This guide walks through preparation, base, brows, eyes, cheeks and lips, with options you can leave out. Use the steps that suit your skin, your time and the finish you enjoy.

    Prepare the skin first

    Makeup tends to feel more comfortable on skin that has been cared for gently. Start with a clean face and use moisturizer if your skin needs it. During the day, apply appropriate sunscreen according to its directions before makeup. Allow products a moment to settle so your base does not move around. If a sunscreen or moisturizer pills beneath makeup, try using less product at once, allowing more time between layers or choosing formulas that work better together.

    Preparation does not require a primer for everyone. If you already have one that helps a particular area, use it there rather than adding it out of habit. Dry patches may need a little more moisture, while areas that become shiny may benefit from a lighter texture. Our beginner skincare guide covers a simple care routine to use under makeup. The goal here is comfort, not a perfectly smooth surface.

    Choose a light base

    Decide whether you want foundation, a tinted product or only concealer. Apply a small amount to the areas where you want coverage, then blend outward. A sponge, brush or clean fingers can all work; choose the tool you find easiest to control. Look at the result in daylight and add more only where needed. Keeping some of your natural skin visible often makes the look feel fresh and easier to maintain through the day.

    Match shade before adding coverage

    Shade matching matters more than the amount of coverage. Test a product along the jaw and consider how it looks after a little time, because some formulas change as they dry. Avoid using a very light concealer over every spot; a shade close to your skin can look more seamless. If you prefer no base at all, skip it. Natural makeup is an approach to balance, not a required sequence of products.

    Quick takeaways

    • Begin with a clean, comfortable skin-care base.
    • Use a small amount of tint or concealer where desired.
    • Blend in daylight and add coverage only if needed.

    Give brows a little structure

    Brows can frame the face with very little effort. Brush them in the direction they naturally grow and see whether any sparse area actually needs filling. If it does, use short, light strokes rather than drawing one solid shape. A pencil, powder or tinted gel can work, but you need only one that you can use comfortably. Step back from the mirror to check the overall effect instead of focusing on each tiny gap.

    Keep the shape soft

    Brow shapes are personal and need not be identical. Follow your natural arch and avoid trying to force both sides into the same exact line. A clear gel may be enough if your brows are already full. If you overfill, brush through with a clean spoolie to soften the color. This small adjustment often makes the face look finished without making the brows the strongest part of the look.

    Define the eyes softly

    For everyday eyes, choose one neutral shade close to your skin tone or slightly deeper. Sweep it across the lid and blend the edge. You can add a little definition near the lash line with a pencil or a small brush and shadow. Keep the line close to the lashes rather than creating a sharp wing unless that is your signature style. A light hand and a few seconds of blending make the result easier to wear.

    Curl lashes if you enjoy doing so, then apply mascara from the roots with a gentle wiggle. One coat may be enough; add another only if you like the effect. If mascara smudges on you, consider a formula that suits your needs or use less on the lower lashes. Eye makeup should feel comfortable. If a product causes irritation, remove it and avoid using it again until you understand the cause.

    Add color to the cheeks

    Blush can bring warmth back after base makeup. Start with a small amount on the area of the cheeks where you naturally flush and blend toward the hairline. Cream, liquid and powder textures can all work; the easiest one is the one you can apply evenly. Peach, rose and berry tones create different moods, but there is no universal shade for everyone. Try a color in daylight to see how it sits with your own undertone.

    Bronzer and highlighter are optional. If you use bronzer, place it lightly where you want warmth rather than using it to redraw the face. A subtle highlight can be a natural skin finish rather than a separate shimmering product. Blend everything together, then look at the whole face. If one area feels too strong, soften the edges with a clean brush or sponge instead of starting over.

    Finish with comfortable lips

    A tinted balm, sheer lipstick or soft lip color can complete the look without careful maintenance. Choose a shade you can reapply easily, especially on long days. If your lips feel dry, start with a comfortable balm and let it settle. A defined lip line is optional; you can use a pencil close to your natural lip color when you want more structure. The result can be as quiet or expressive as you like.

    Think about how your lip color relates to the cheeks rather than trying to match them exactly. Warm tones can sit together, and cooler tones can create a different effect. If you choose a bolder lip, you may prefer to keep the eyes simple. That balance is one reason a natural look is so flexible. One statement detail can still feel effortless when the rest of the makeup is restrained.

    Check the look in real light

    Before leaving, glance at your makeup in daylight or a neutral light. Check the jawline, hairline and under-eye area for unblended edges. Move your face and smile; a look should feel comfortable as well as photograph well. Carry only the product you expect to touch up, such as lip balm or a small powder. A large makeup bag is rarely necessary for a routine you know well.

    Touch up only what needs it

    If makeup fades, notice where and when rather than immediately adding more layers. Your skin type, weather and product textures all affect wear. Blotting or a small touch-up may be enough. At night, remove makeup gently and return to your basic care routine. Our everyday beauty routine connects these steps with realistic morning and evening habits.

    Make the look your own

    Natural does not have to mean identical from person to person. For one reader it may be clear skin and a red lip; for another, a fuller brow and no foundation. Save a photograph of a result you like and note which products and steps you used. That record helps you recreate it without guessing. When you want to experiment, change one detail rather than everything at once.

    You can also take inspiration from outfit choices. A relaxed shirt and jeans may suit a barely-there face, while a polished jacket might invite a stronger lip. See our capsule wardrobe guide for outfit formulas that are easy to pair with a simple makeup routine. Getting ready can feel cohesive without being complicated.

    Final thought

    Begin with comfortable skin, add definition where you enjoy it and stop when the look feels right. You can use every step in this guide or only two. The best natural makeup routine is one you can repeat, adapt and wear with confidence through an ordinary day.